

Welcome to this video where we will guide you on how to process E201 in Anya HR. Let's look at the steps:
Step 1: Create Codes
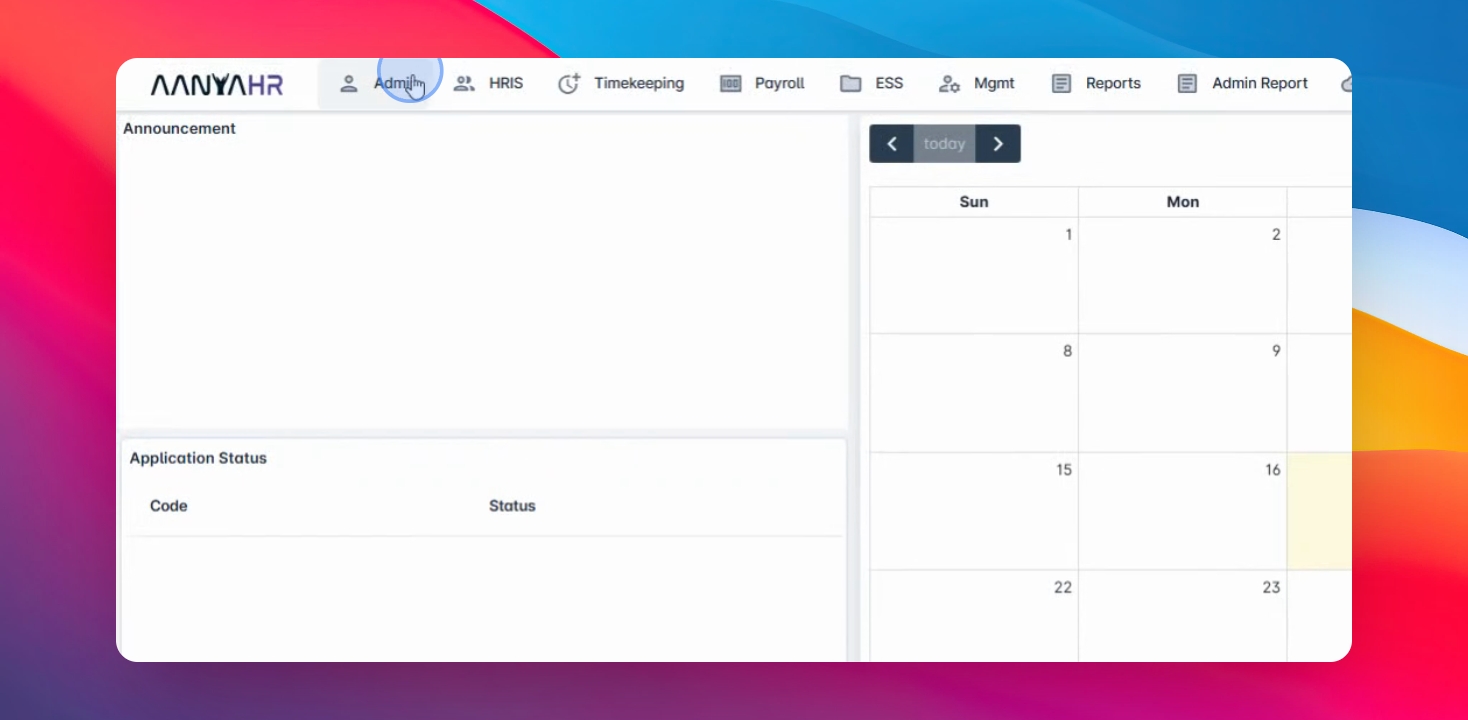
First, create codes from the admin menu and dropdown settings.
Step 2: Set Requirements
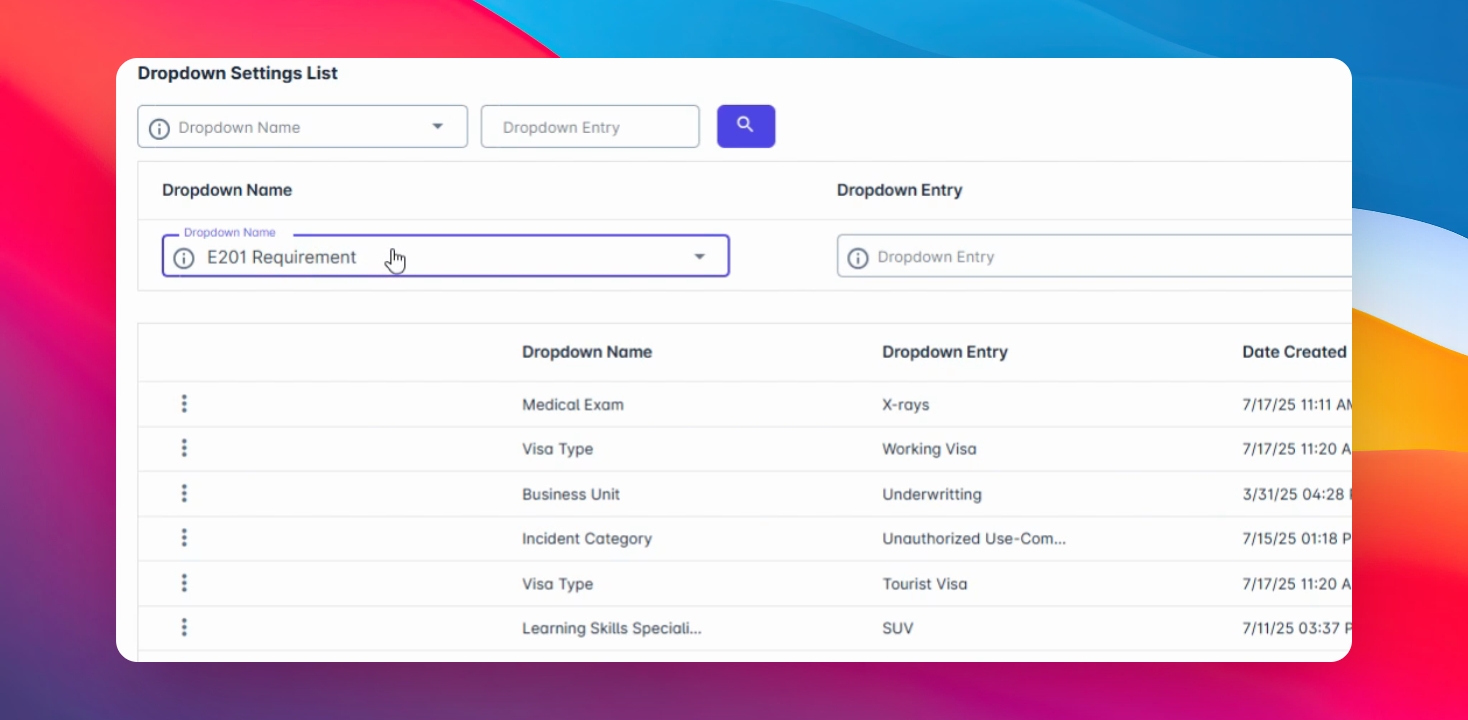
Click Create and set the E201 requirements.
Step 3: Enter Requirements
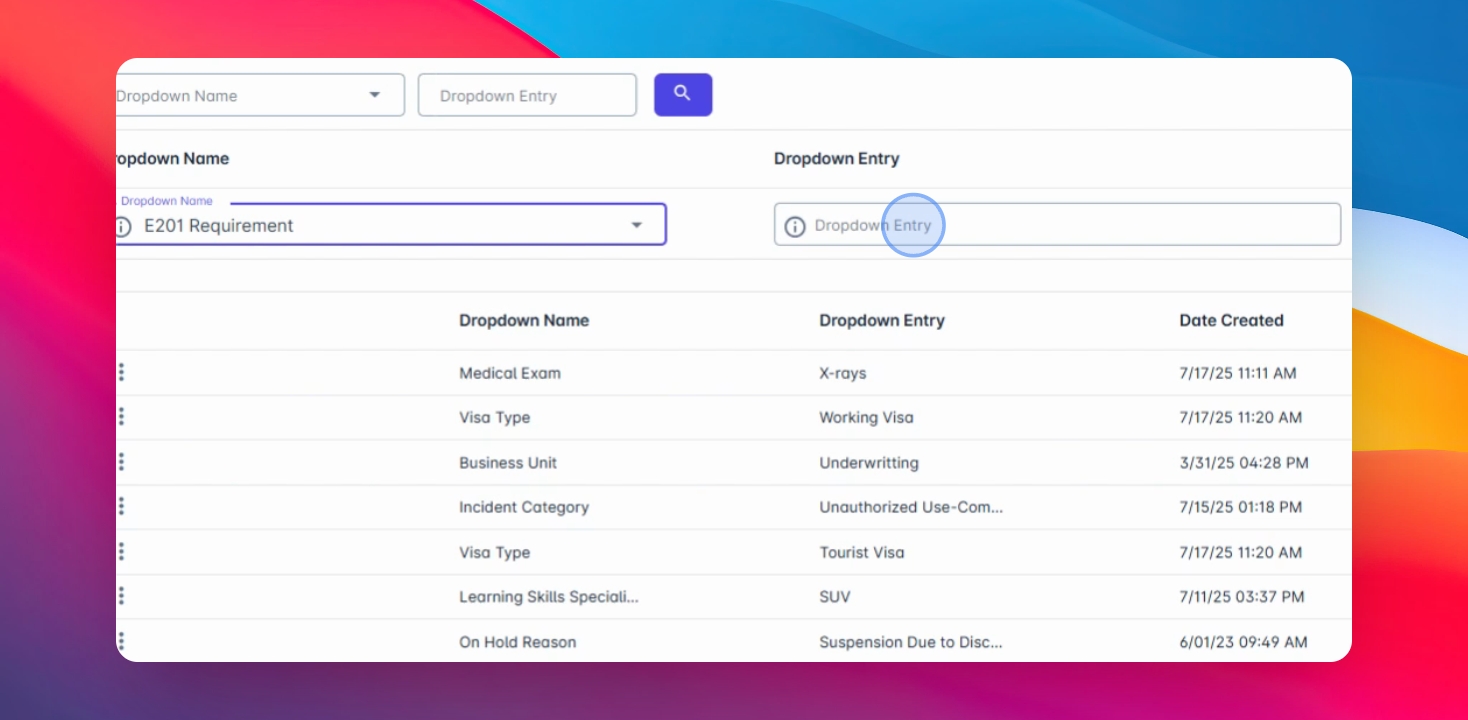
Enter your requirement here and click save.
Step 4: Add Multiple Codes
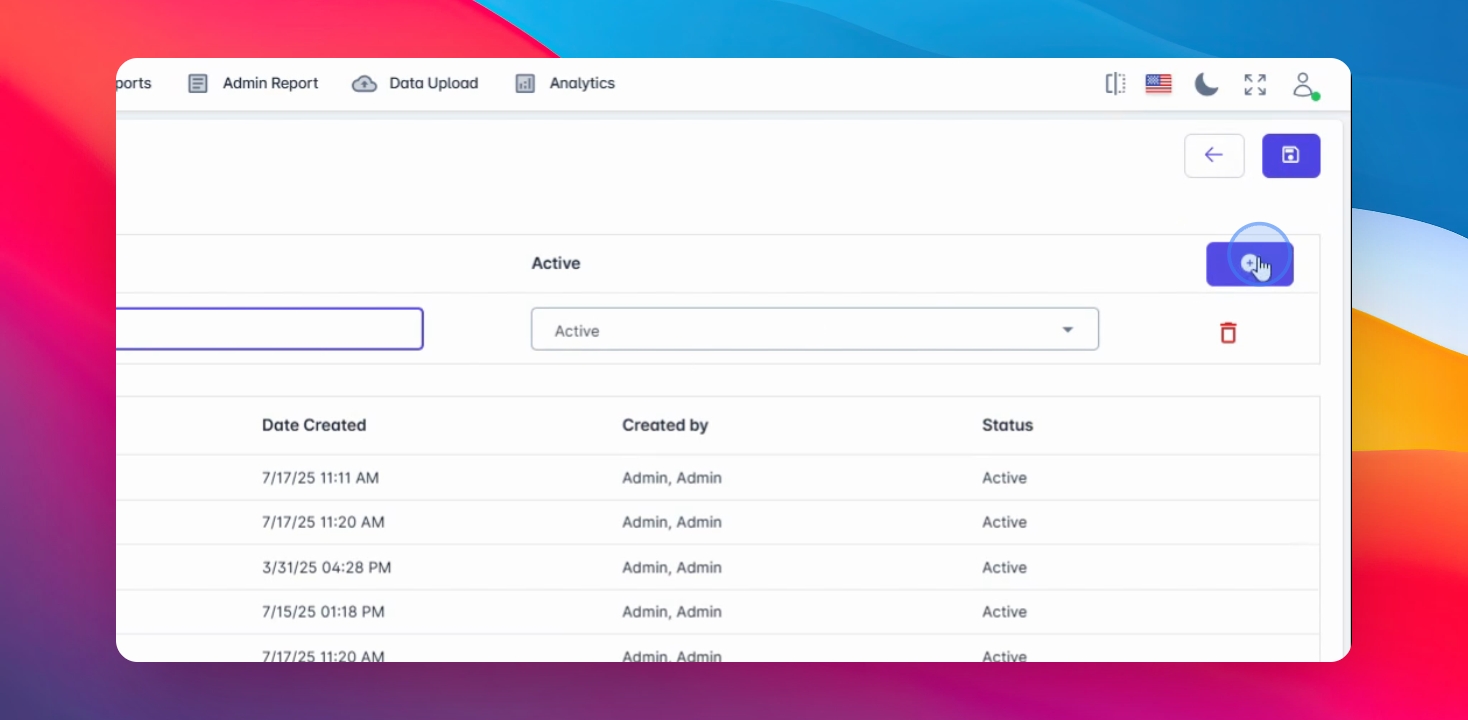
Add multiple codes which will be reflected on the E201 dropdown.
Step 5: Add Requirements on HRIS > E201
Once done, head to HRIS > E201 and requirements.
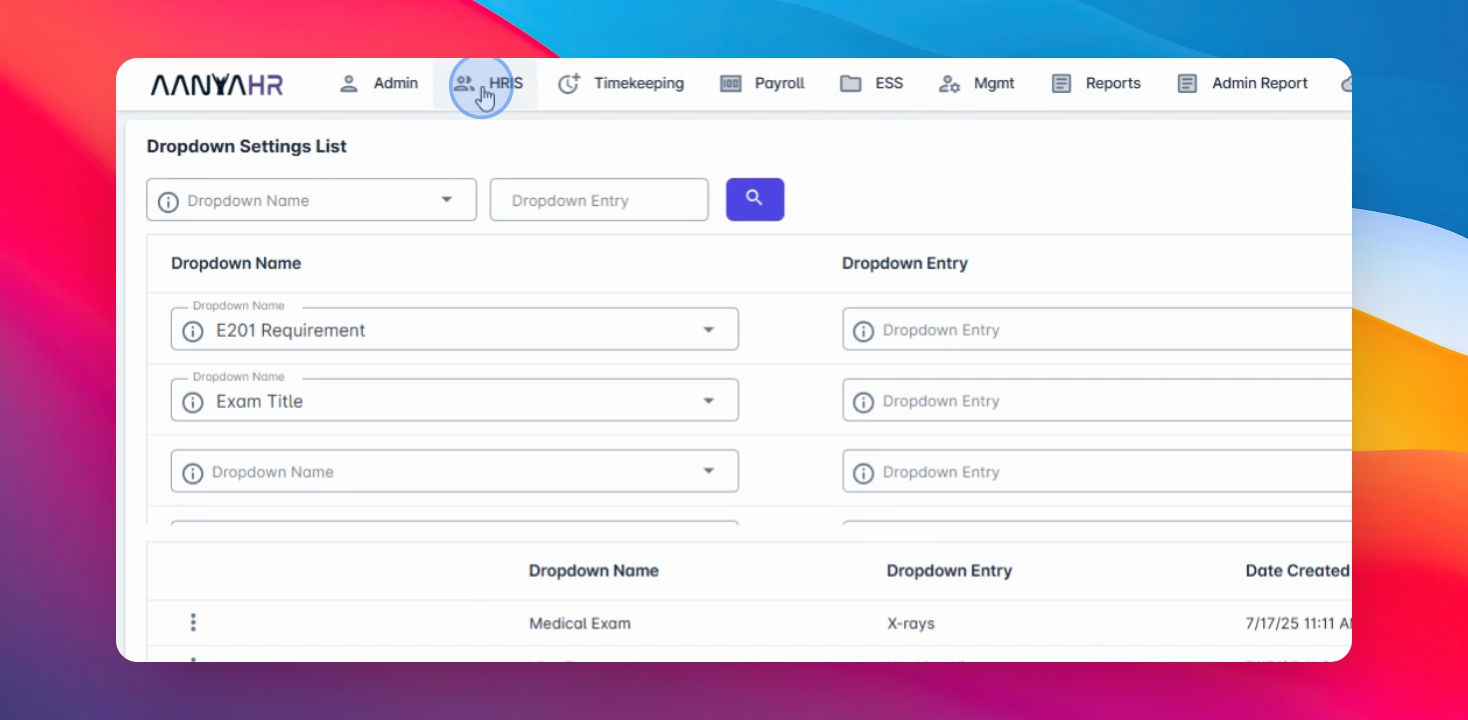
Step 6: Create Requirement Group
Create the requirements, set your requirement group date, name, and description. Change status to active or inactive.
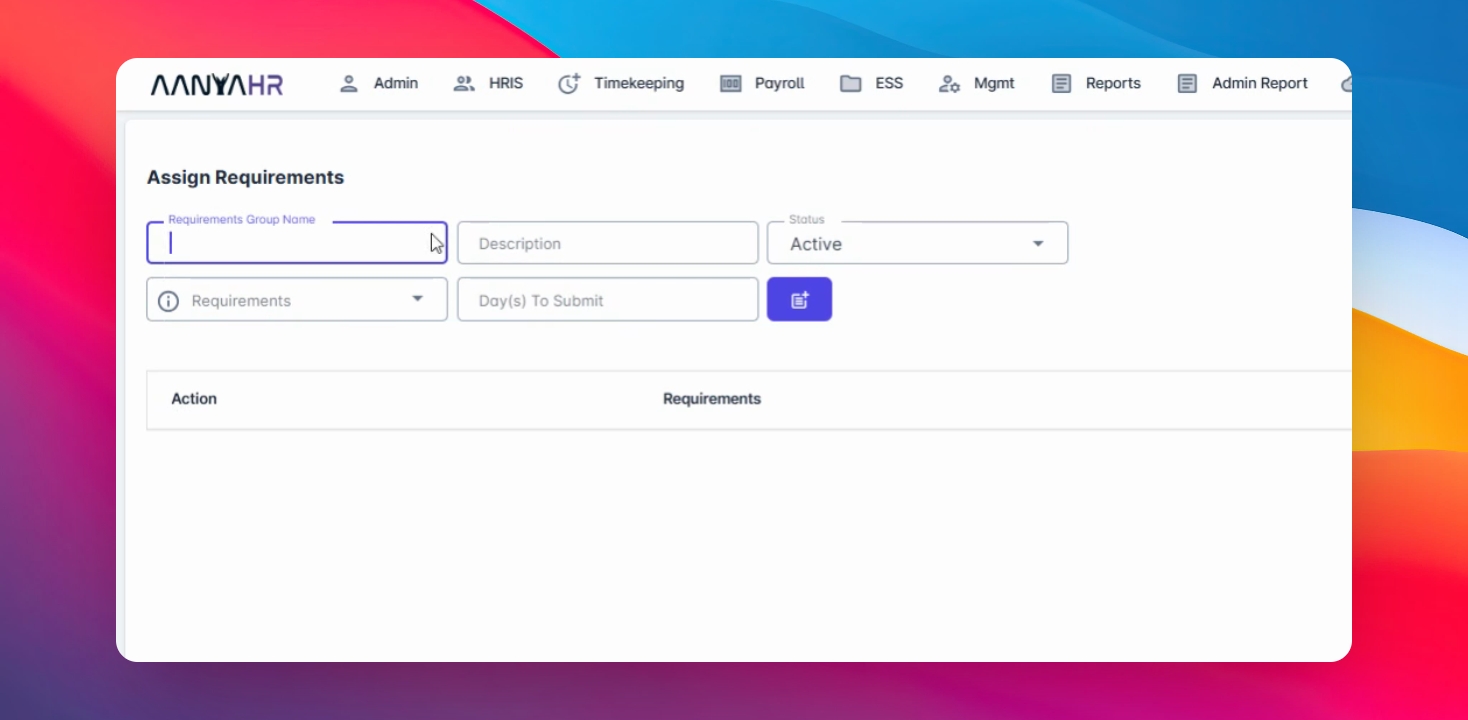
Step 7: Click Add
Click Add to reflect the requirements here.
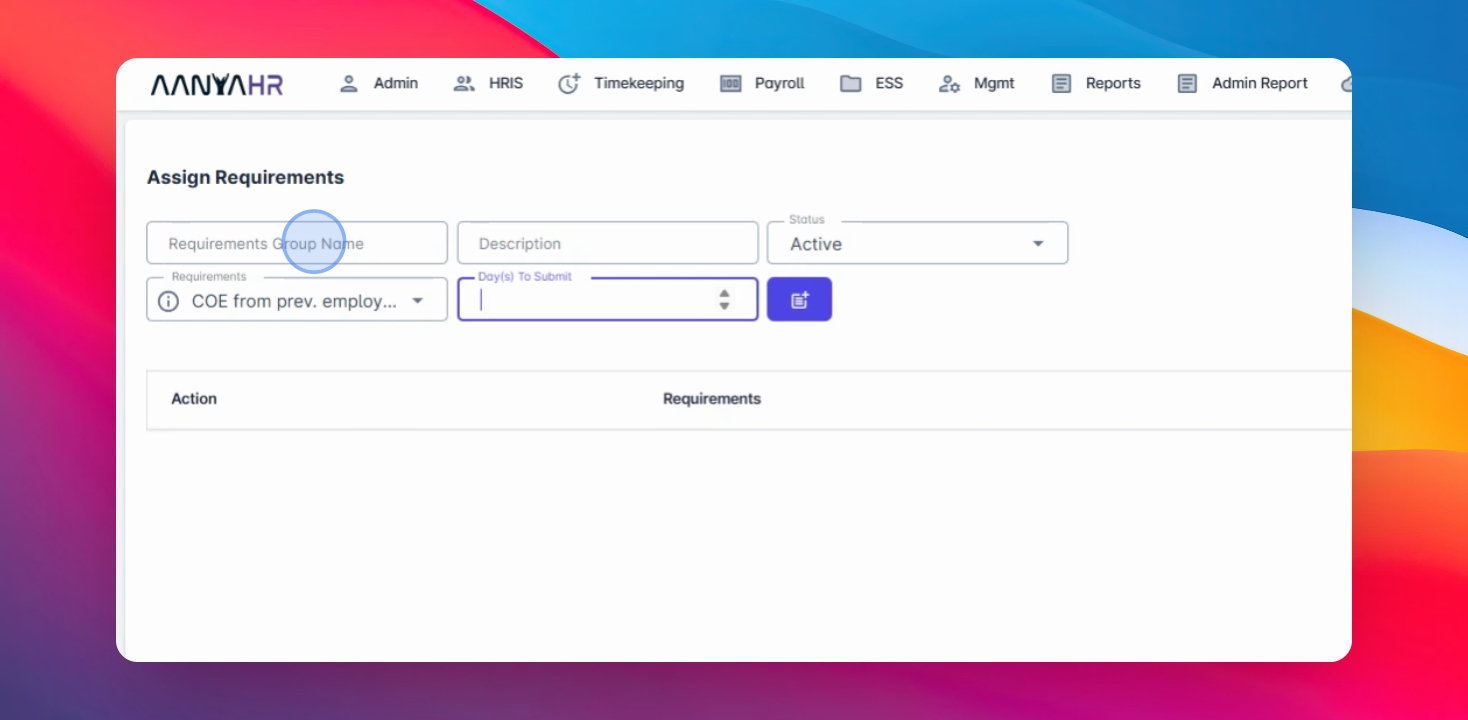
Step 8: Confirm Addition
View it for confirmation that the requirement has been added.
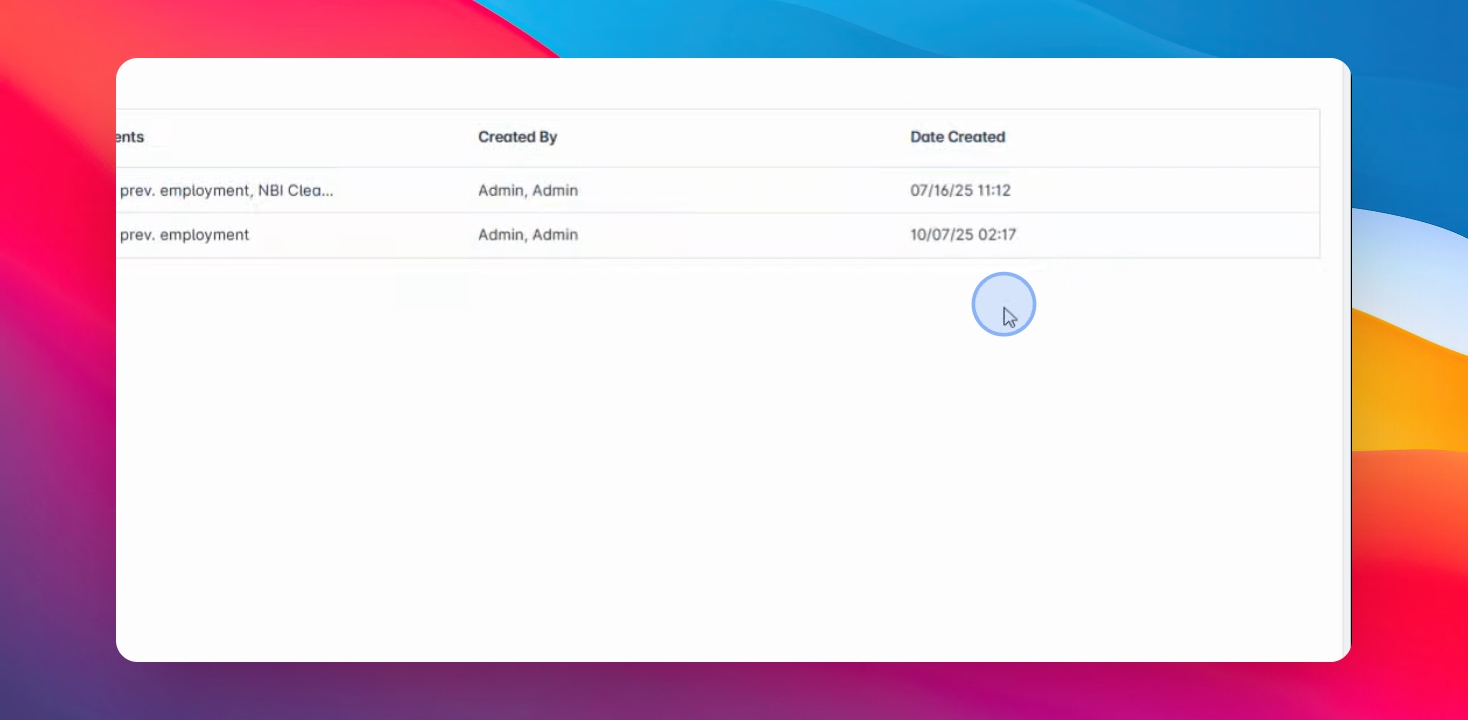
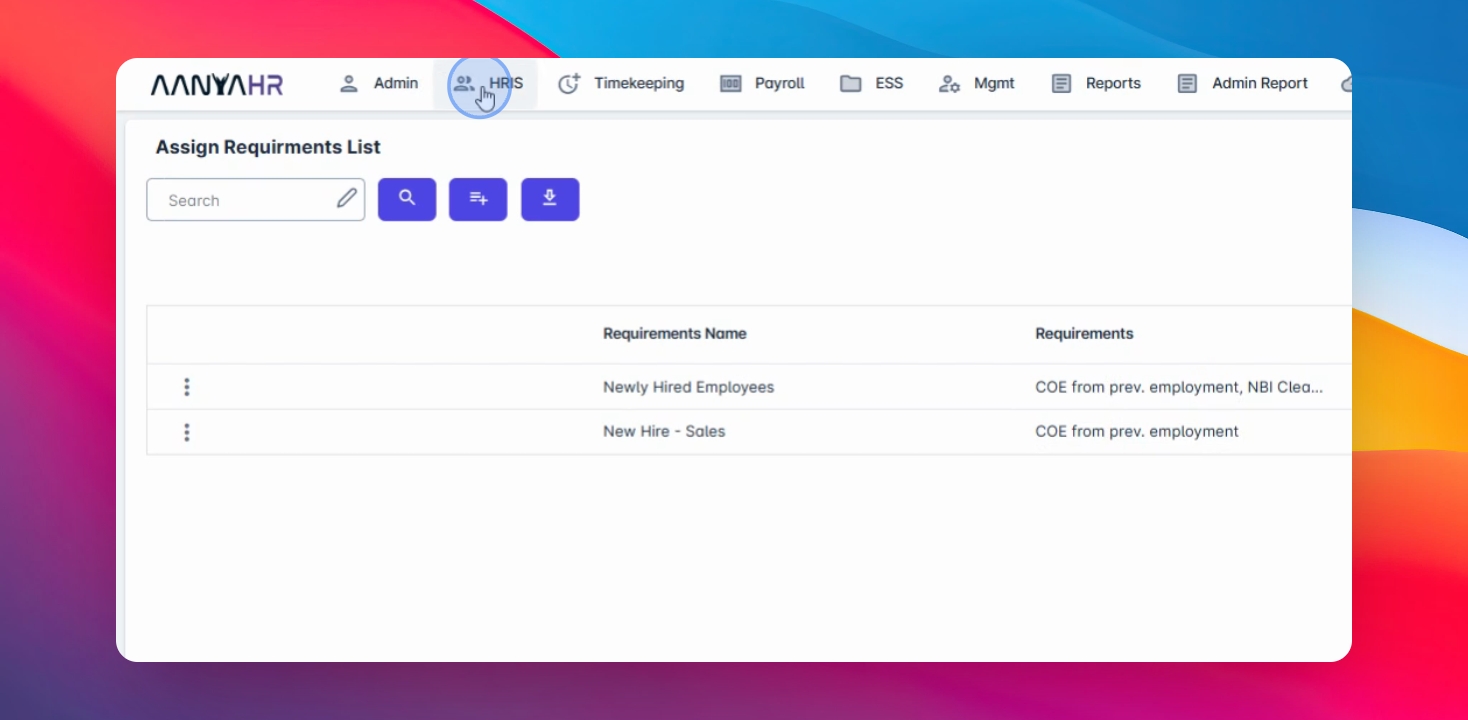
Step 9: Proceed to E201 > Employee
Proceed on the HRIS > E201 > Employee
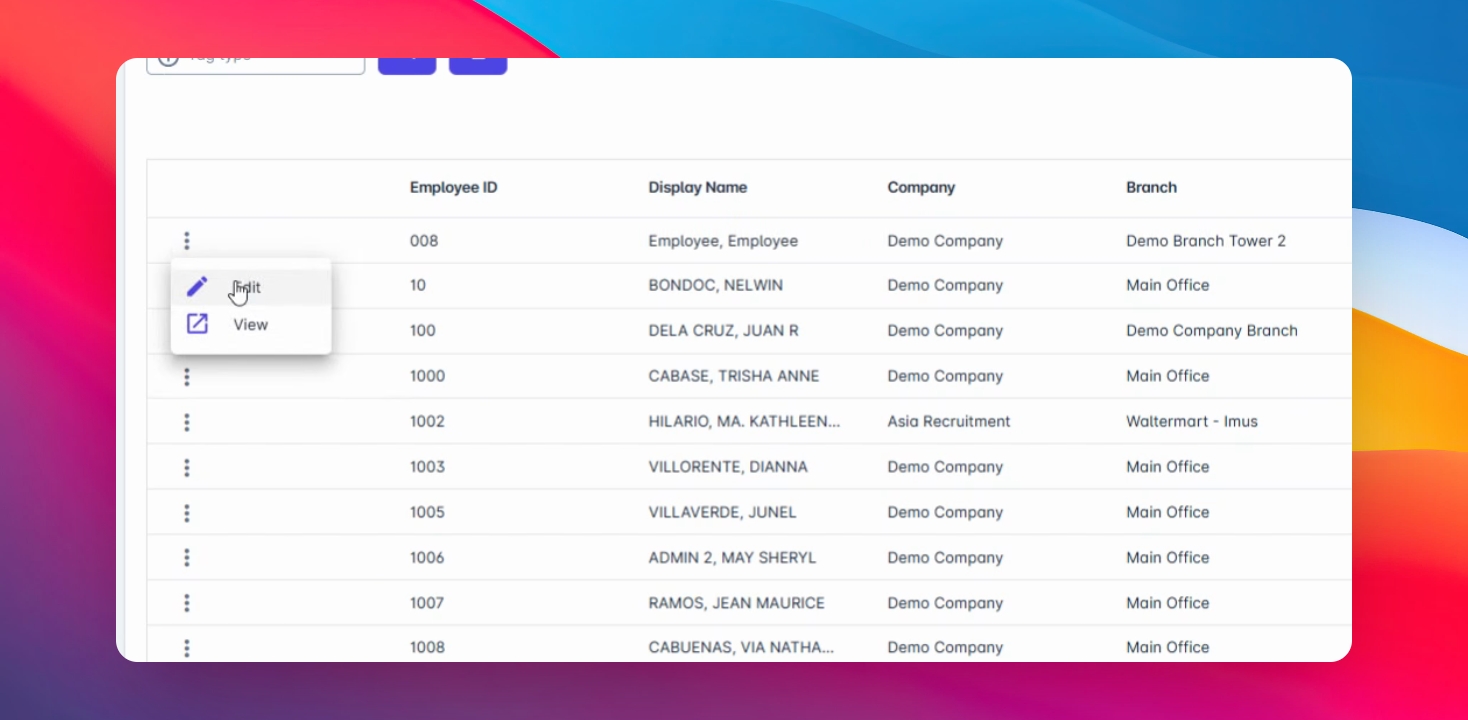
Step 10: Add E201 Details to Employee
Click on the three dots beside the employee ID and click Edit.
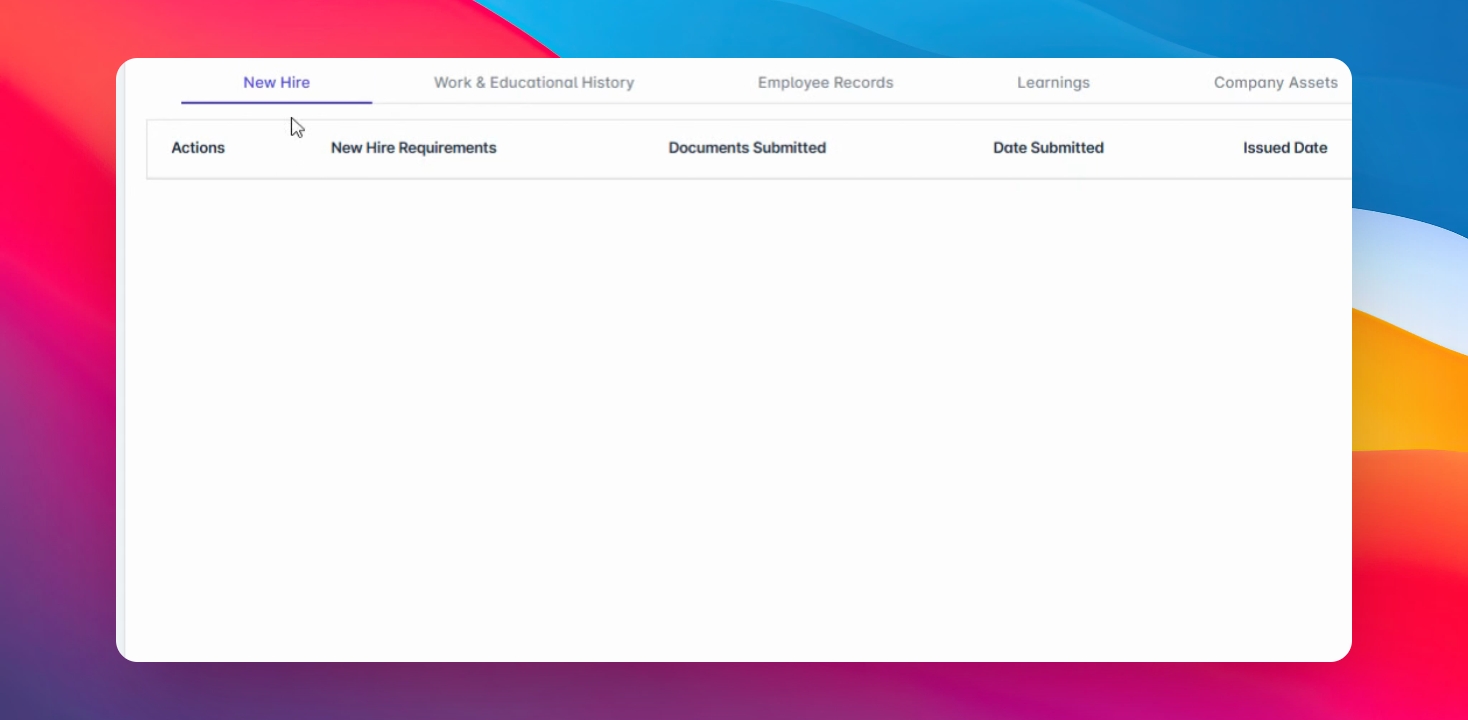
Step 11: Enter New Hire Information
Add new hire information for new hire employees
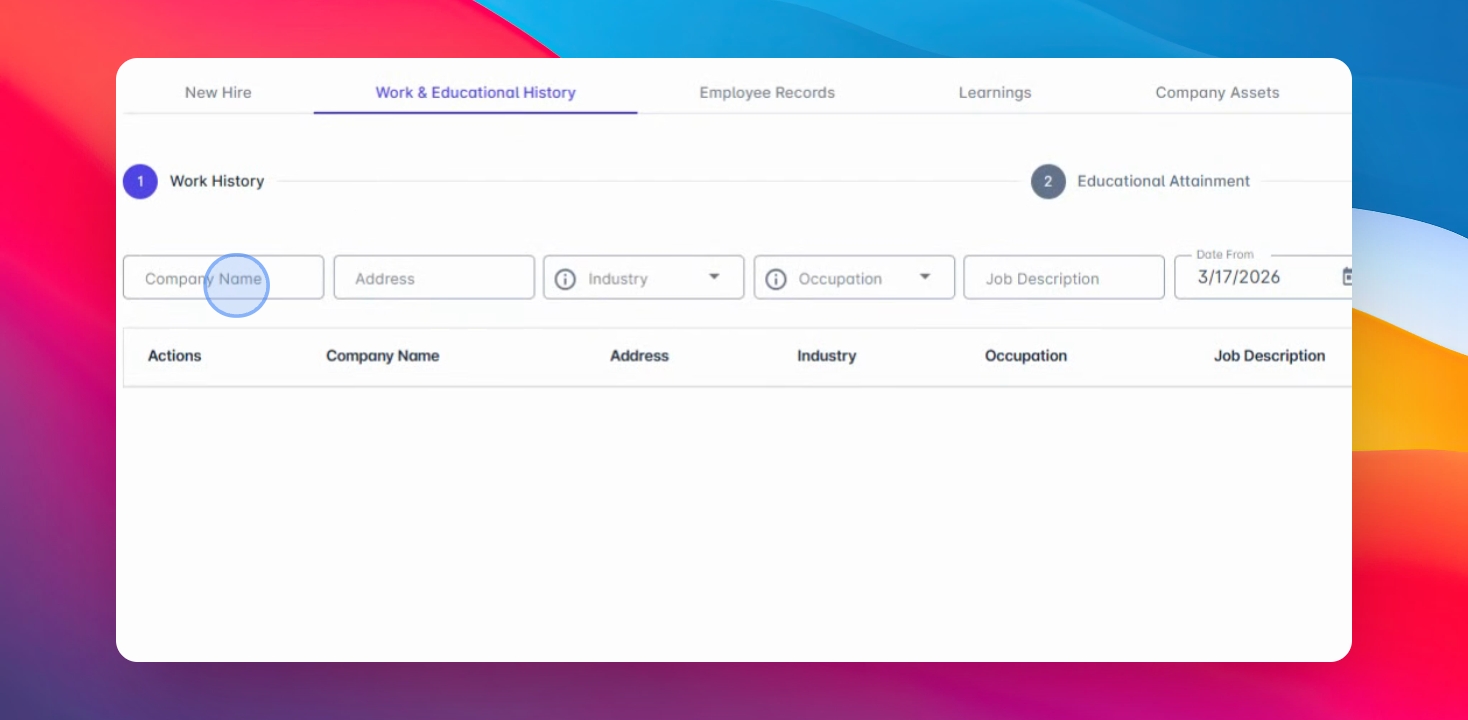
Step 12: Enter Work History
Add work in educational history, including company name, address, and other details.
Step 13: Add Employee Records
You can add employee records including performance management, medical records. and family relationship
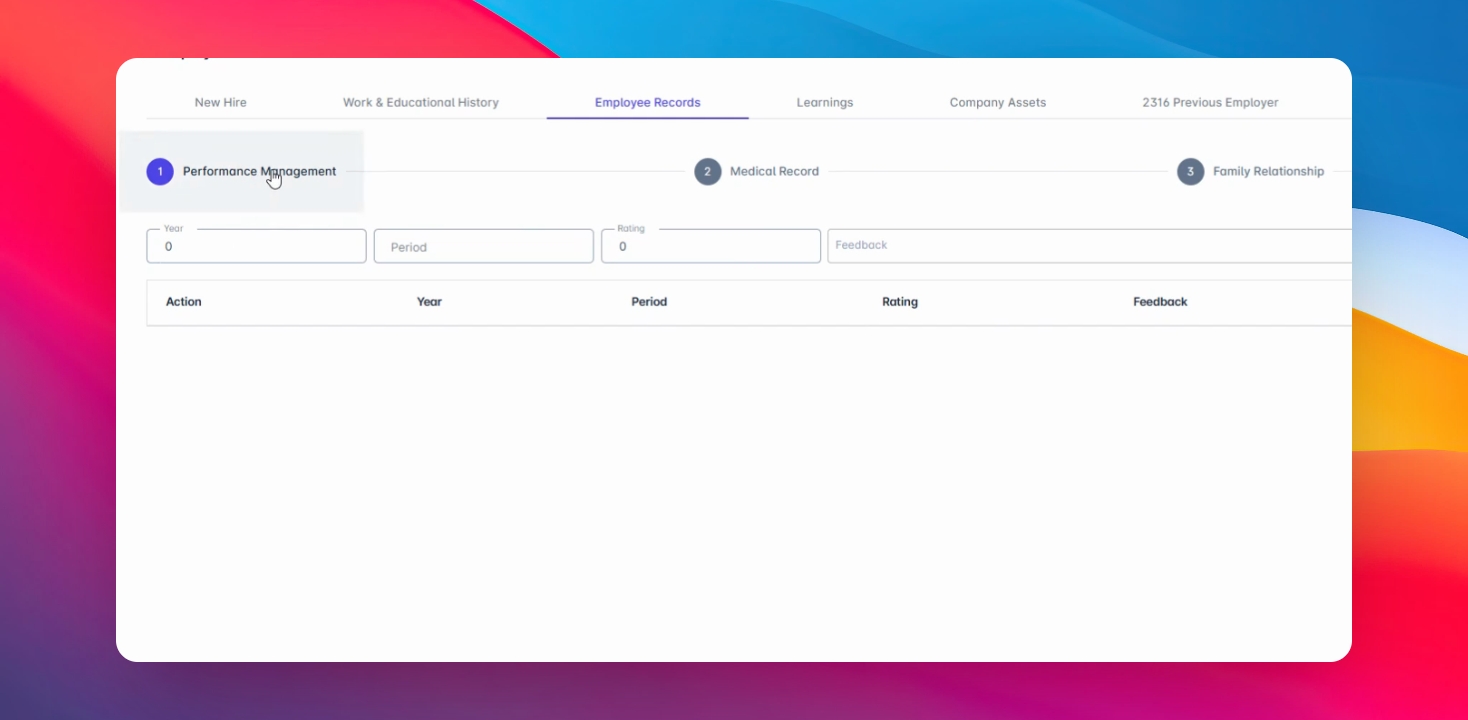
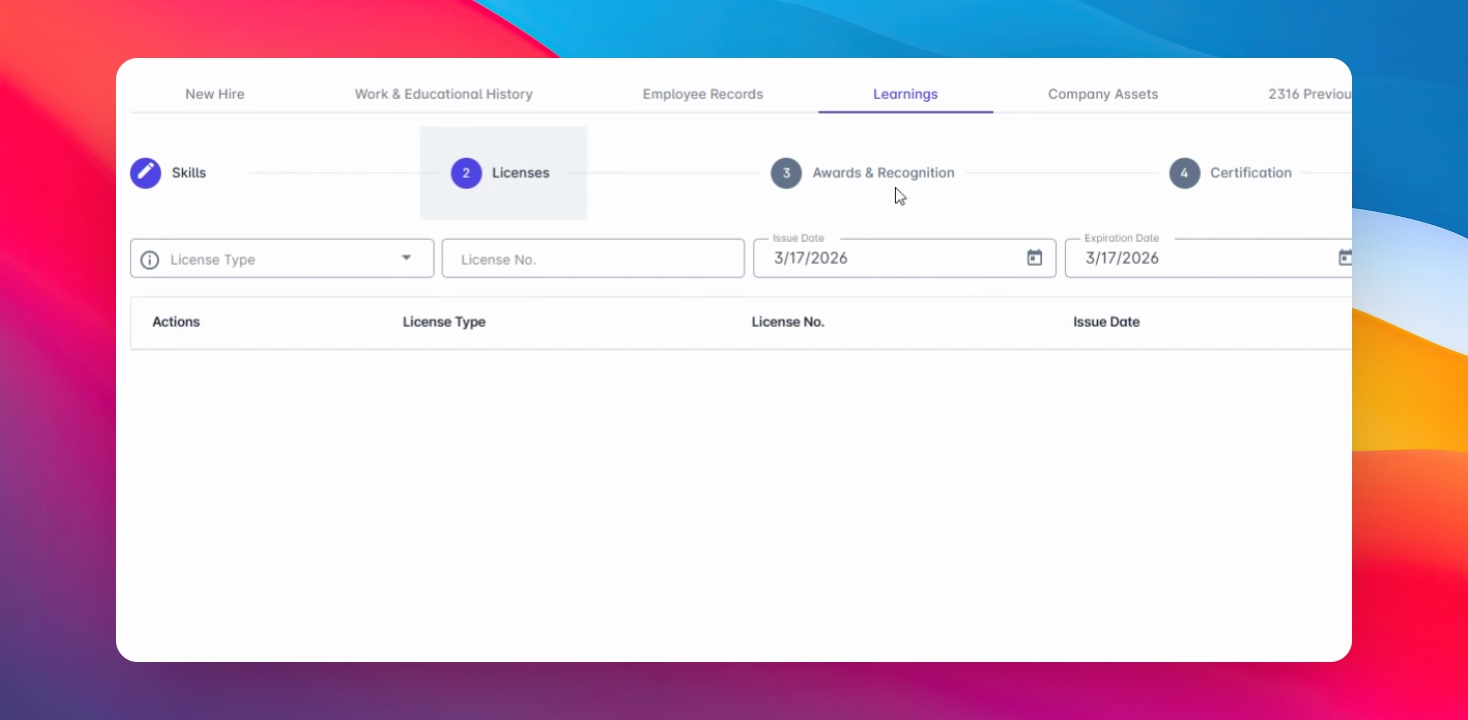
Step 14: Add Learnings
Also, you can create employee learnings such as skills, licenses, awards and recognition, certification, training and seminar, and visa
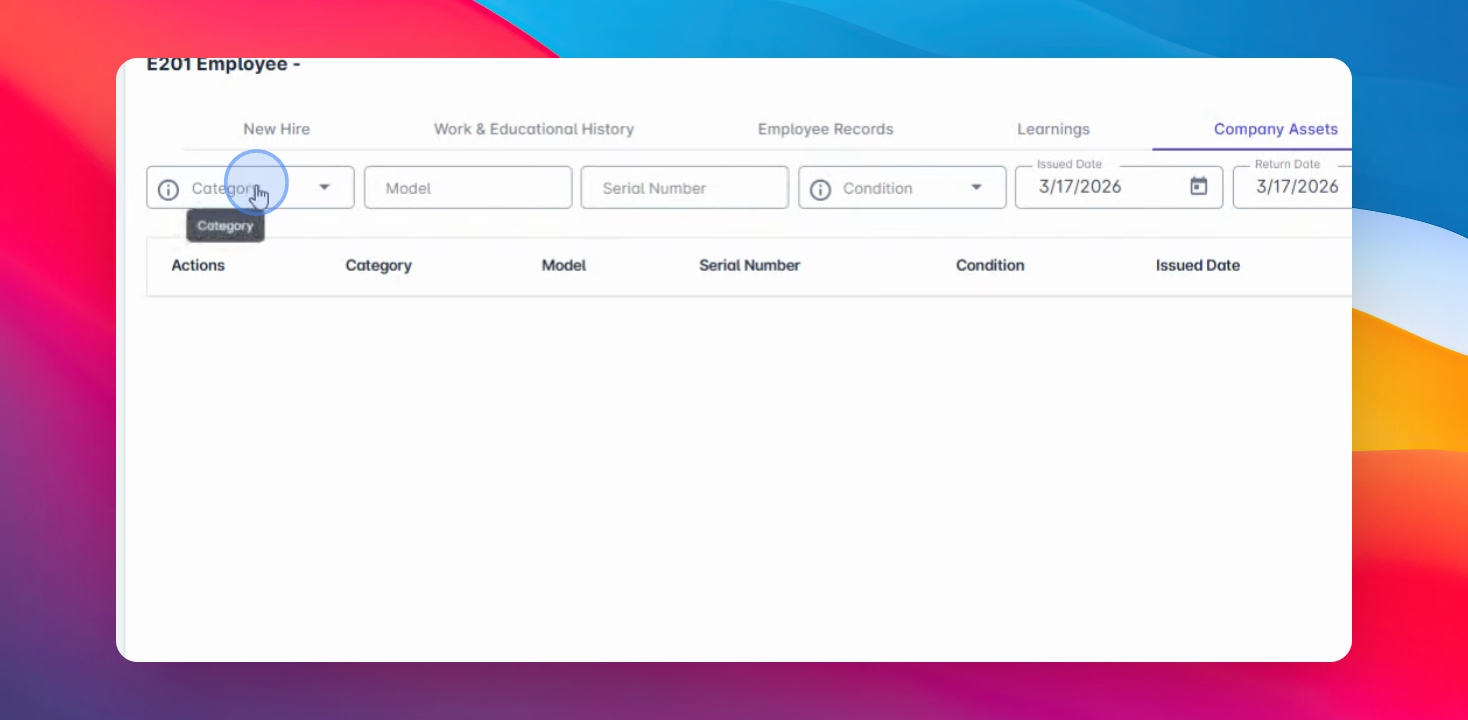
Step 15: Add Company Assets
Add company asset by category, including model, serial number, and more.
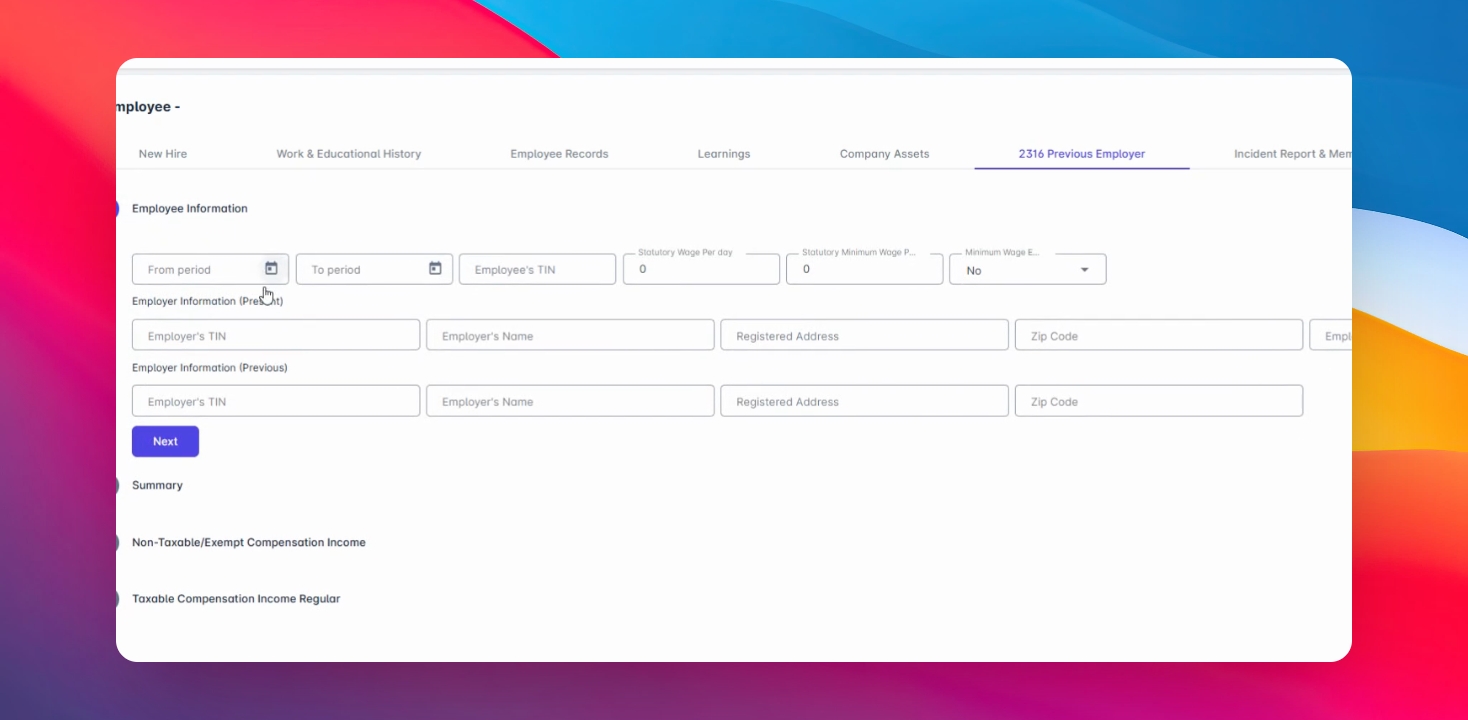
Step 16: 2316 Previous Employer
2316 from previous employer can be encoded here
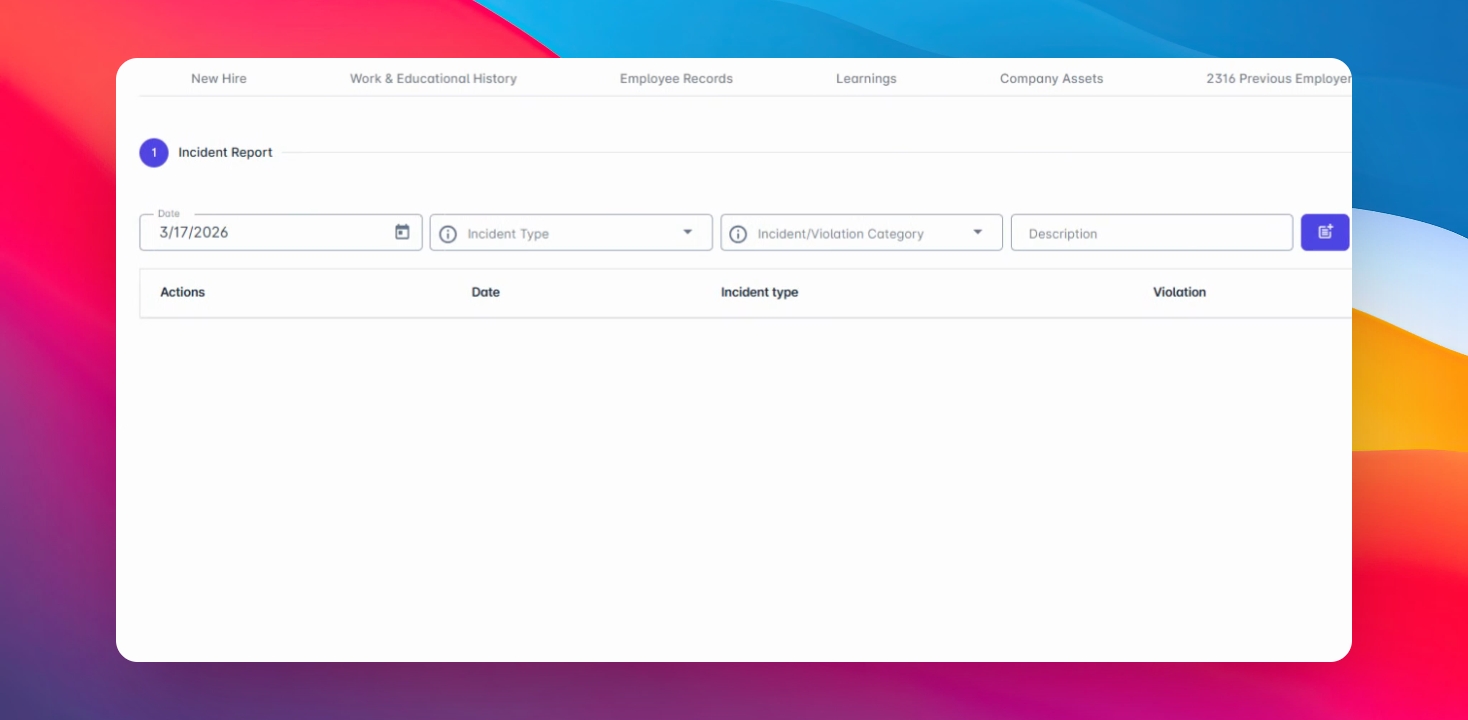
Step 17: Incident Report and Memo
You can add IR and memo
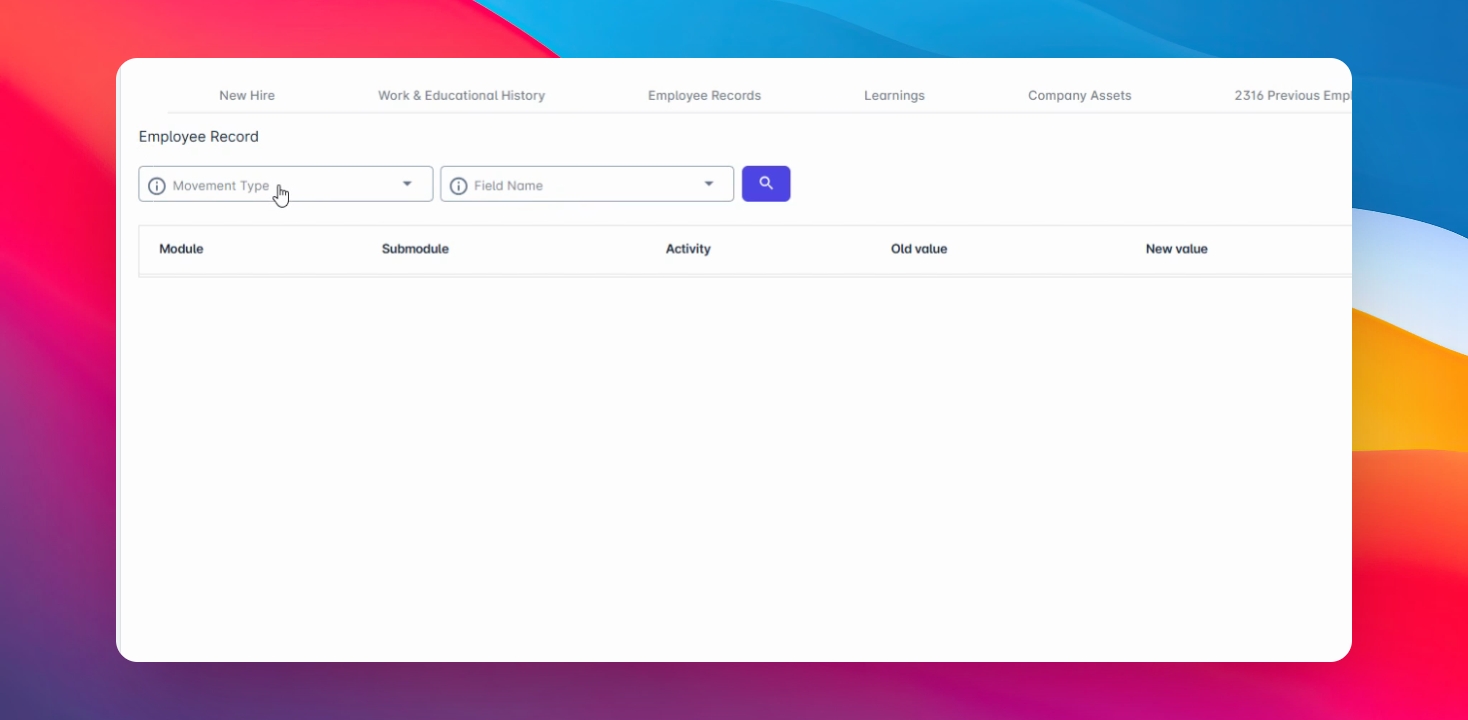
Step 18: Employee Movement:
and lastly, any employee movement can be also added
Step 14: Save Changes
Once done, click Save changes.