

Introduction
The Employee Category feature helps organizations group employees and apply specific configurations based on their role or employment type. This includes settings for payroll computation, timekeeping rules, filing access, and approval workflows.
In this tutorial, we will walk you through the setup process step-by-step so you can properly configure this feature for your organization.
Step-by-Step Instructions
1. Navigate to the Employee Section
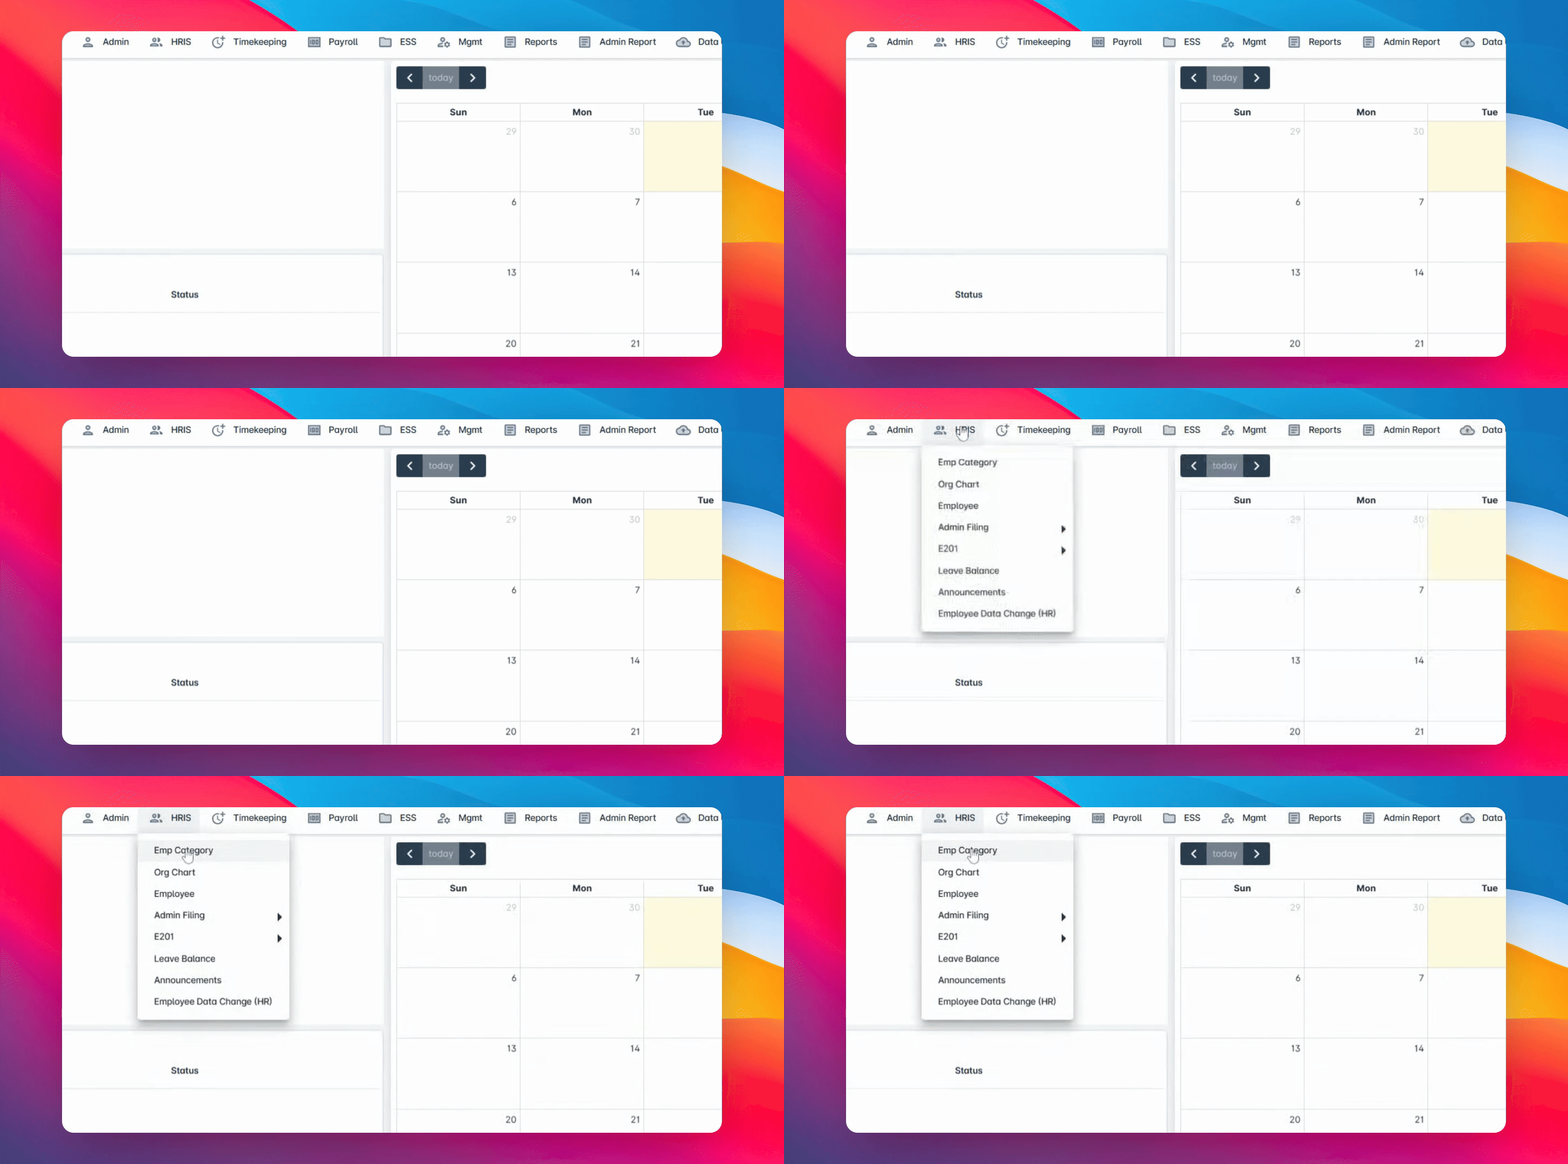
Go to the HRIS Menu, then click Employee.
2. Create a New Employee Category
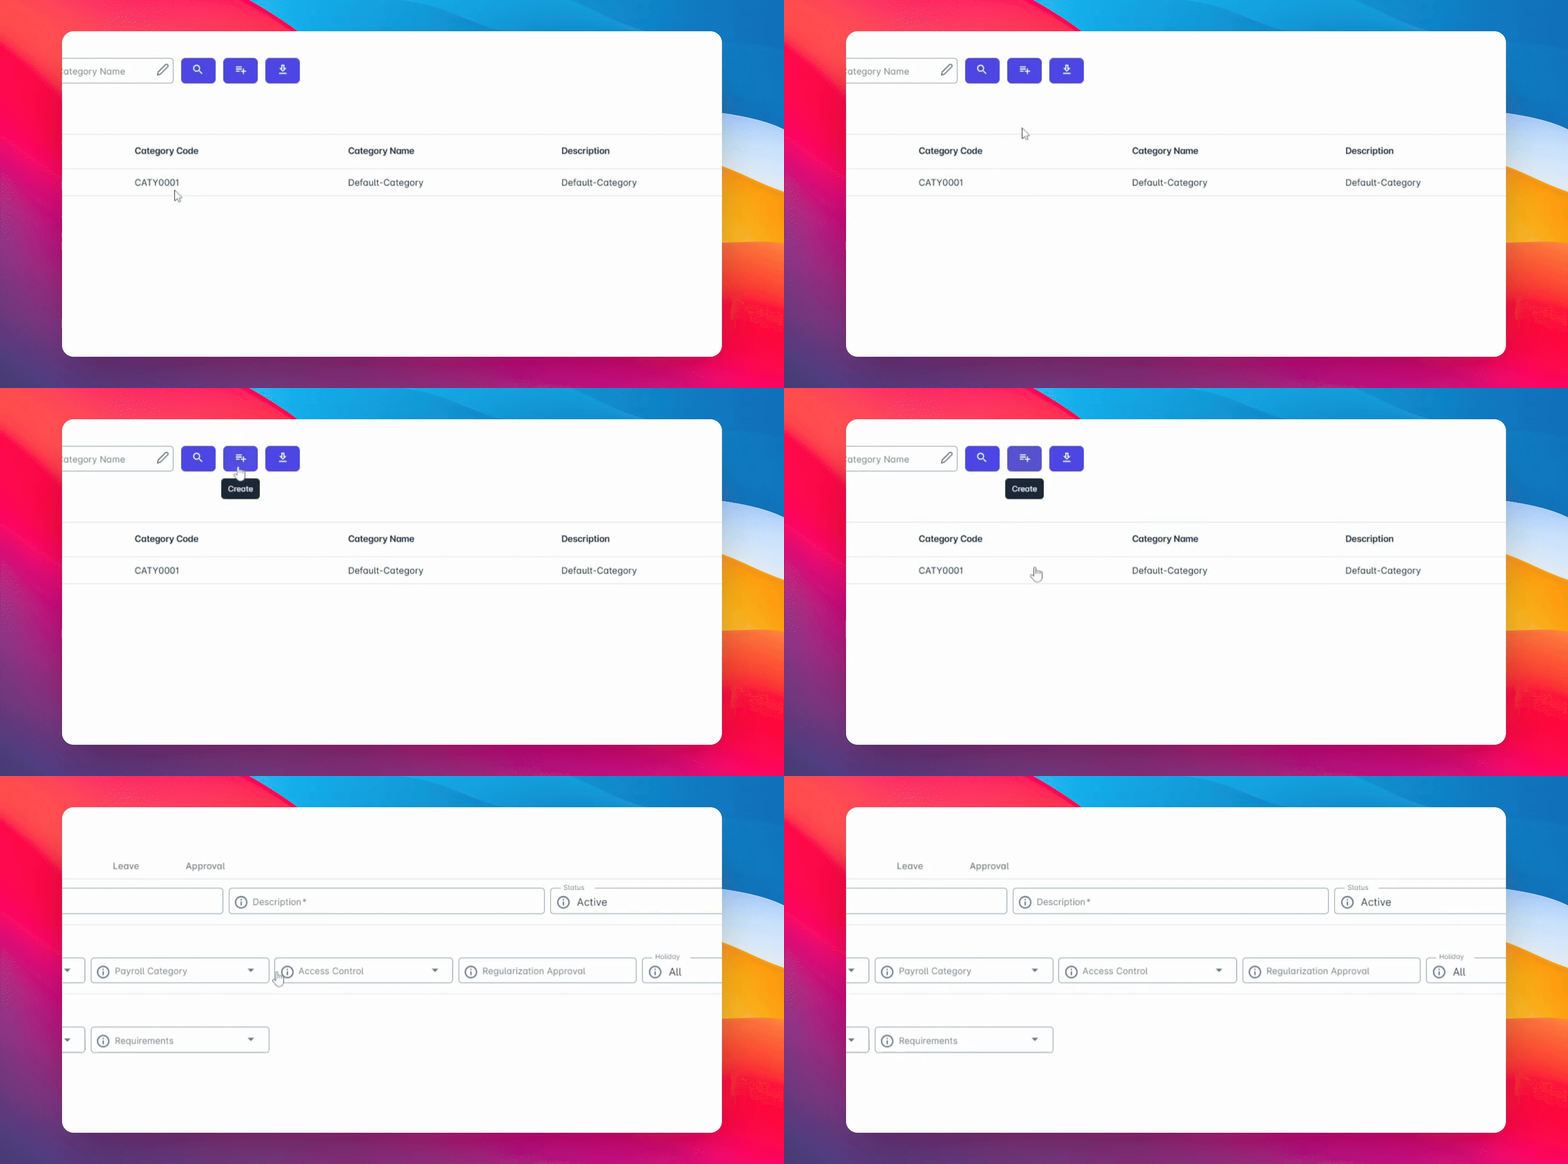
Click the Create button to add a new employee category.
3. Review the Setup Sections
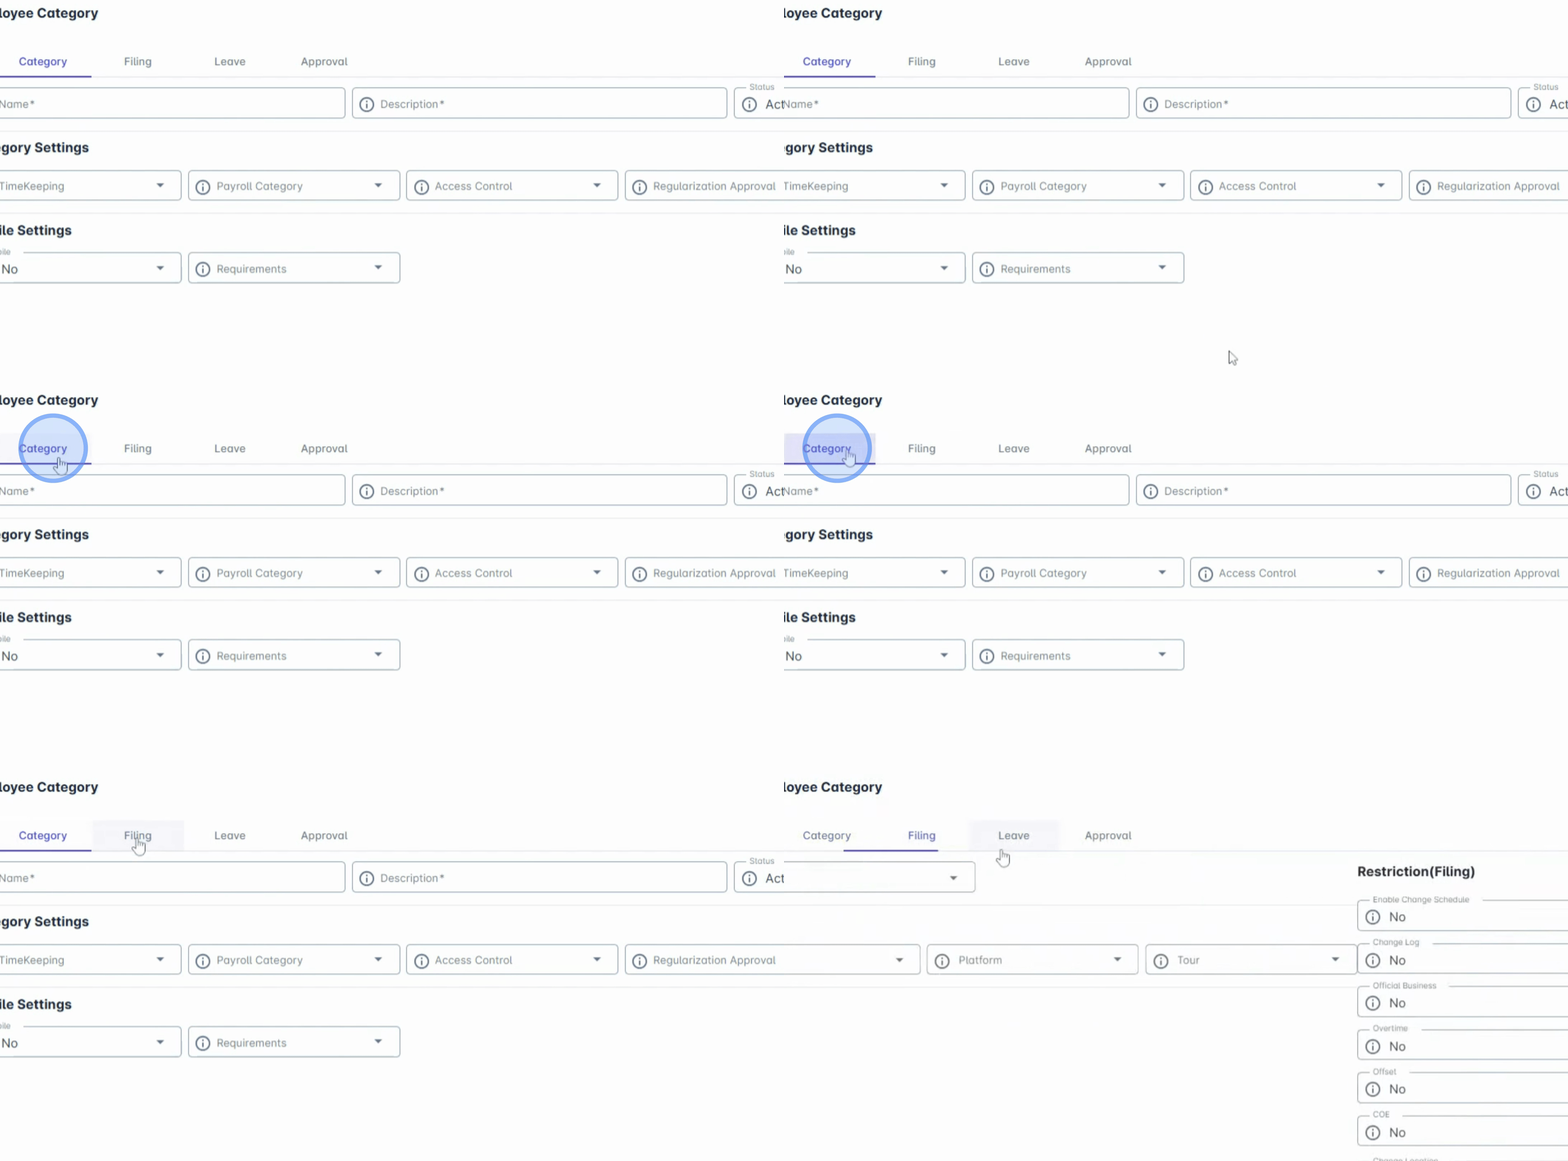
The Employee Category setup is divided into four main sections:
Category
Filing
Leave
Approval
4. Open the Category Tab
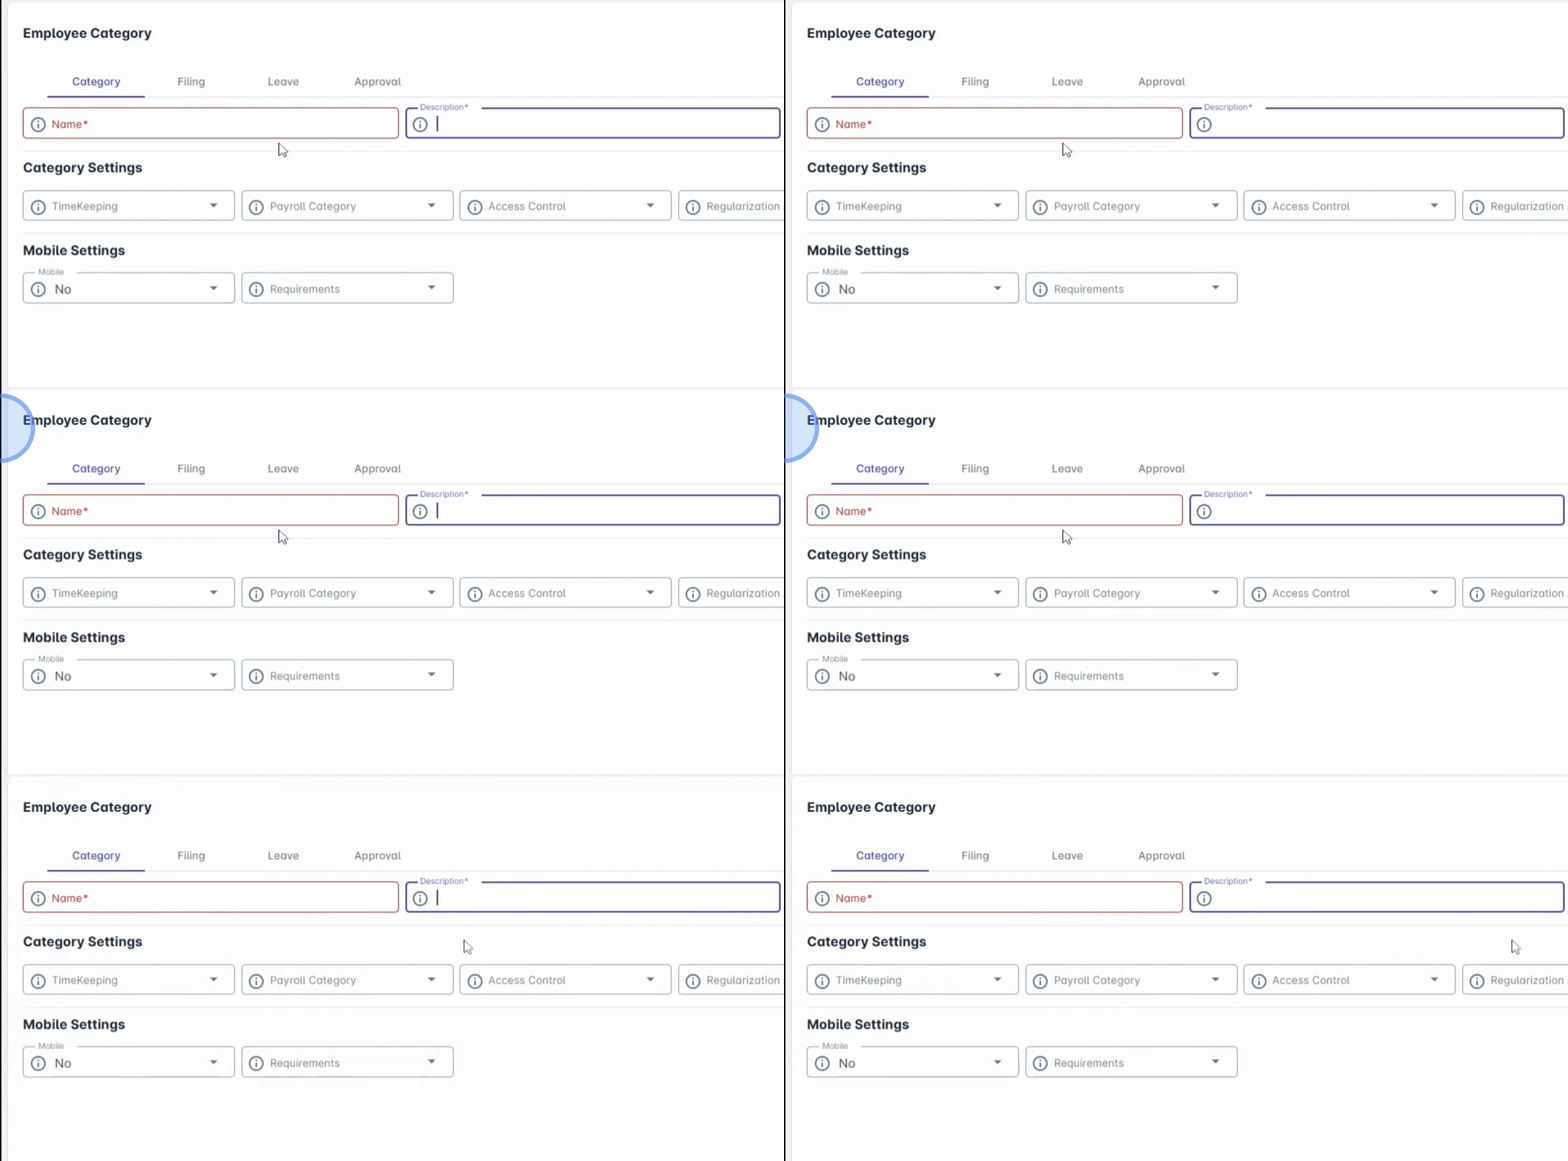
Start the configuration in the Category tab.
5. Enter Category Information
Input the following details:
Employee Category Name
Description
The status is set to Active by default.
6. Define Timekeeping and Payroll Calculation
Set how timekeeping and payroll calculations will be processed for employees under this category.
7. Set Up Access Control
Set the access control to define which features employees under this category can access.
8. Configure Regularization Approval
Under Regularization Approval, you can configure automatic routing for regularization requests. For example, if you set 120 days, employees who reach this period will automatically be routed to their approver's approval queue.
10. Select Holiday Configuration
Choose which holiday calendar will apply to this category:
US Holiday Calendar
Philippine Holiday Calendar
11. Configure Attendance Recording Options
Next, choose the platform employees will use to record their attendance. Available options include:
HR Clock In/Out
Mobile App
Biometric Device
You may enable one or multiple options.
13. Enable the Getting Started Tour
You may enable the Tour feature. This provides a getting started guide that appears when employees log in for the first time.
14. Customize Mobile App Access
Under Mobile Settings, configure employee access to the AanyaHR Mobile App. You can choose to enable or disable mobile app access for employees under this category.
16. Configure Geofencing
To restrict login locations, enable geofencing. This will follow the coordinates setup under company or branch module
17. Allow Offline Logs
Enable Offline Logs so attendance can still be recorded even without internet connection. The logs will automatically sync once the device reconnects.
18. Enable Mobile Dashboard View
You may also enable the Mobile Dashboard View for employees.
19. Manage Additional Requirements
Additional requirements and permissions can also be configured depending on company policies.
20. Enable Filing in the App
Under the Filing section, enable employees to submit requests within the system
21. Grant Payslip Access
Enable Payslip Access so employees can view their payslips in the system.
22. Approve from Mobile
Under Approval, managers can be allowed to approve requests using their mobile devices.
Conclusion
By following these steps, you can successfully set up the Employee Category feature. This allows you to group employees effectively and apply the appropriate payroll, timekeeping, and approval settings based on your organization’s needs.