Let's do it together!
Step 1: Download Template
Download the Employee Information template from the Aja HR system.
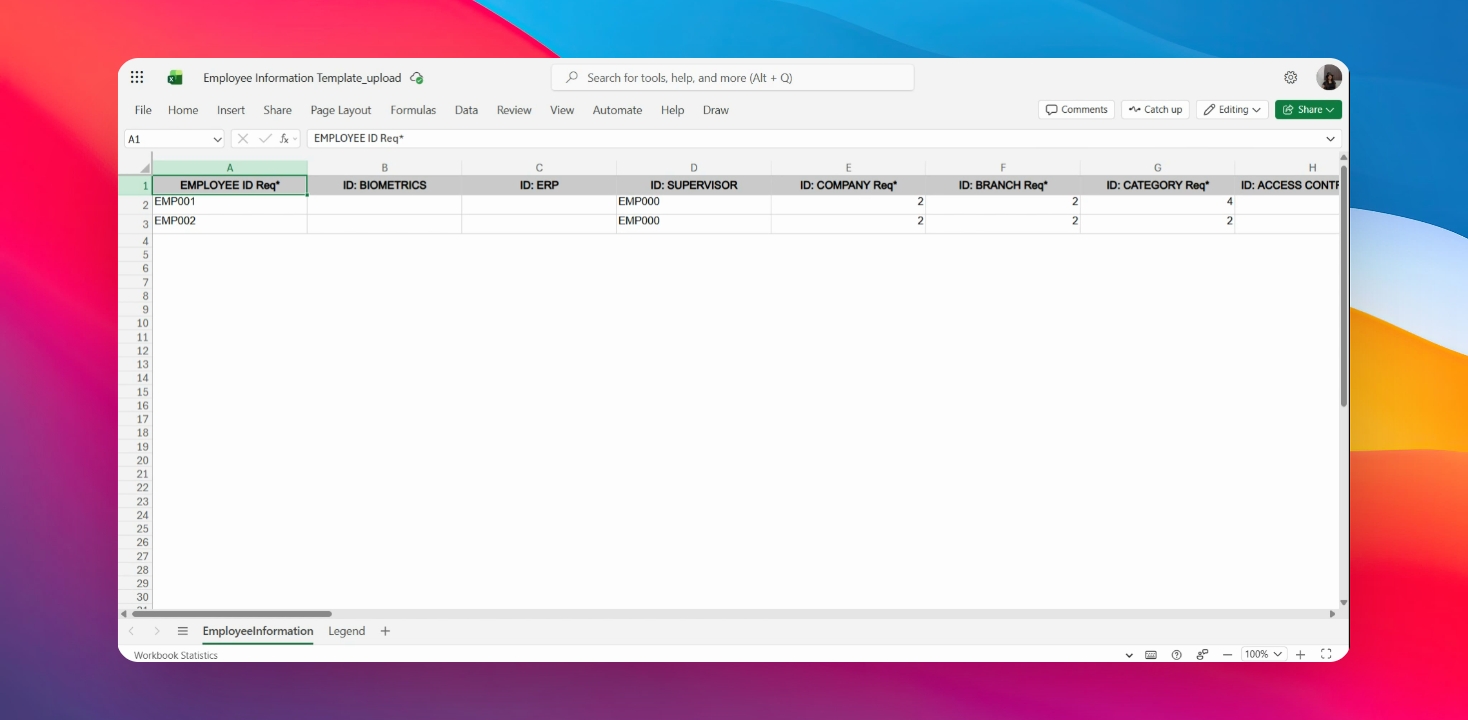
Step 2: Open File
Open the downloaded file using Excel or any compatible spreadsheet application.
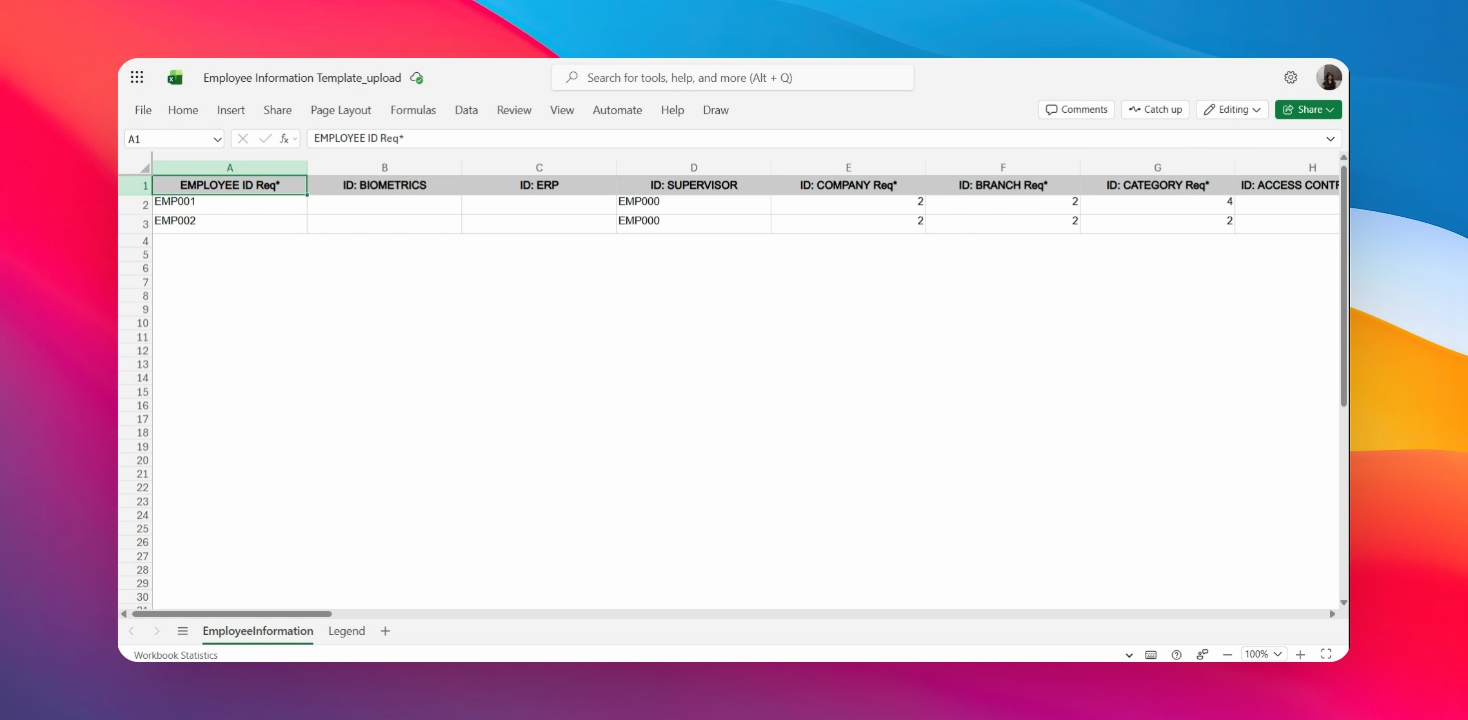
Step 3: Review Required Fields
Identify and complete all required columns in the template, which cannot be left blank.
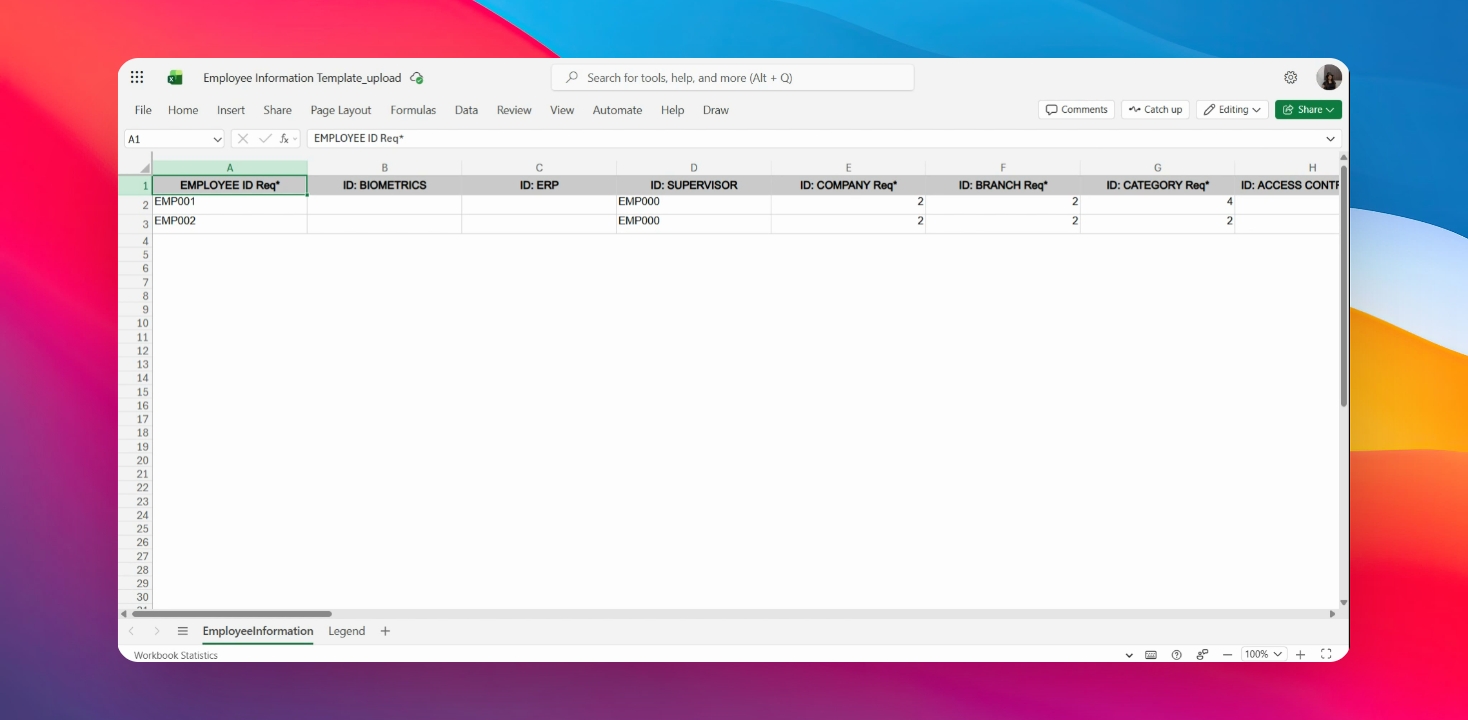
Step 4: Optional Fields
Skip fields that are not marked as required for now; they can be updated later.
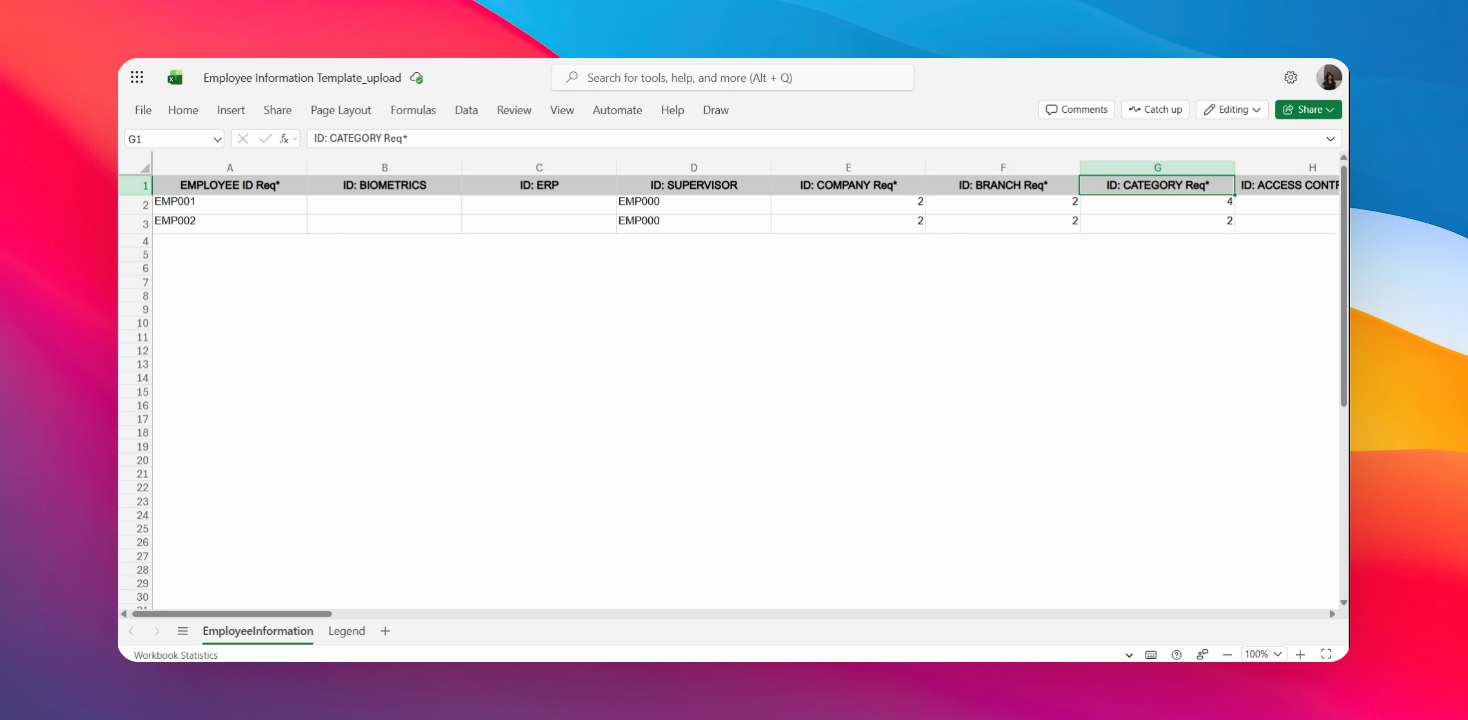
Step 5: Use Legend Sheet
Refer to the legend sheet on the Next tab for guidance on correct values.
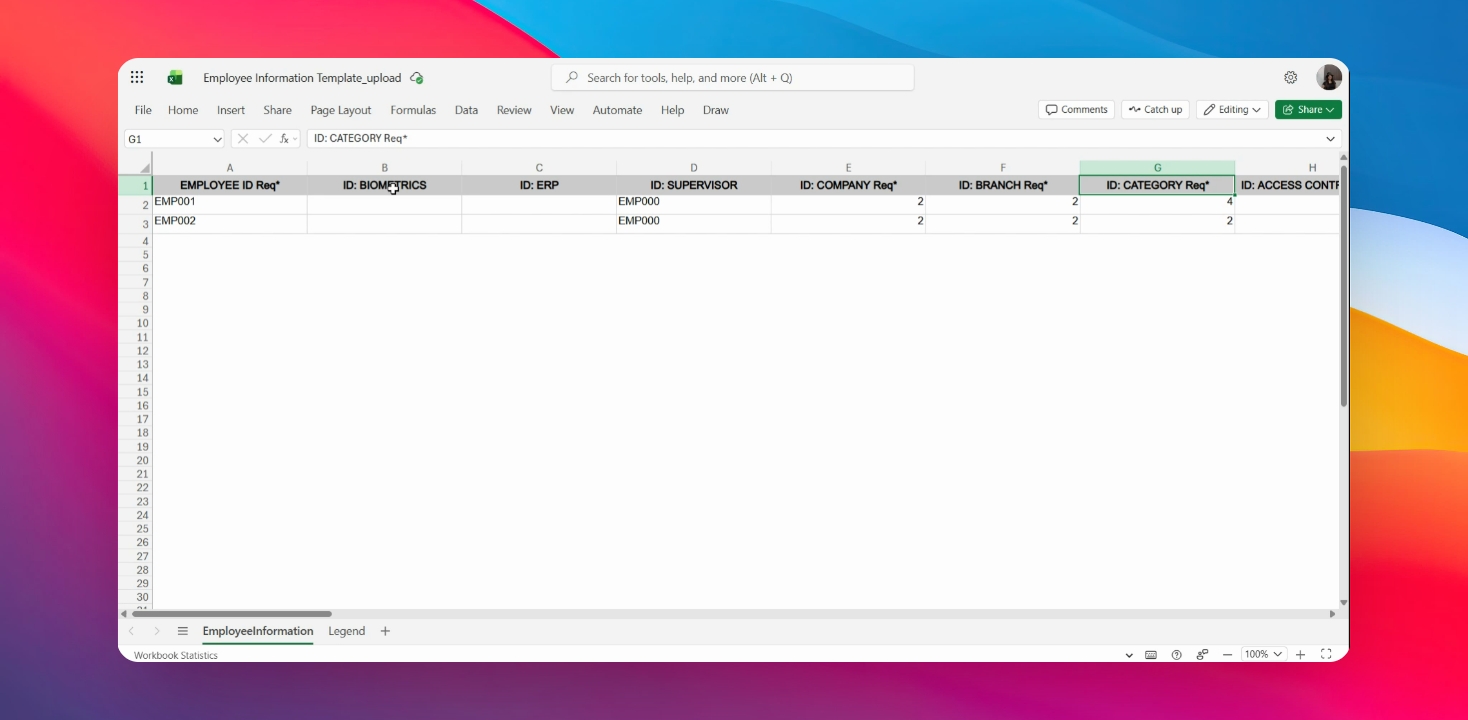
Step 6: Enter Employee ID
Input the employee ID you have already uploaded using the employee upload.
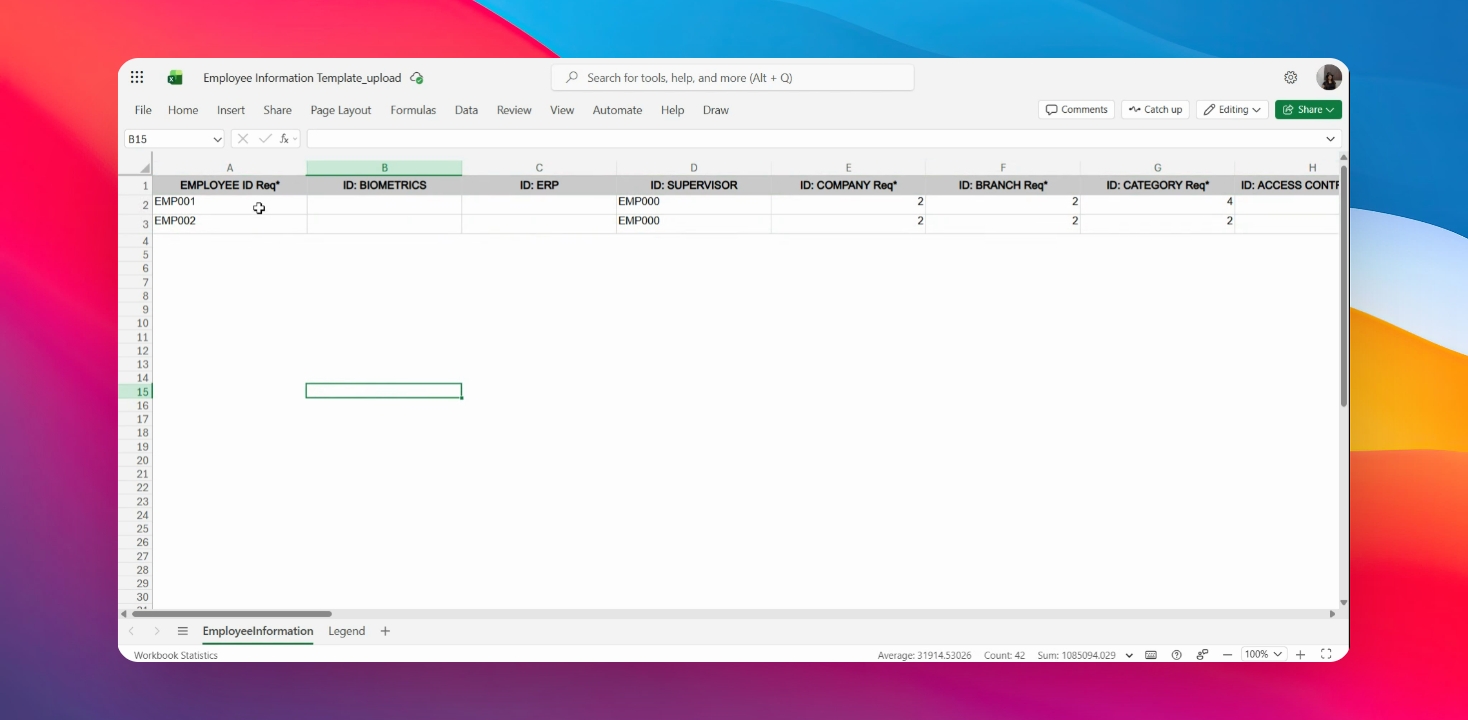
Step 7: Enter Biometrics ID
If applicable, enter the biometrics ID for the employee.
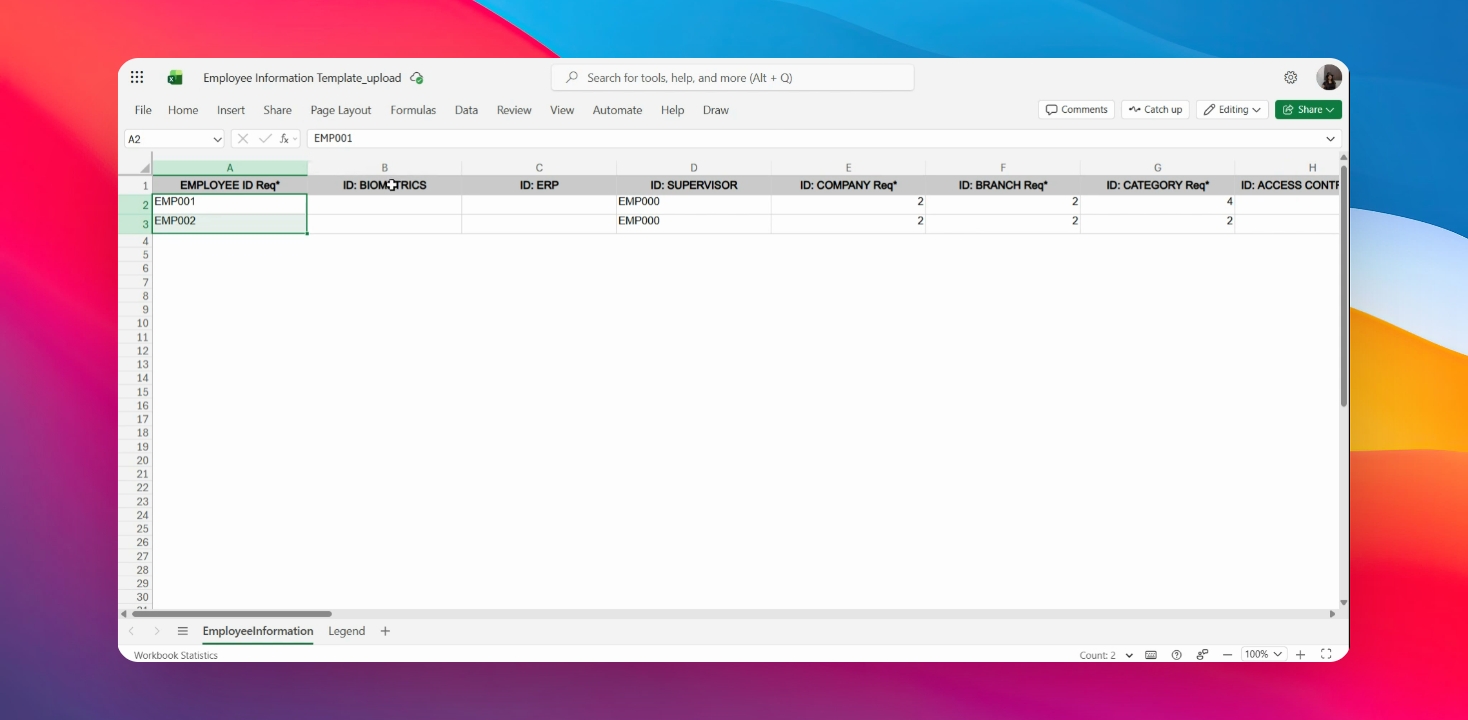
Step 8: Enter ERP
Enter the ERP if you are using it.
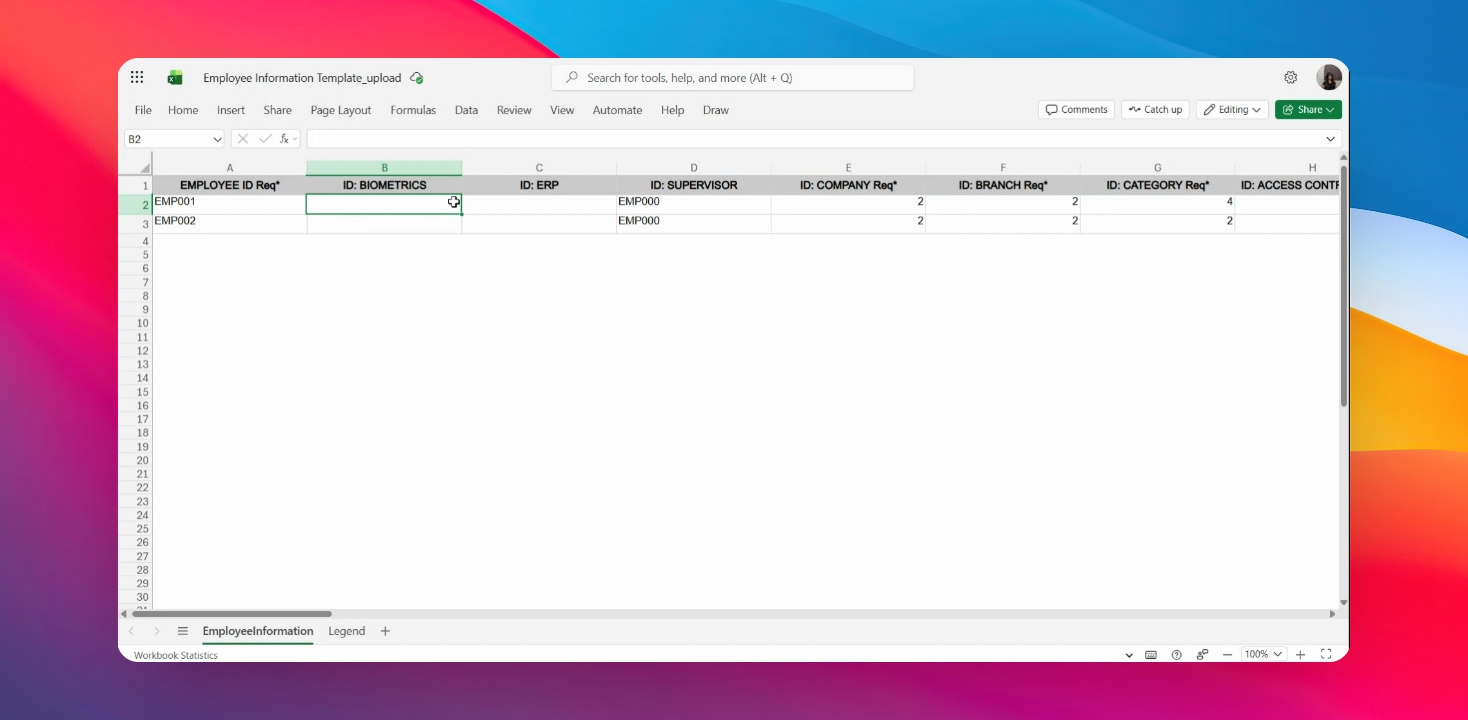
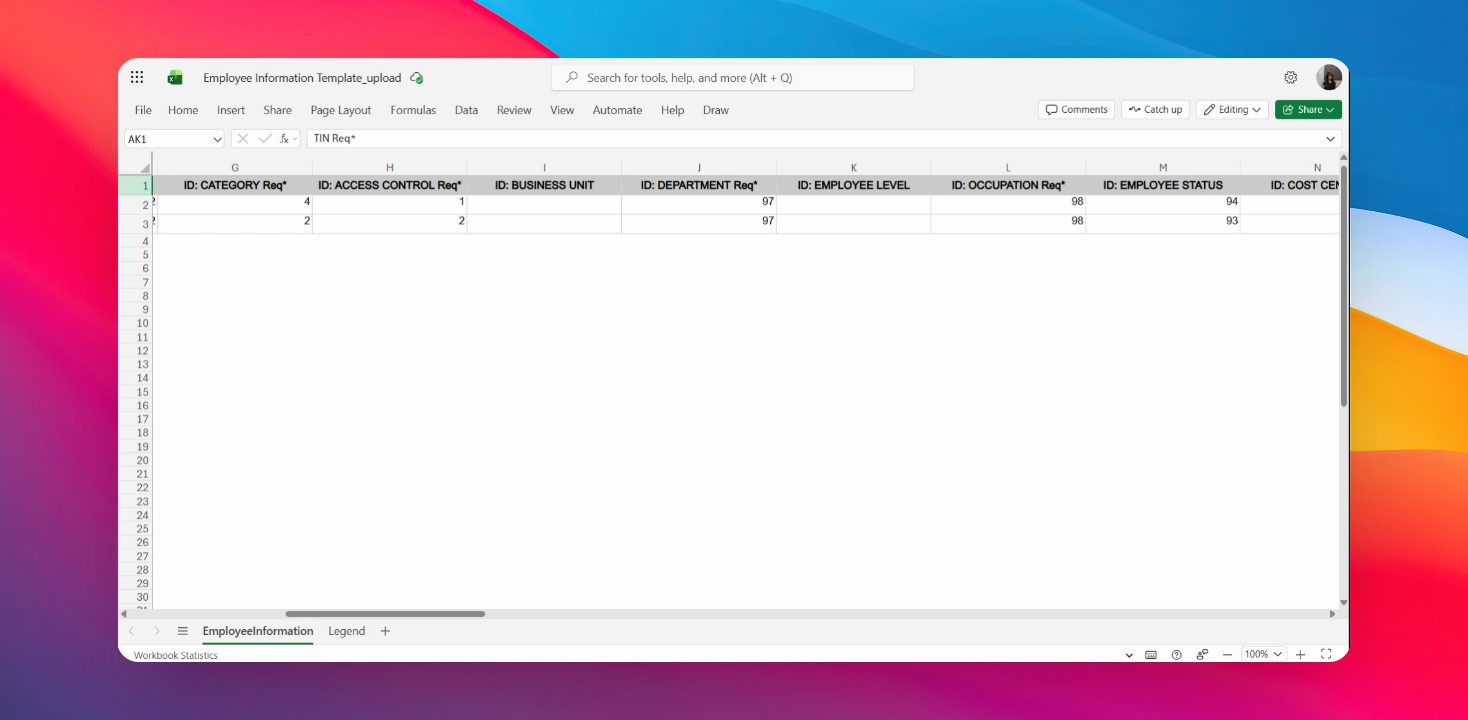
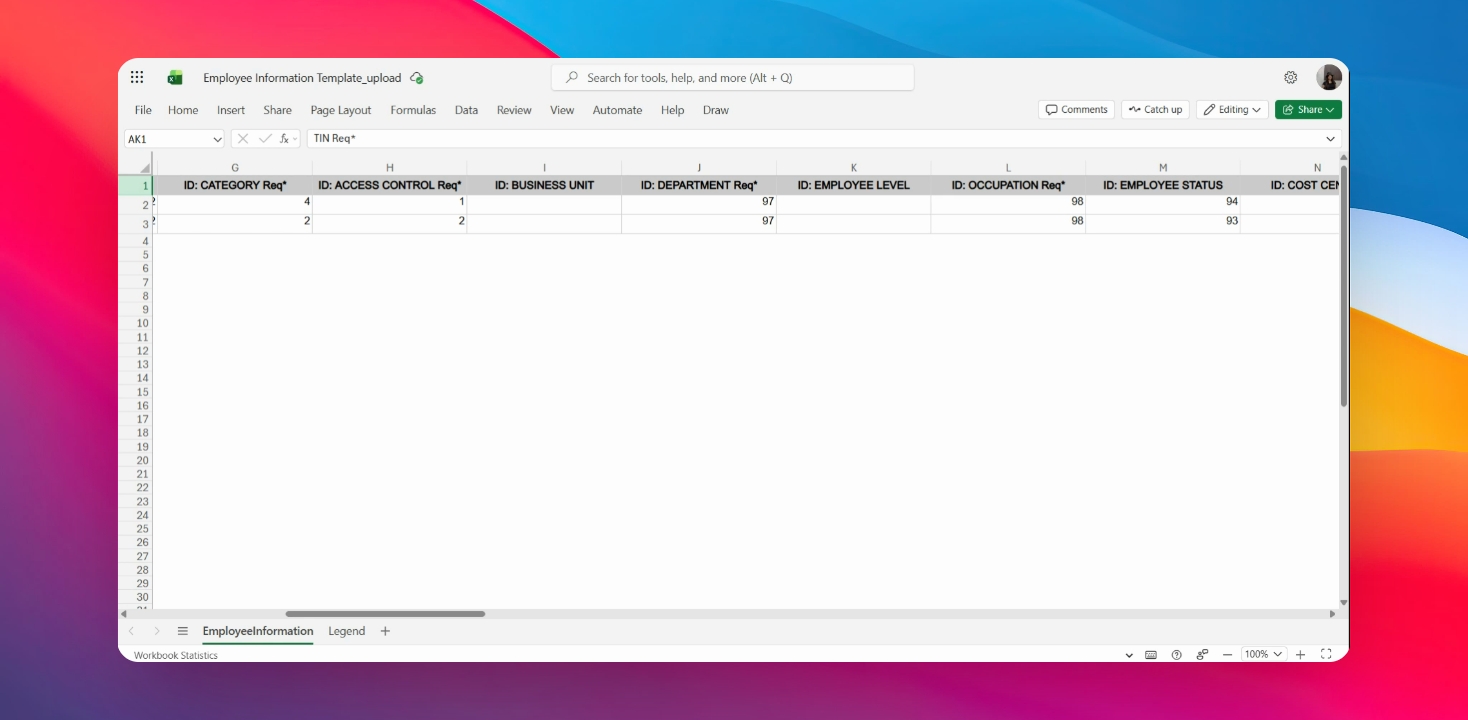
Step 9: Fill Employee Details
Complete the employee details such as supervisor ID, company, branch category, and access control.
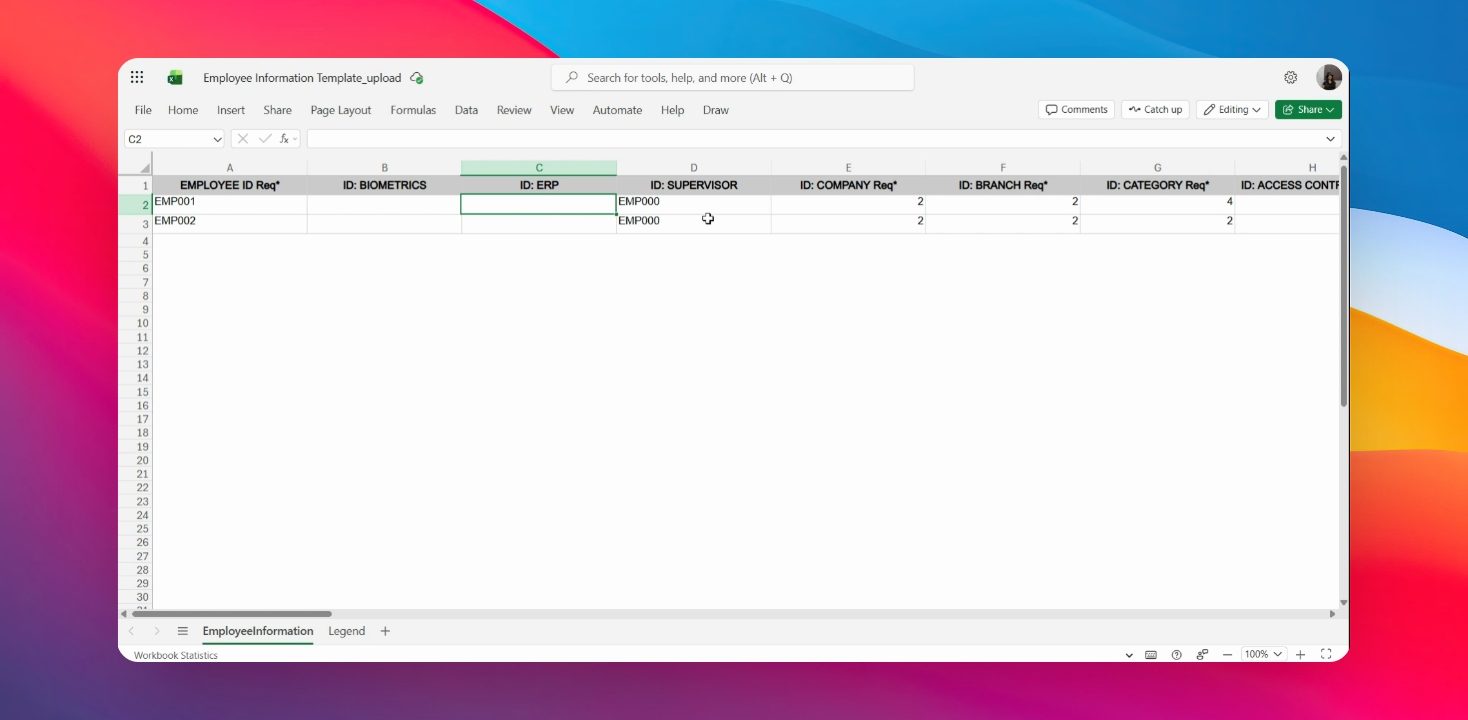
Step 10: Add Business Unit
If available, enter the Business unit and Department information.
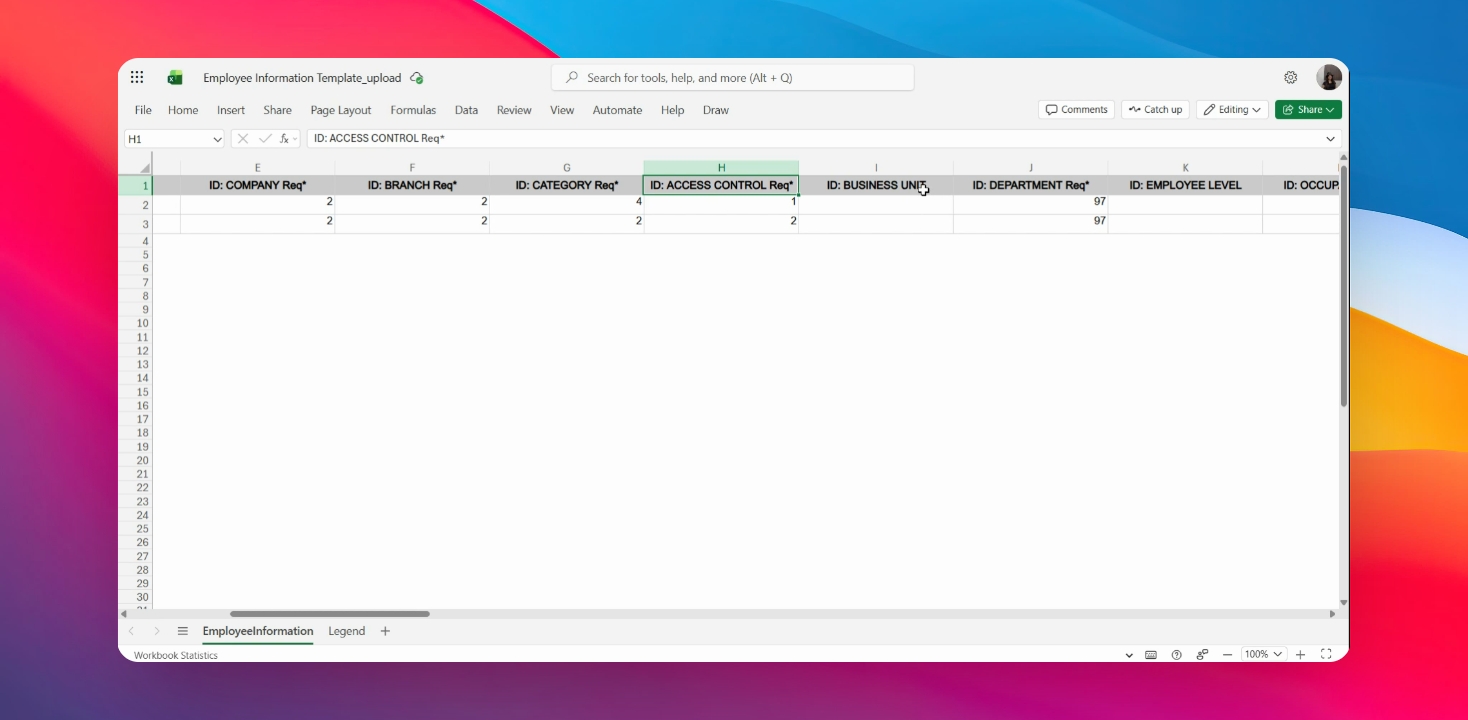
Step 11: Complete Employment Info
Fill in Employee level, occupation, status, cost center, and division.
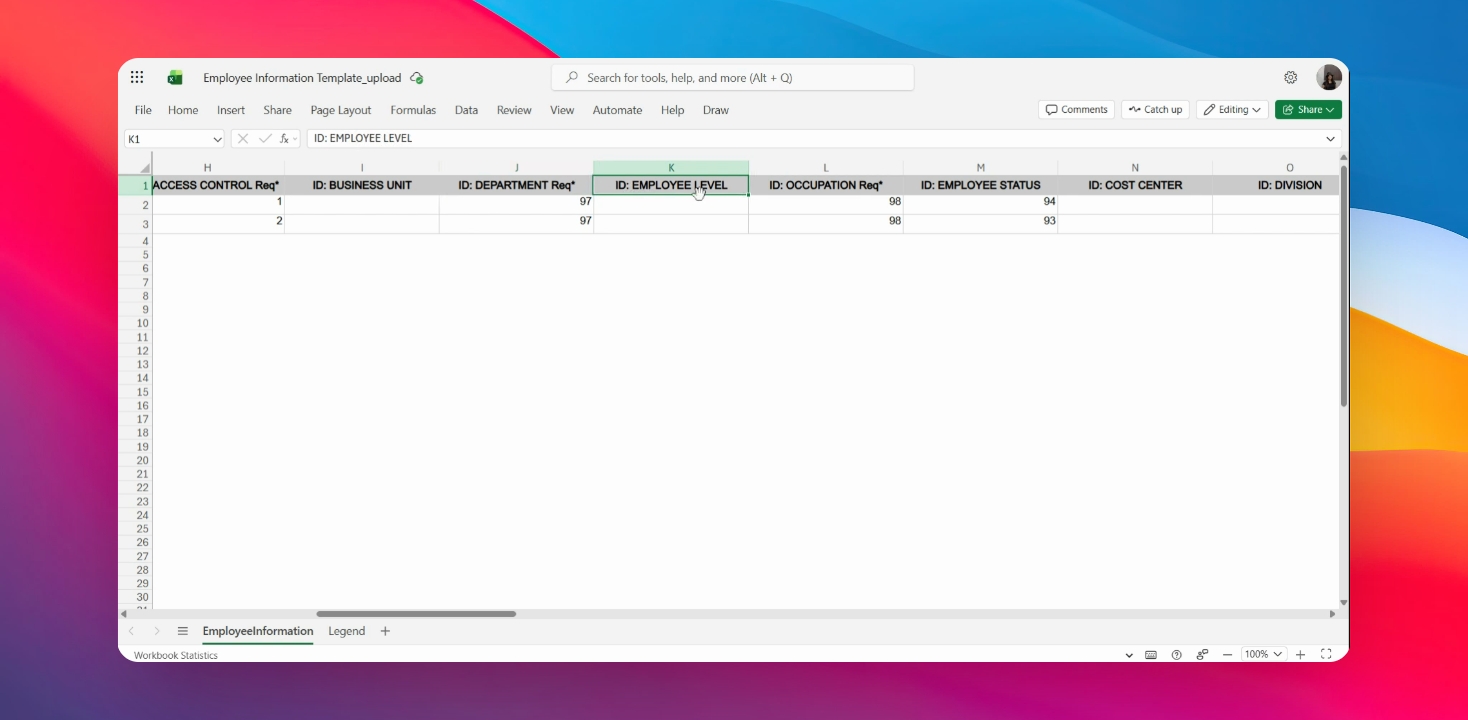
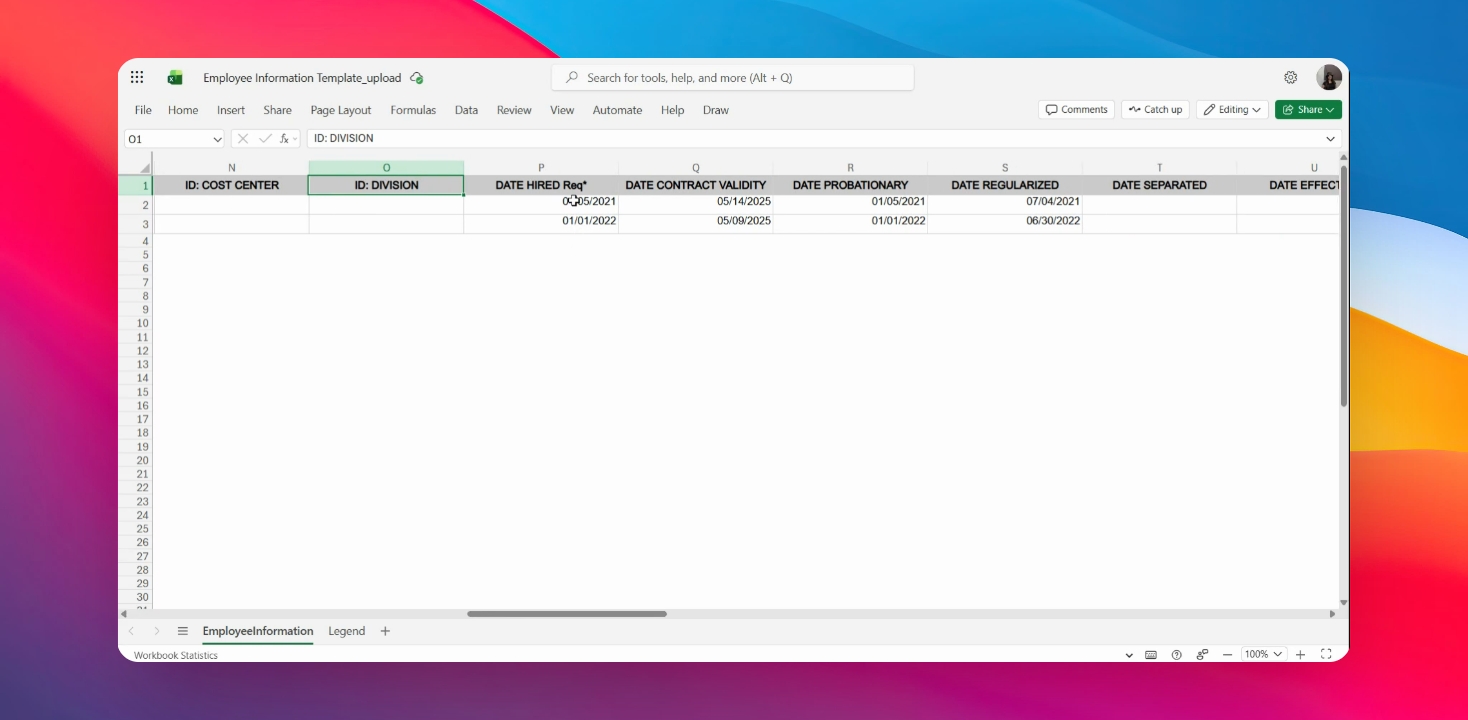
Step 12: Enter Dates
Enter relevant dates such as contract validity, regularized date, and separation date.
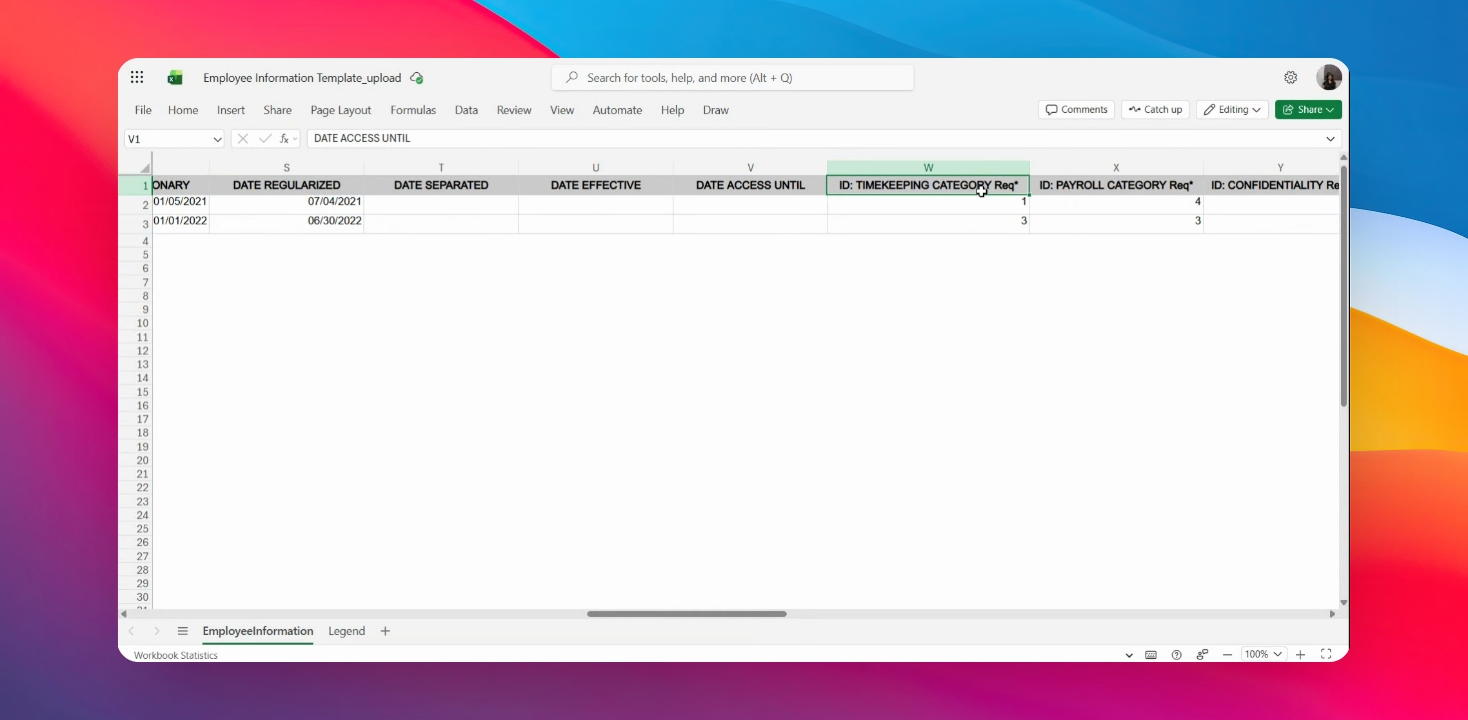
Step 13: Timekeeping and Payroll
Encode the timekeeping calculation and payroll calculation under their respective categories.
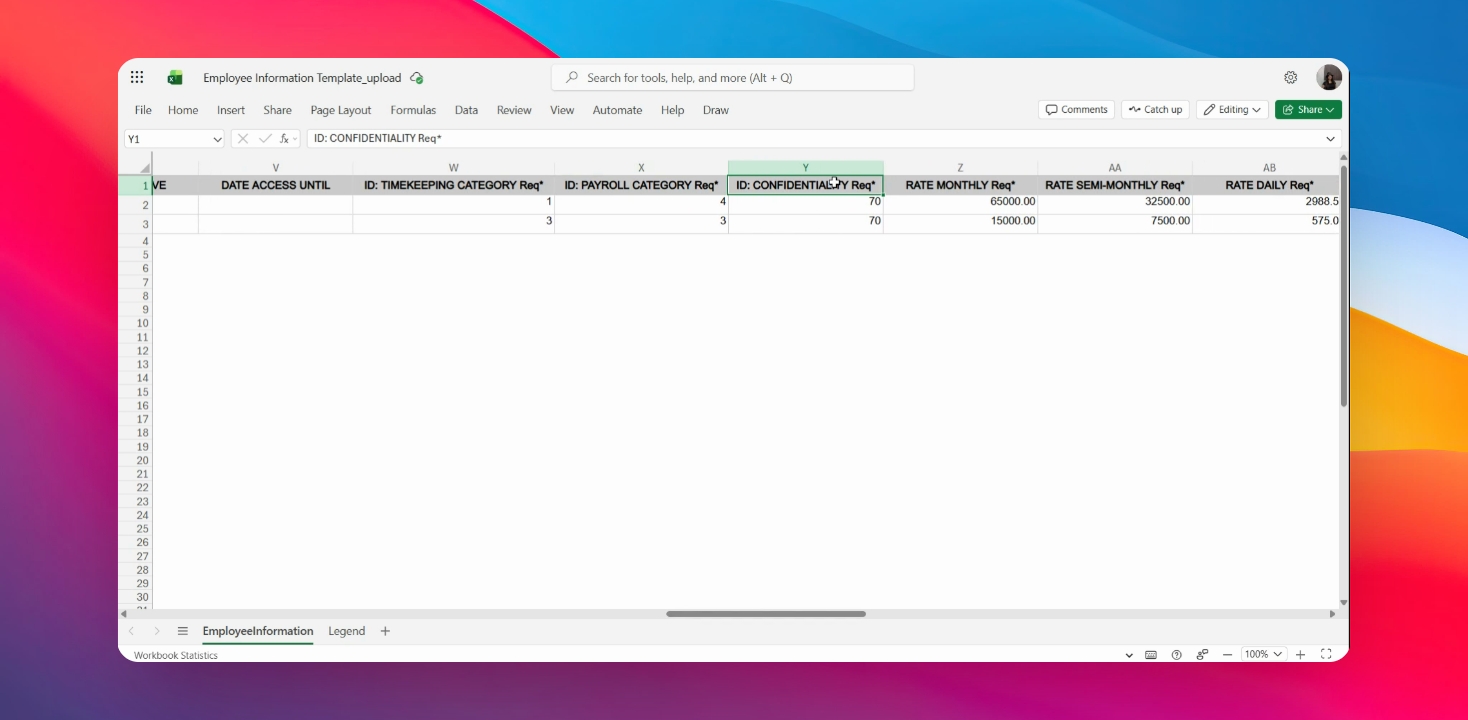
Step 14: Enter Confidentiality
Specify if the employee is confidential or non-confidential and enter salary details.
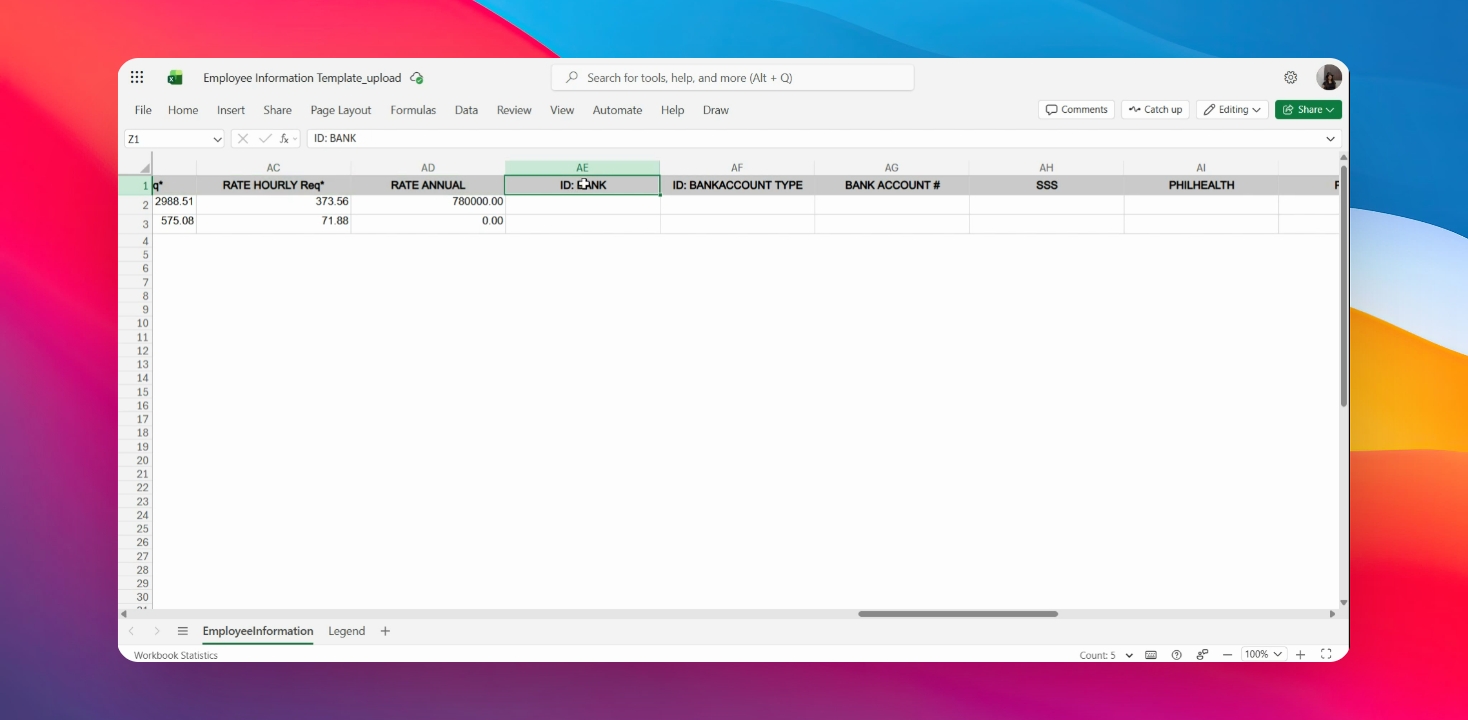
Step 15: Add Bank and IDs
Enter the employee's bank details and government IDs, including TIN.
Step 16: Save Changes
Once all required information is completed, click Save or press Control + S.
Step 17: Upload File
After saving, proceed with uploading the file into the system.