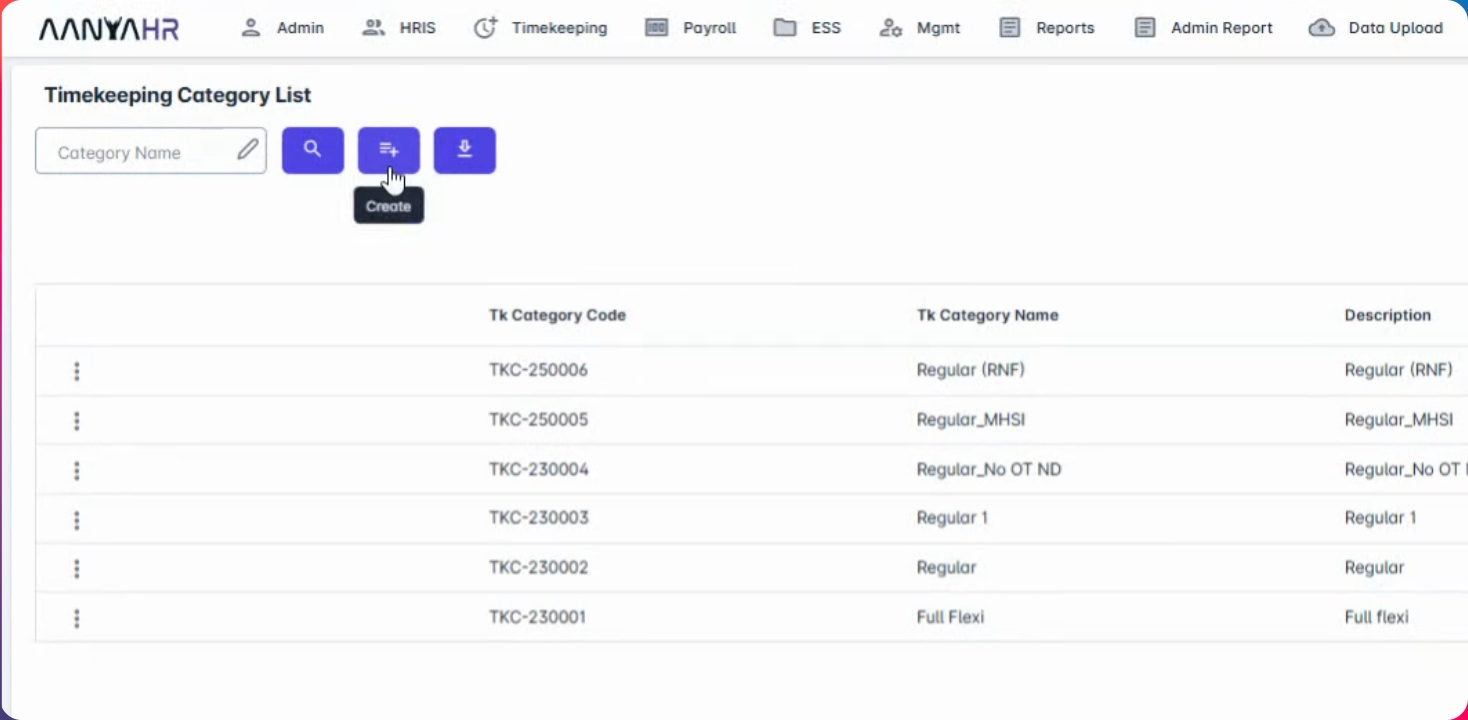
Welcome. Today we will discuss the available setups on timekeeping in HR. Let's look at the steps:
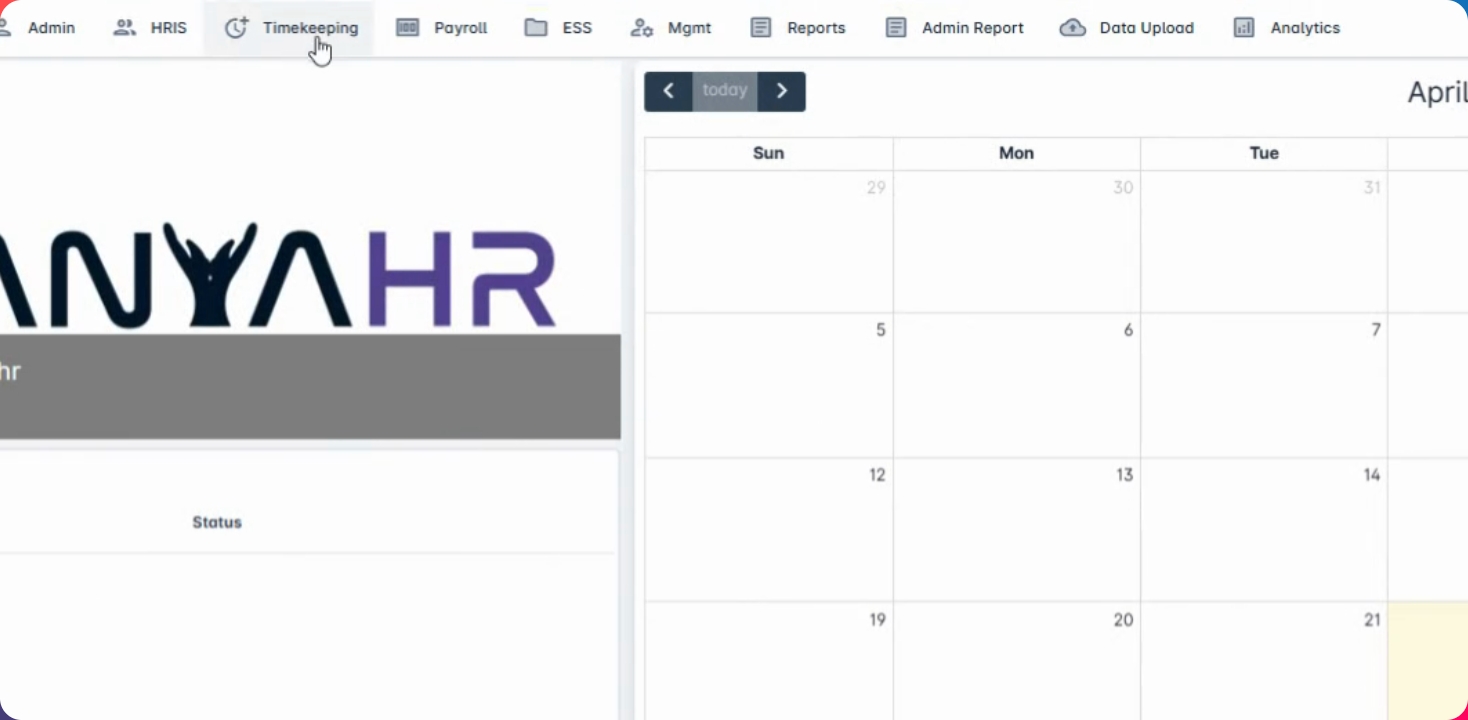
Step 1: Navigate to Timekeeping
To begin, navigate to timekeeping and go to the timekeeping category for schedule hours. Here, you will find available settings for C Suites, commonly used for CEOs and higher positions.
The C Suite setup means that employees are not required to clock in and out to calculate their timekeeping. It will automatically be processed for flexi hours, meaning you have no defined schedule for that day but have required working hours to complete.
Step 2: Set Up Partial Flexi
Next is the partial flexi option, where you have an allowable hour to clock in. For example, if your schedule is from 8 to 5, you may have a clock-in allowance of one hour. If you clock in at 9 o'clock, there will be no late calculation, but if you clock in at 9:01 AM, it will count as late.
Step 3: Configure Regular Shift
Next is the regular shift, which is the most basic setup for a regular schedule. If you select C Suite, it will reflect in your scheduled hours without calculating as absent since you are automatically considered present.
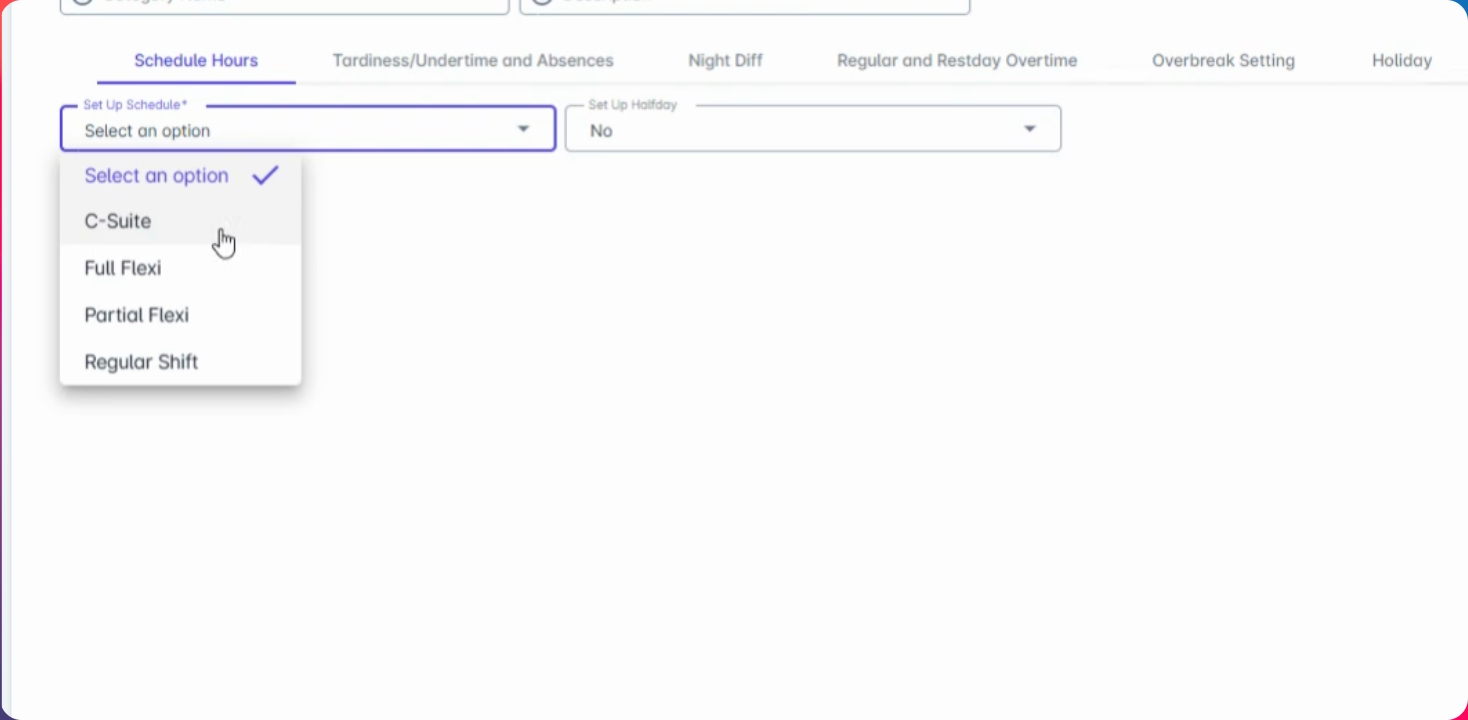
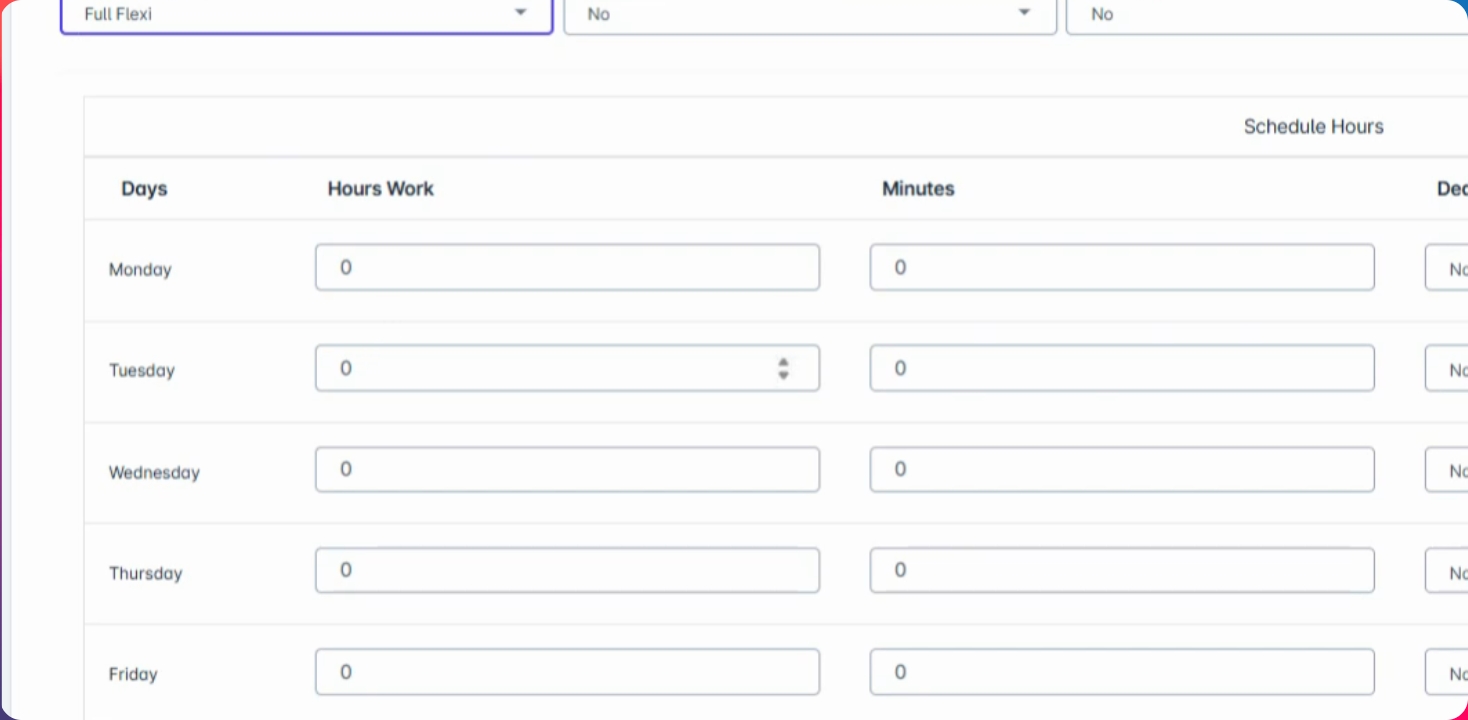
For full flexi, you will enter the allowed working hours that need to be completed. The partial flexi will include the allowable hour to clock in and any hours allowed before or after your schedule.
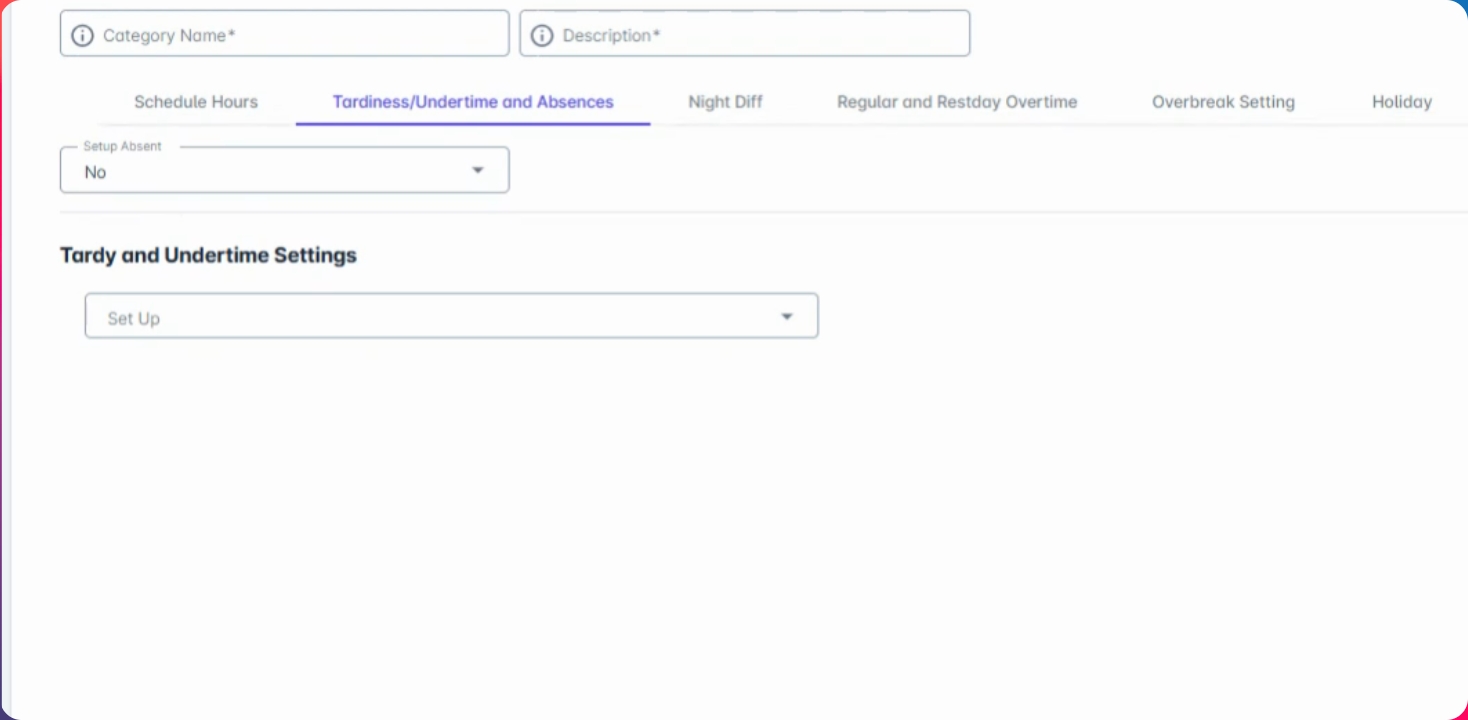
Step 4: Set Up Tardiness and Undertime
Next, we have settings for tardiness and undertime. If the employee group doesn't have tardiness, you can select applicable settings. All calculated tardiness and undertime will be reflected in one column.
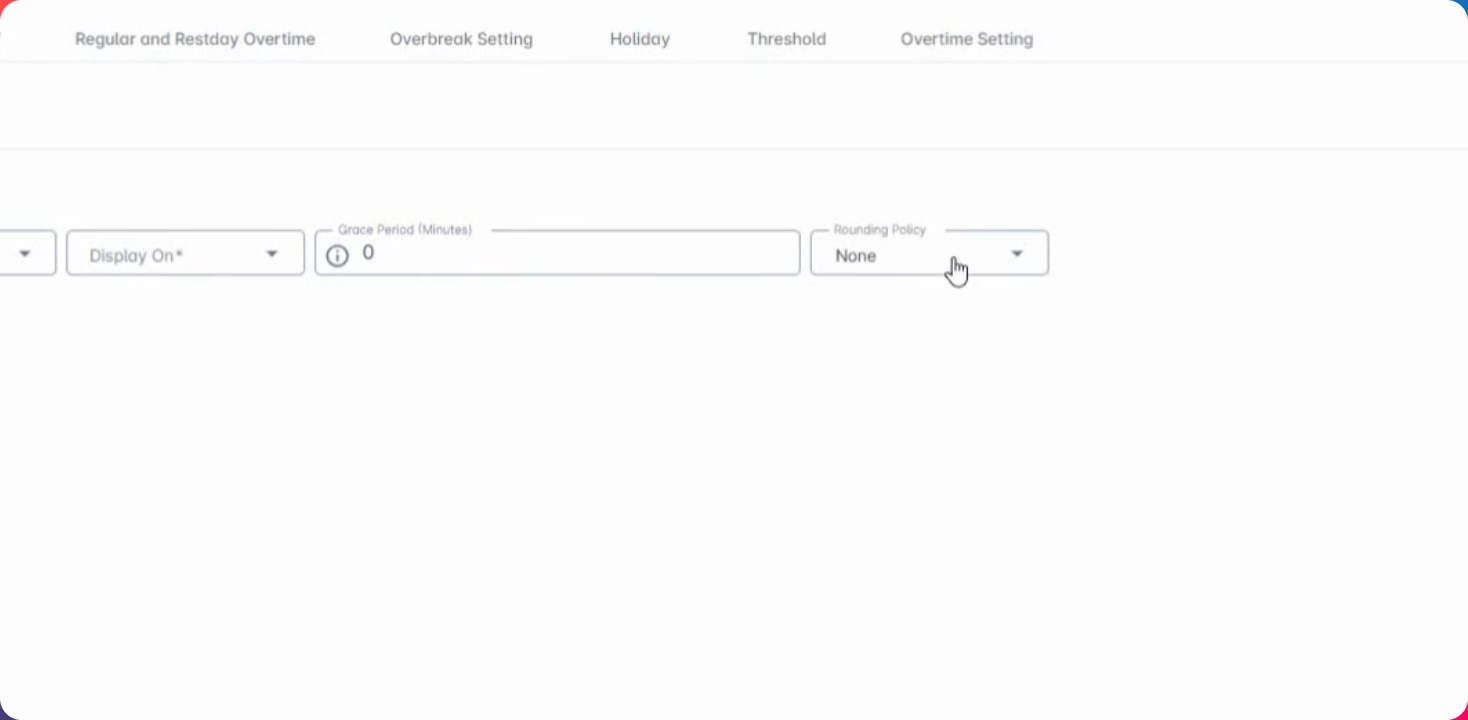
Step 5: Configure Rounding Policy
You also have a rounding policy option for calculations. Enter time for tardiness settings and adjust the decrease period for these calculations.
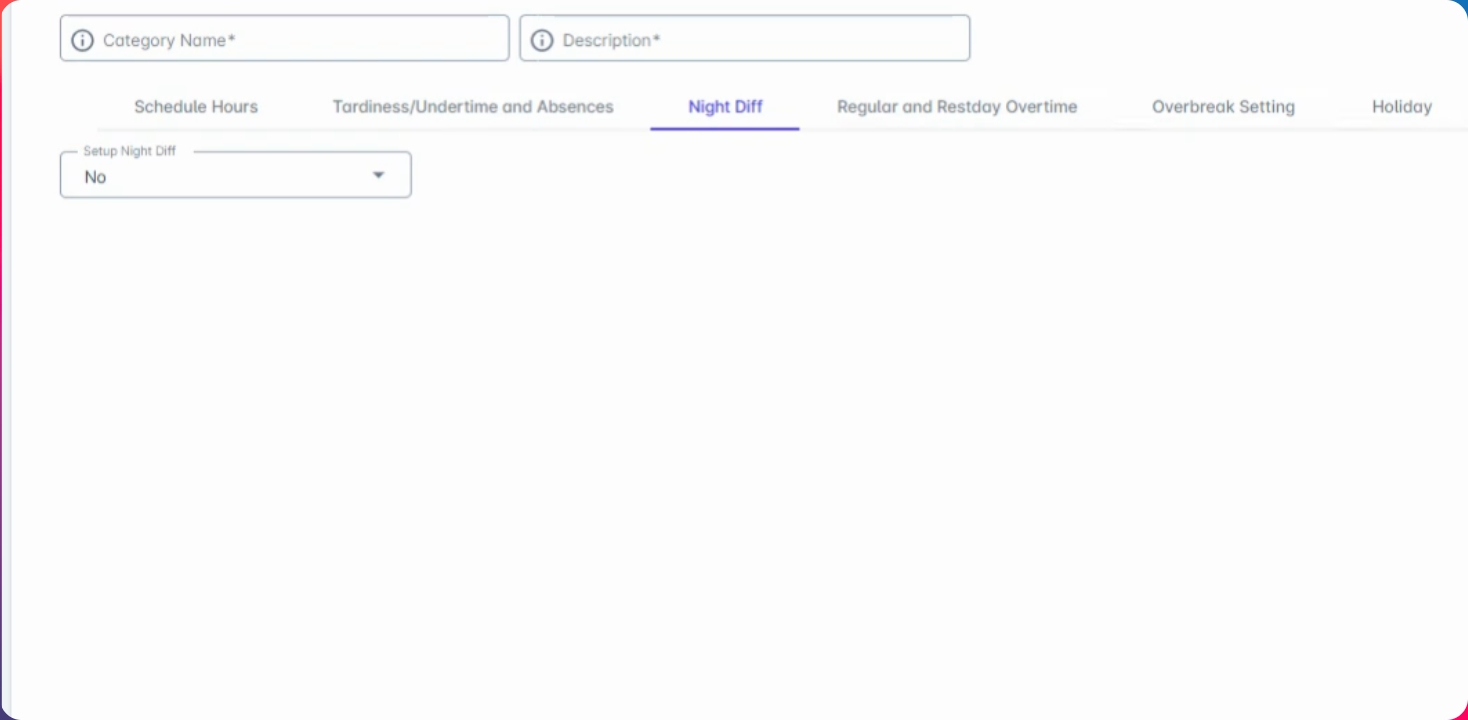
Step 6: Manage Night Shift Settings
You can disable night differential if your timekeeping does not allow for night leave. If allowed, there will be default night sleep hours which can be modified.
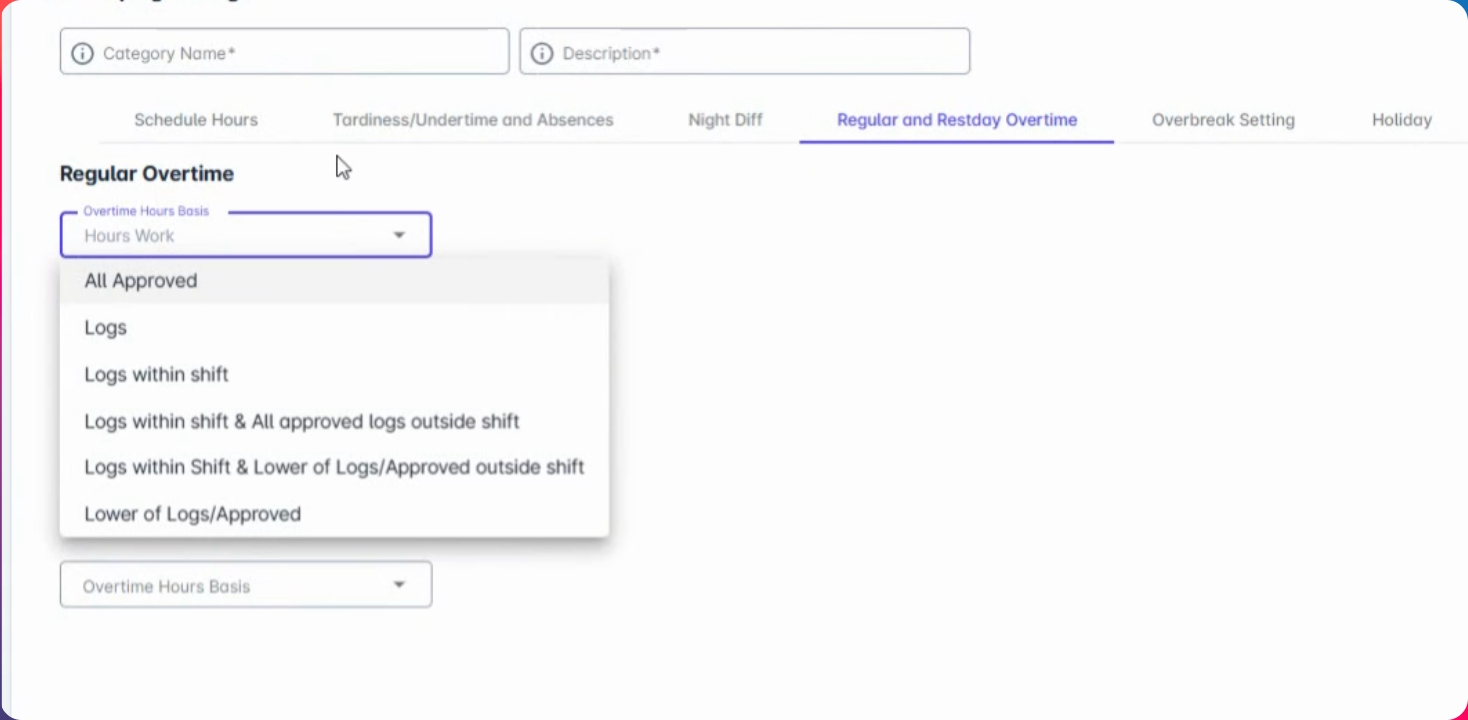
Step 7: Set Up Overtime and Rest Day
For overtime and rest day settings, there are six applicable settings which are all approved based on your approved logs. No filing is required, but calculations will be based on your logs within the shift.
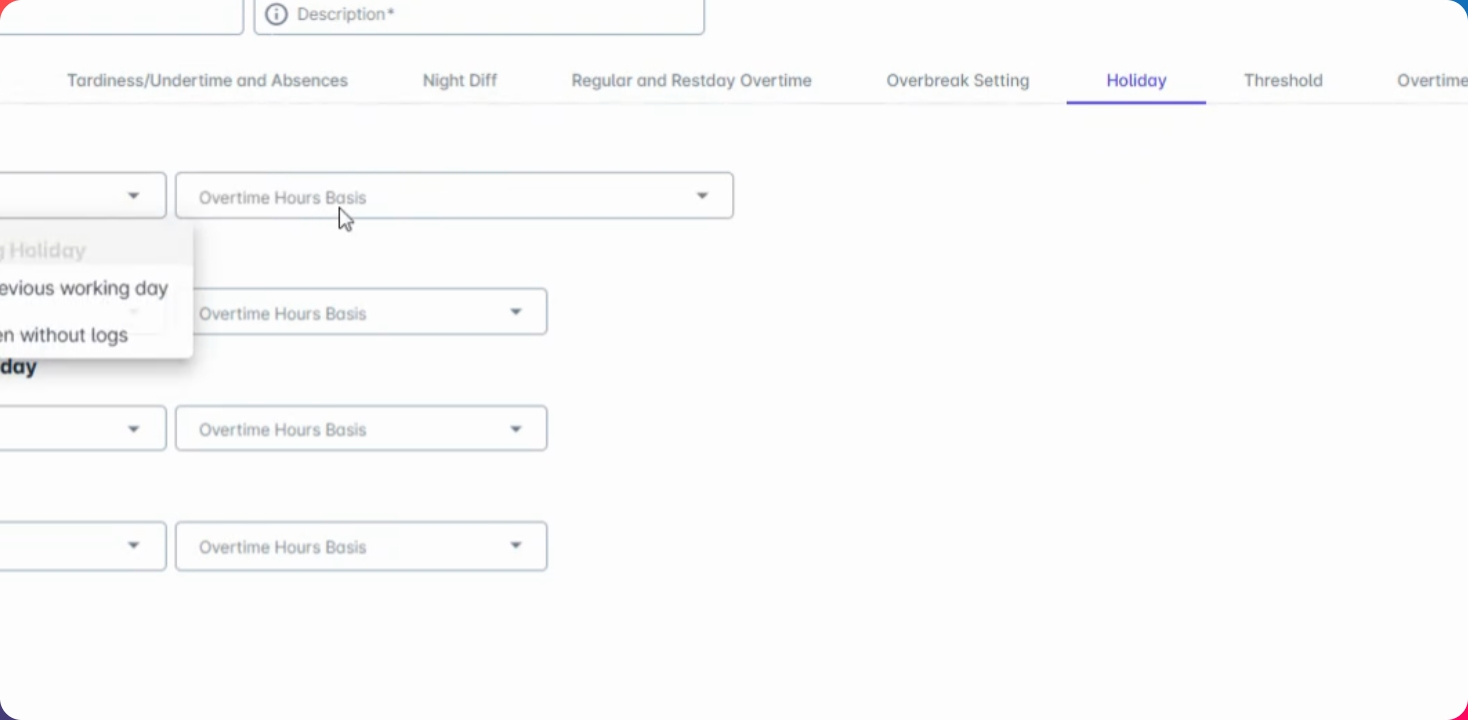
Step 8: Address Holiday Setup
We have three rules for holidays: no work, no pay; holiday calculations based on filed leave; and regular rate pay without lunch. Regardless of blocks, you will receive 100% pay for the holiday.
Step 9: Finalize Overtime Settings
The calculation of holiday will be based on your overtime settings. All hours rendered outside your shift will not be calculated unless filed appropriately.