

Pre-approved overtime allows administrators to authorize overtime hours in advance based on a specified duration.
Step 1: Go to Pre Approved Overtime
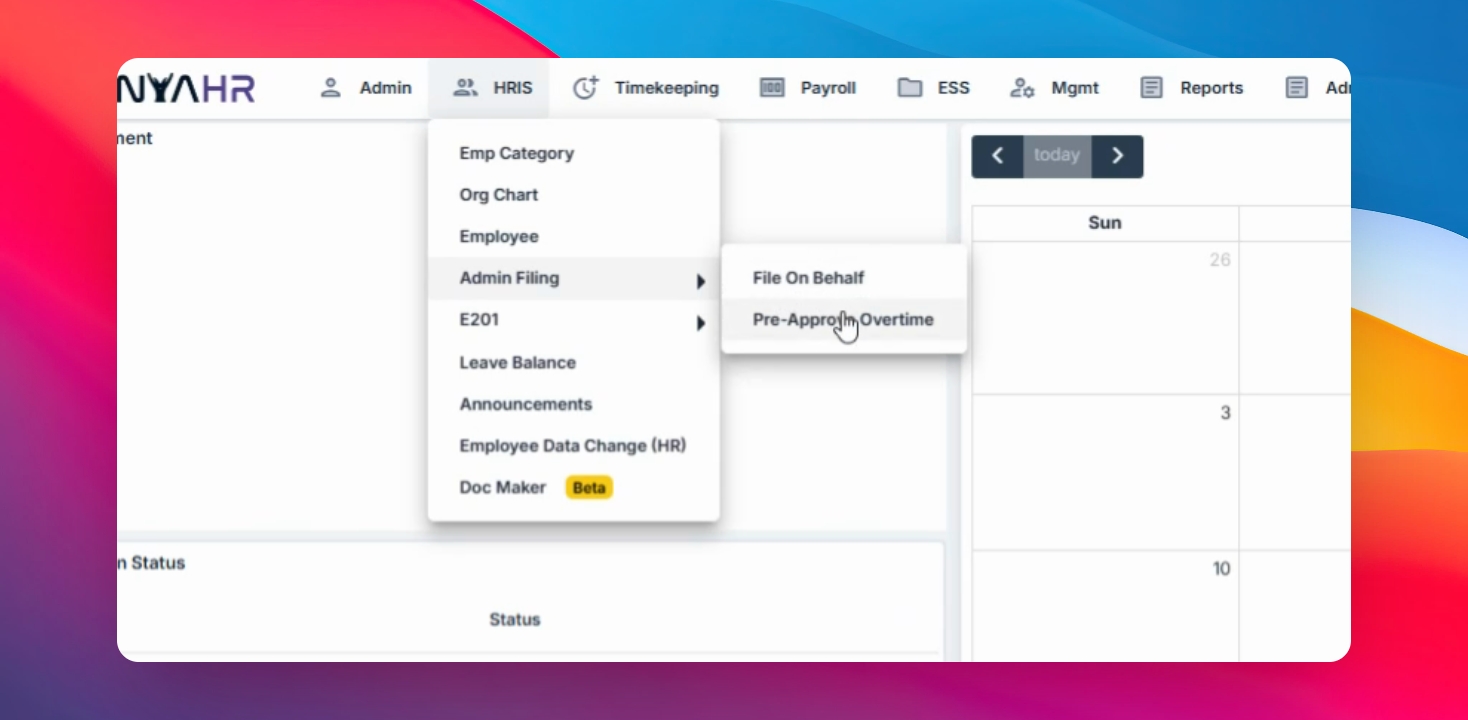
Navigate to HRIS, select Admin Filing, and then choose pre approve Overtime.
Step 2: Create a New Overtime Entry
Click the Create button and select the date range for the pre-approved overtime.
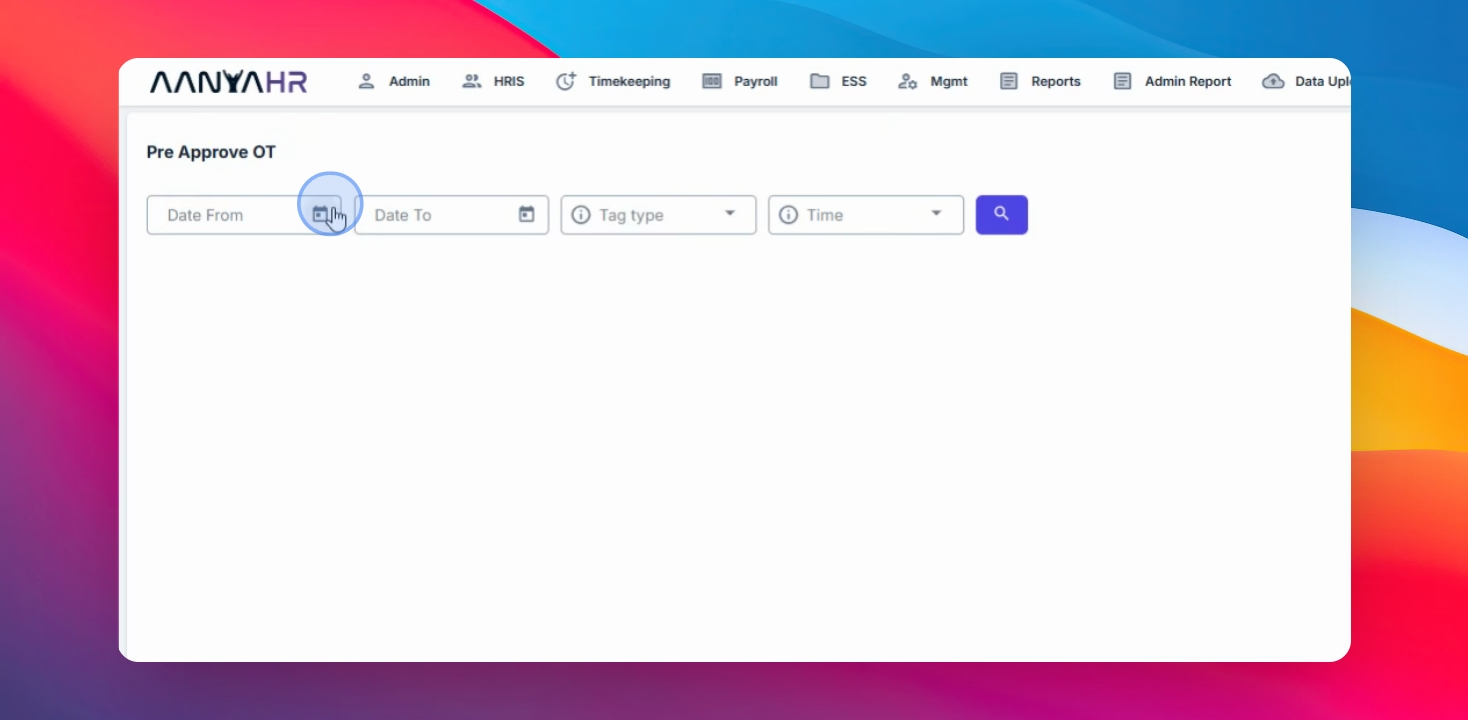
Step 3: Choose Date Range
Choose how the overtime schedule will be applied:
Date Range
Specific Date
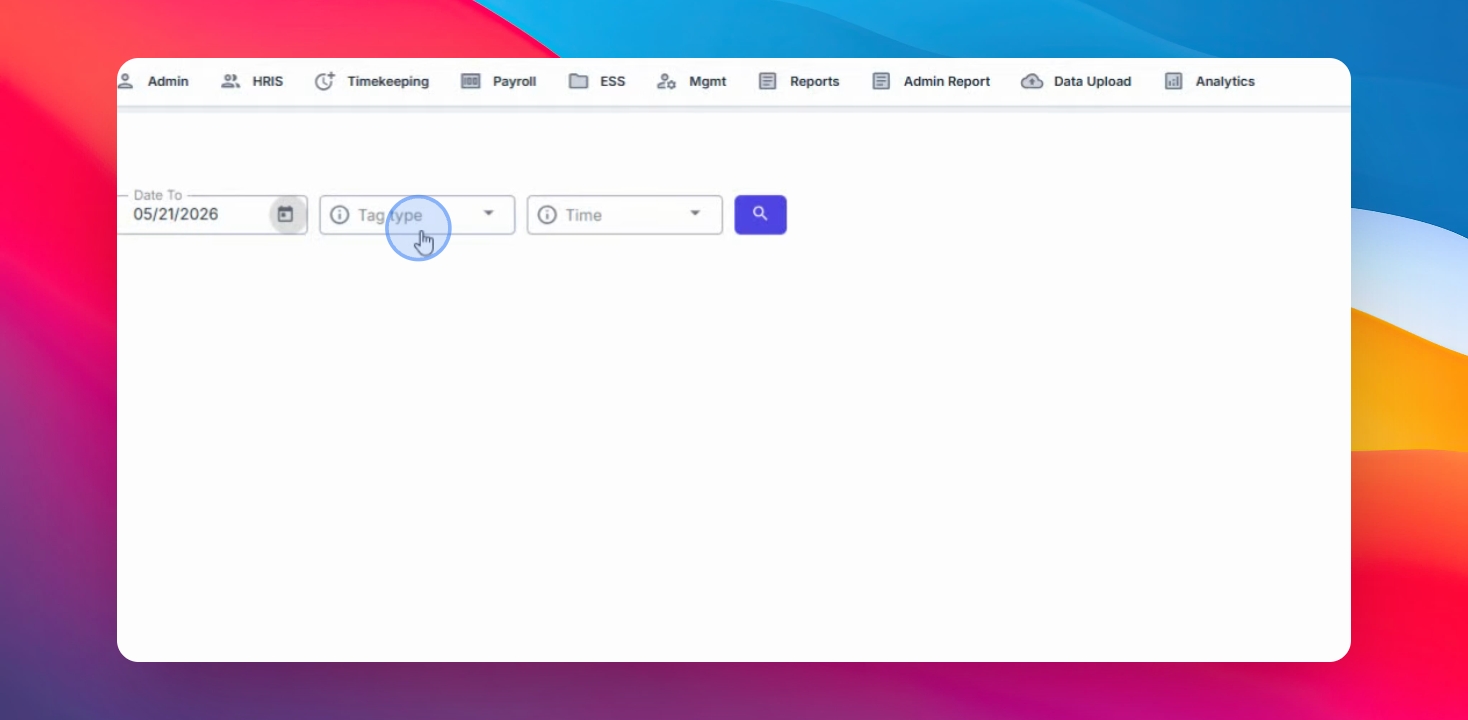
Step 4: Filter Employees by Tag Type
Use a tag type to filter employees easily.
Step 5: Select the Employee
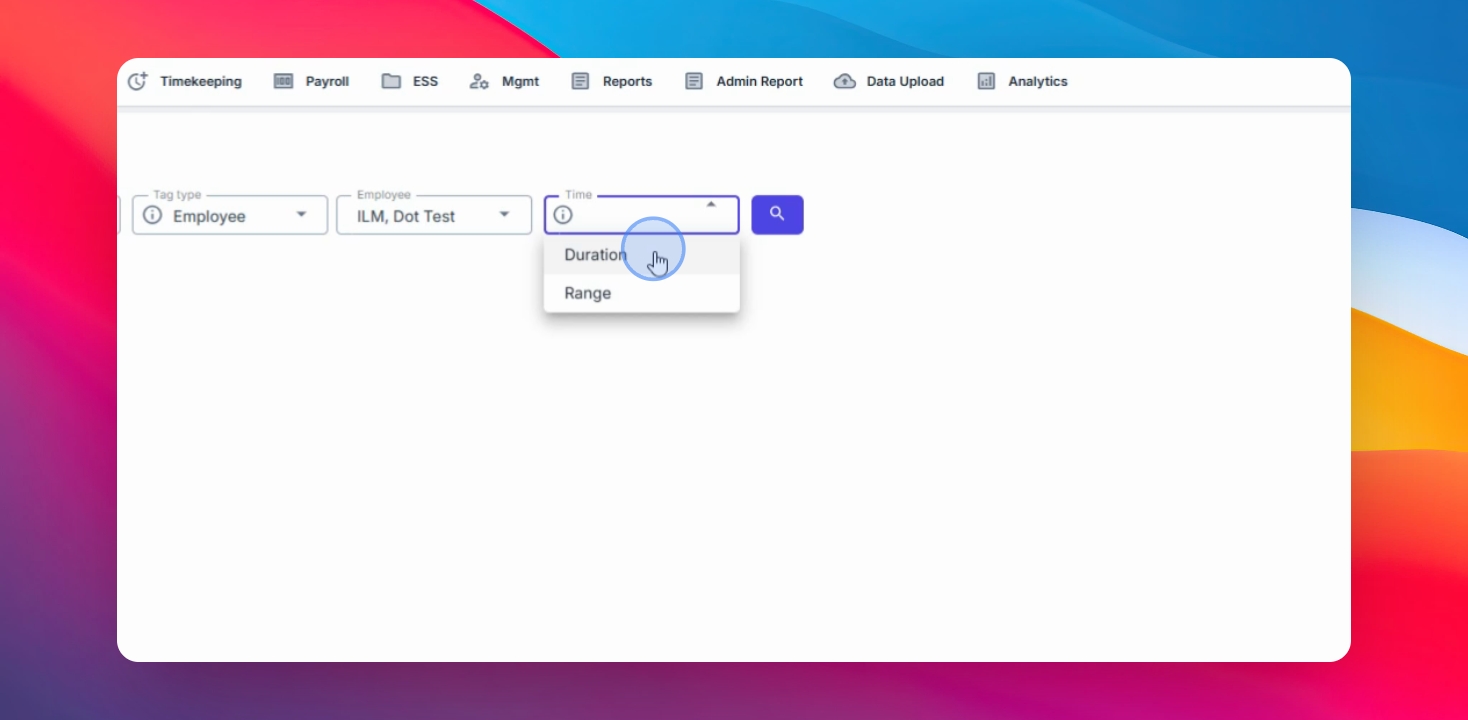
Choose Employee as the Tag Type, then select the employee for whom the overtime will be created.

Step 6: Set the Overtime Duration
Begin by specifying the Duration for the overtime.
Step 7: Search for Employee
Click the search button to proceed.
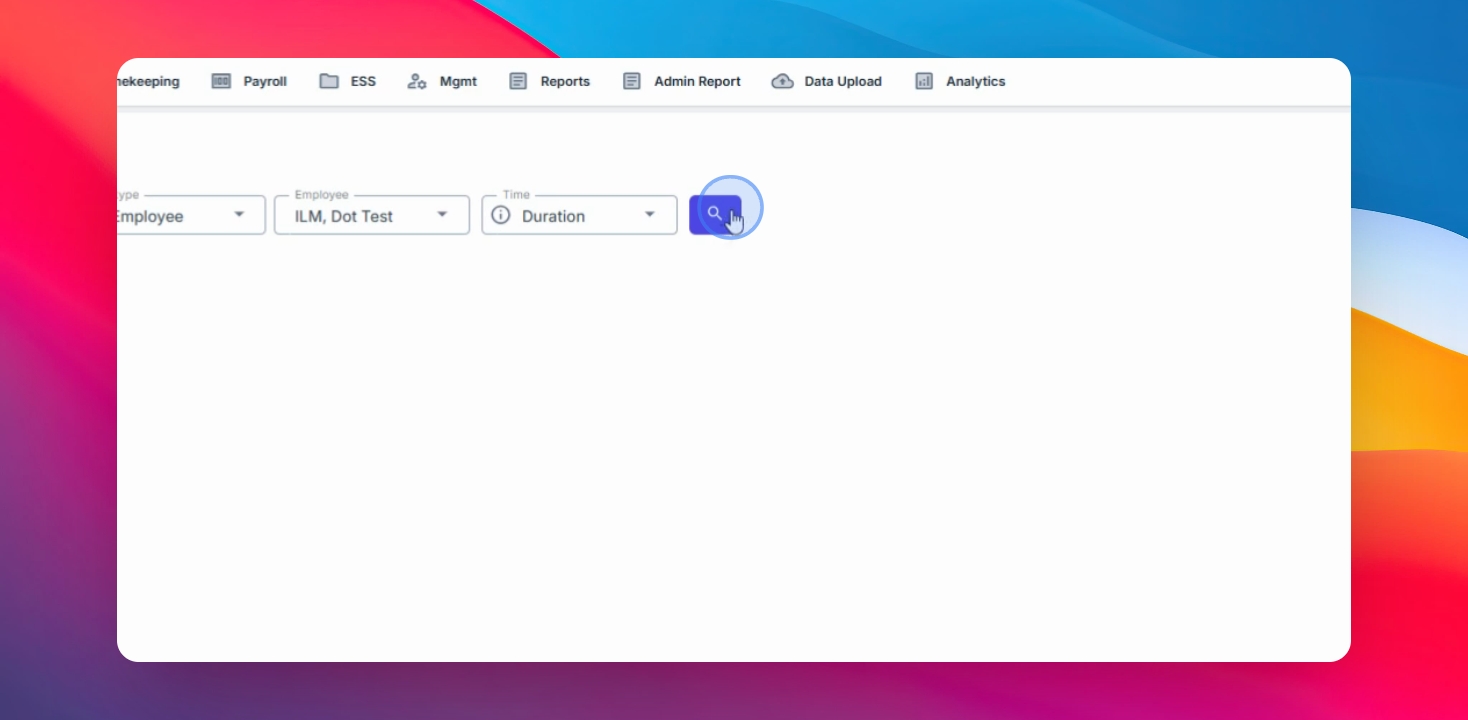
Step 8: Fill Out Overtime Details
Complete the required fields:
Type: Choose offset or paid
OT Type: Select pre overtime or post overtime
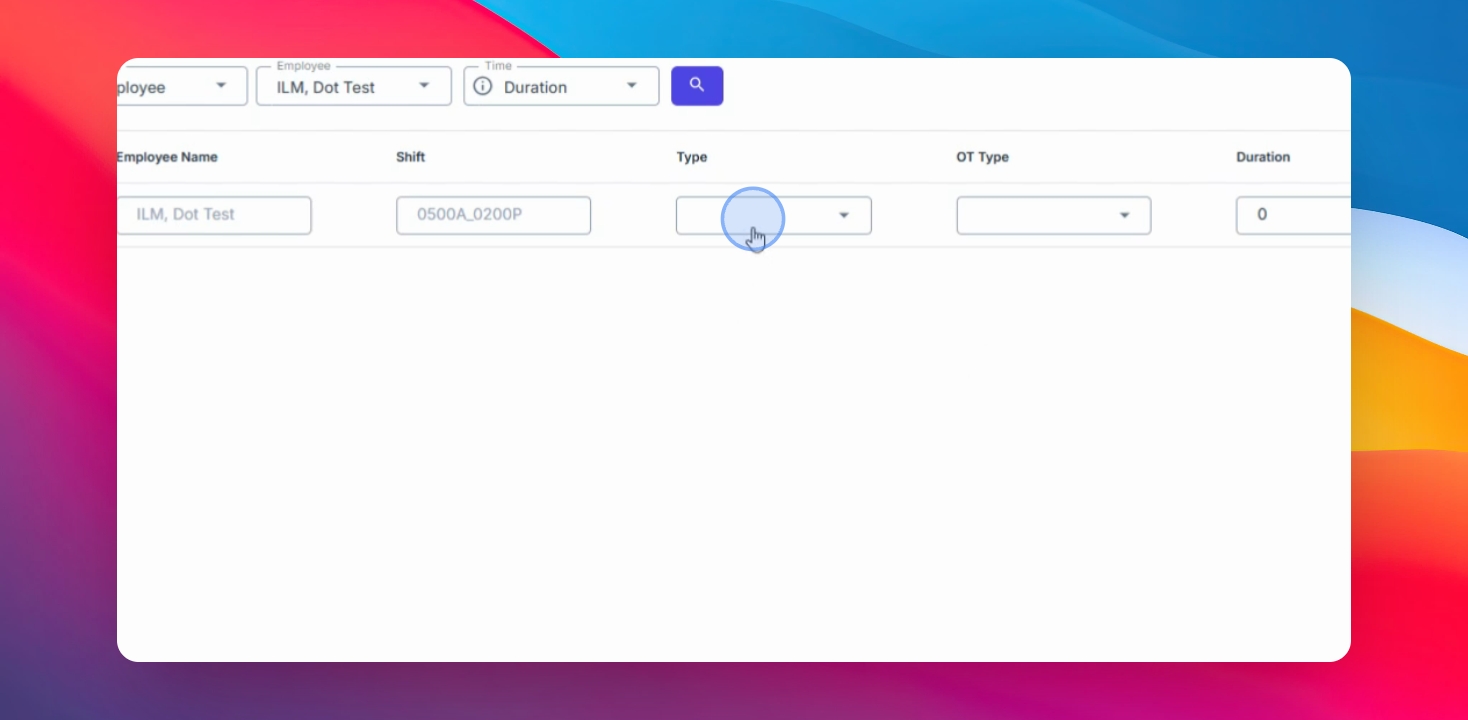
For example, select post overtime and enter the duration in hours.
Step 9: Enter Reason for Overtime
Provide the reason for the pre-approved overtime, such as two hours.
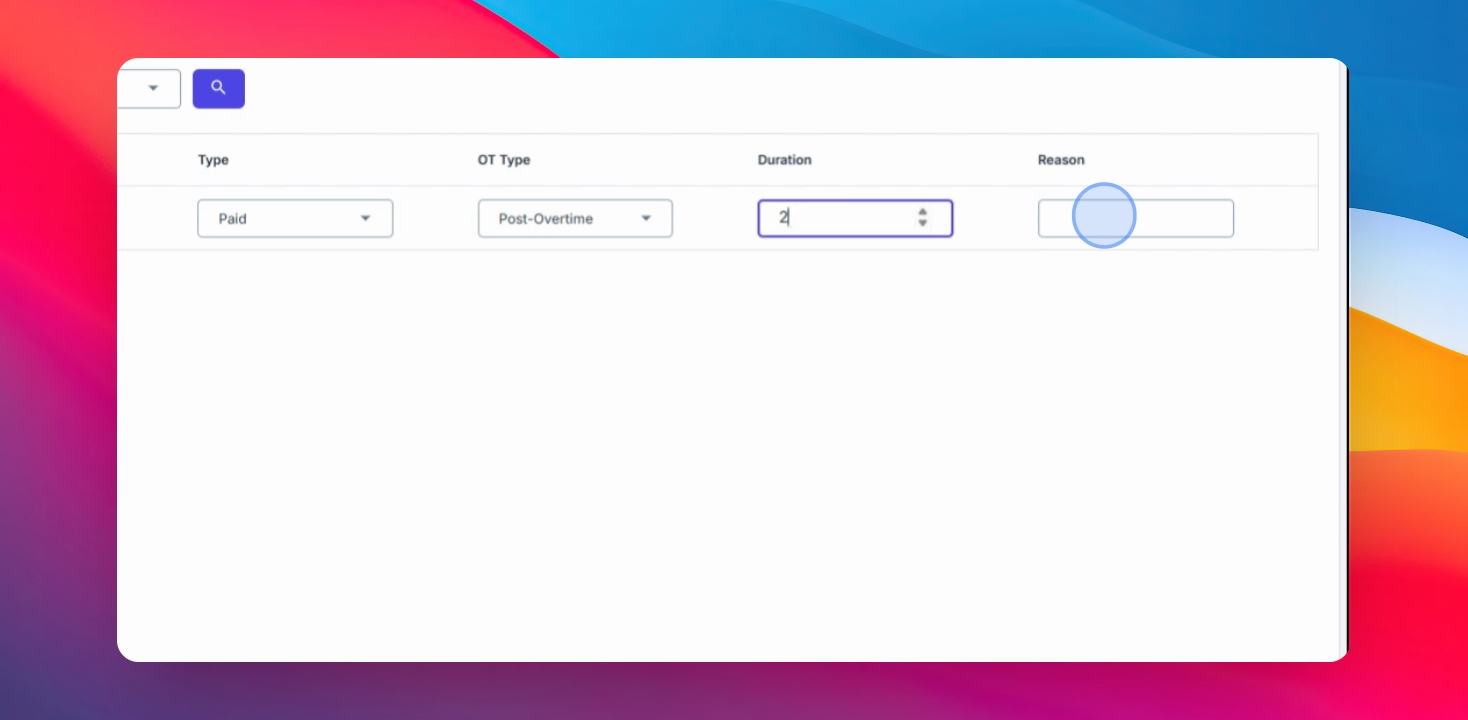
Step 10: Save the Overtime Entry
Click save changes to submit the pre-approved overtime.
Pre-approved overtime is still subject to the employee’s actual attendance logs. If the employee’s rendered hours do not match the approved overtime duration, the system will calculate overtime based on the lower value between:
The employee’s actual logged hours
The pre-approved overtime duration
You have now learned how to create Pre-Approved Overtime (Duration) using HRIS Admin Access. Proper overtime setup helps ensure accurate overtime monitoring and payroll computation.