

Introduction
Understanding how to configure overtime filing options is crucial for effective employee management. In this tutorial, we will guide you through the detailed steps of setting up overtime requests, including defining request handling, specifying types of overtime, and establishing filing guidelines. By the end of this guide, you will have a clear framework to manage overtime efficiently.
Step by Step
1. Accessing Overtime Options
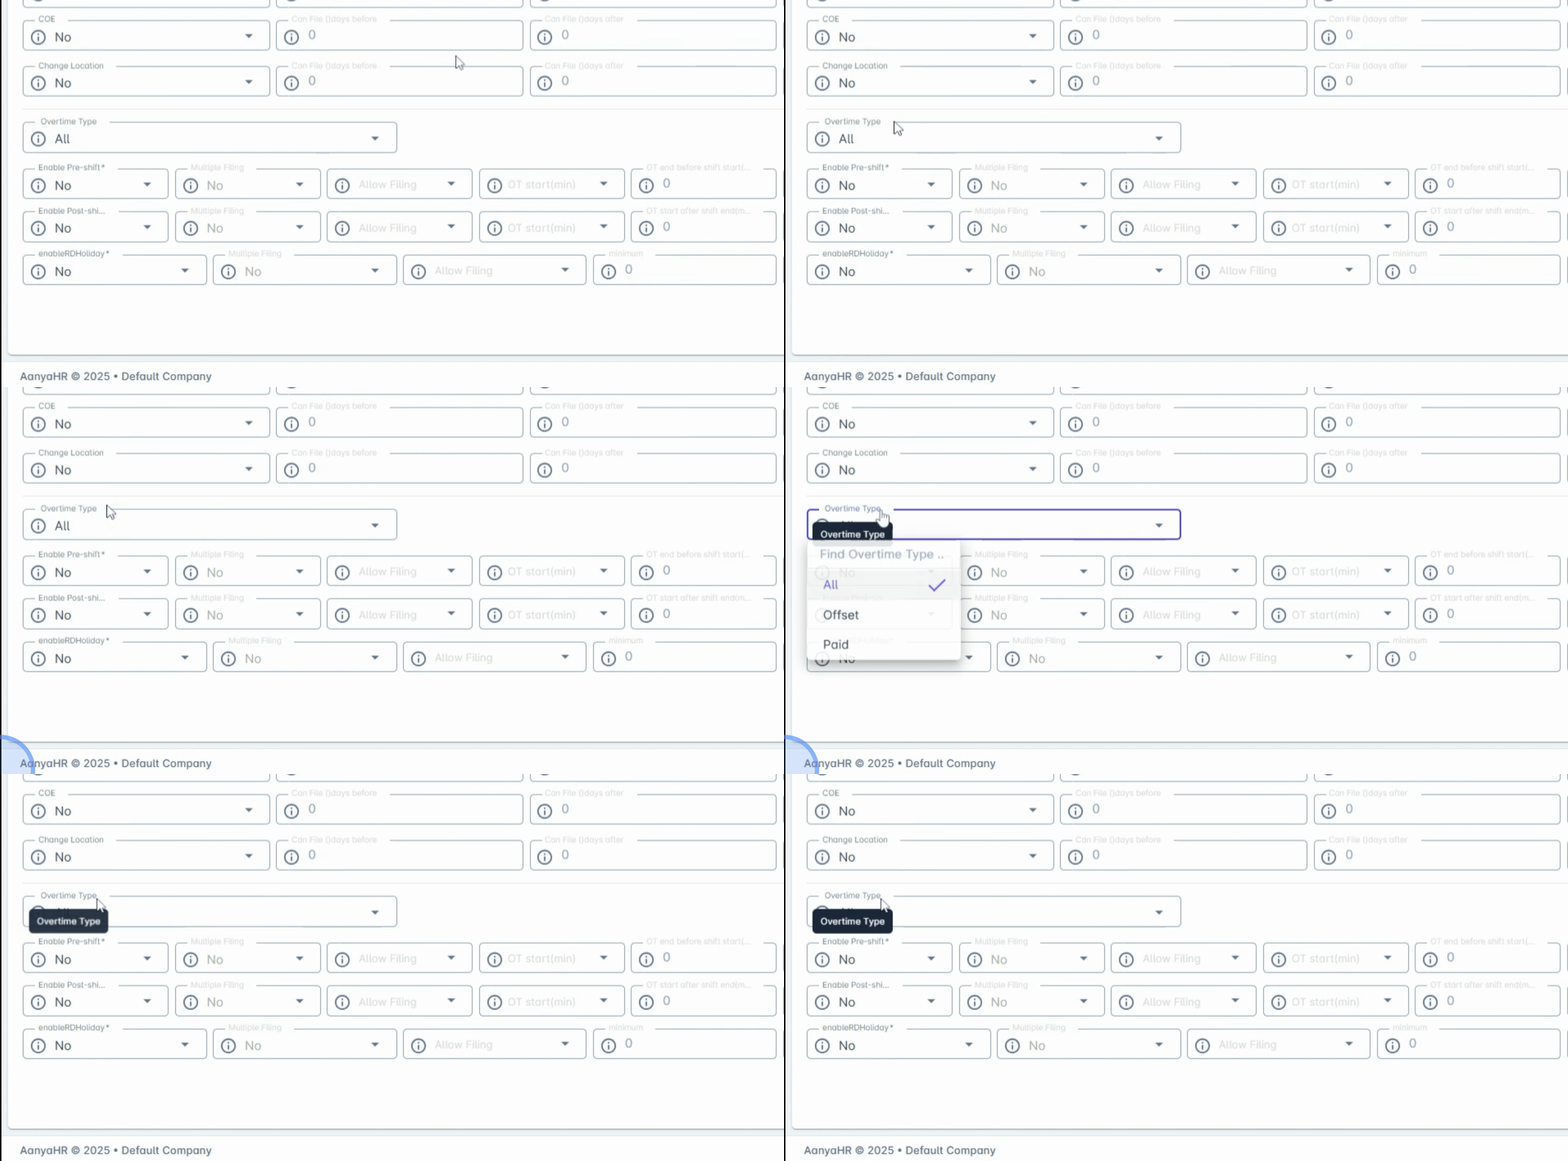
Scroll to the bottom section of the filing tab to configure detailed overtime options.
2. Handling Overtime Requests
First, define how overtime requests are handled. Overtime can be converted into offset leave, paid overtime, calculates premium pay, or both. Additionally, allow employees to choose between paid overtime and offset options.
3. Specifying Overtime Types
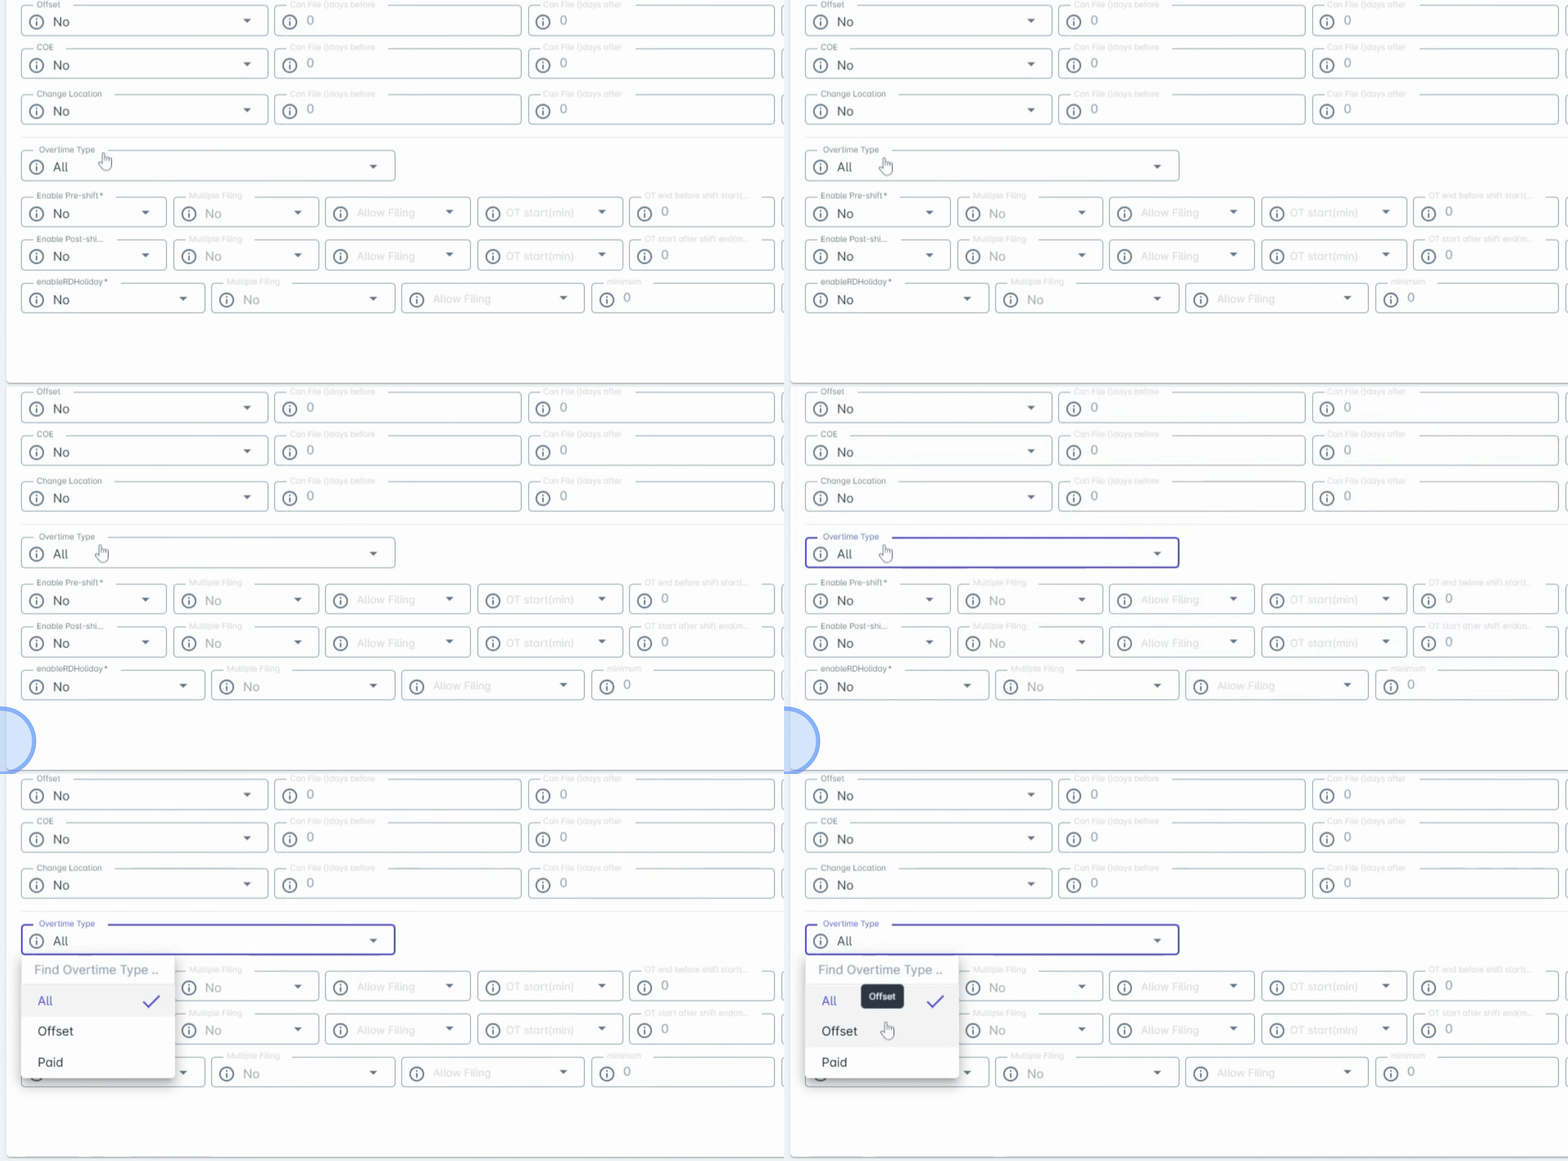
Next, specify which type of overtime can be filed.
4. Types of Overtime
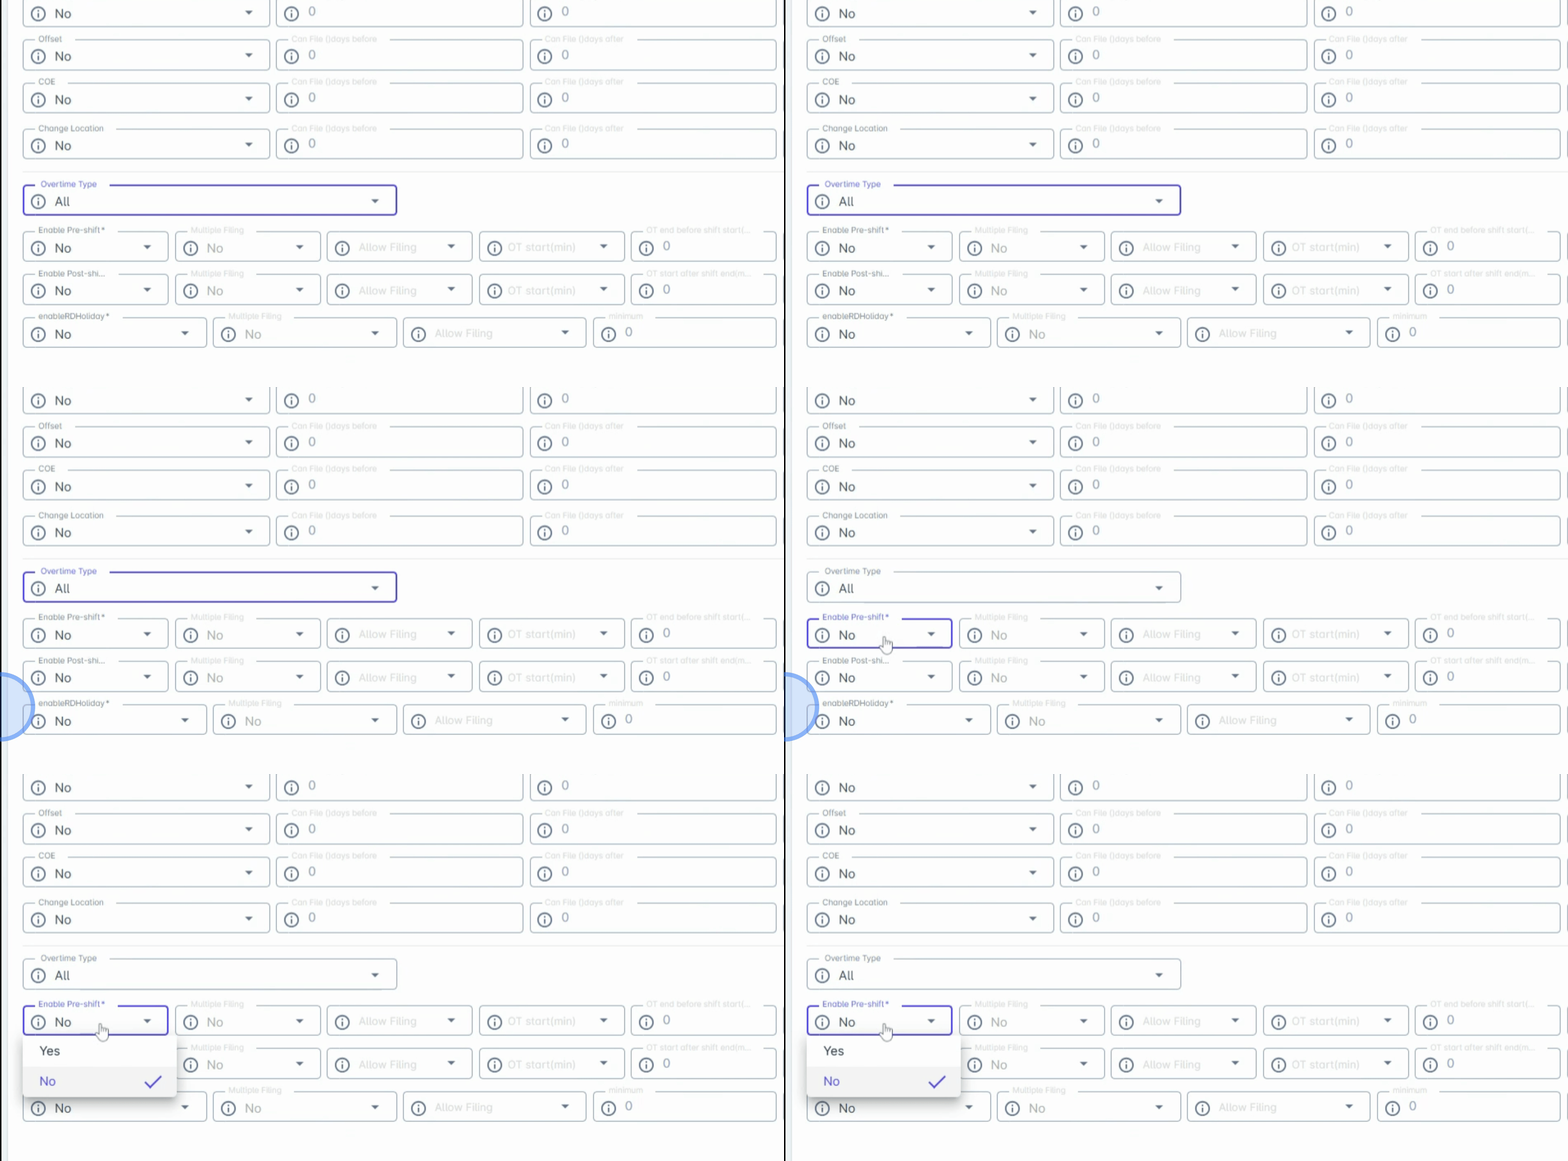
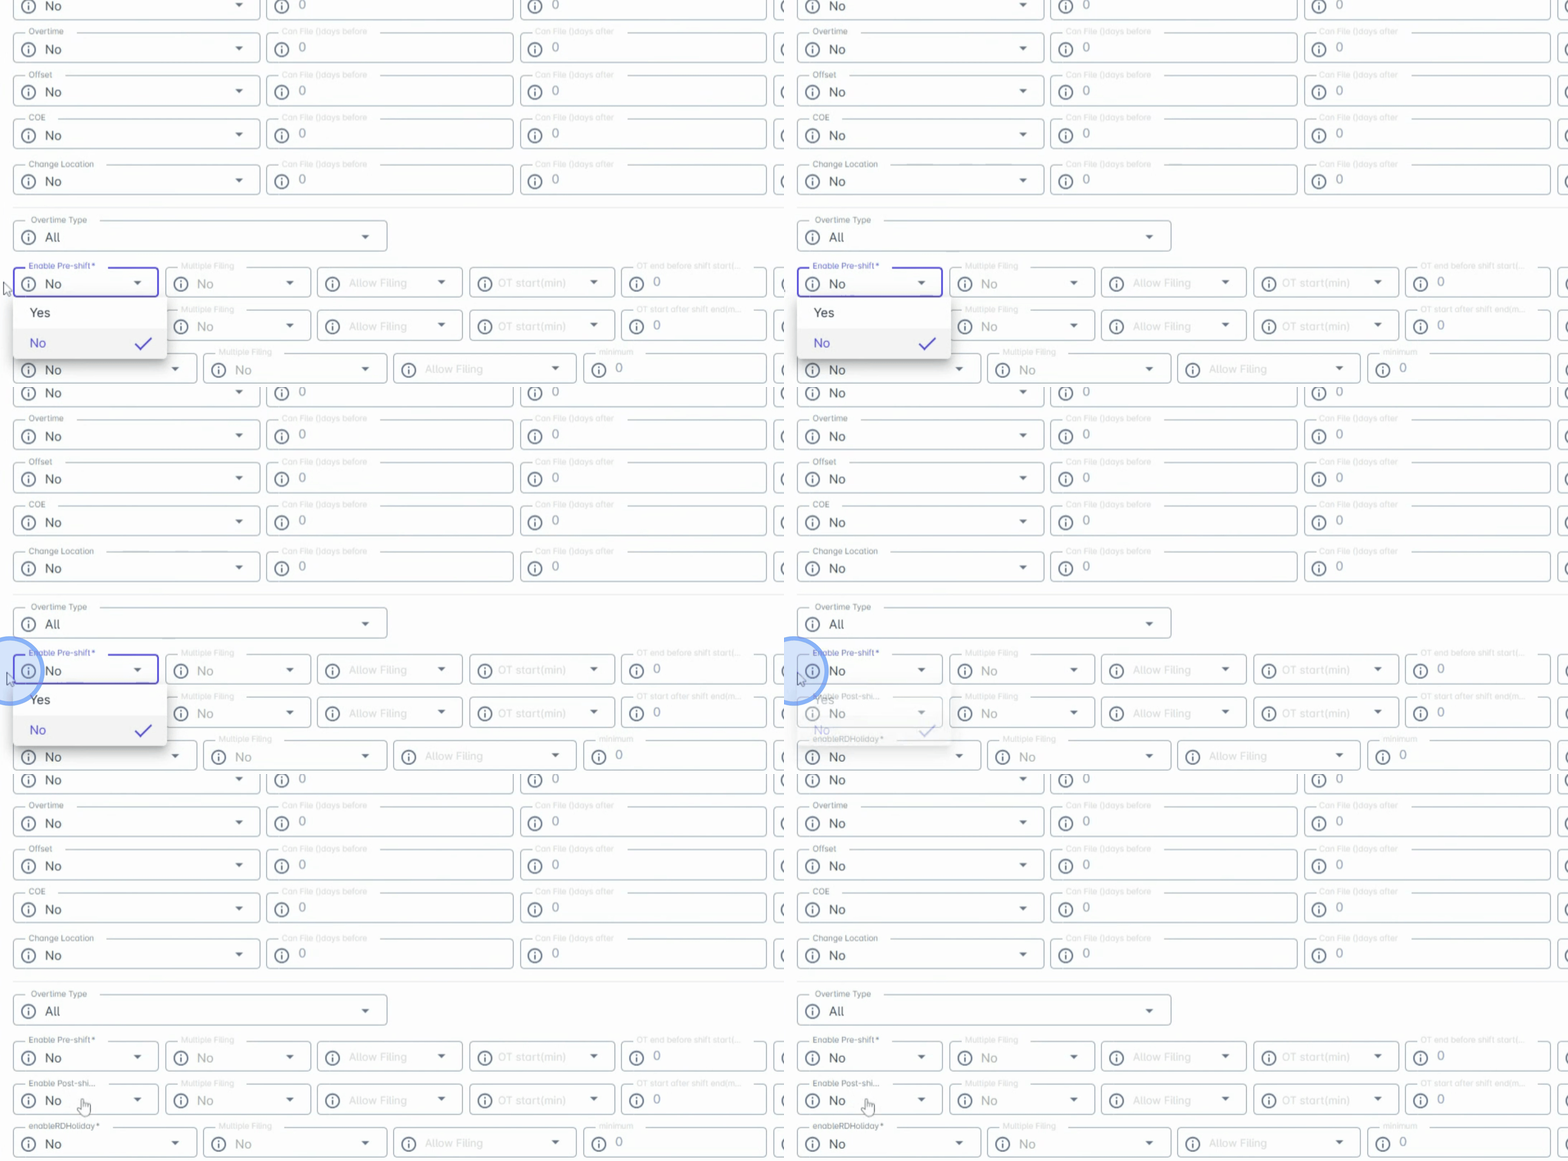
Consider early overtime or pre-shift overtime, overtime within scheduled hours or post-shift overtime, and rest day holiday overtime. For rest day overtime, ensure employees are assigned the correct WRD schedule.
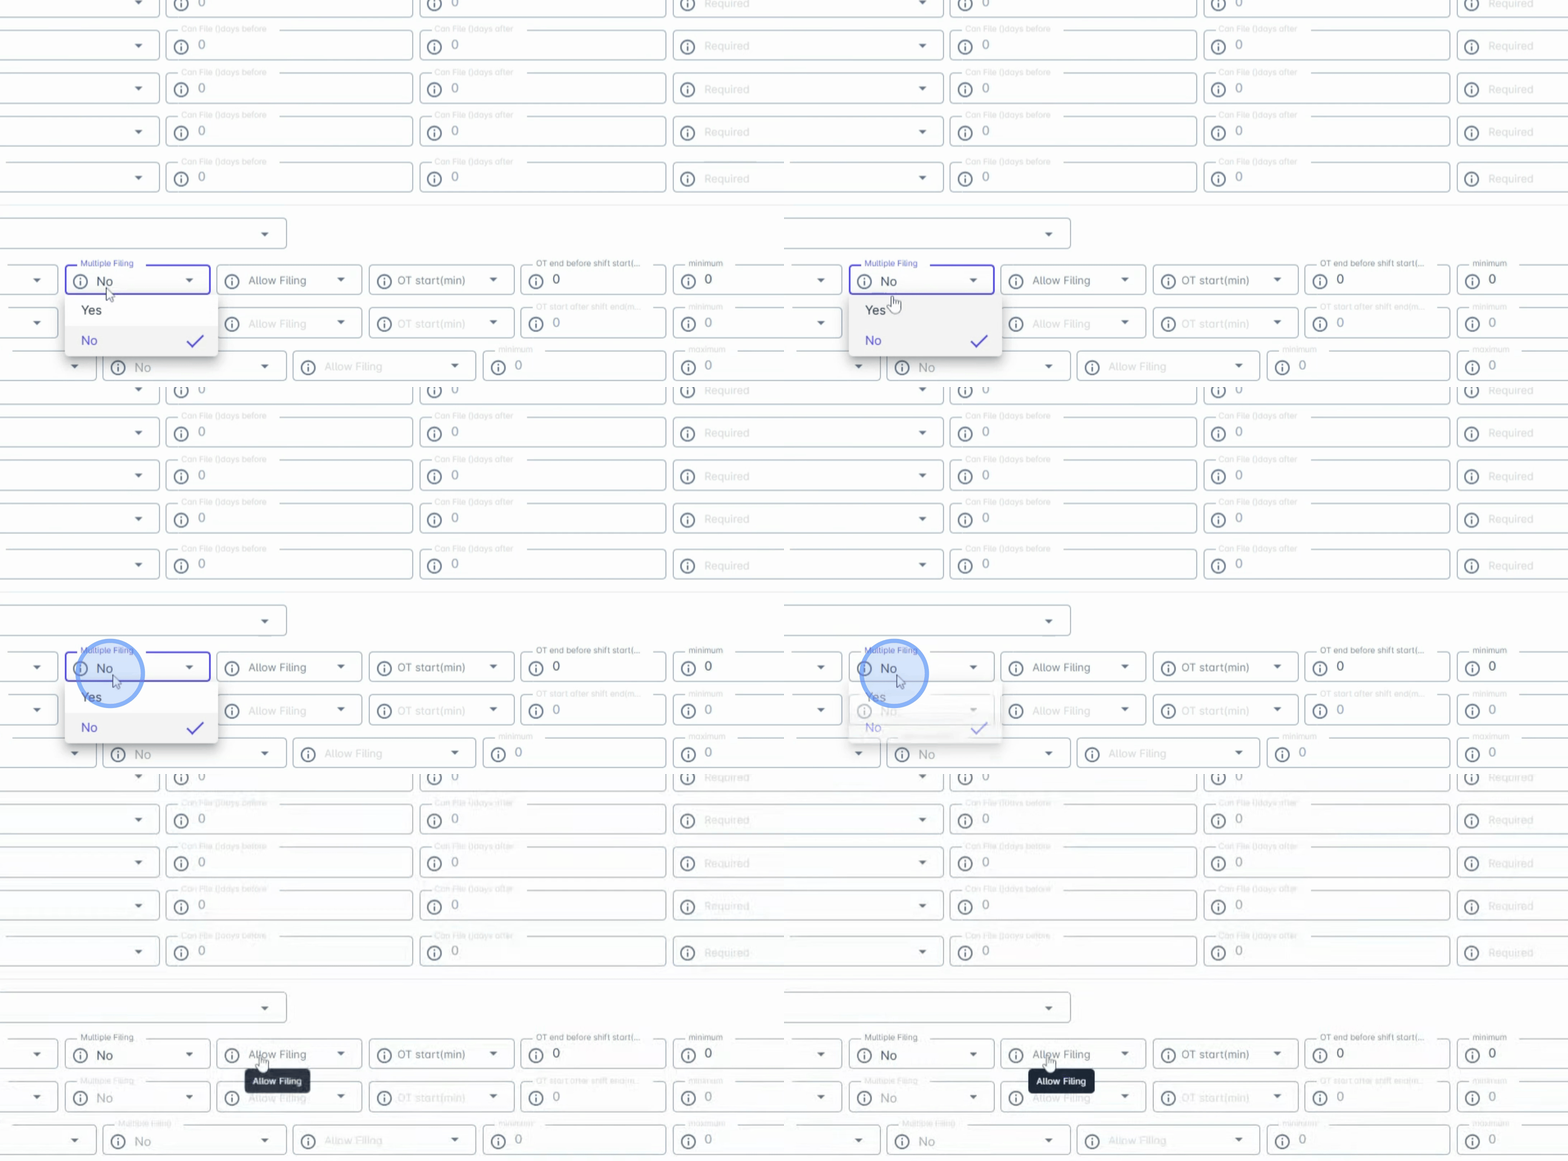
5. Enabling Multiple Filing
Enable multiple filing if employees can file more than one overtime request per day.
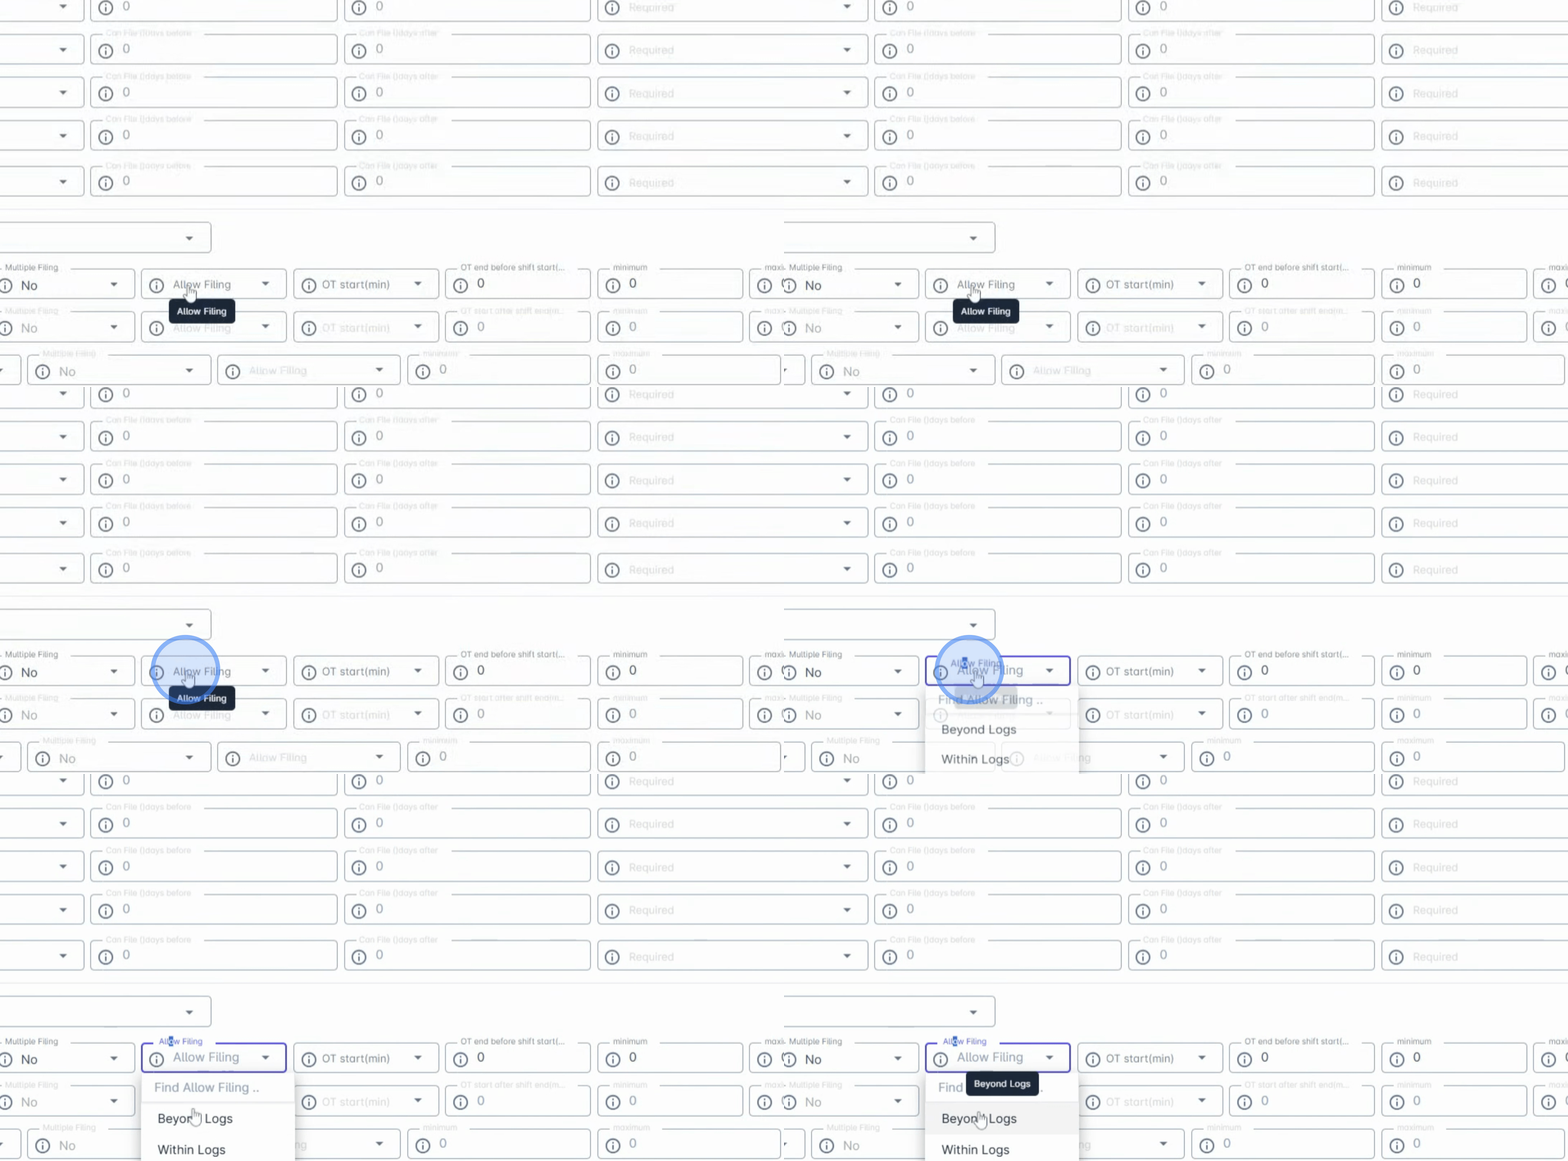
6. Setting Filing Conditions
Choose the basis for filing beyond logs. Employees can file overtime even with logs and at a shift time. Note that overtime must be within logs, or you can allow filing regardless of logs.
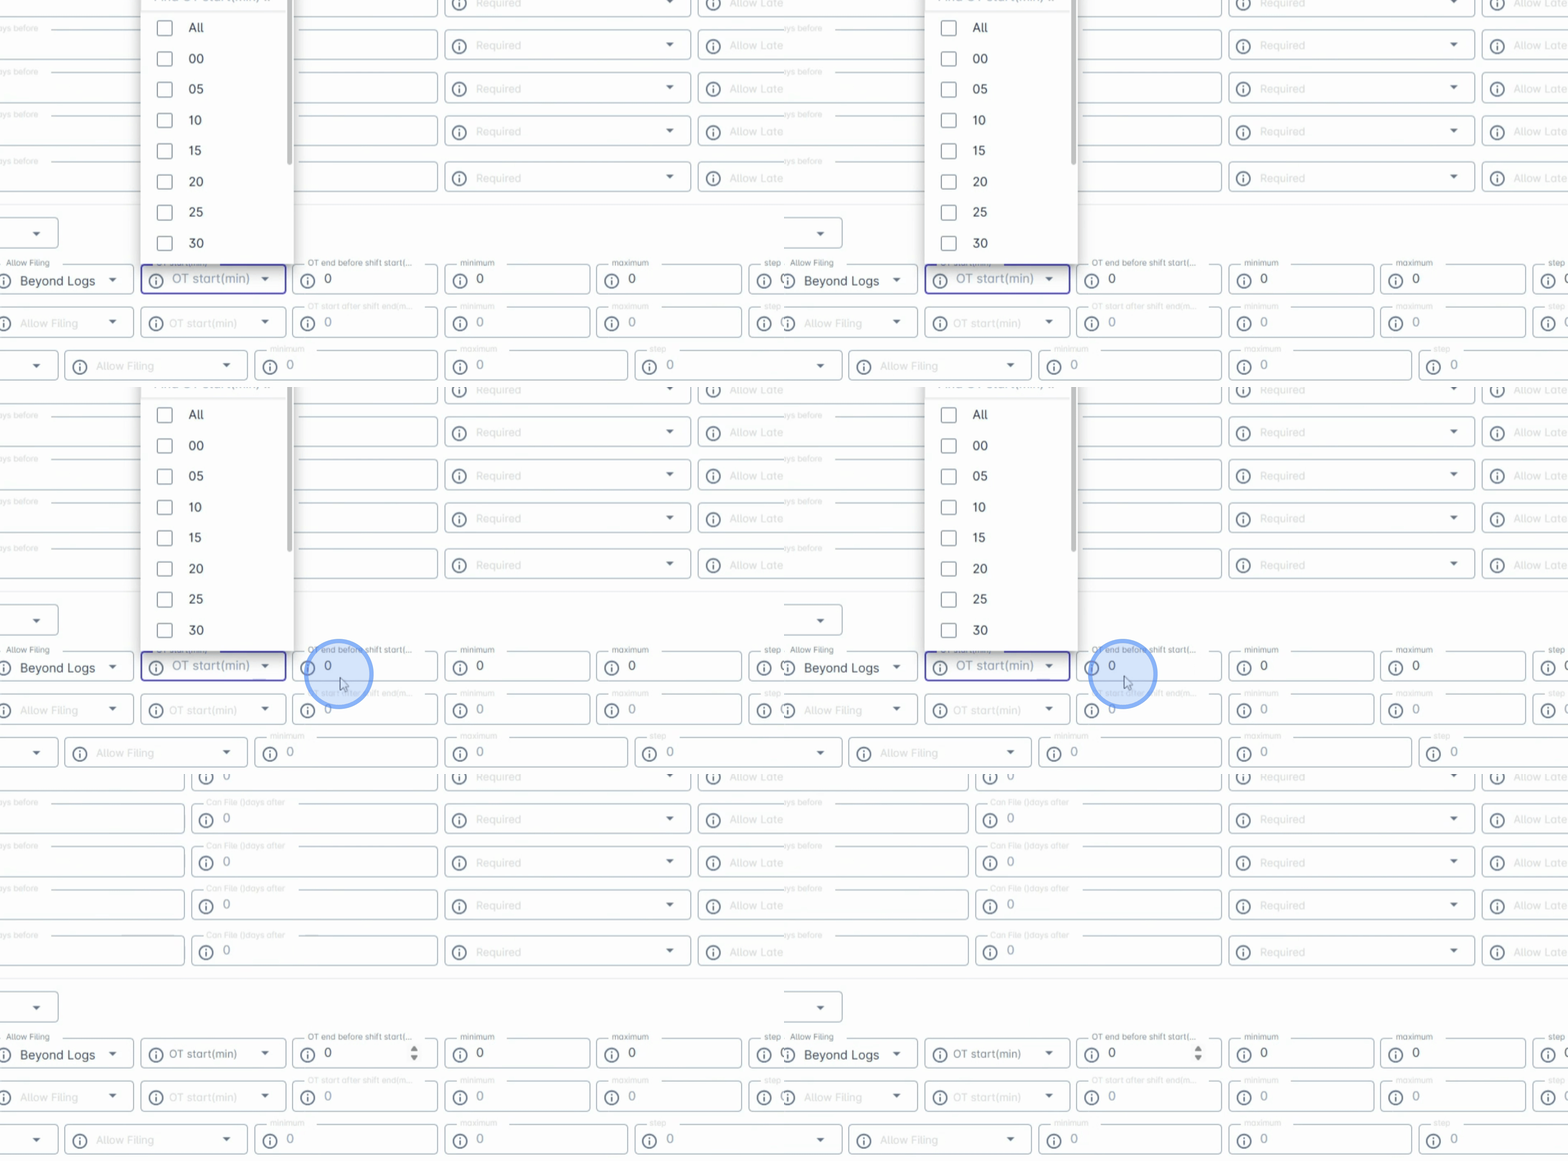
7. Configuring Autostart Parameters
Enable autostart to allow employee requests only in specific increments. For example, if a shift ends at 5pm and you set increments to 30 minutes, employees can file overtime starting at 5pm, 5:30pm, and so on.
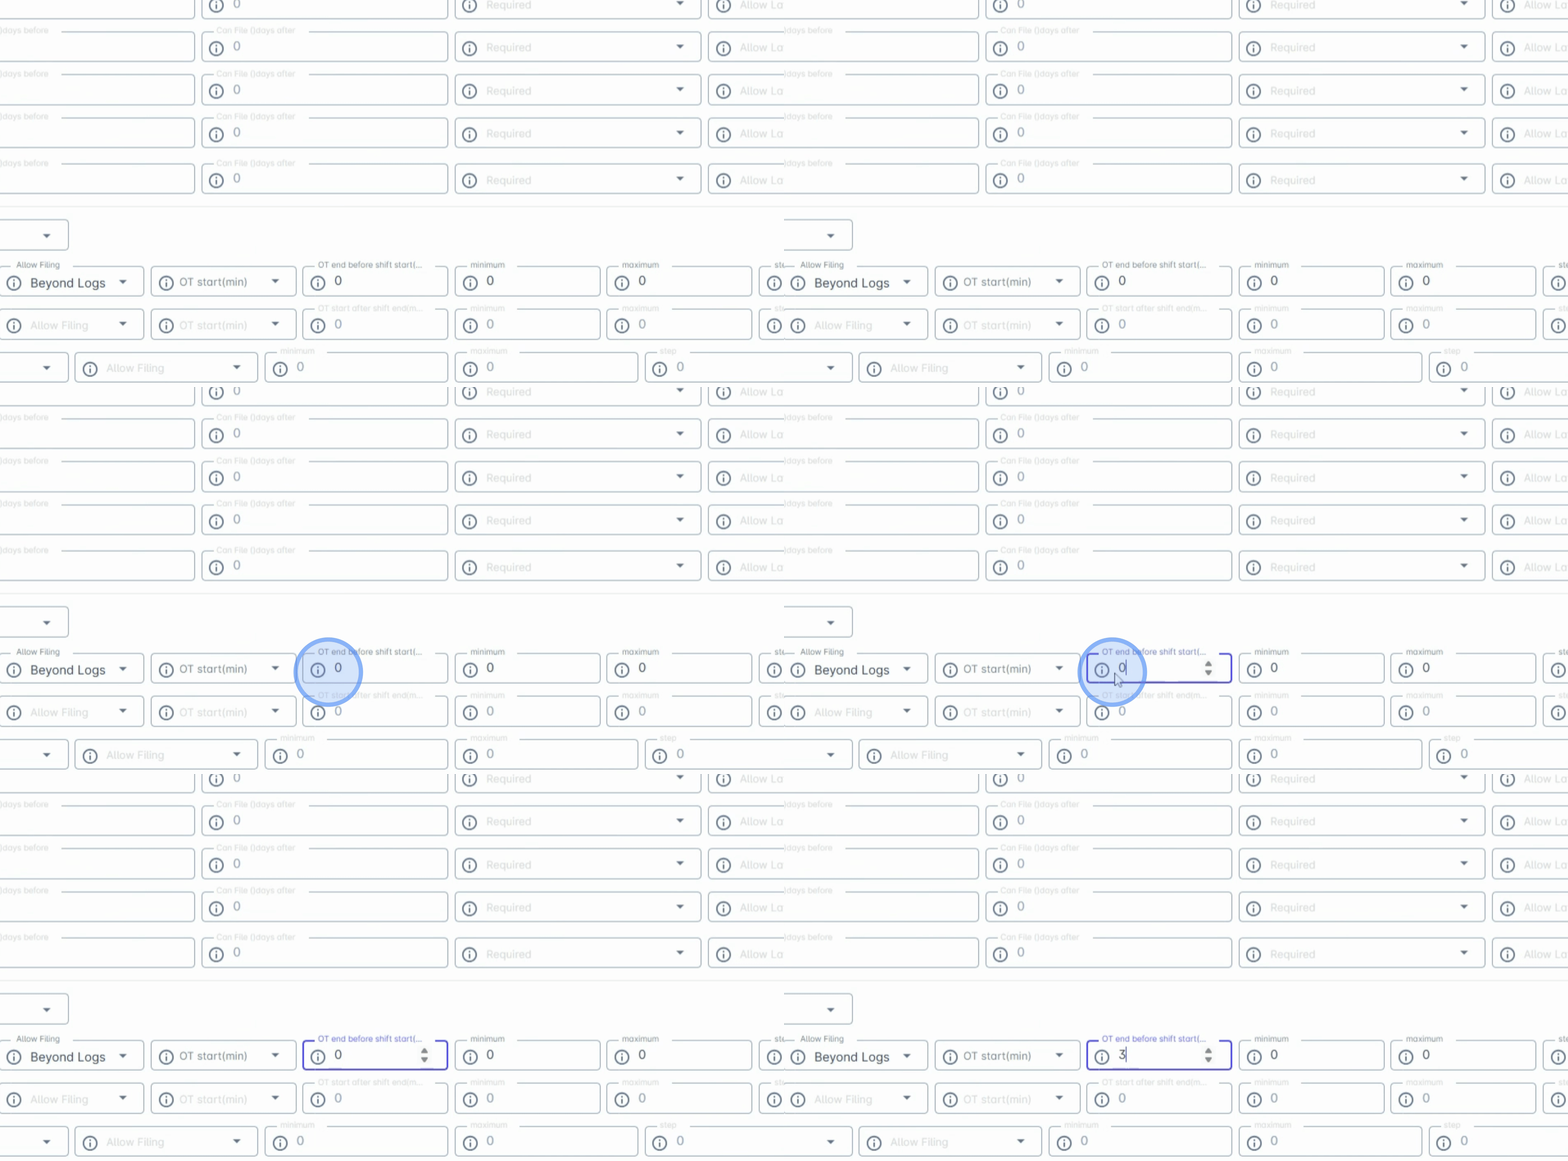
8. Defining Grace Periods
Use OTN after shift to define a grace period before the overtime starts. For example, if an employee starts 30 minutes after the shift ends, enter 30.
9. Setting Duration Limits
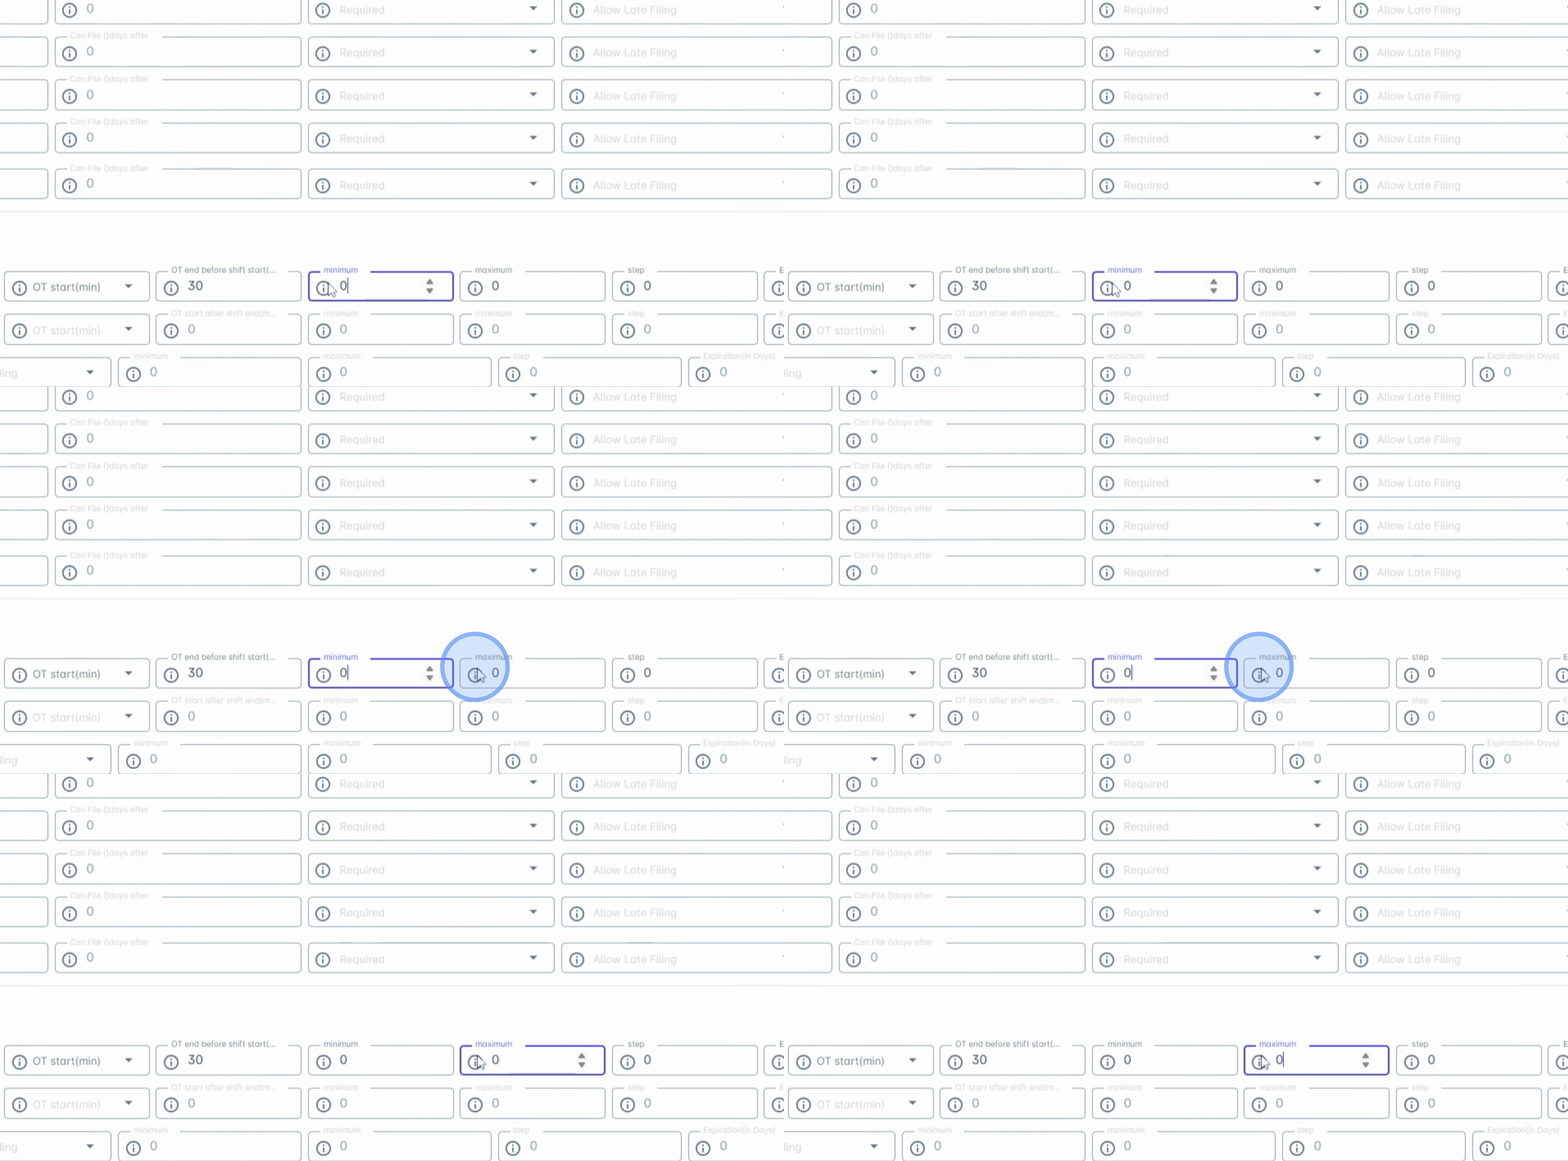
Set minimum and maximum minutes to limit the duration an employee can request overtime.
10. Defining Filing Intervals
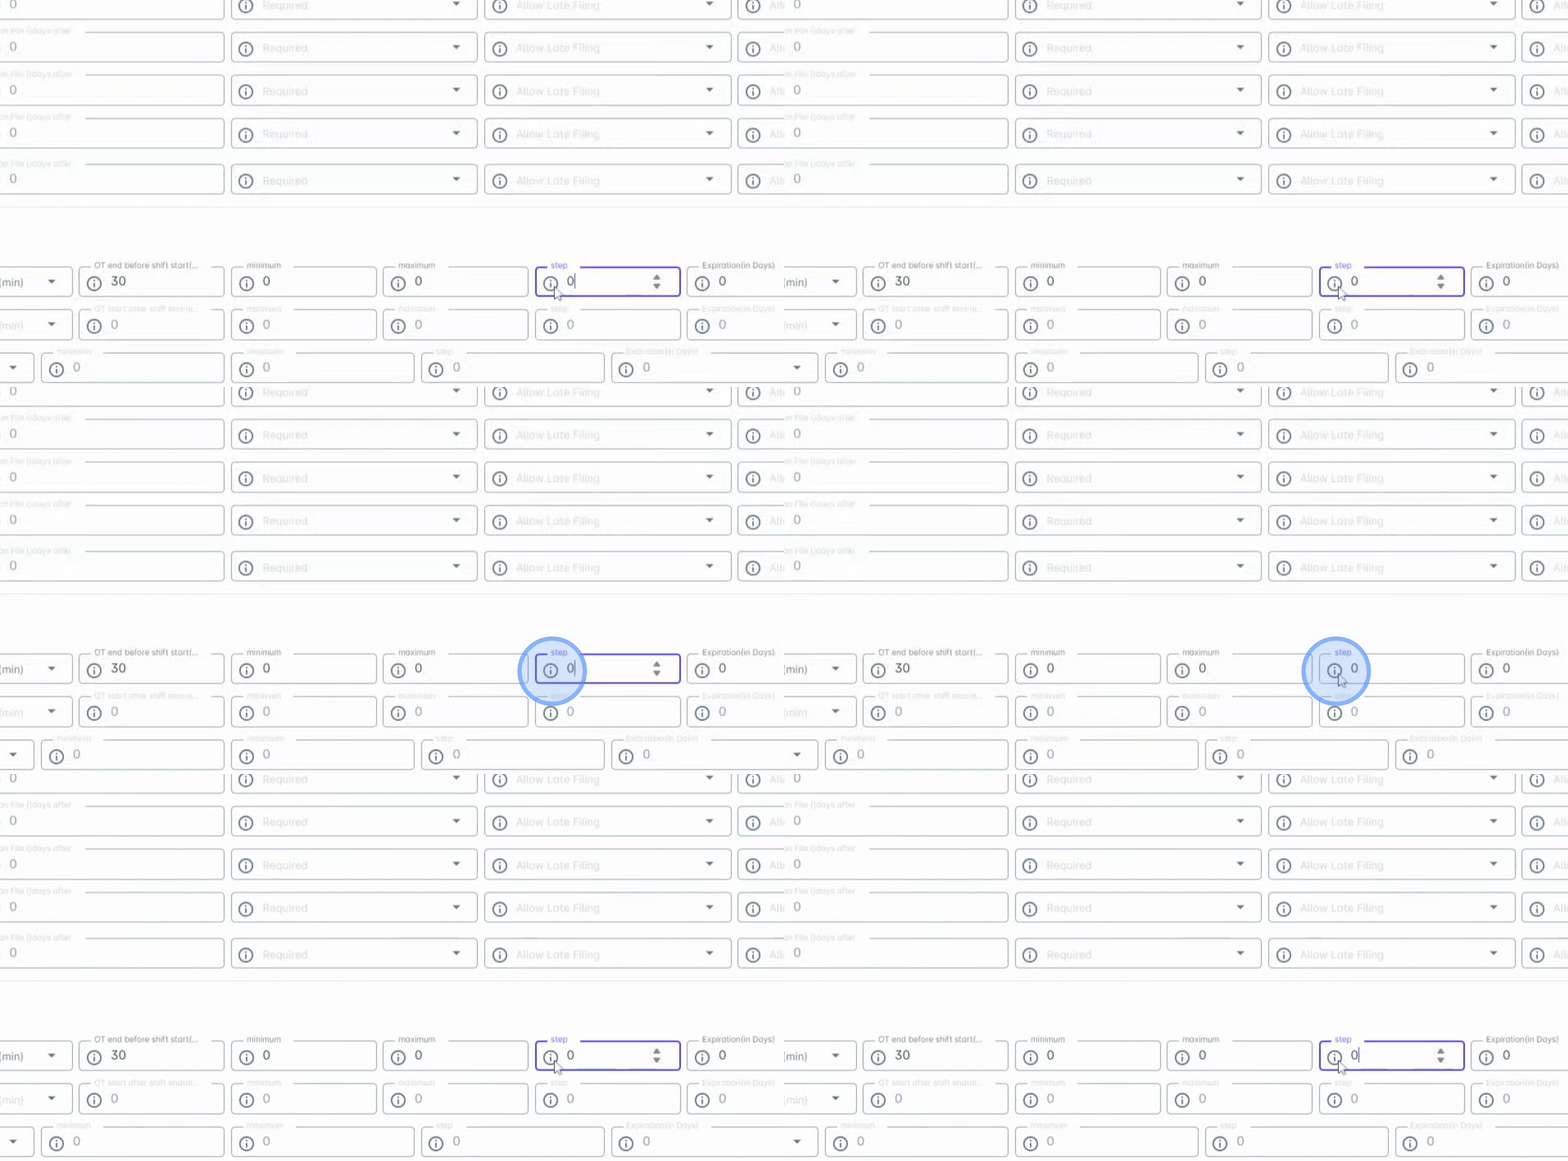
Step defines the interval for filing overtime. If the step is set to 30, overtime can be filed only in 30-minute blocks.
11. Setting Expiration Dates
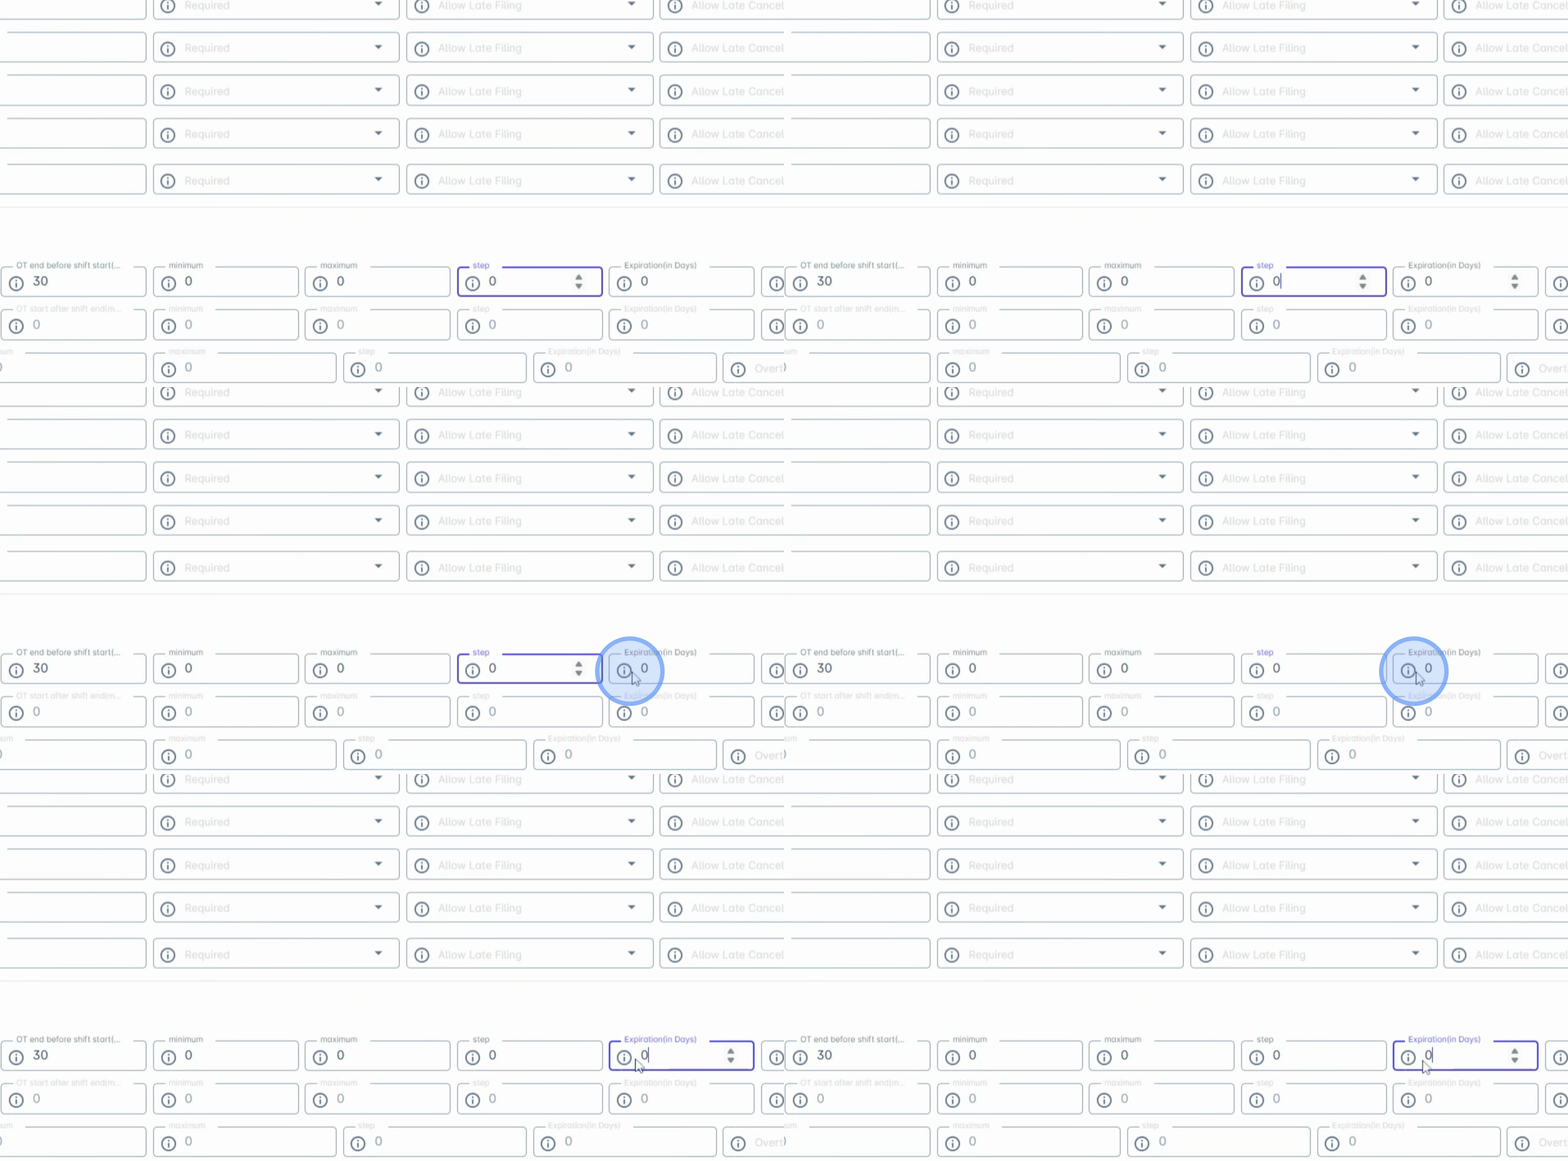
Finally, set the expiration date for earned offset overtime. The approval date starts from the approval, while the filing date starts from the filing, and the schedule date starts from when overtime was worked.
That completes your overtime filing configuration.
By following these steps, you can effectively set up and manage overtime filing configurations, ensuring a streamlined process for handling overtime requests.