

In this guide, you'll learn how to create a cutoff contour navigation file for managing payroll cycles. Let's look at the steps:
Step 1: Open Cutoff Creation
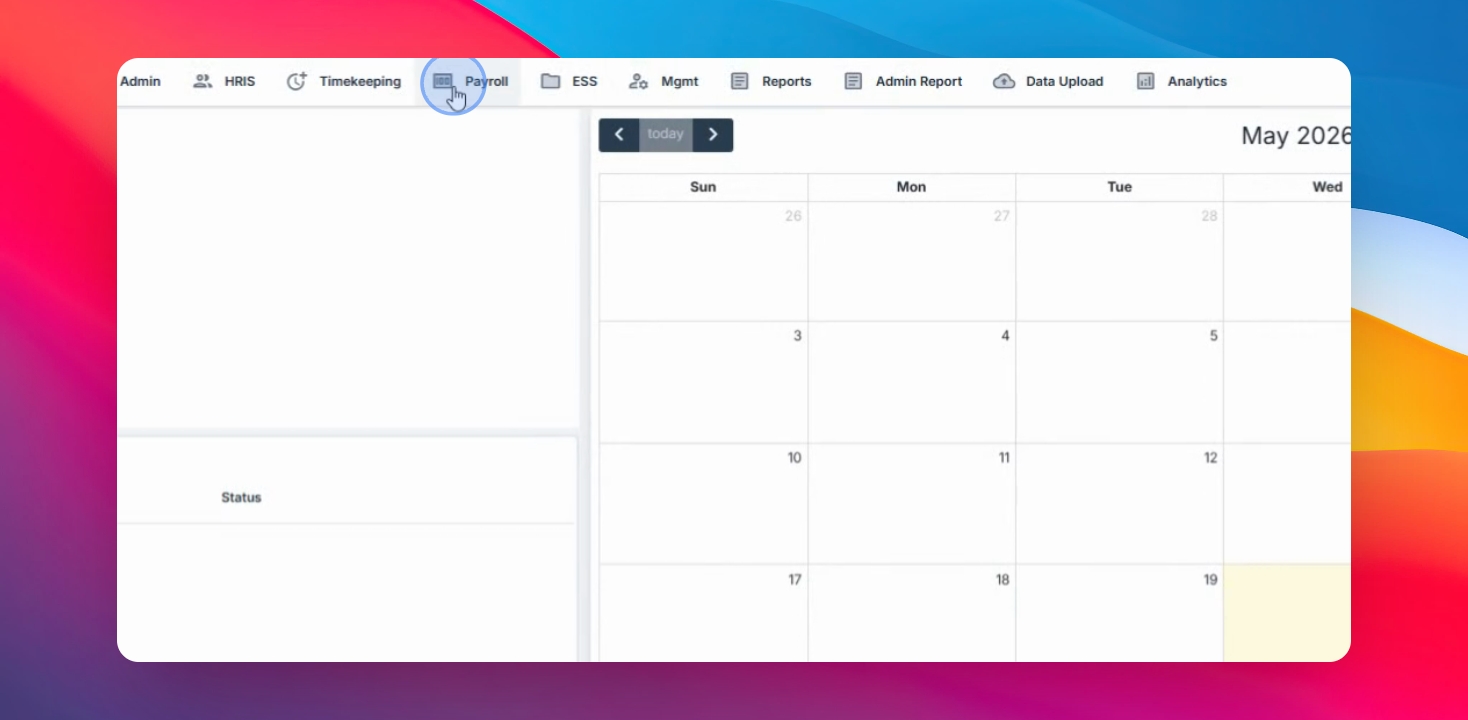
Navigate to the Payrol menu, select Cutoff, and click the Create button.
Step 2: Set Cutoff Name
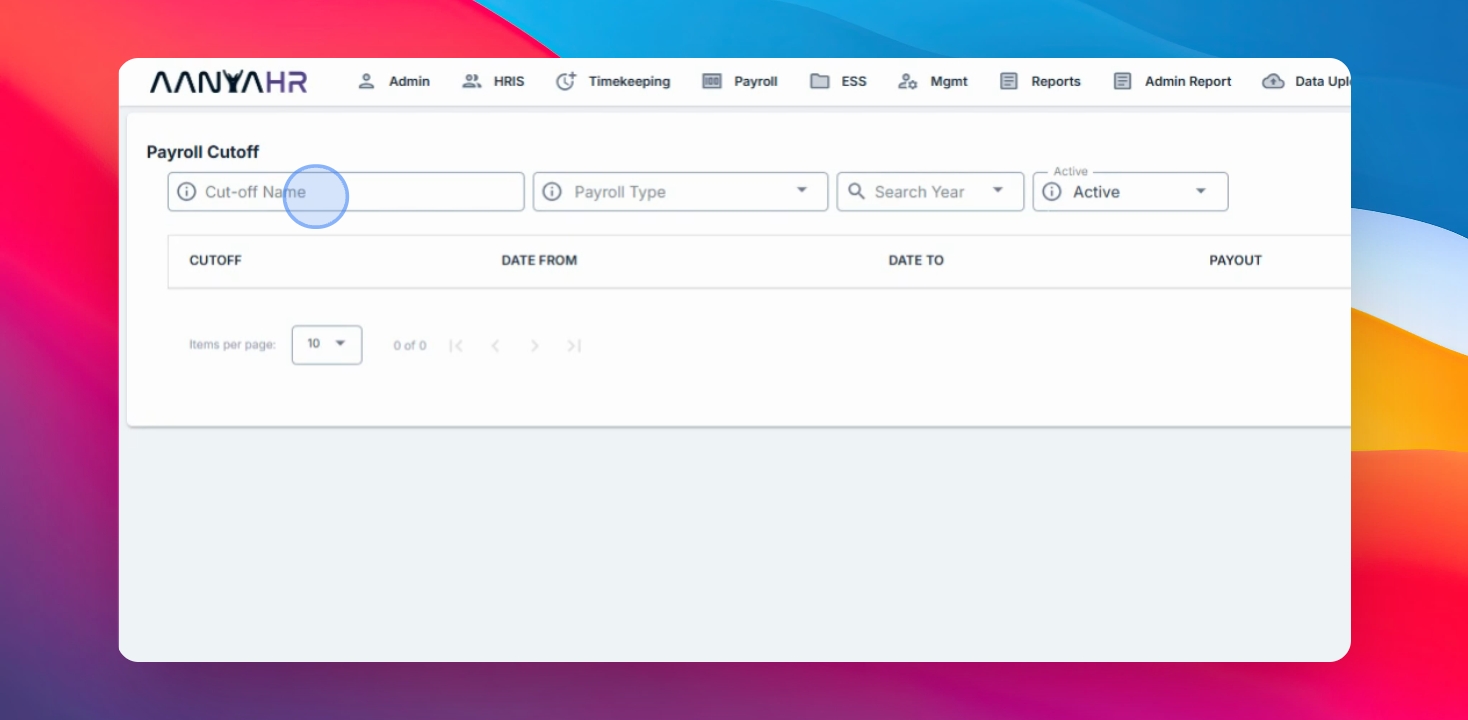
Enter a name for your cutoff.
Step 3: Choose Payroll Type
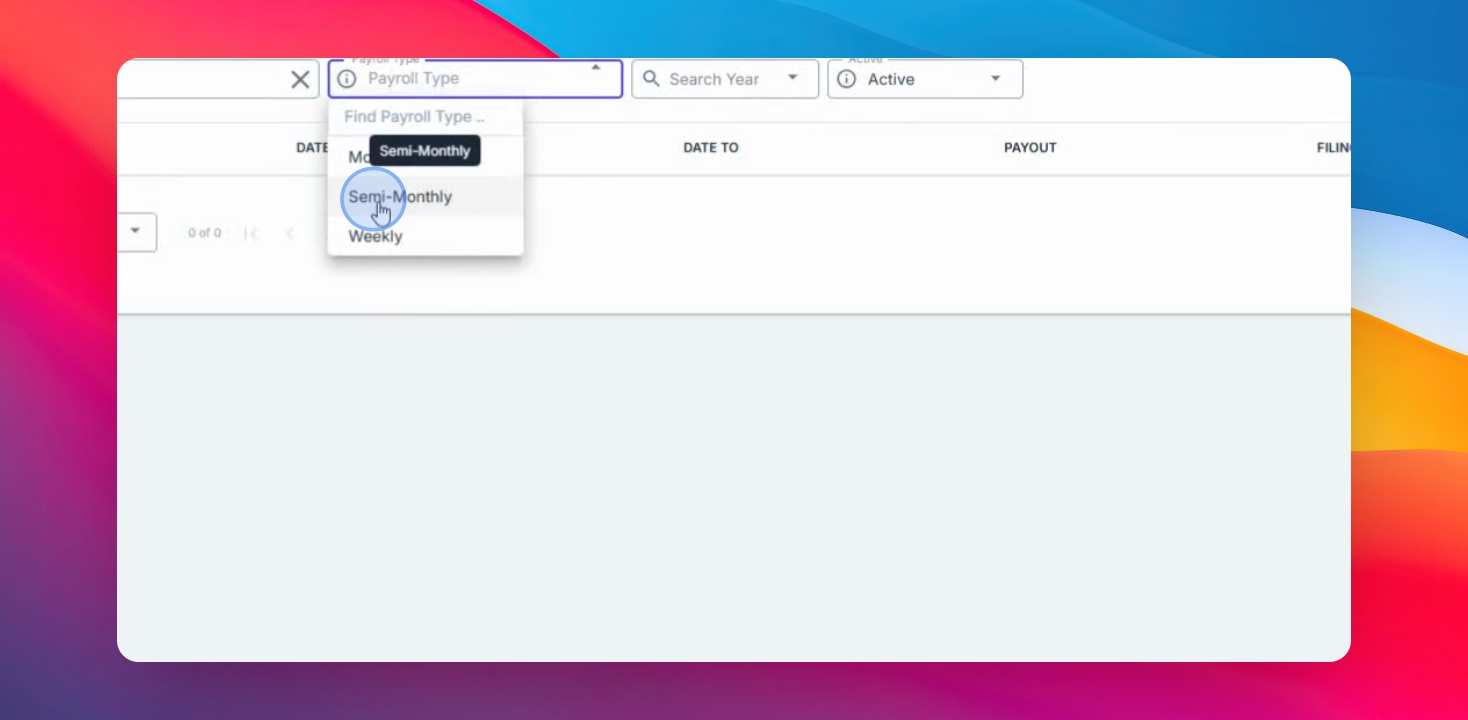
Select the payroll type: Monthly, Semi Monthly, or Weekly, according to your payroll cycle.
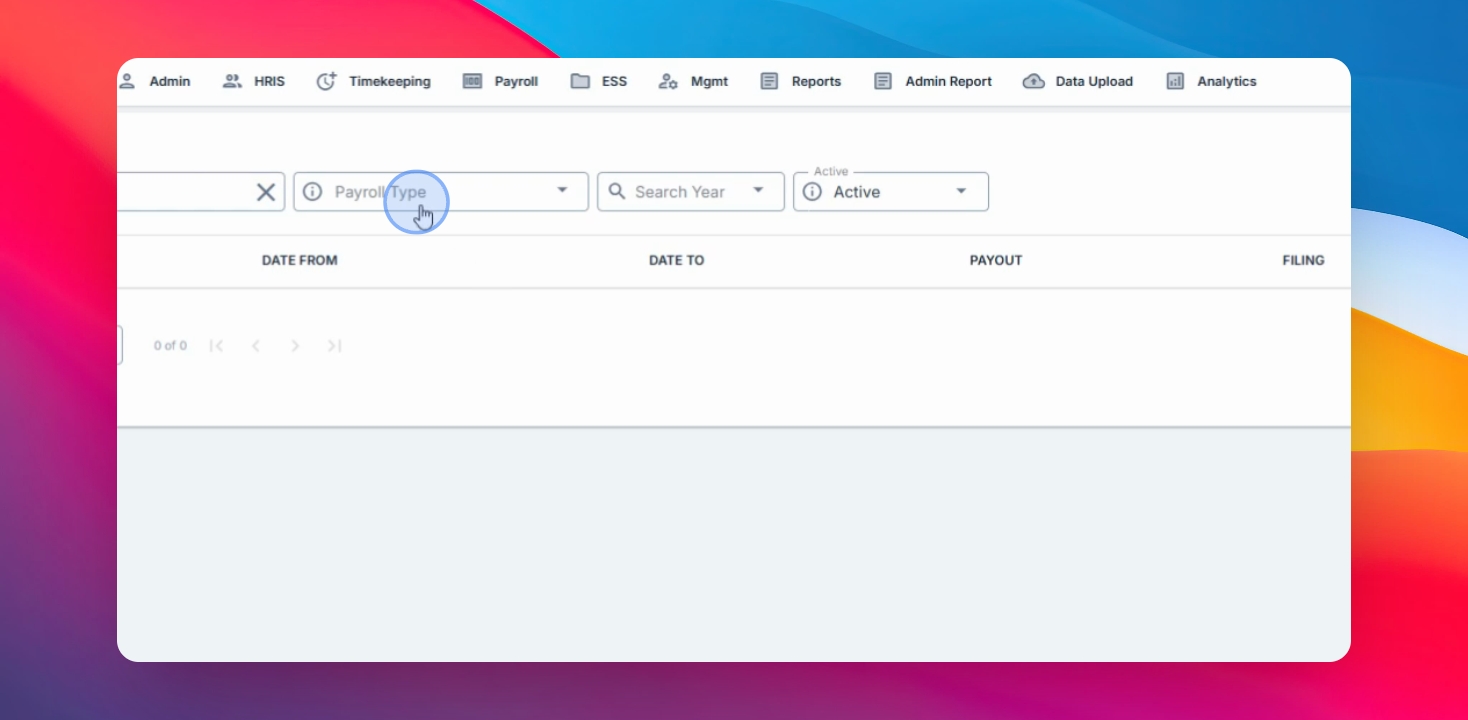
This determines how your payroll cycle operates.
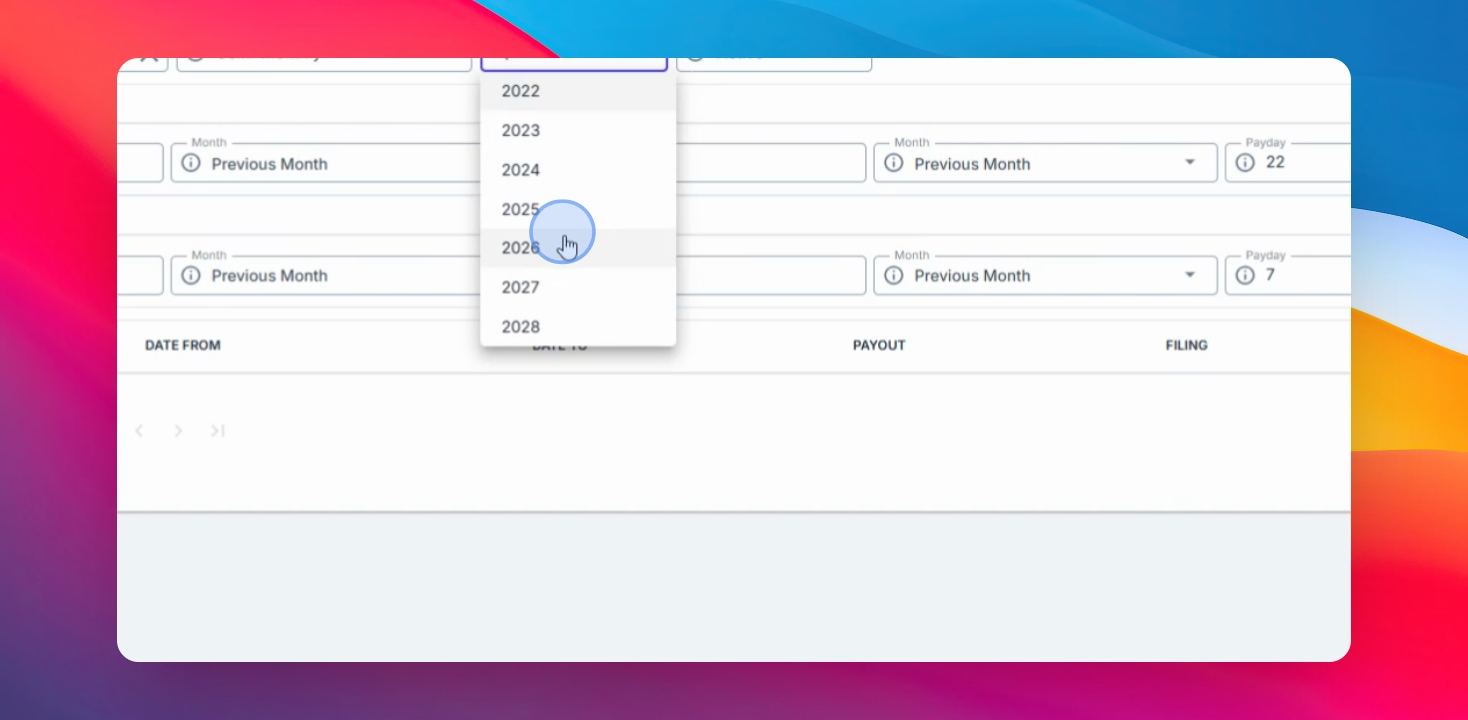
Step 4: Select Year and Inactive Option
Choose the year for the cutoff. Optionally, you can set the cutoff as inactive if you plan to deactivate it later.
Step 5: Set First Cutoff Period
Enter the cutoff period for the first cut. If you selected Semi Monthly, you will need to provide details for both the first and second cuts.
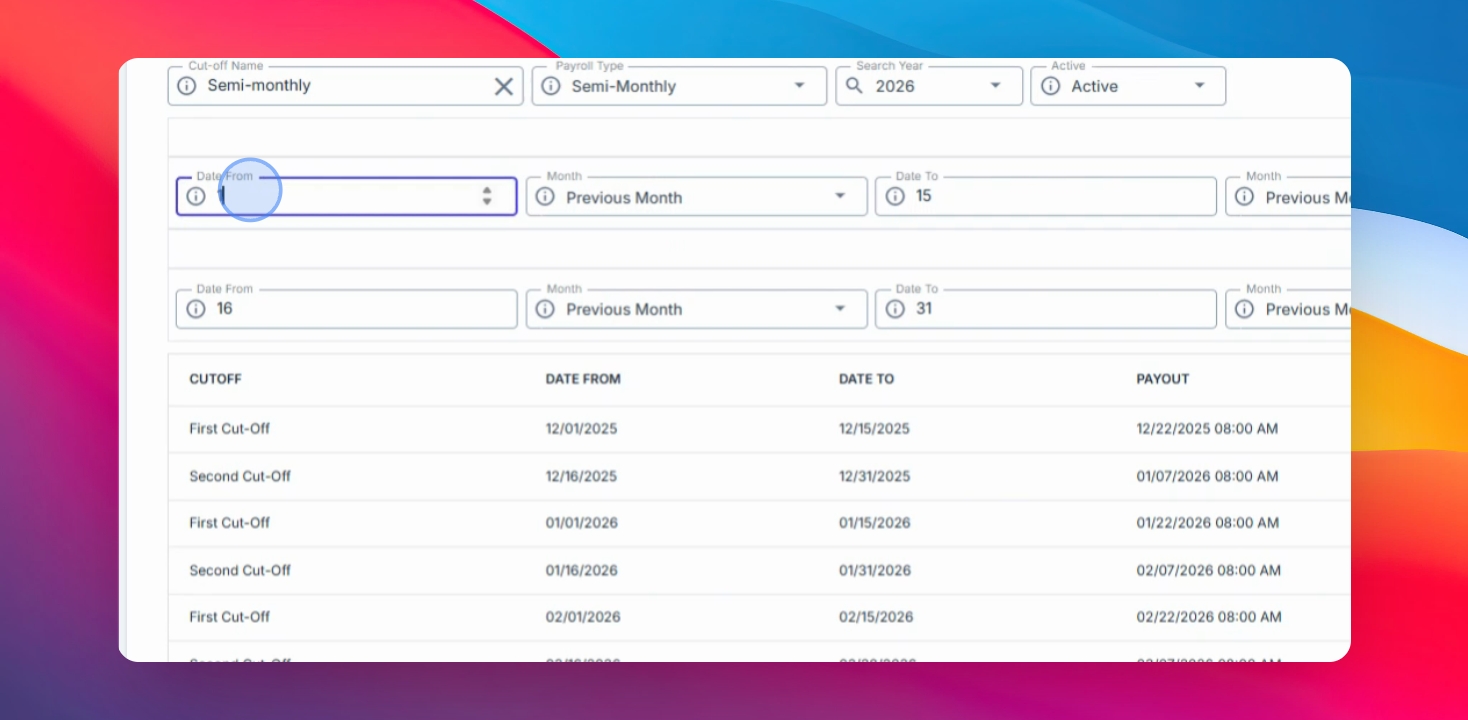
Step 6: Select First Cutoff Dates
Choose the starting date for your first cutoff period. For example, if your cutoff is from the 26th to the 10th of the month, select 26th as the start date.
Step 7: Specify Date Coverage
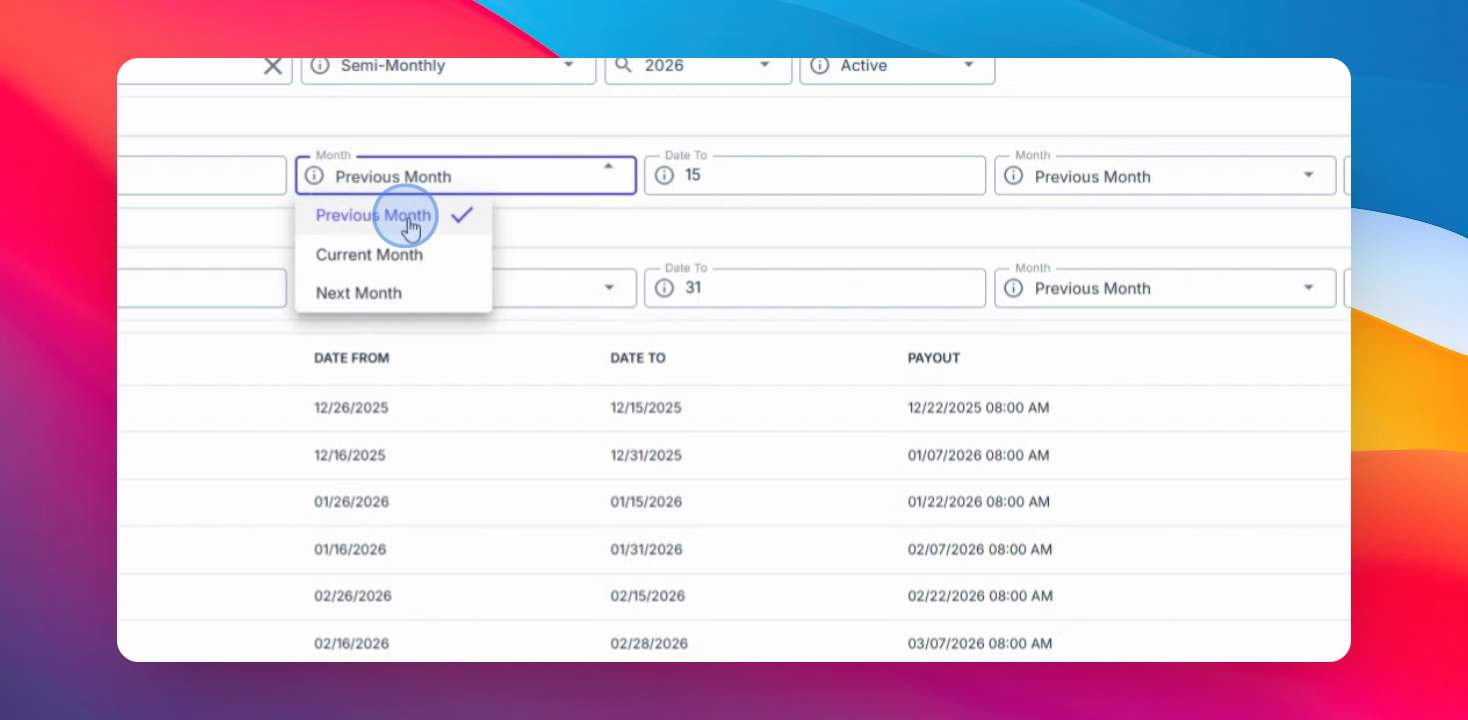
Select whether the cutoff period covers the Previous Month, Current Month, or Next Month based on your payroll schedule.
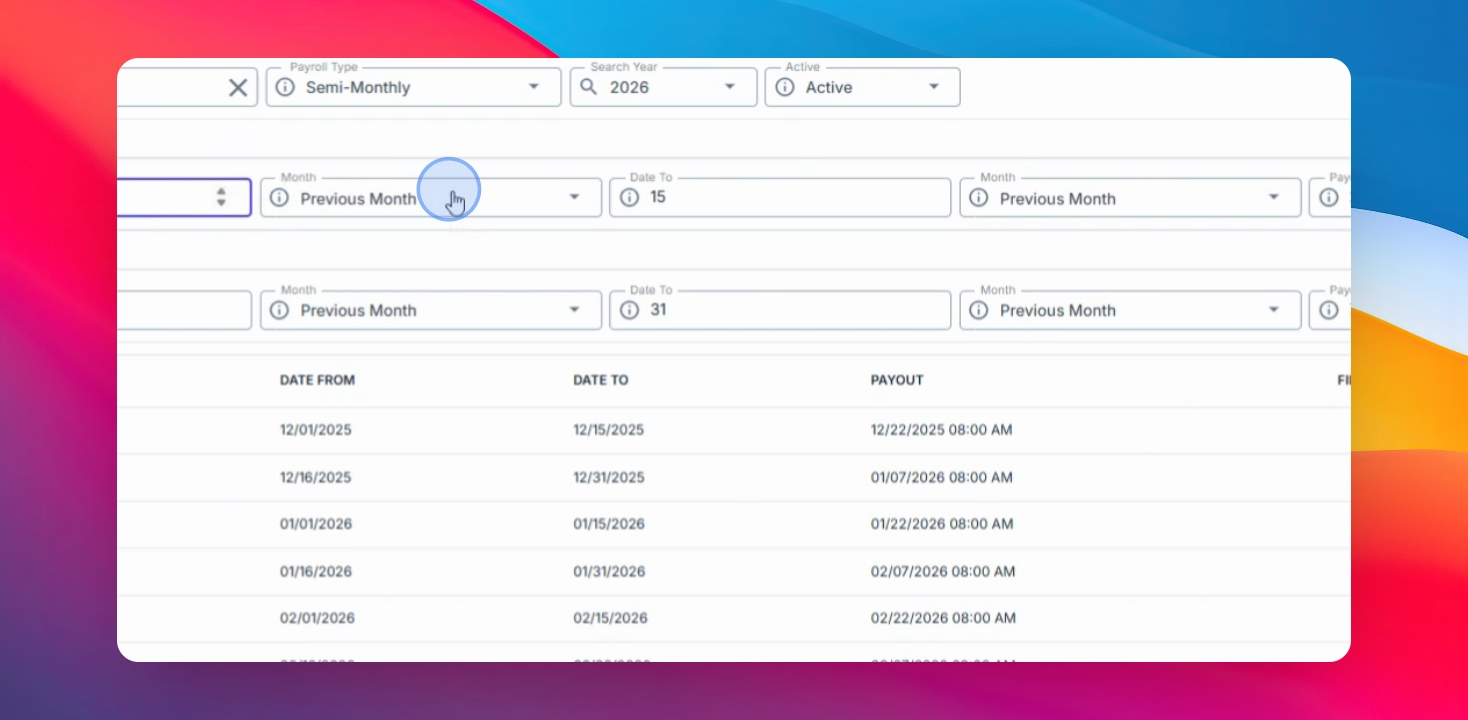
If your cutoff starts in the previous month, choose Previous Month. If it starts in the current month, select Current Month.
Step 8: Set First Cutoff End Date
Enter the end date of the first cutoff period, such as the 10th of the month. Choose the appropriate month coverage.
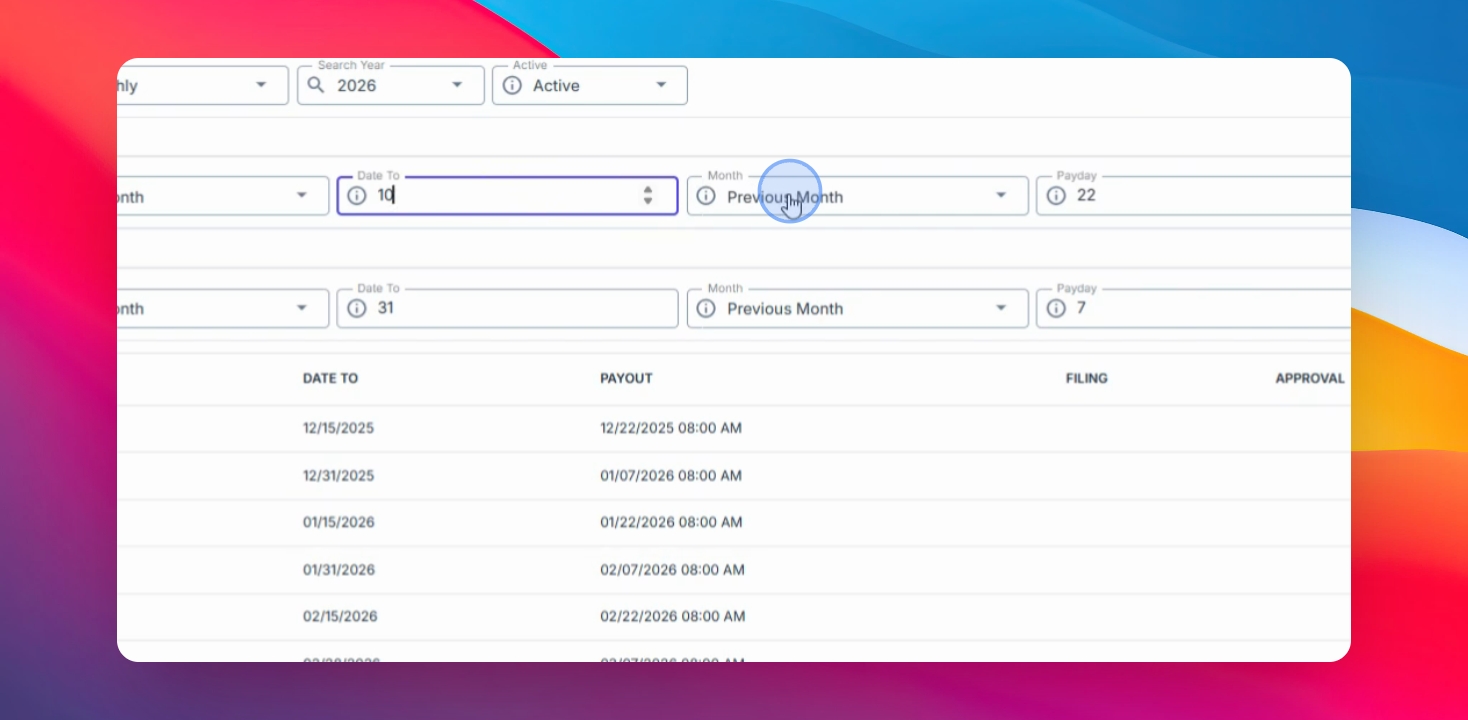
Step 9: Set First Cutoff Payout Date
Specify the payout date for the first cutoff, for example, the 15th of the month, and select the current month.
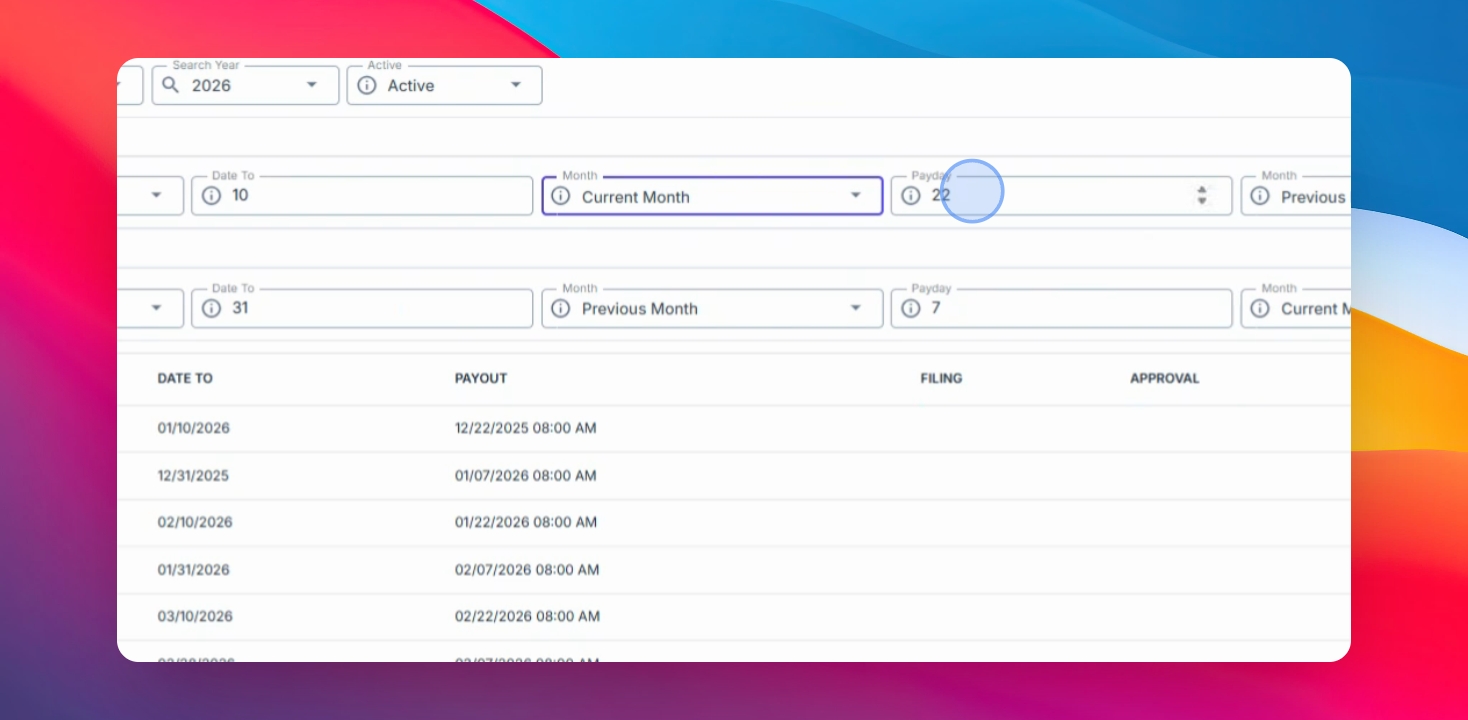
Step 10: Fill Second Cutoff Details
Enter the period for the second cutoff. For example, select 11th to 25th of the current month, and set the payment date as the 30th or 31st of the current month.
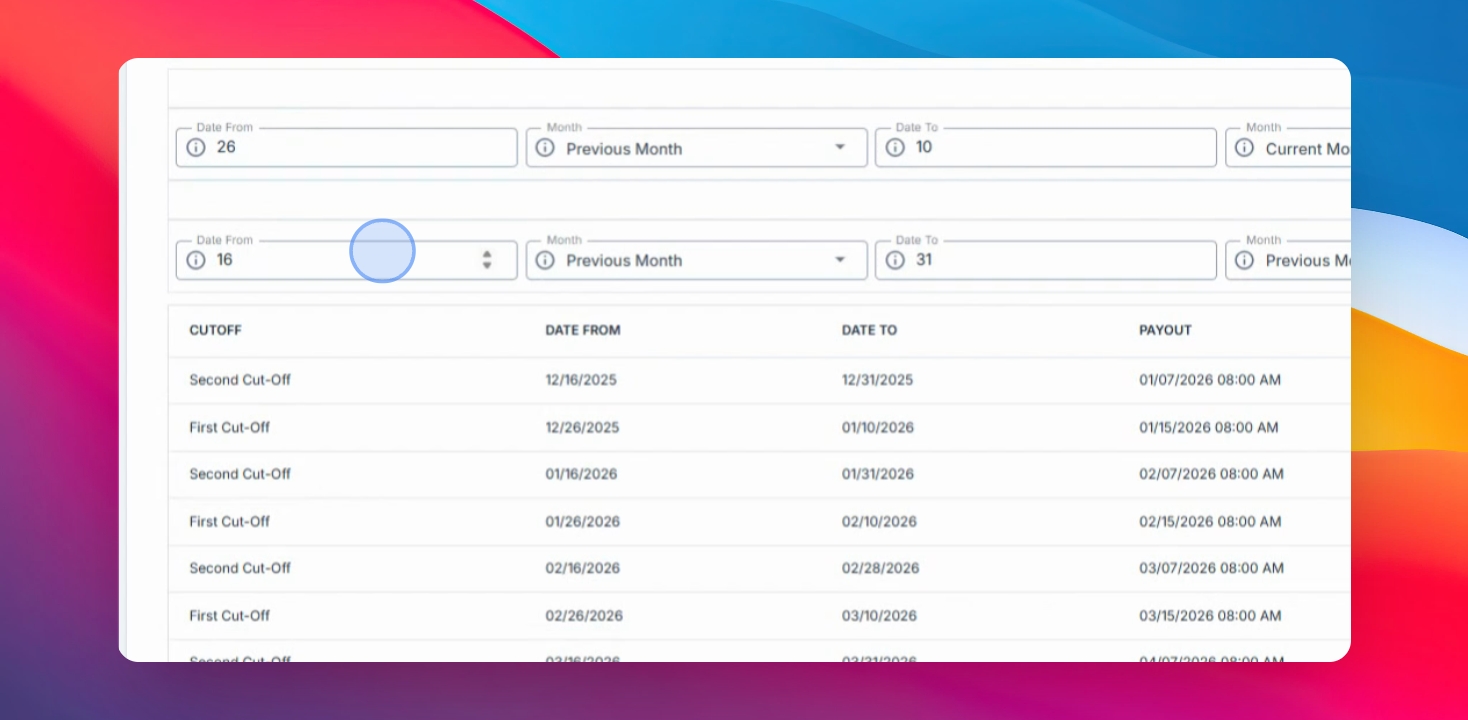
The cutoff period will be displayed for review before saving.
You can check the details, including the cutoff number, date range, and payout date, to ensure your setup is correct.
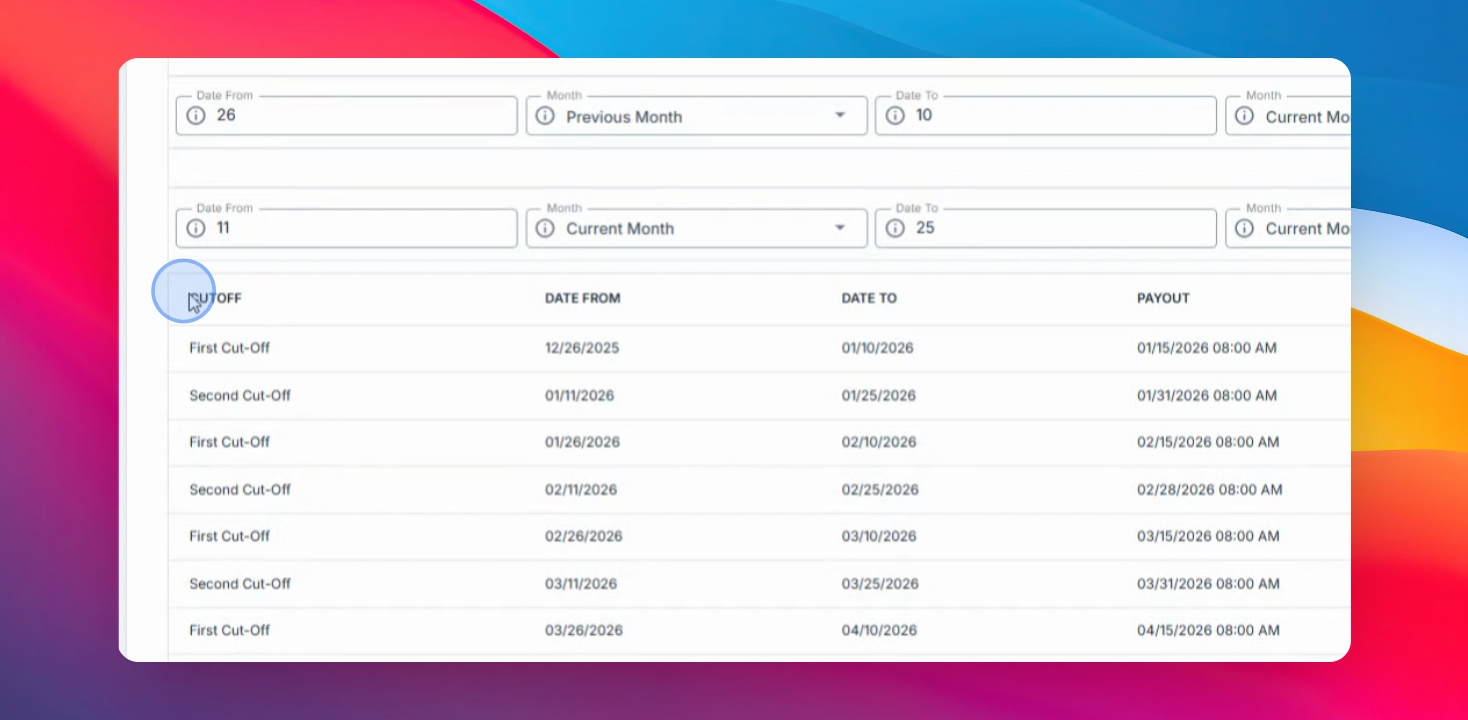
Step 11: Save the Cutoff
Once all information is correct, click Save to create the payroll cutoff record.