

Introduction
Managing your time logs accurately is crucial for effective time tracking and reporting. In this tutorial, we will guide you through the process of filing change time logs. Whether you forgot to clock in or out, this step-by-step guide will help you correct those entries quickly and efficiently.
How to Instructions
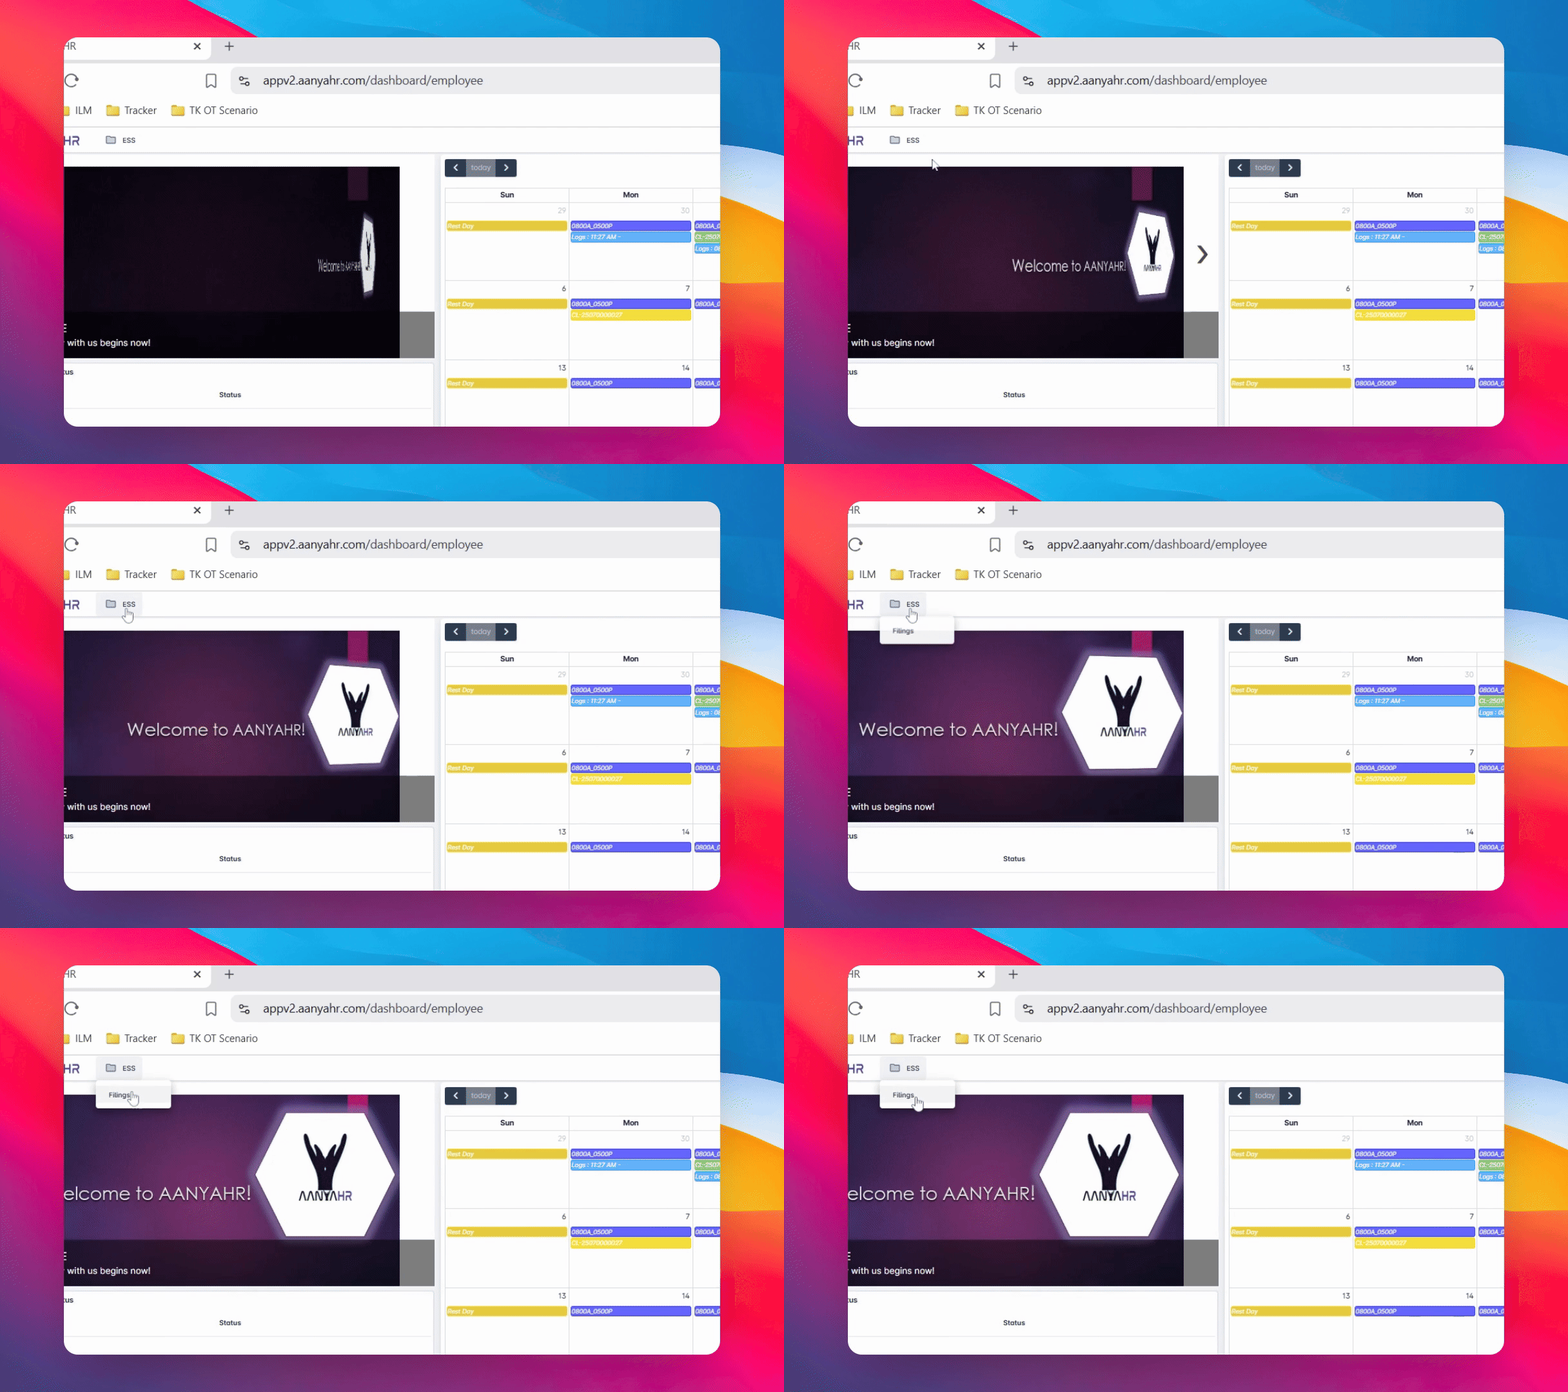
1. Access the Filings Section
Navigate to the ESS module and click on Filings.
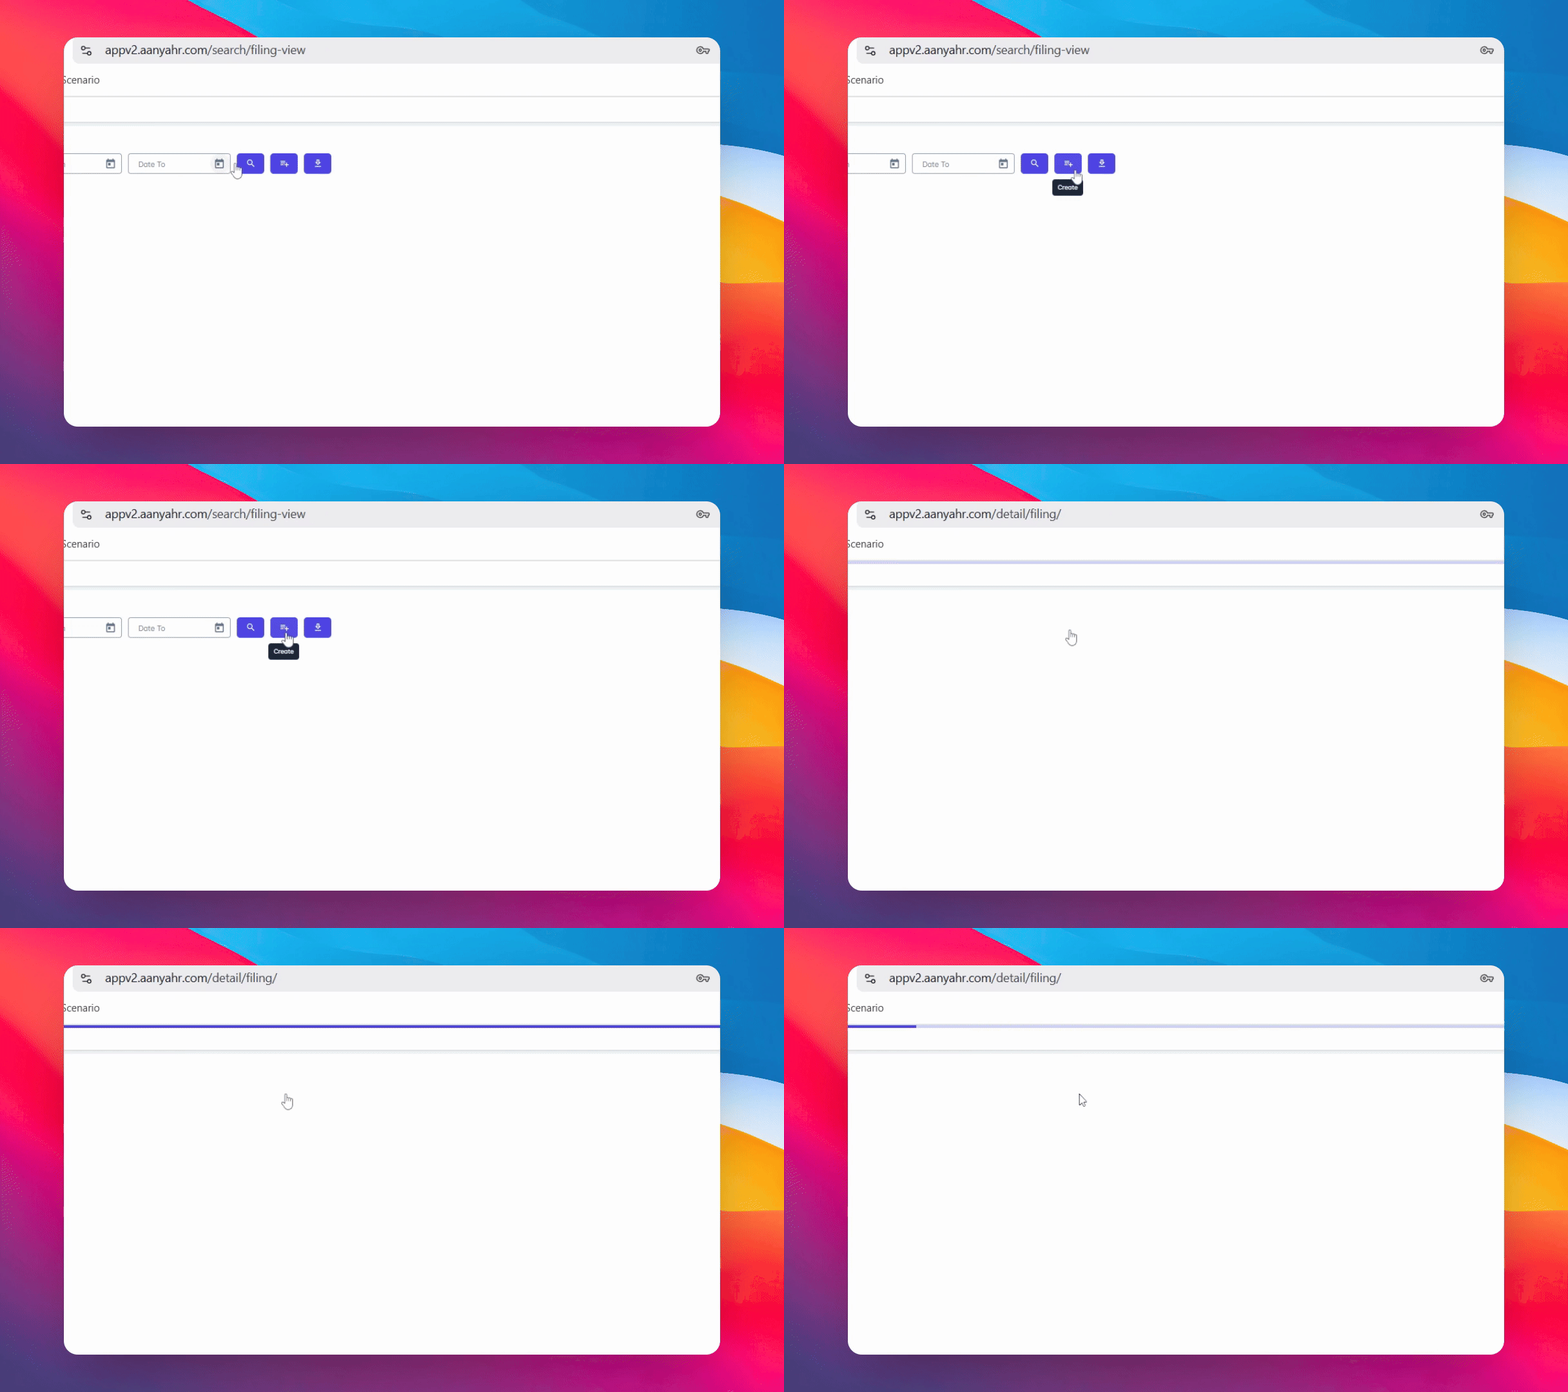
2. Create a New Filing
Click the Create button to initiate a new filing.
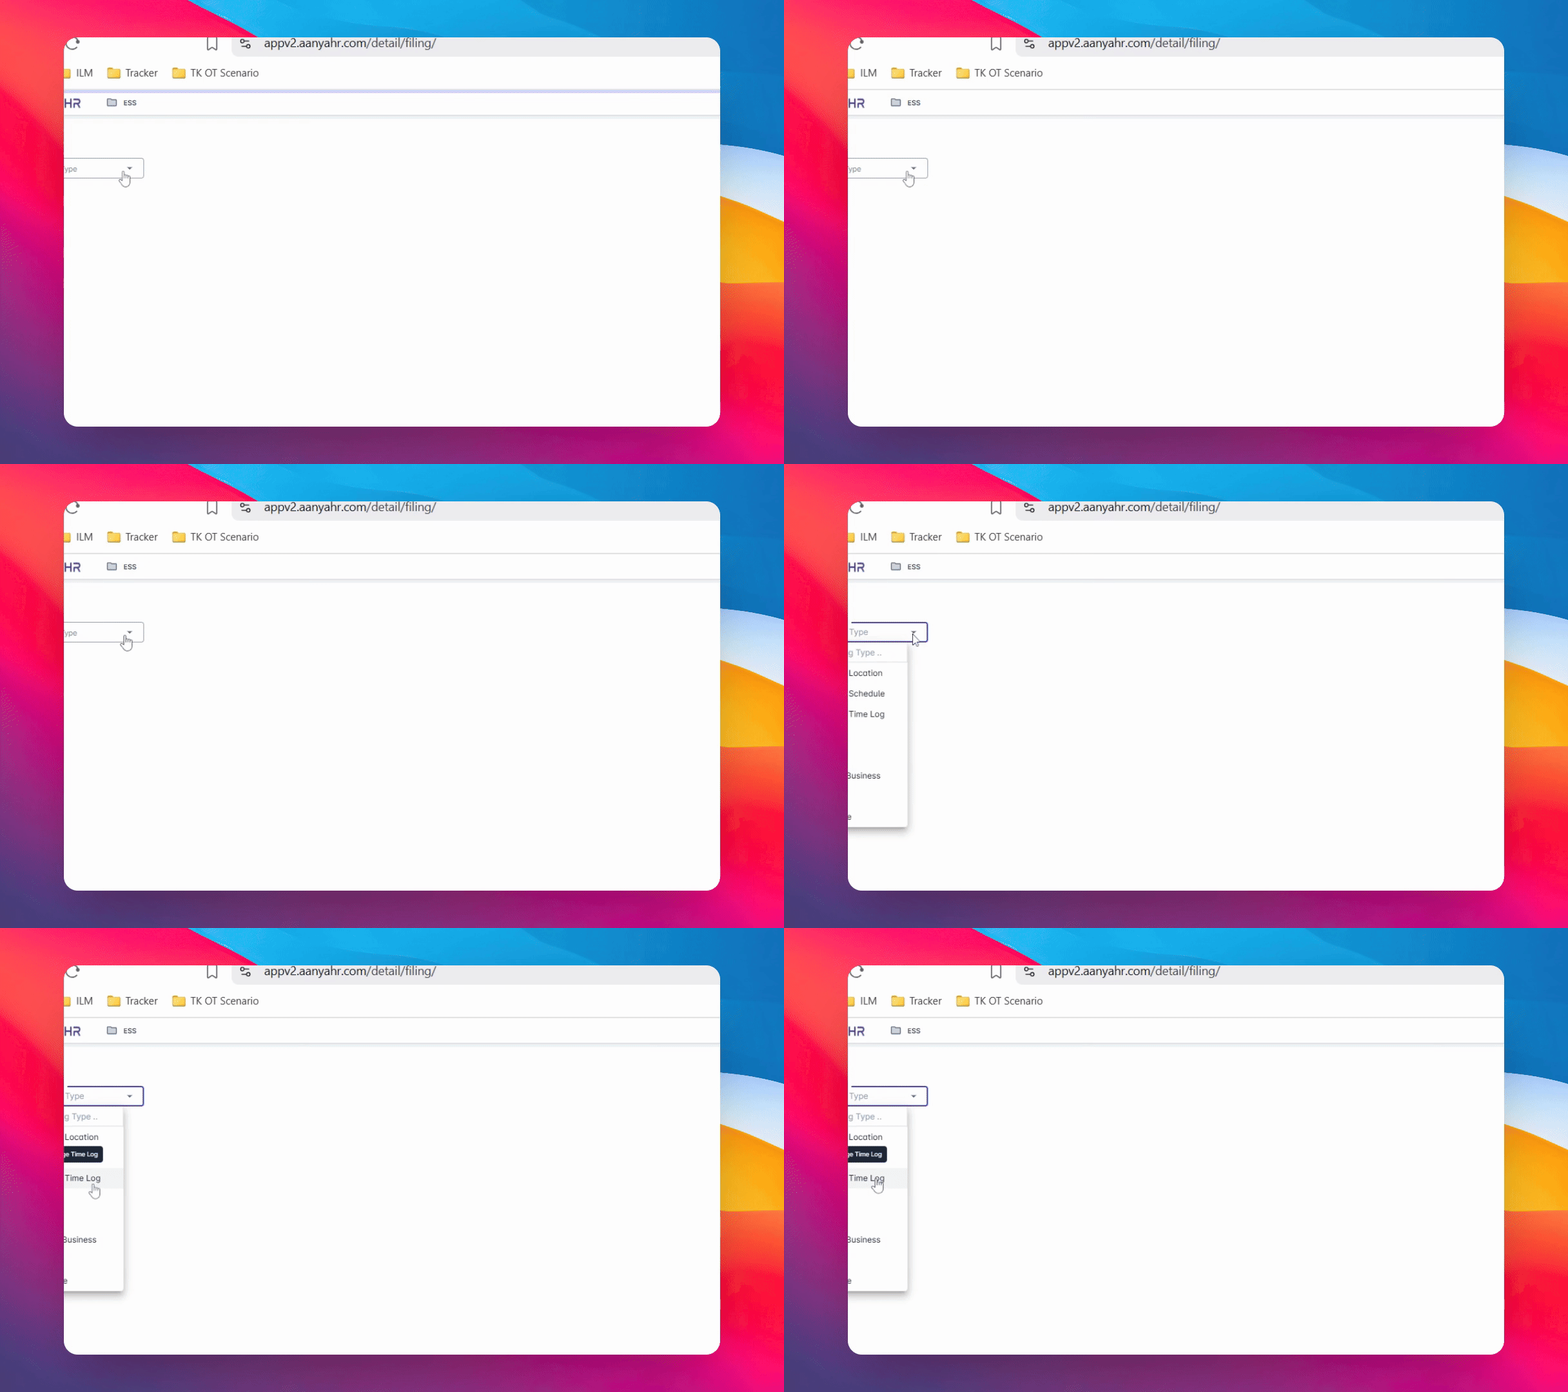
3. Select Filing Type
From the Filing type dropdown menu, choose Date Change Time Log.
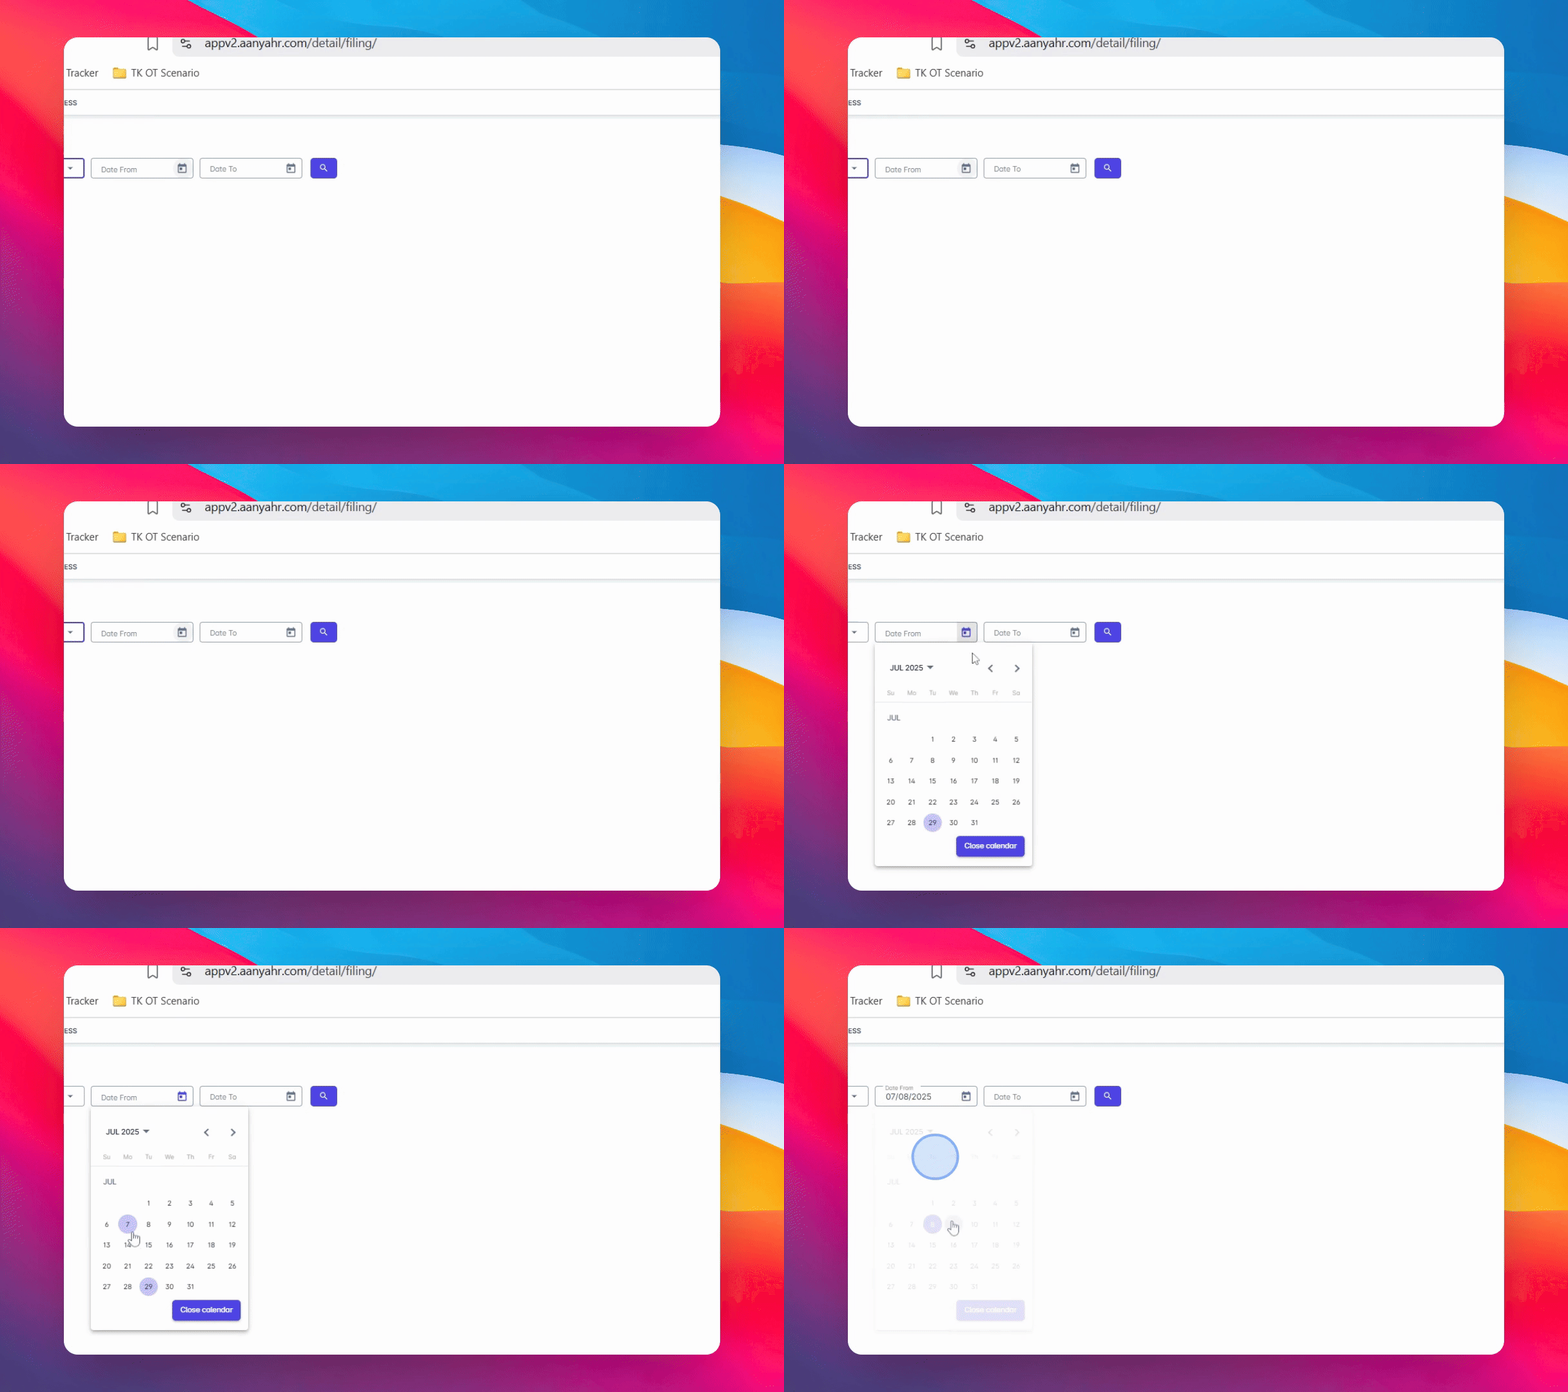
4. Choose Dates
Select the dates you want to file for your change time log.
5. Date Range Selection
You can choose a date range if the days are consecutive. If you are filing for just one day, select the same date in both Date from and Date to.
6. Confirm Date Selection
In this example video, we are filing for just one day only.
7. Search for Scheduled Details
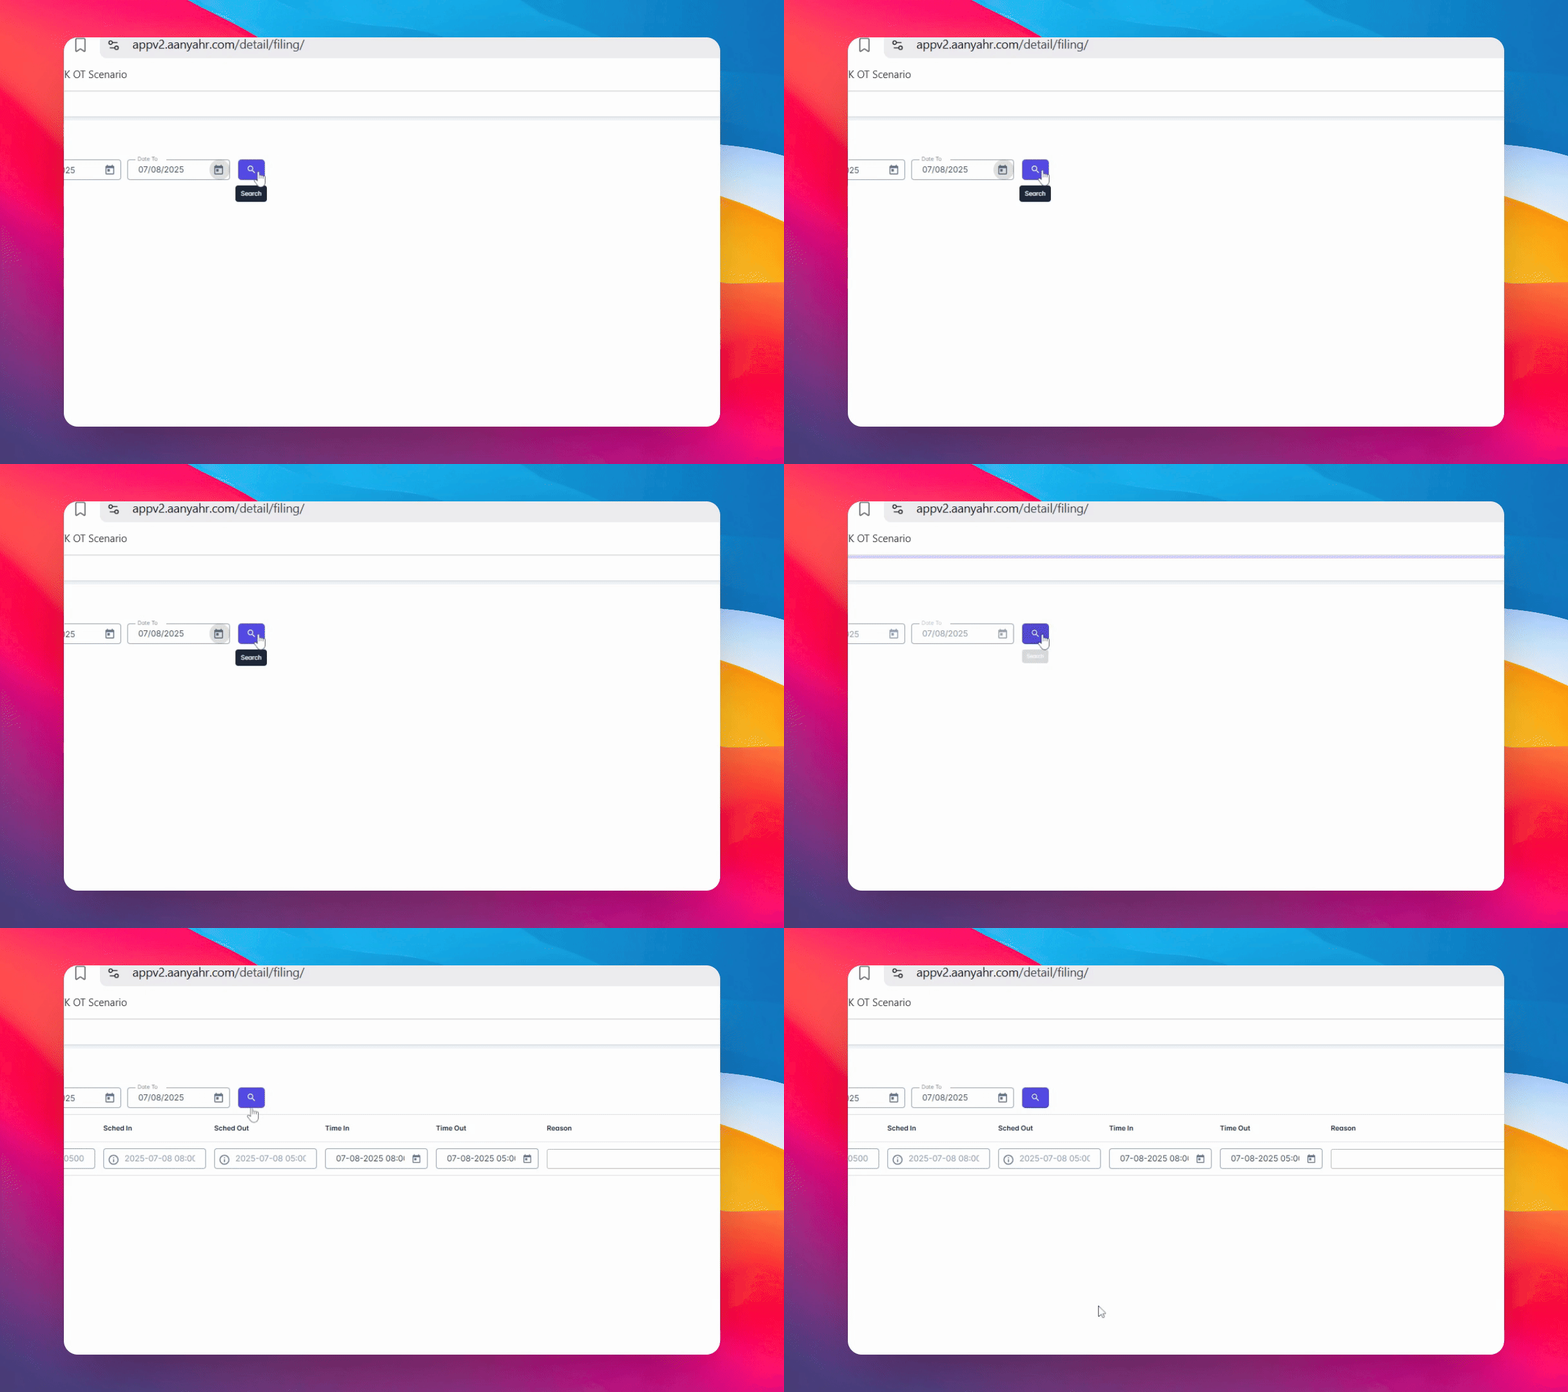
After selecting the dates, click the Search button. Your scheduled details will appear below.
8. Enter Time Logs
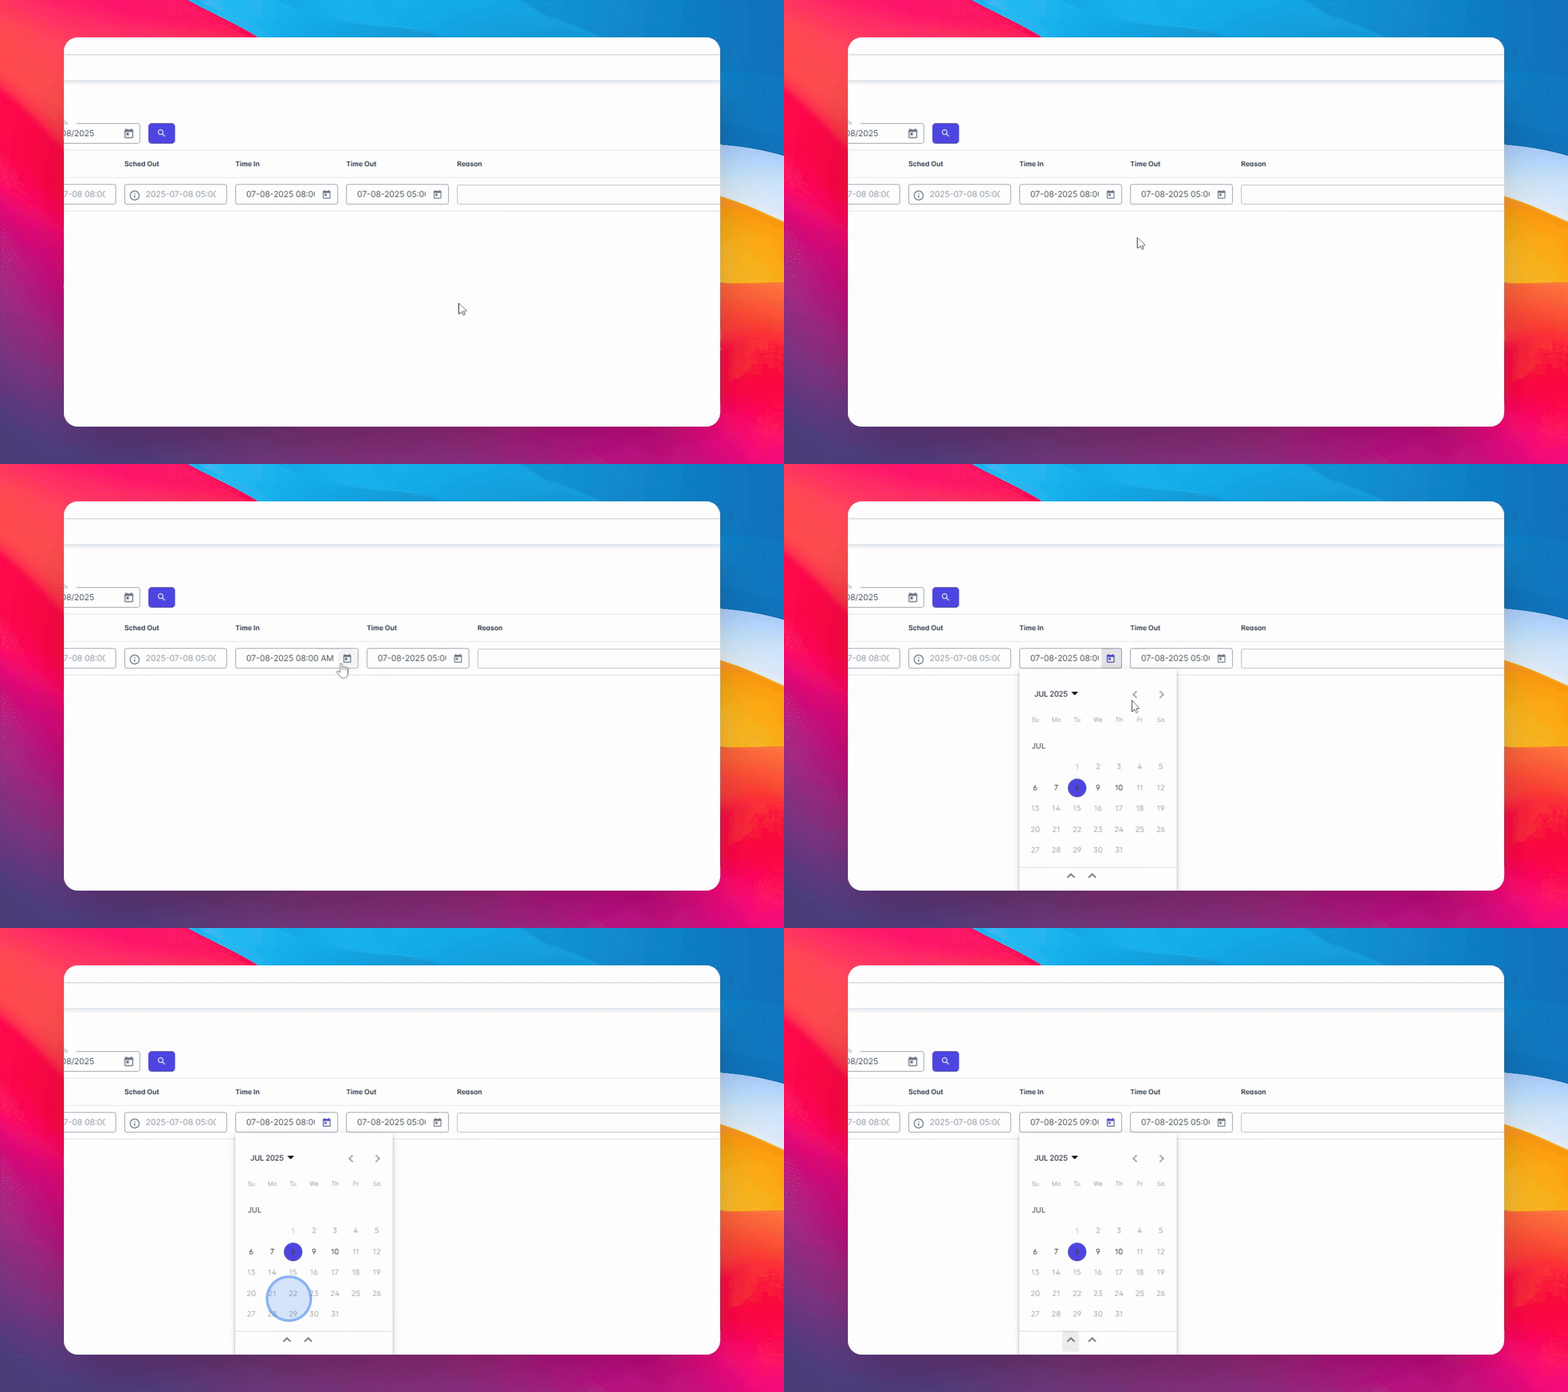
Input the correct time logs in the Time in and Timeout fields.
9. Add Reason and Supporting Documents
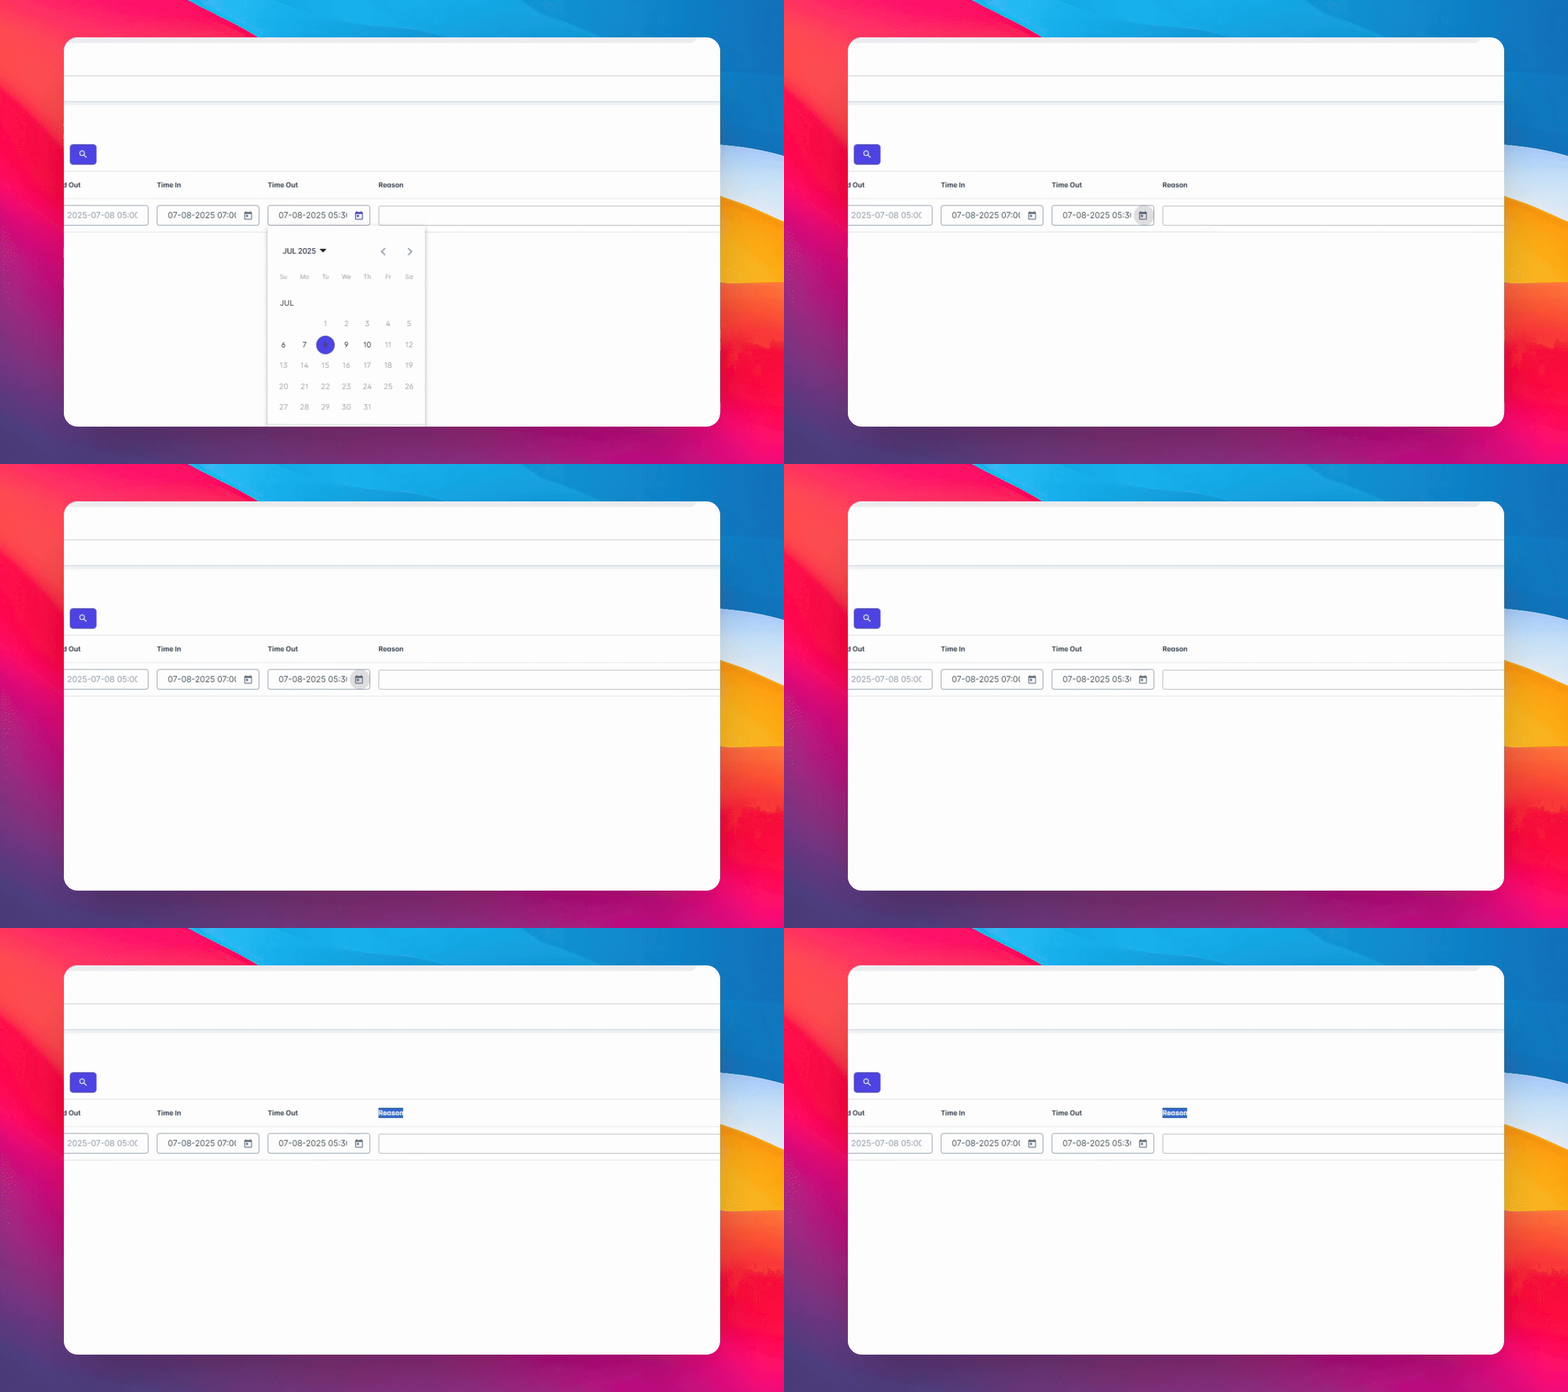
Add a reason for the change and upload any supporting documents if needed.
10. Leave Blank if Not Required
If supporting documents are not required, you may leave this section blank.
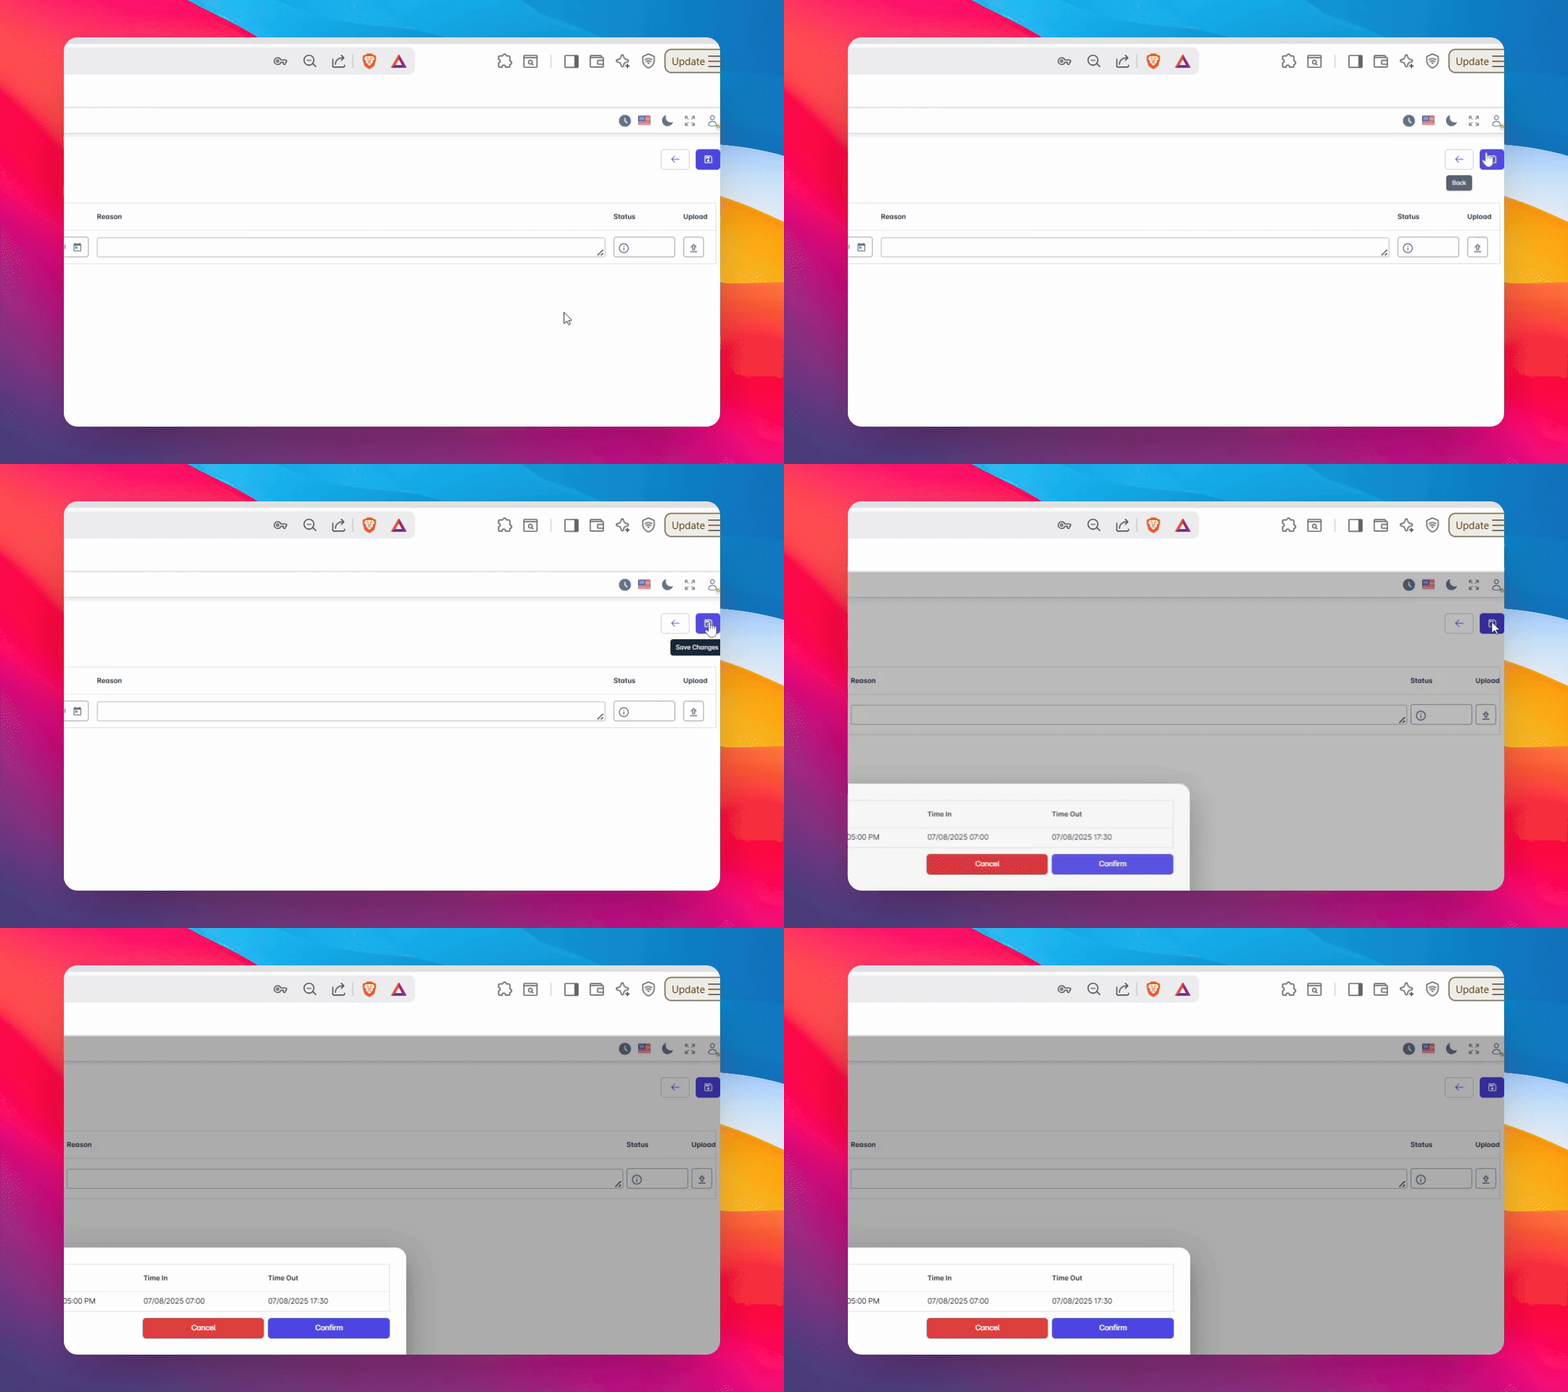
11. Save Your Changes
Click on Save to submit your change time log.
12. Confirm Submission
Once done, a confirmation message will pop up.
13. Finalize Submission
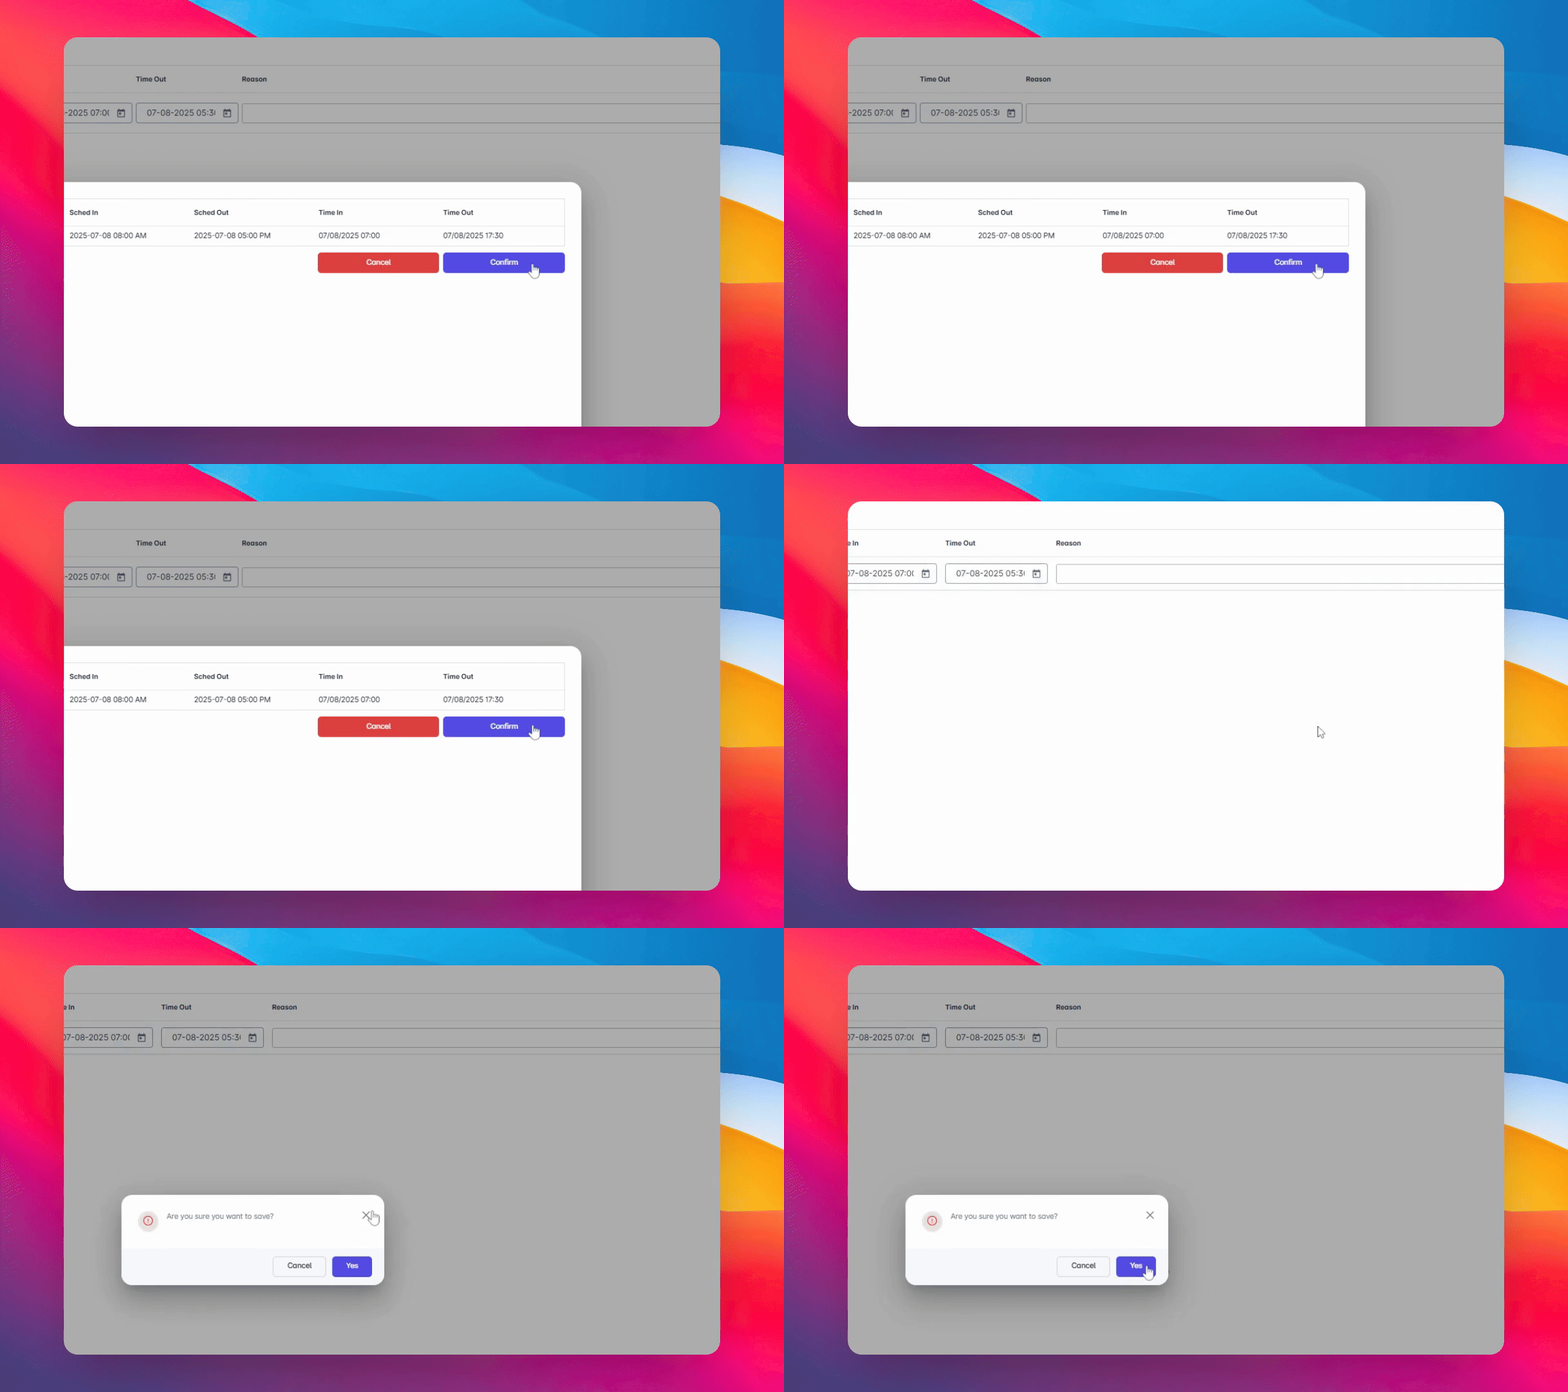
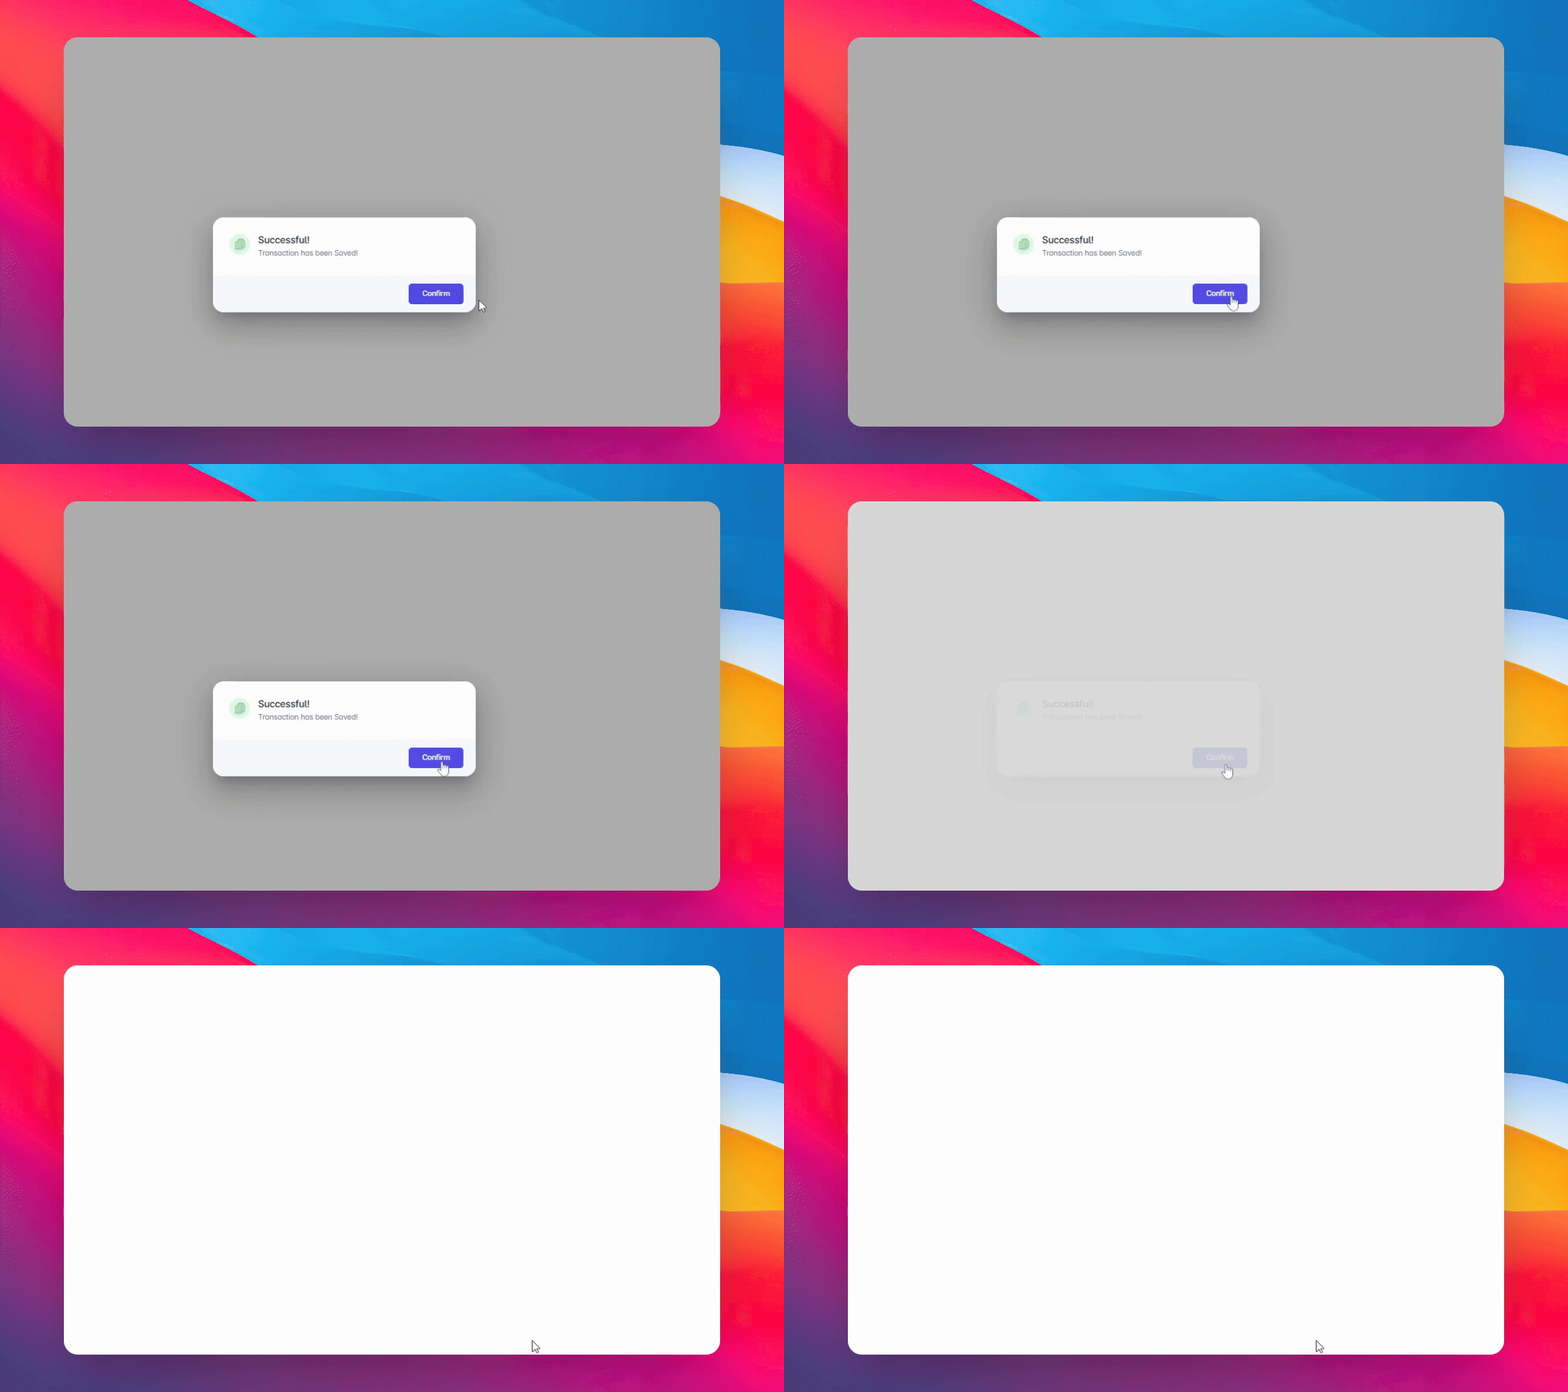
Click Confirm and then click yes and Confirm to finalize your submission.
14. Submission Complete
And that's it! Your change time log has now been submitted and is waiting for approval, depending on the setup approval process.
Conclusion
By following these steps, you have successfully filed a change time log to correct your time entries. Ensure to keep track of any approvals required for your submission.