Follow these steps to assign a shift with modified breaks.
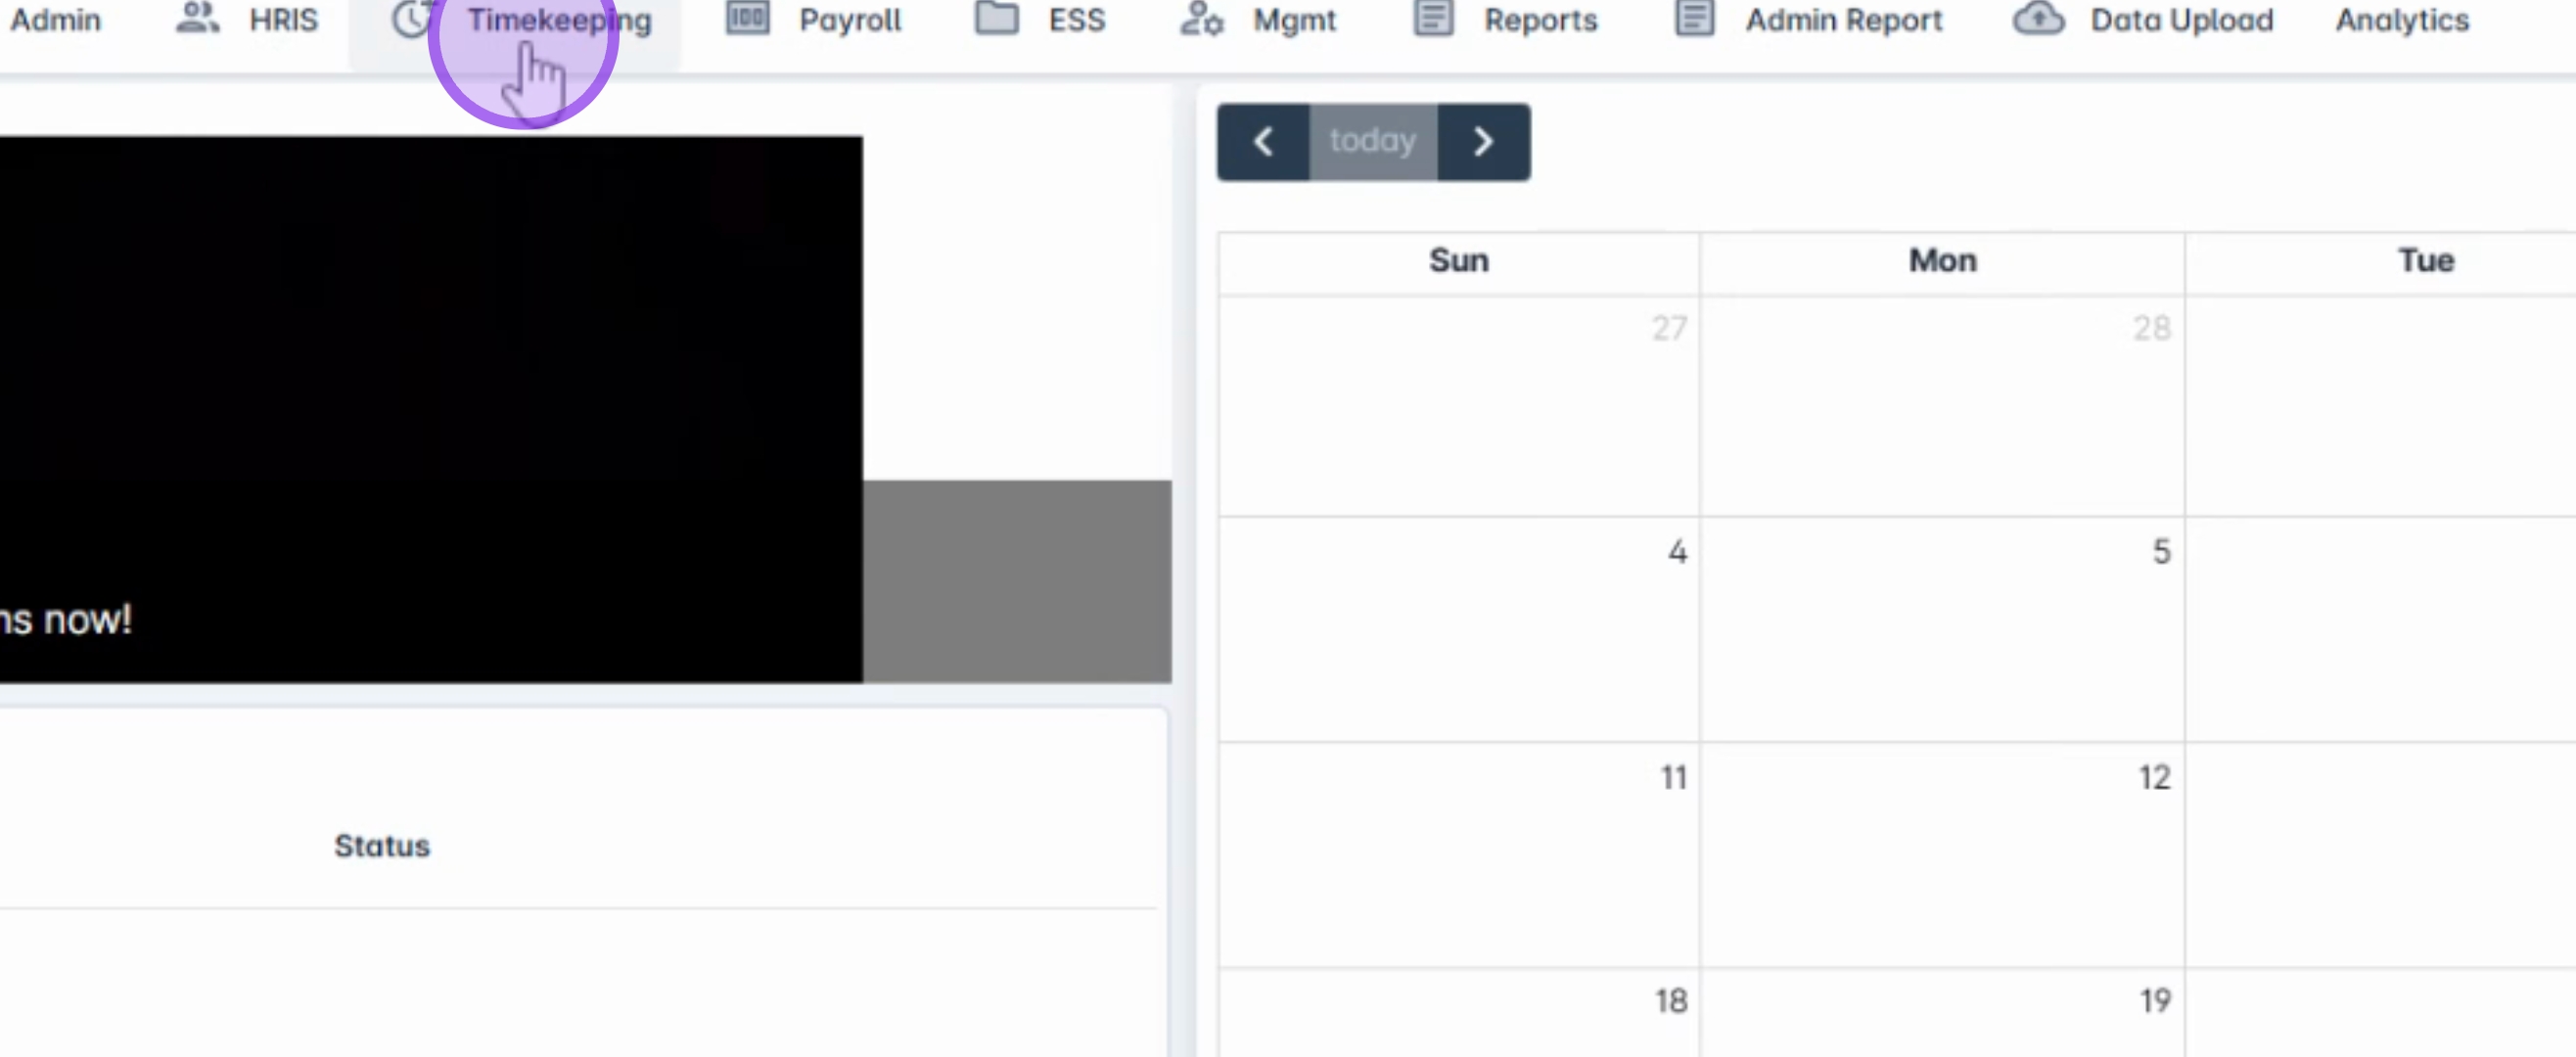
Begin by navigating to the Timekeeping module and selecting the assigned shift that includes a break.
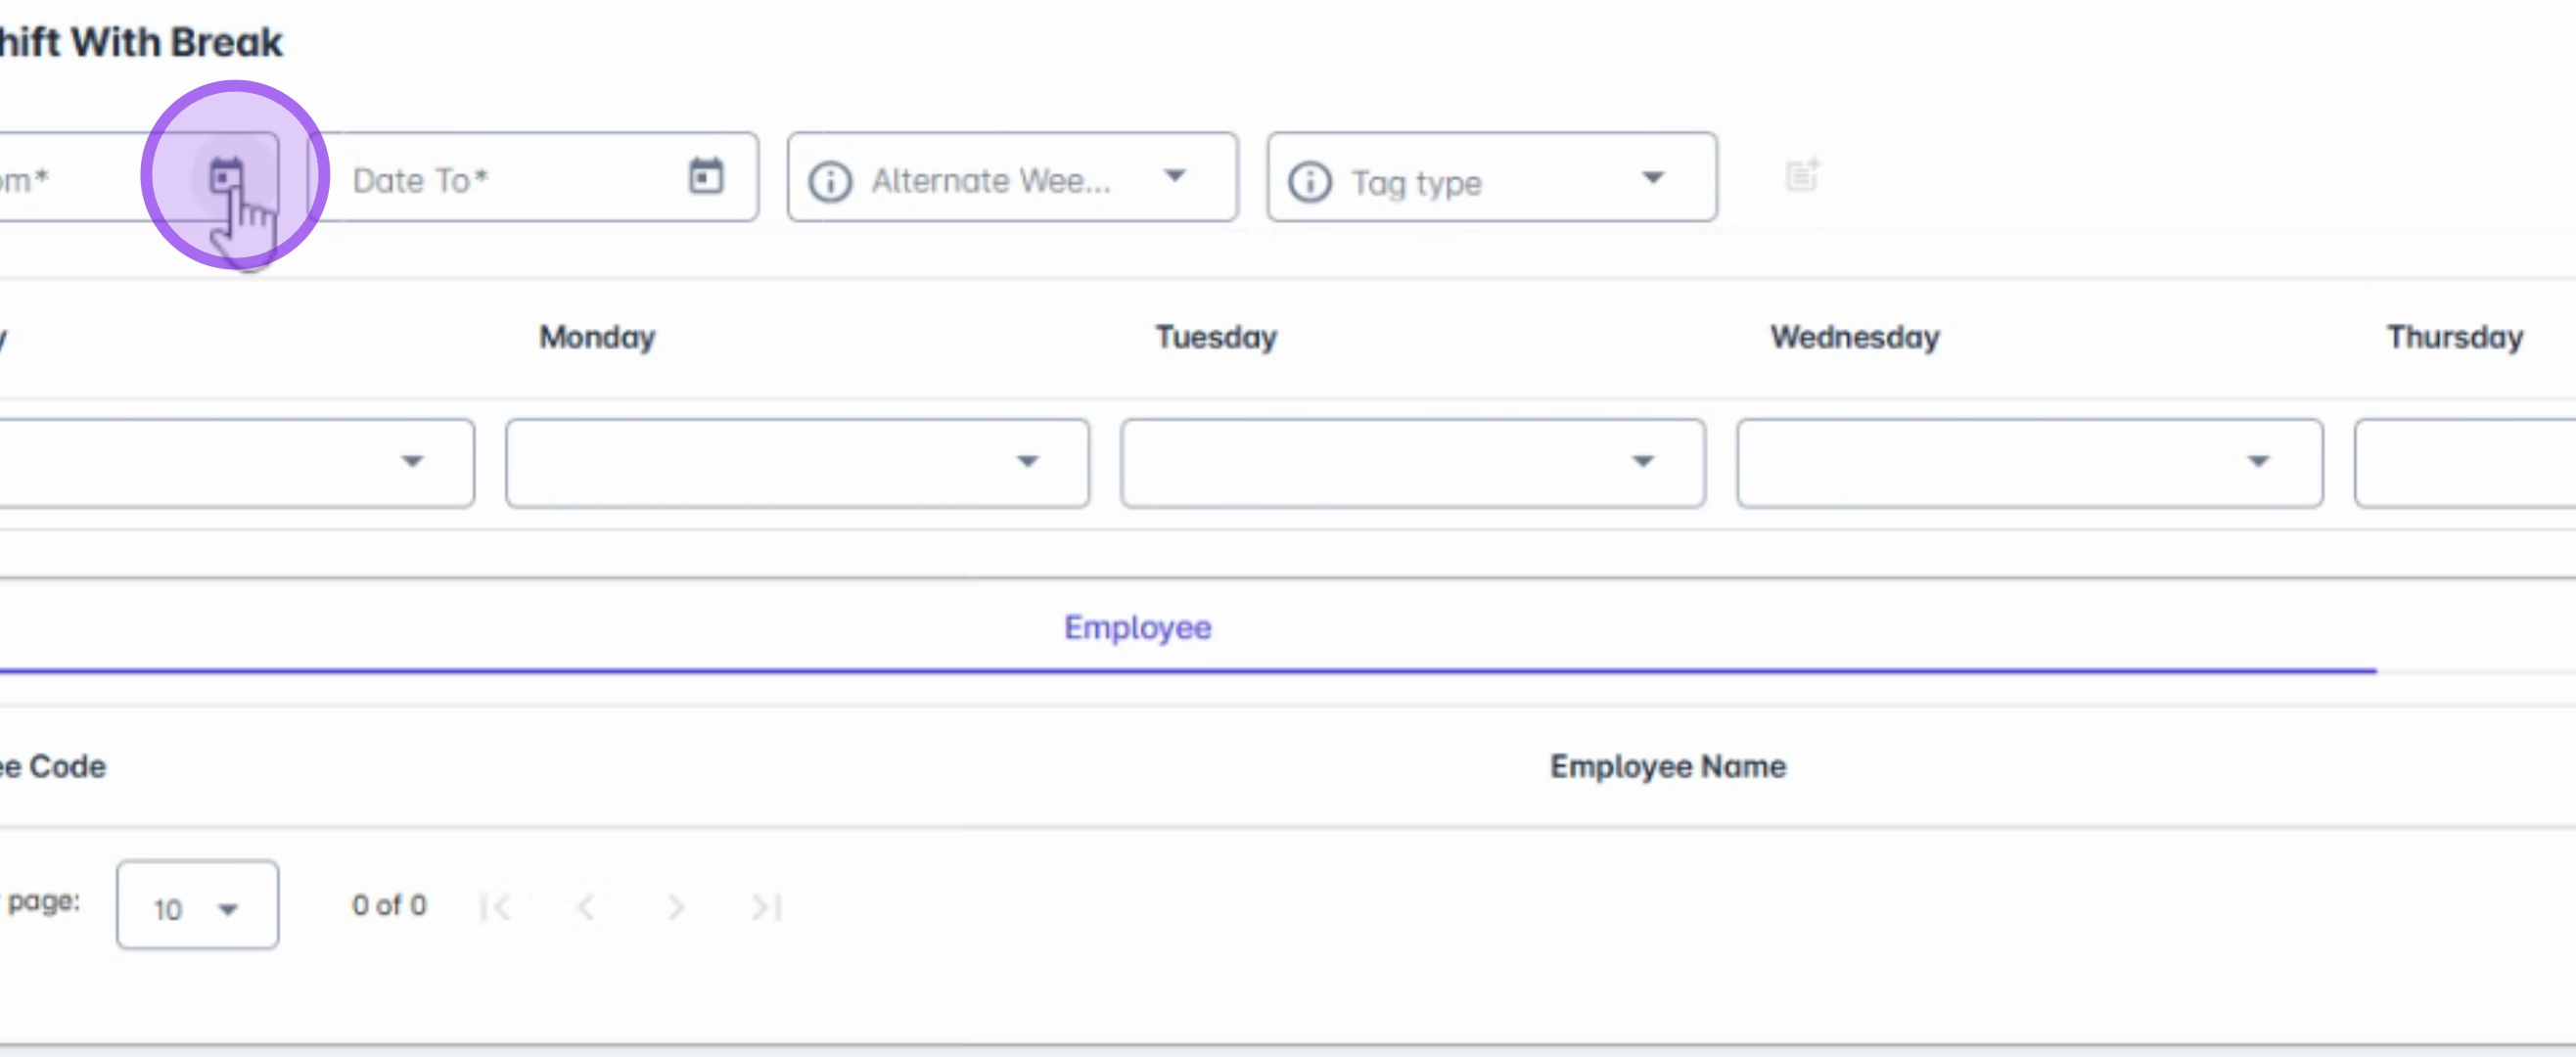
Select the date from and date to for which you intend to override the schedules and break. You can also choose a specific date or a date range to override an employee's schedule for the entire cutoff period in the alternate week.
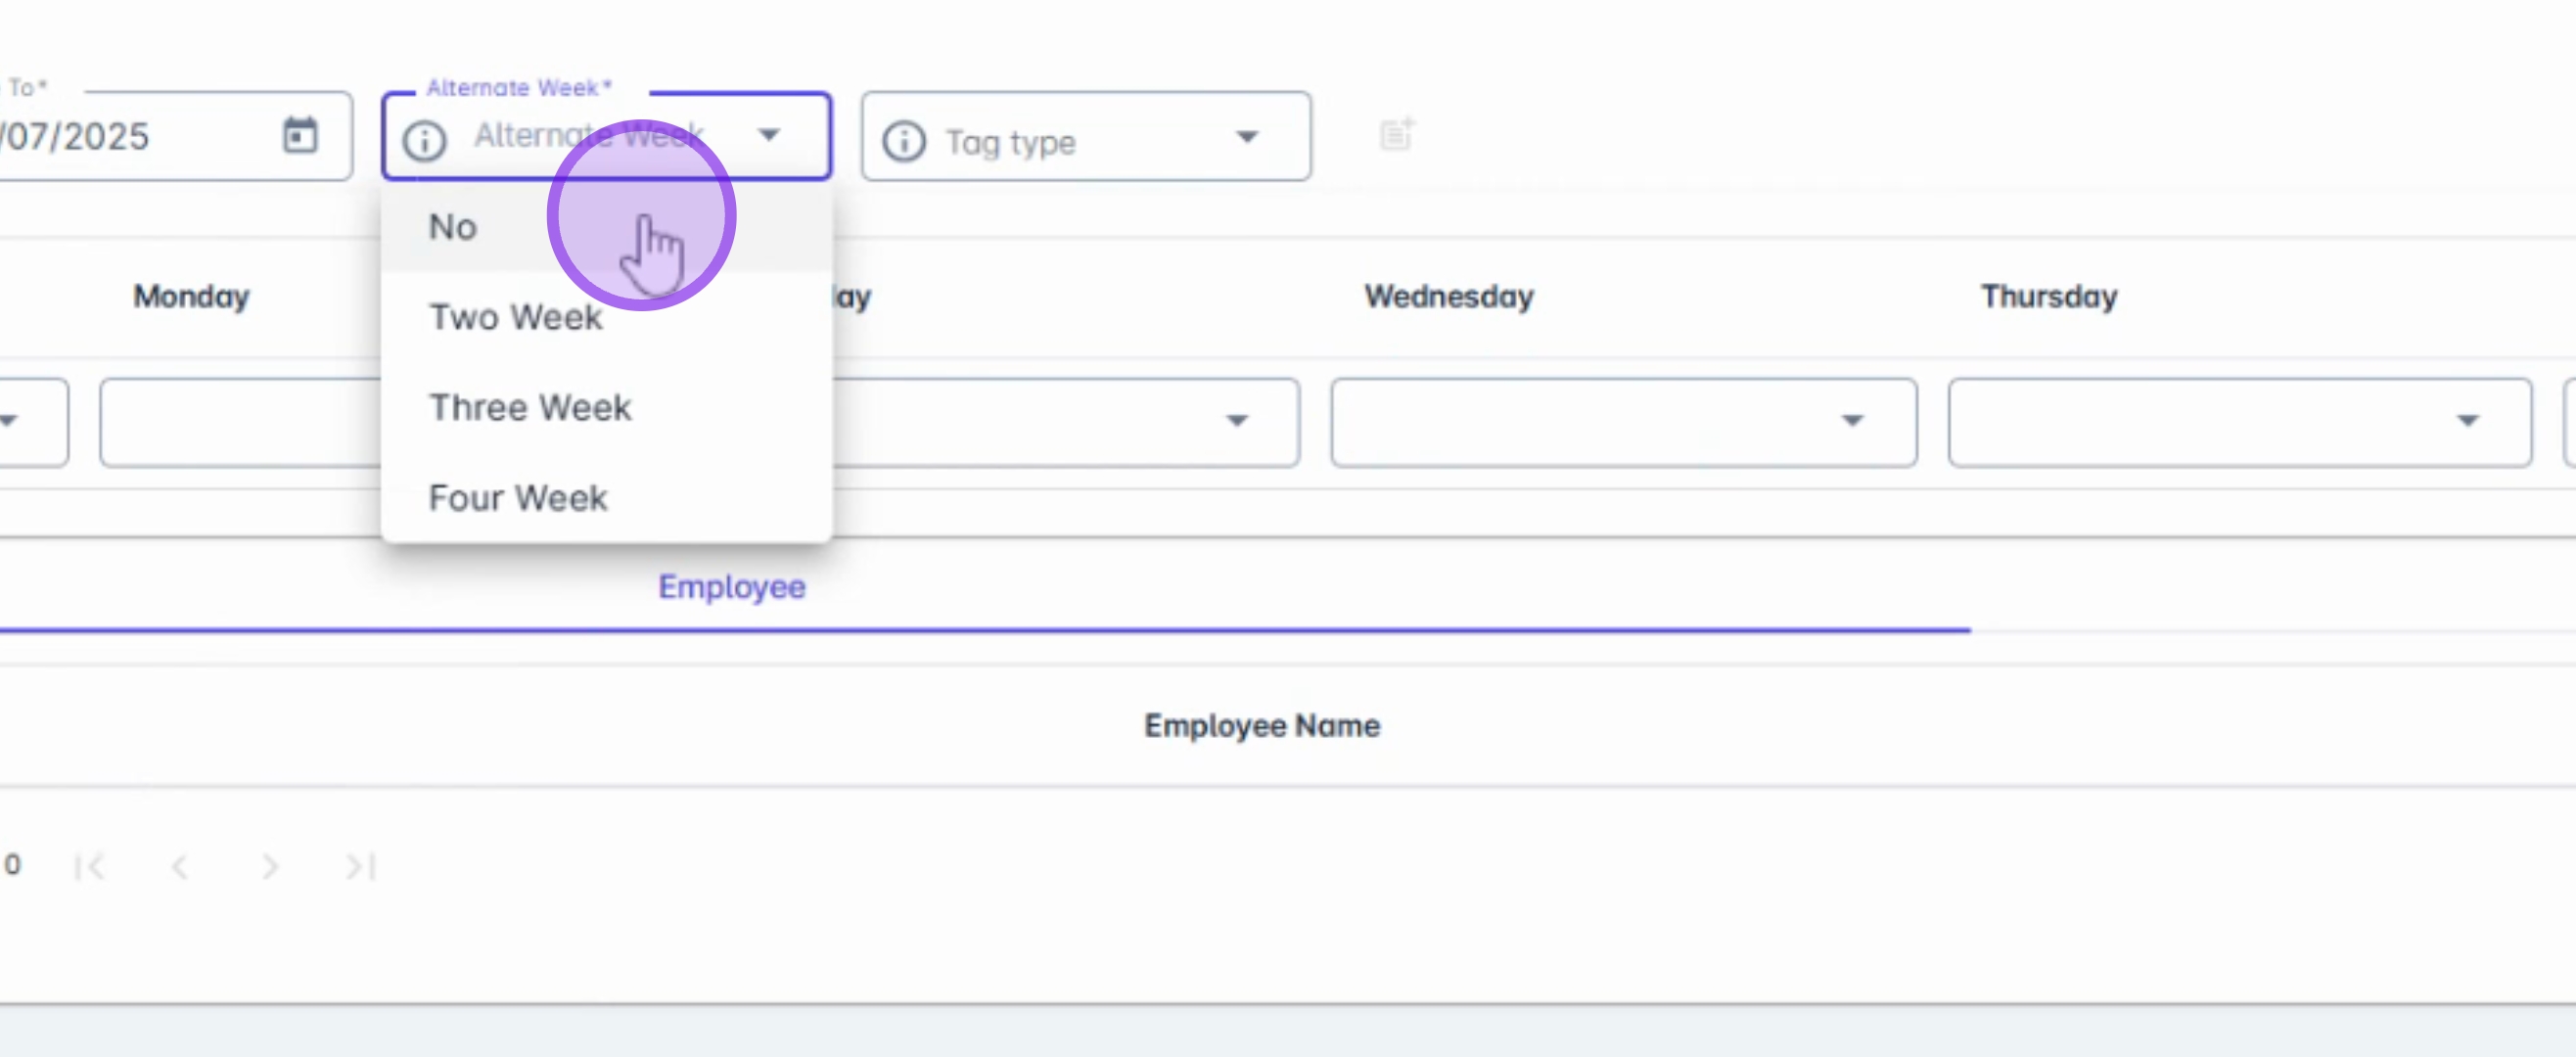
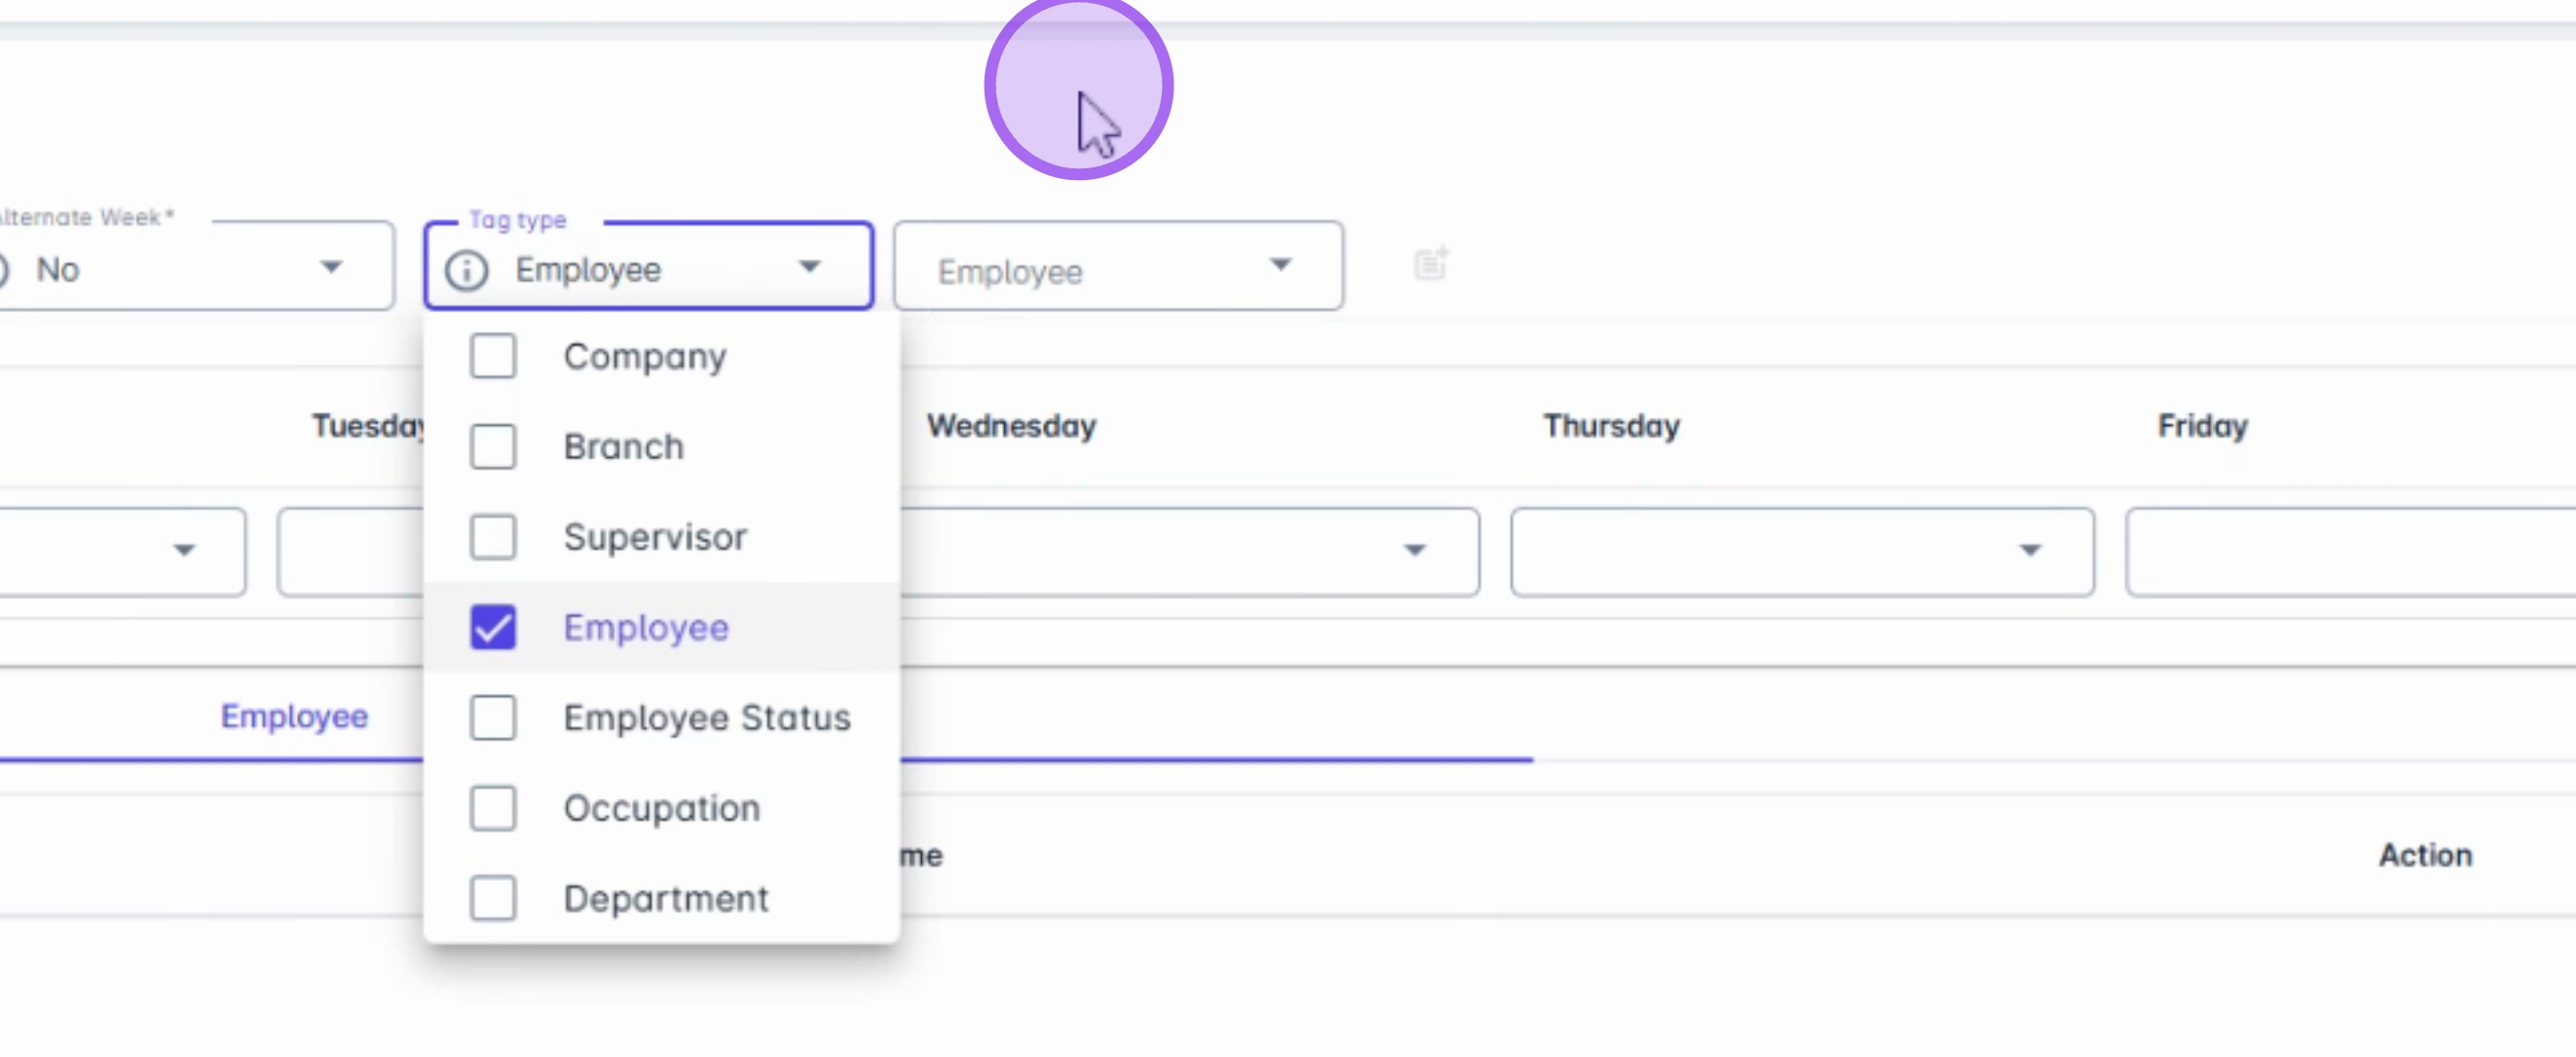
From the dropdown menu, select No in the tag type.
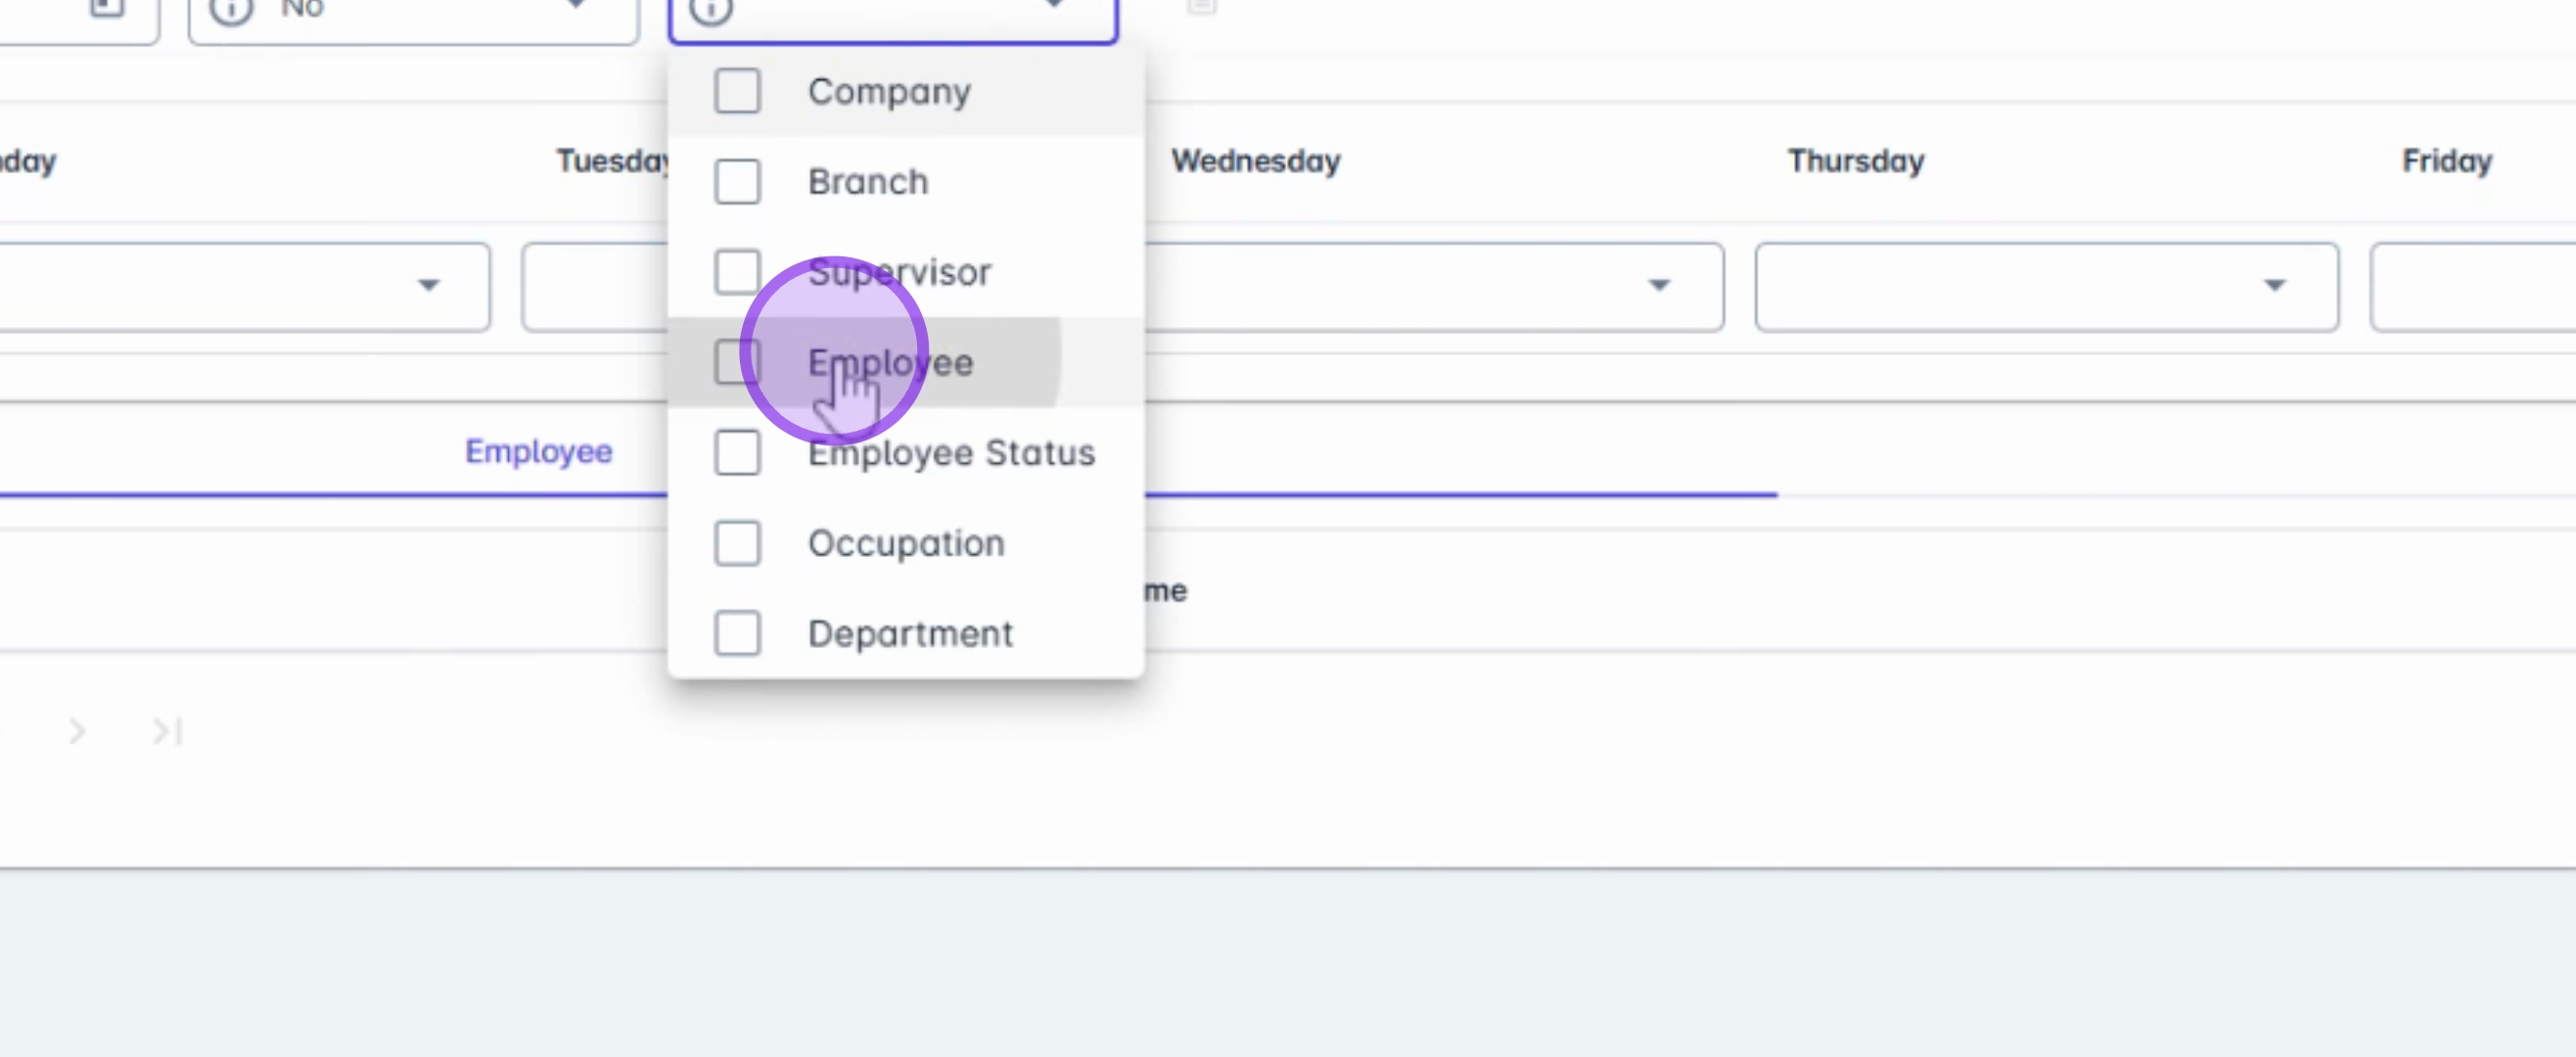
Choose how you would like to filter the employees from the dropdown. For instance, if you want to assign a shift to a specific employee, select Employee.
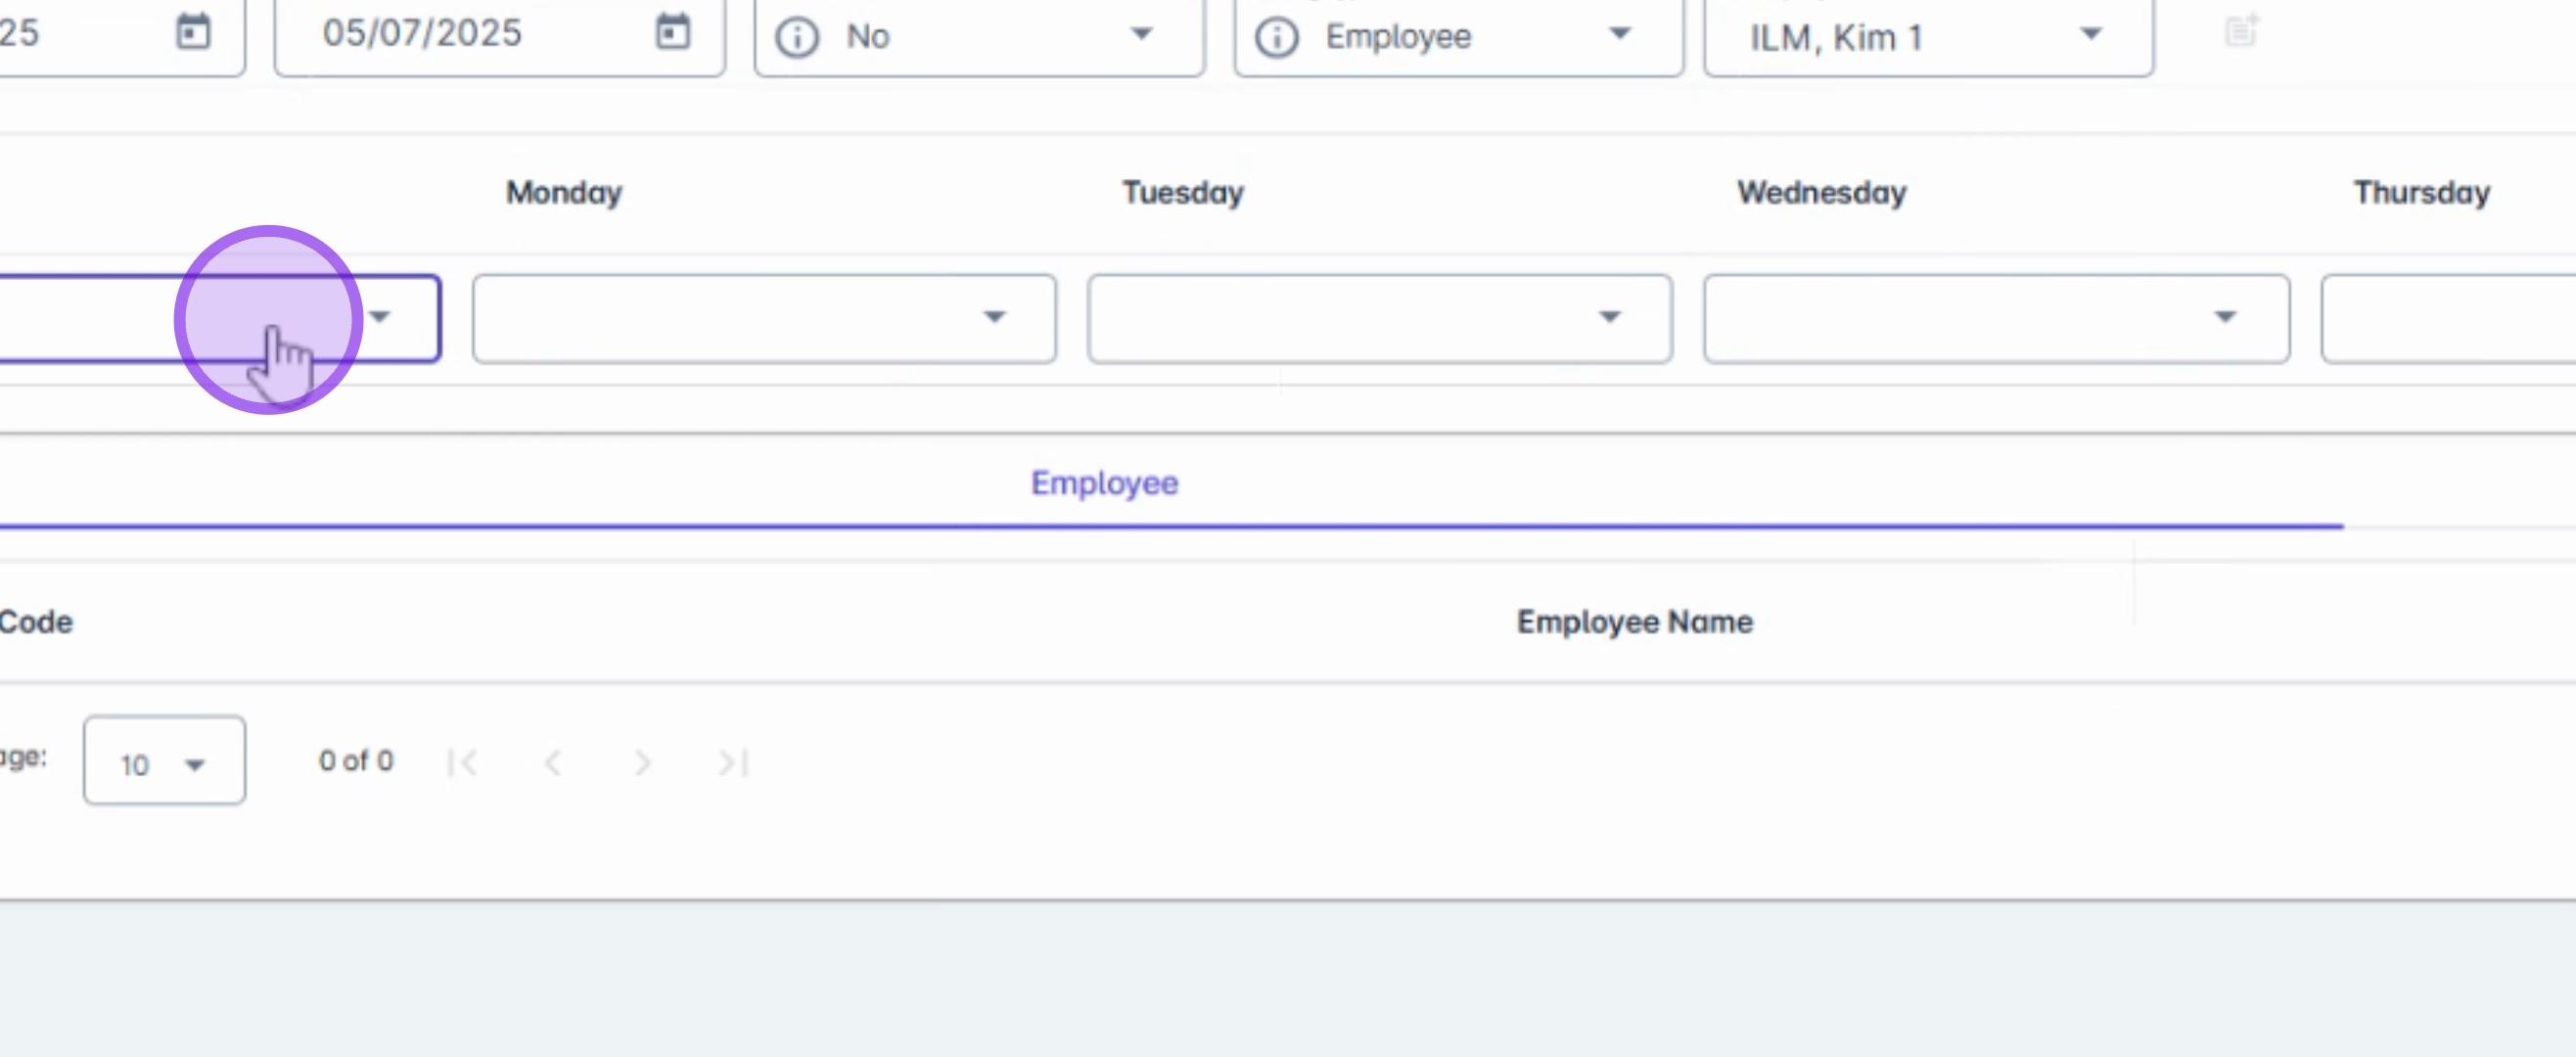
Next, search for the employee's name in the Apply dropdown.
Once you have selected the employee, choose the schedule from the Apply dropdown. The schedule will automatically populate the shift break and OT break gap.
Choose the specific shift break you wish to assign.
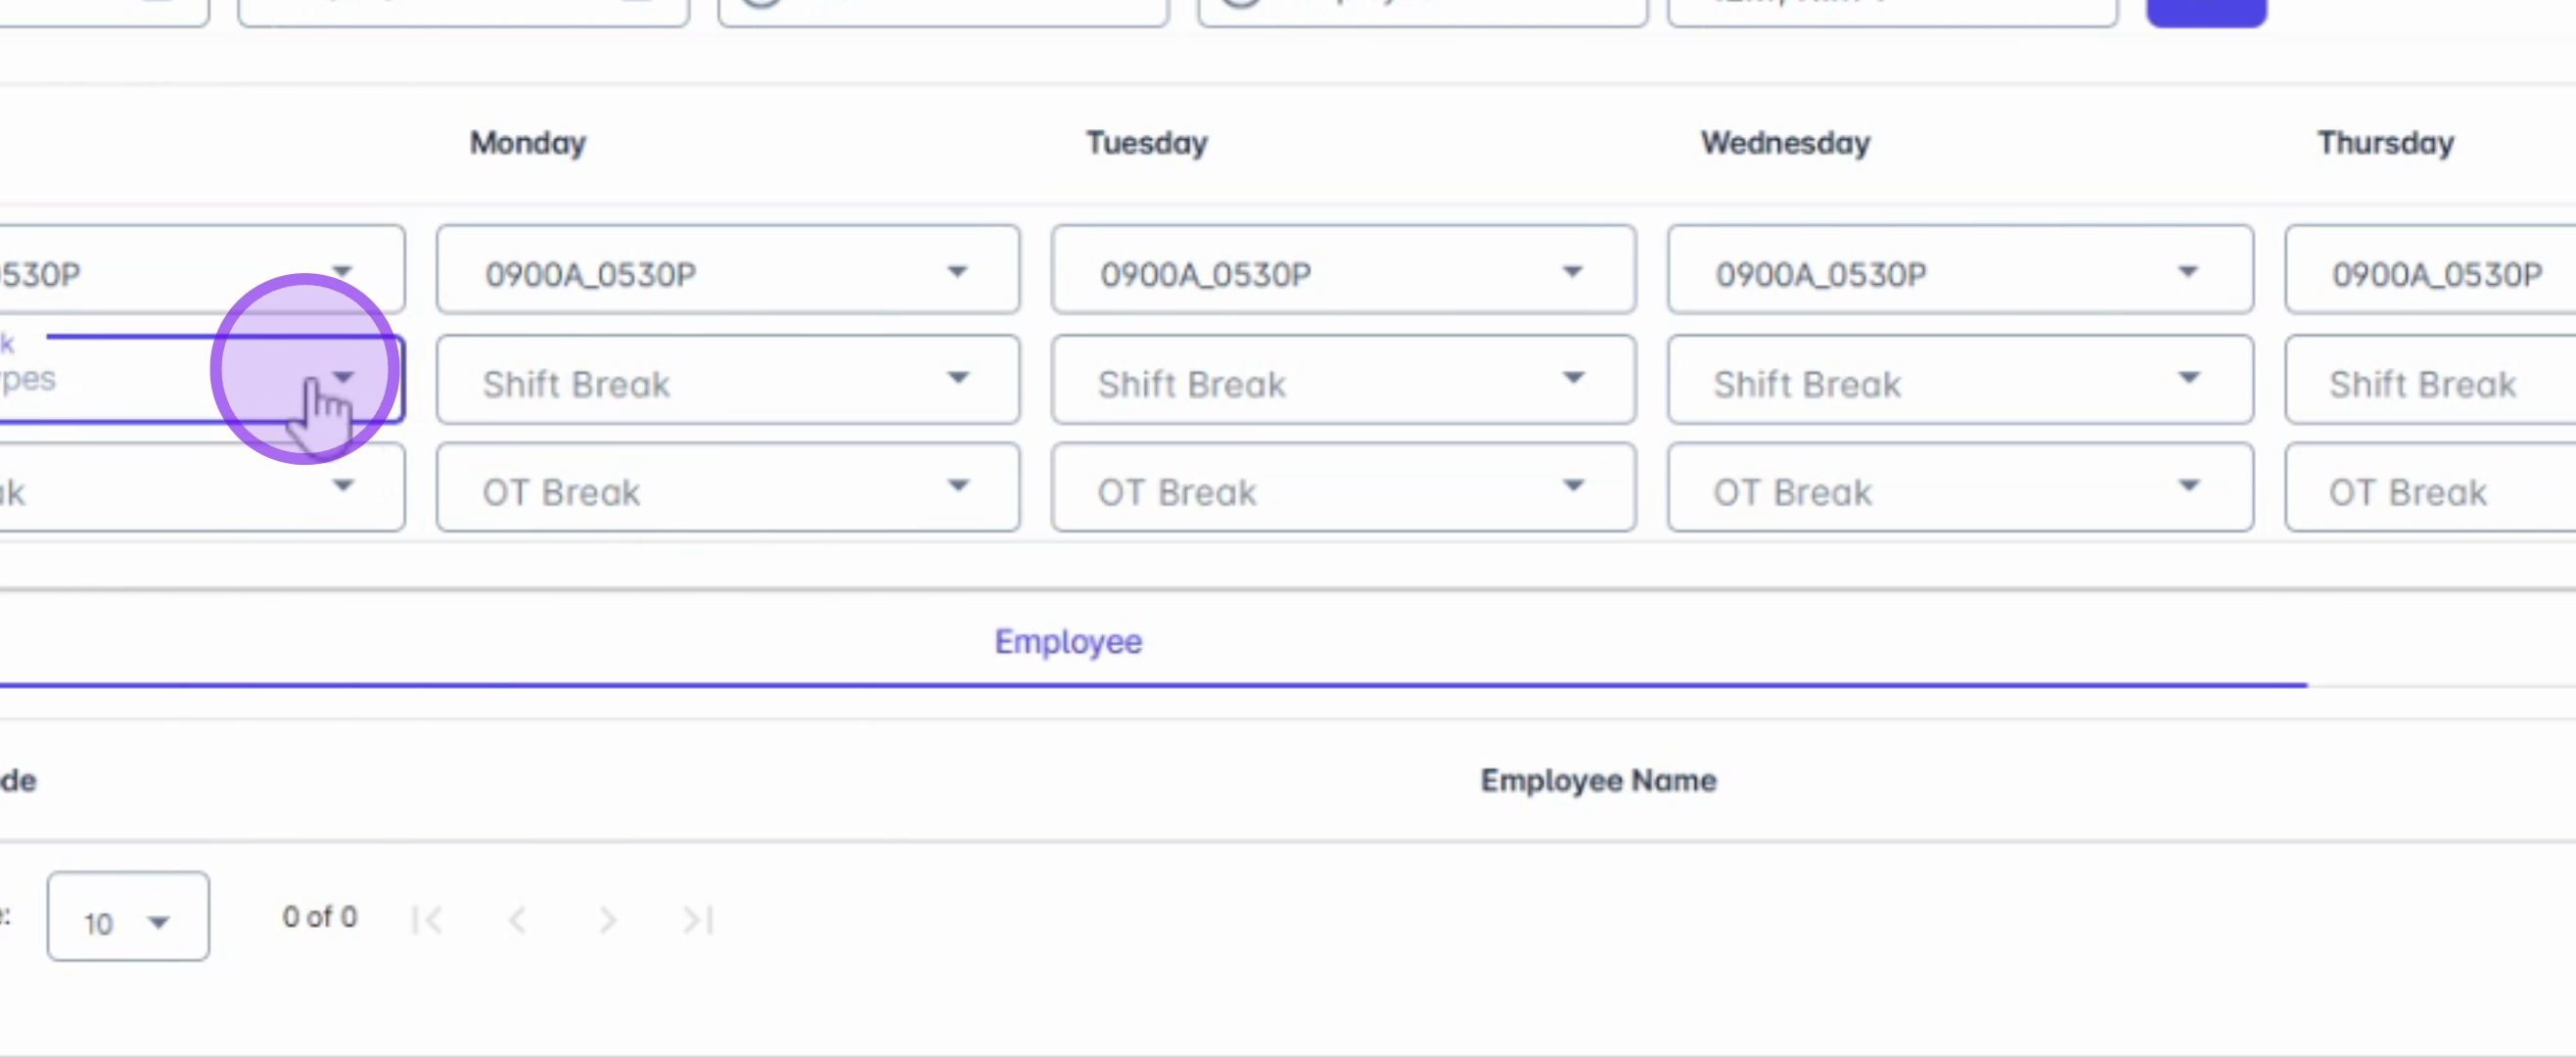
If needed, apply the same steps for the OT Break.

After selection, the employee's name will automatically populate in the employee panel.
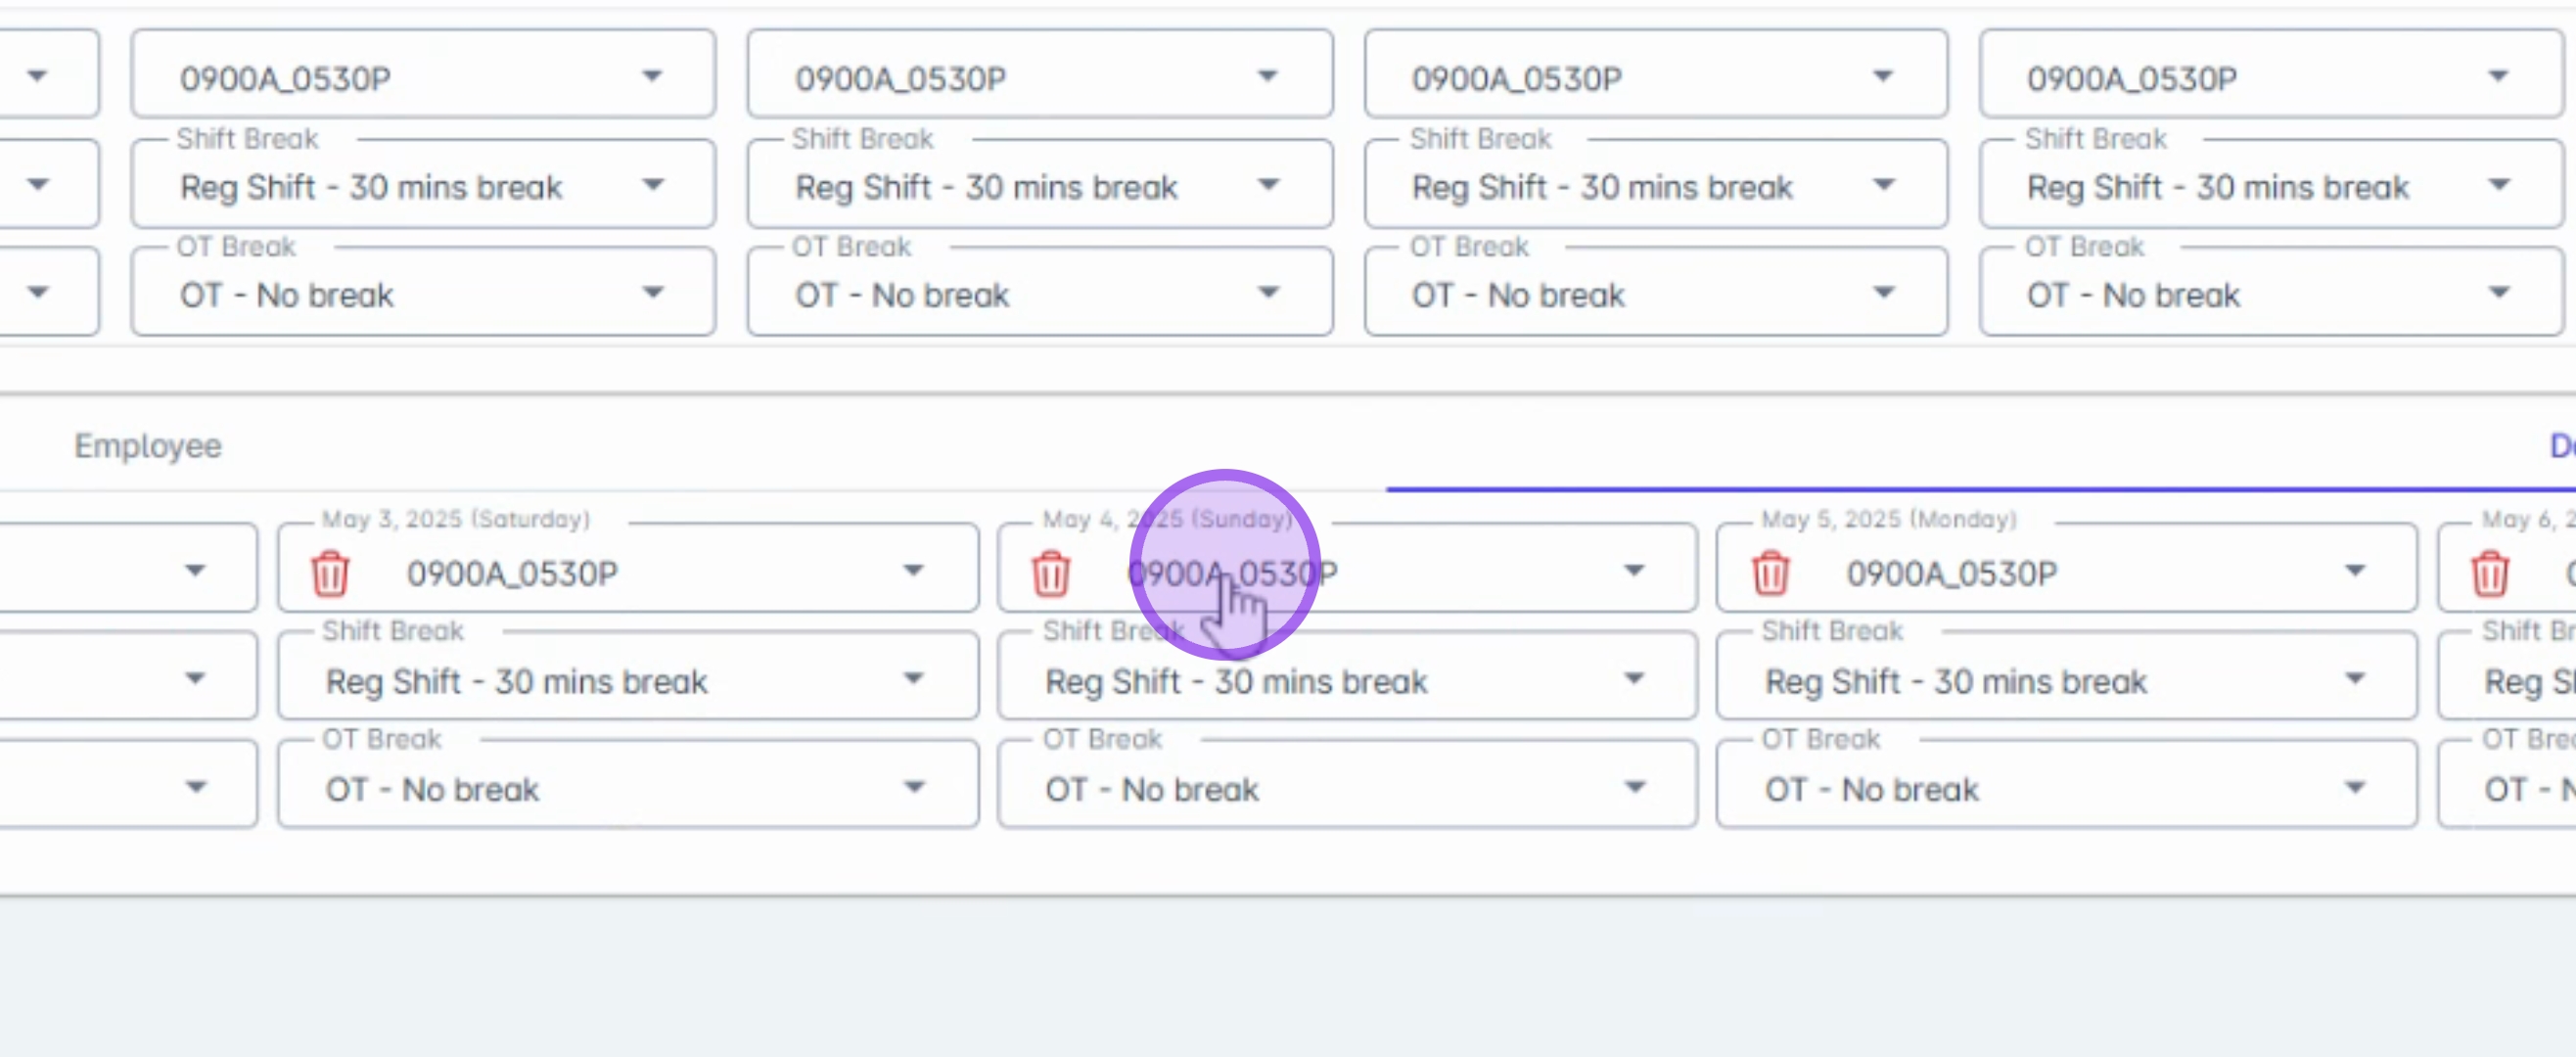
You also have the option to adjust schedules and breaks for specific dates. Navigate to the Date tab and select the date you wish to modify.
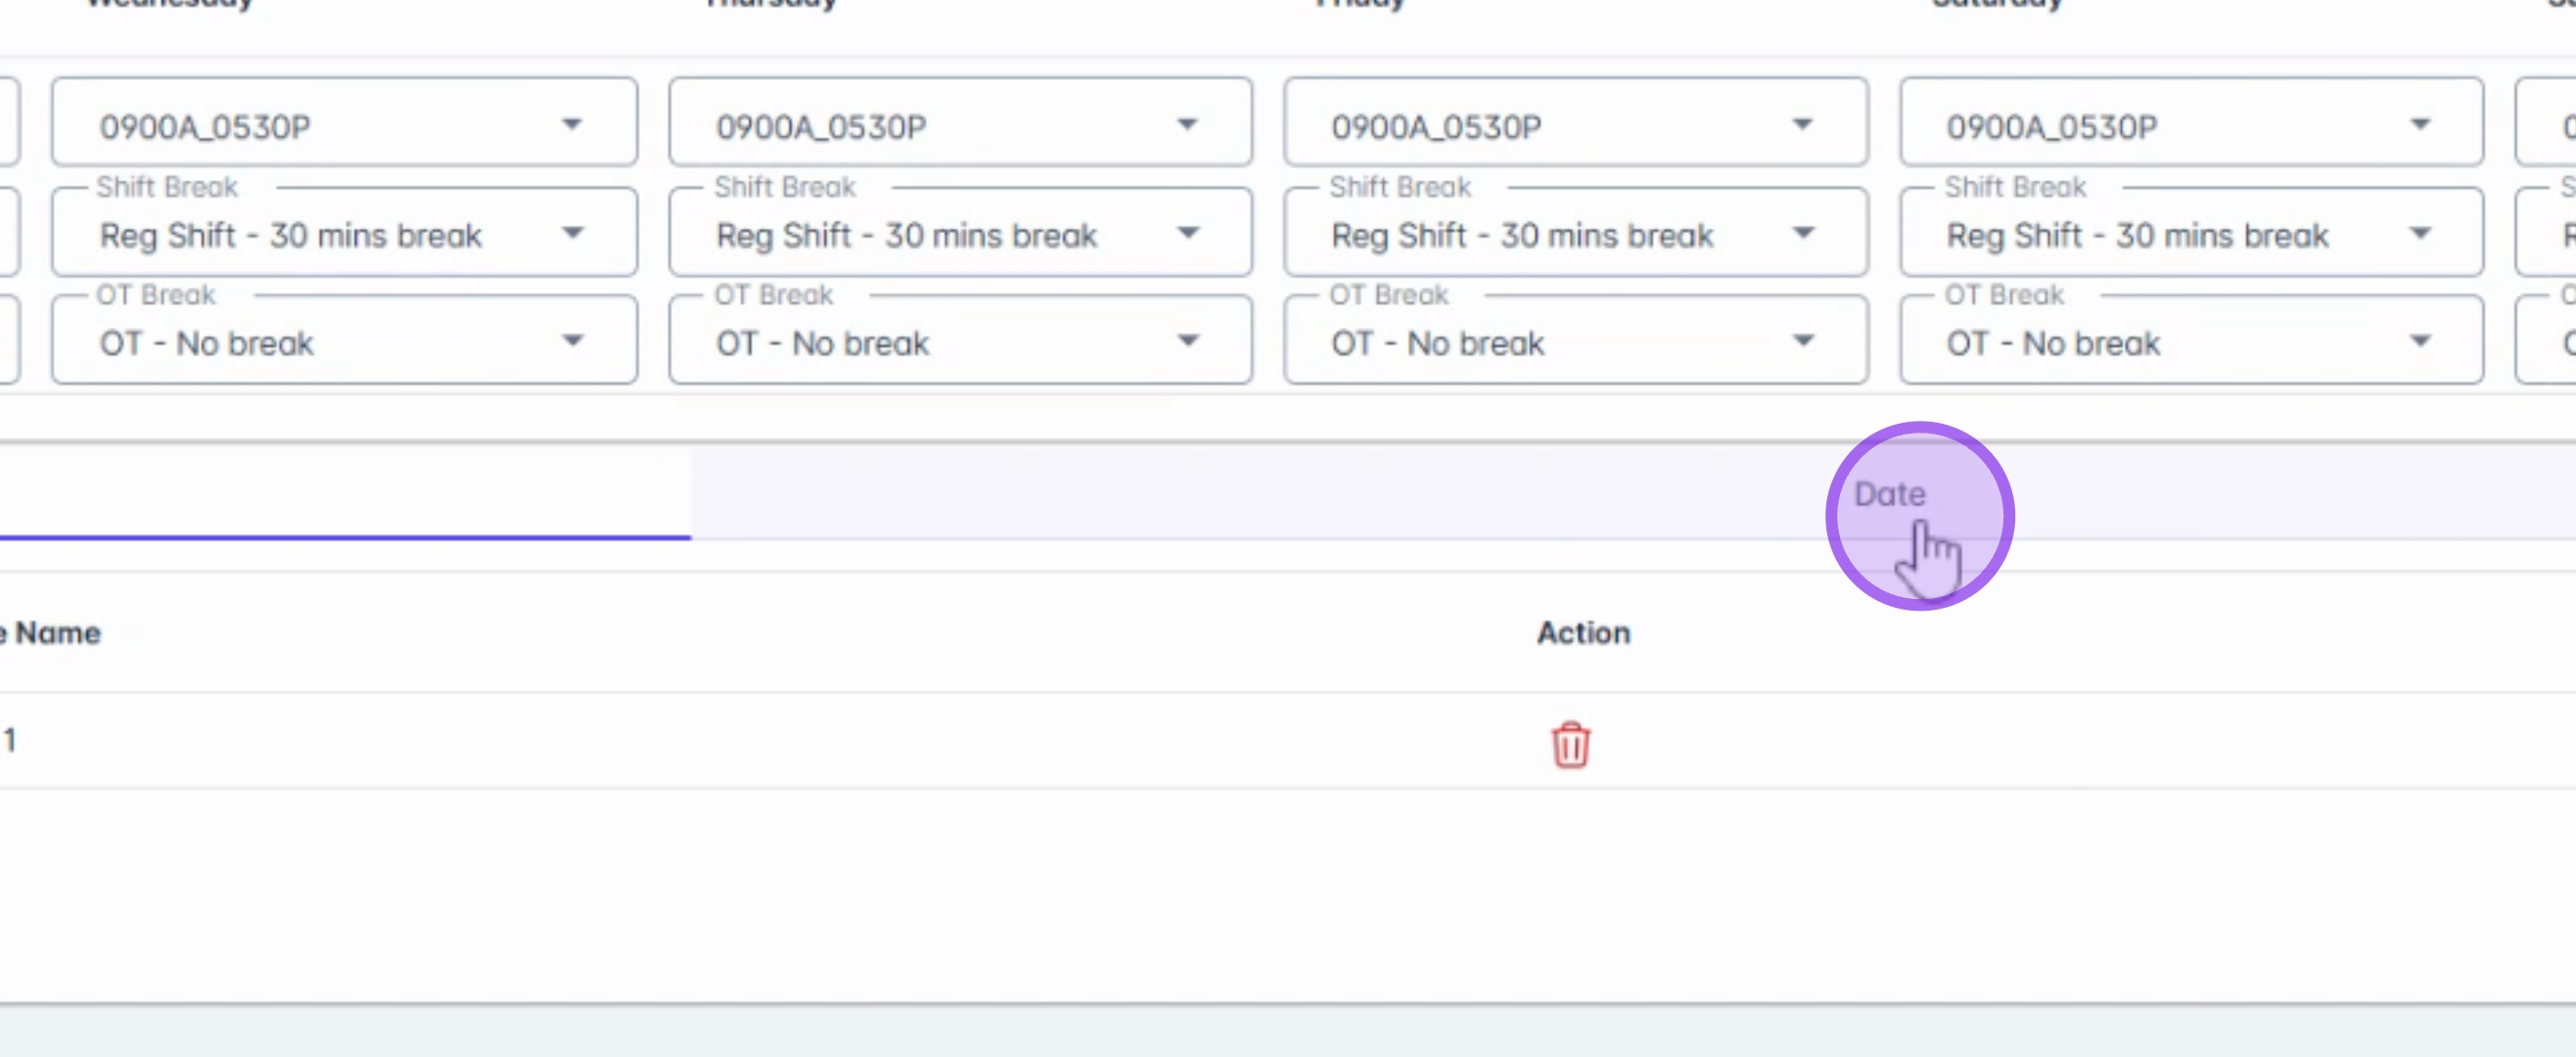
Make any necessary adjustments to the schedules and breaks.
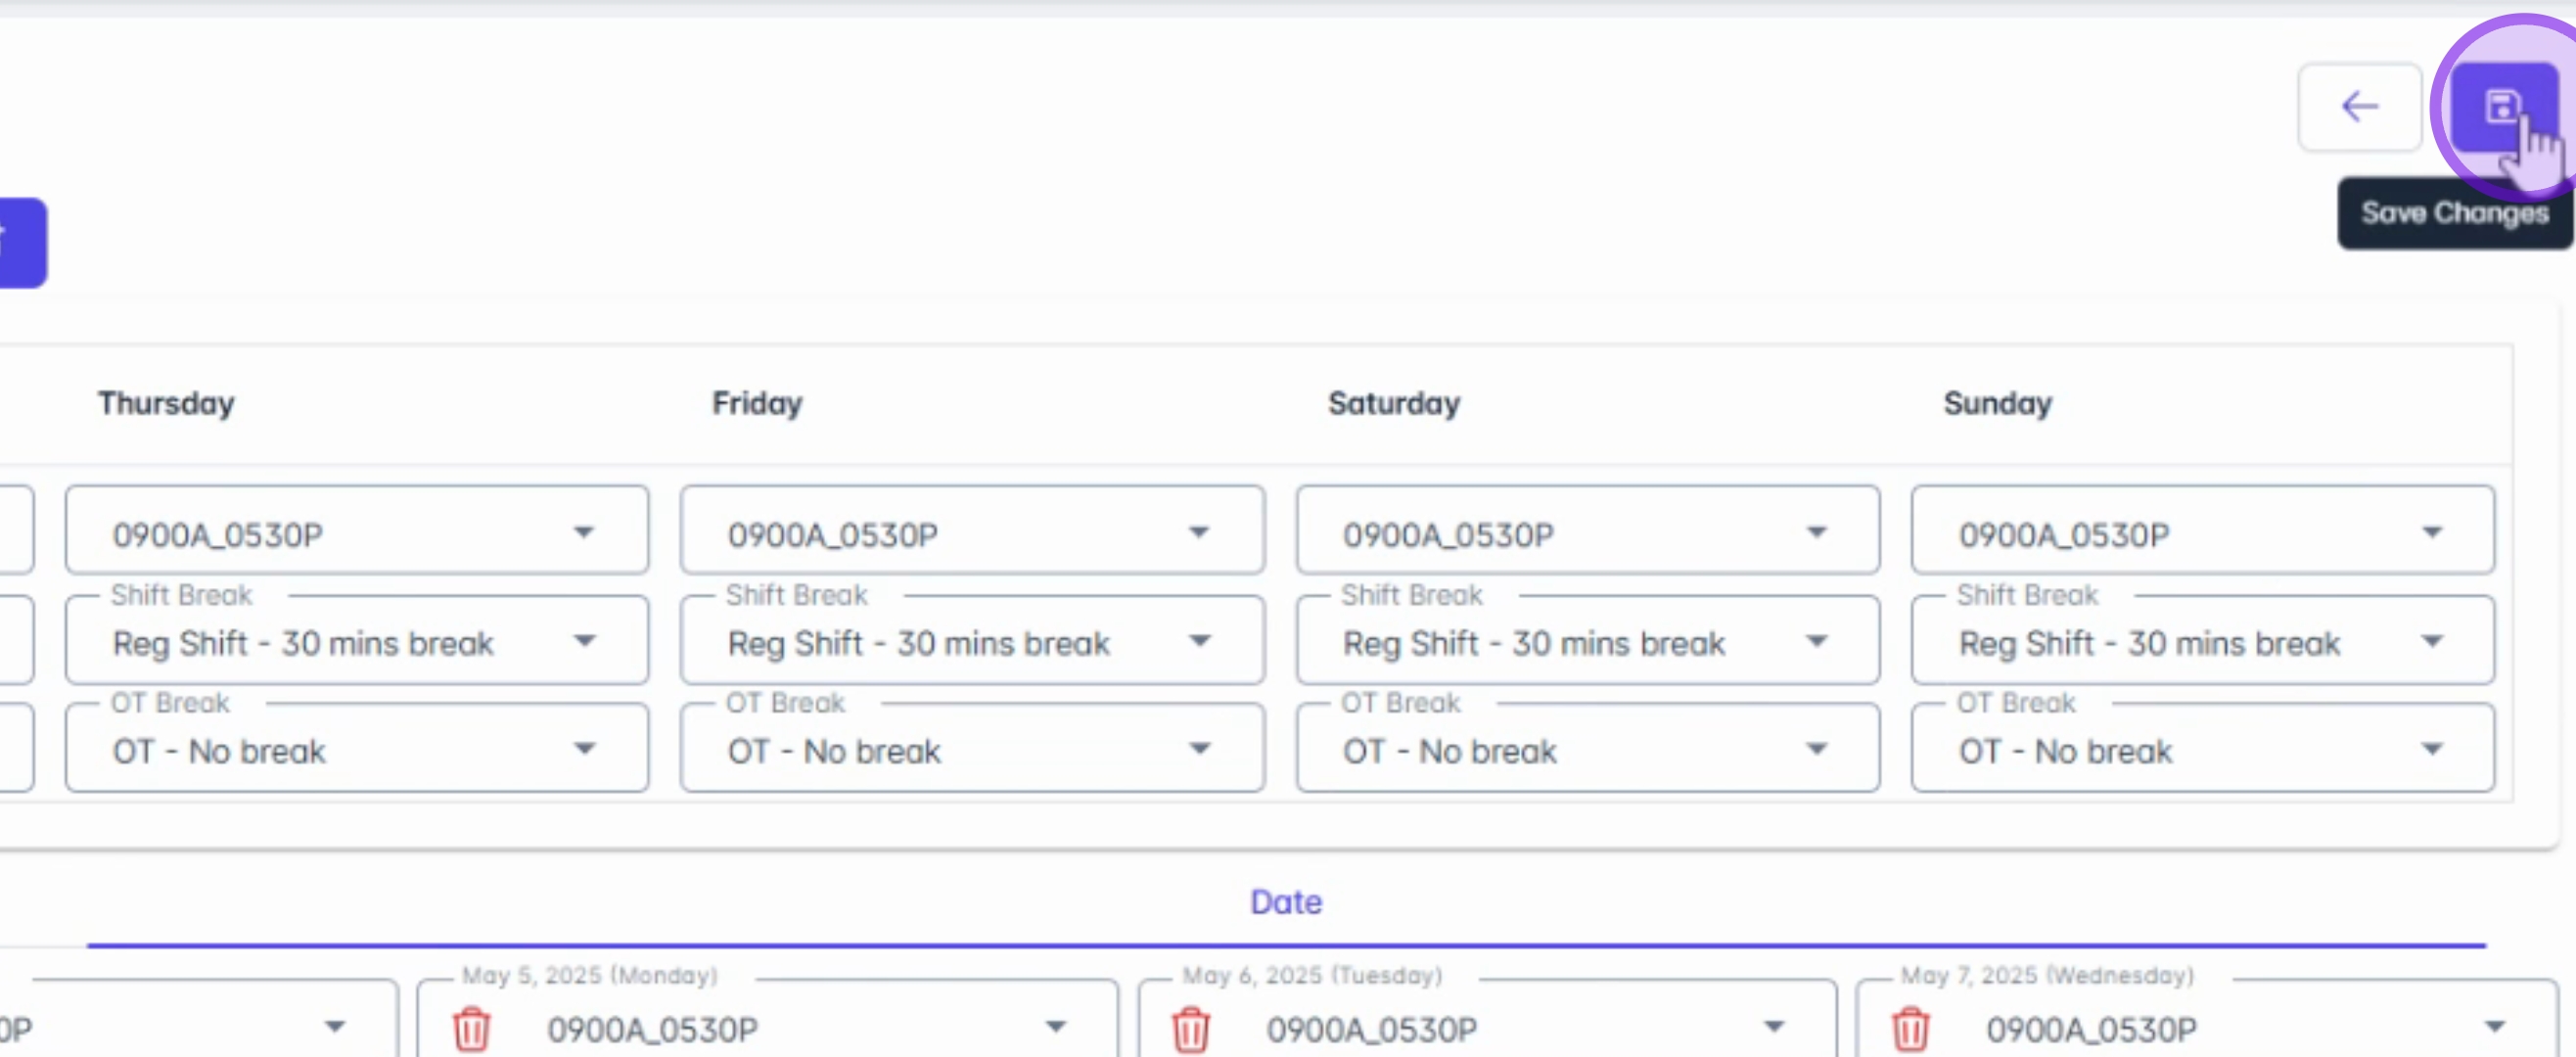
When you have completed your modifications, click Save followed by Confirm.
By following these steps, you will successfully override existing schedules and set modified breaks as needed.