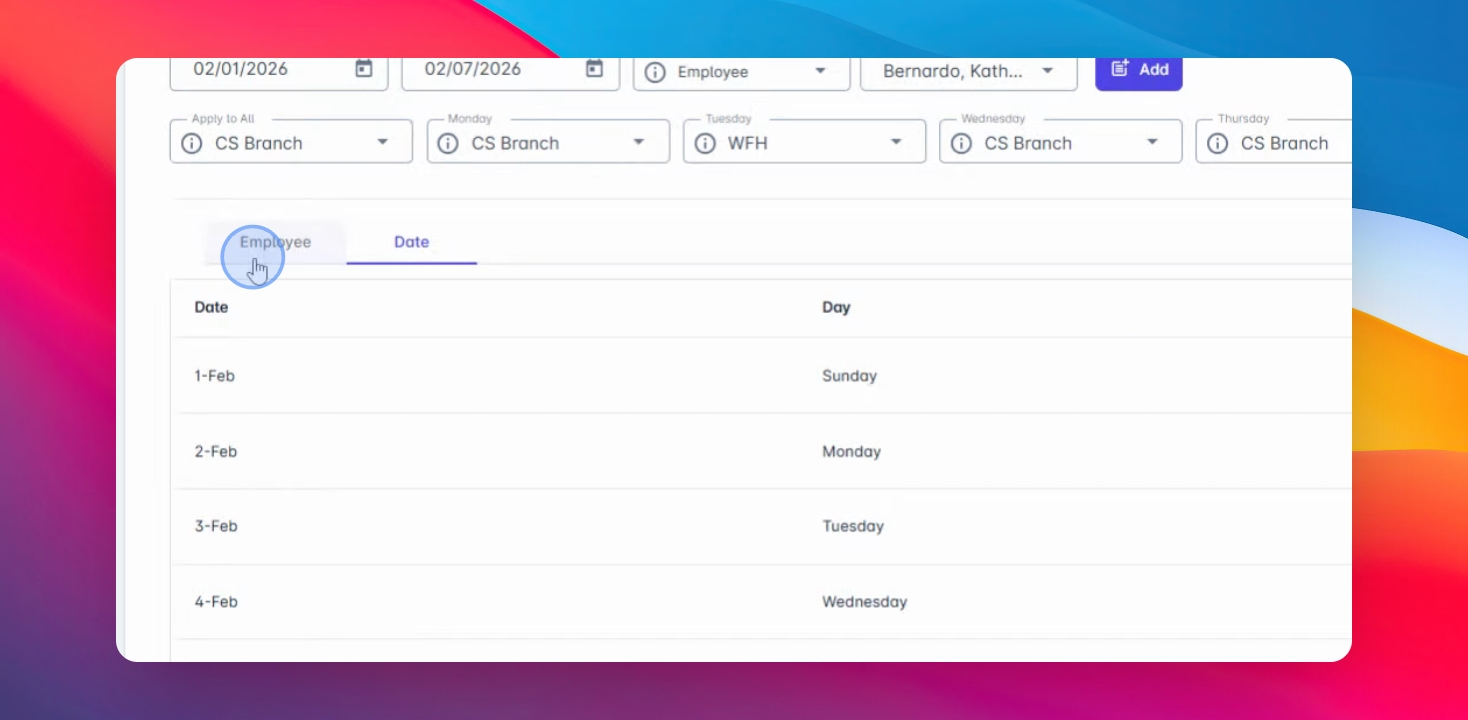
In this tutorial, you will learn how to tag or assign locations to employees. Before you begin, ensure that you have already created a branch in the admin module.
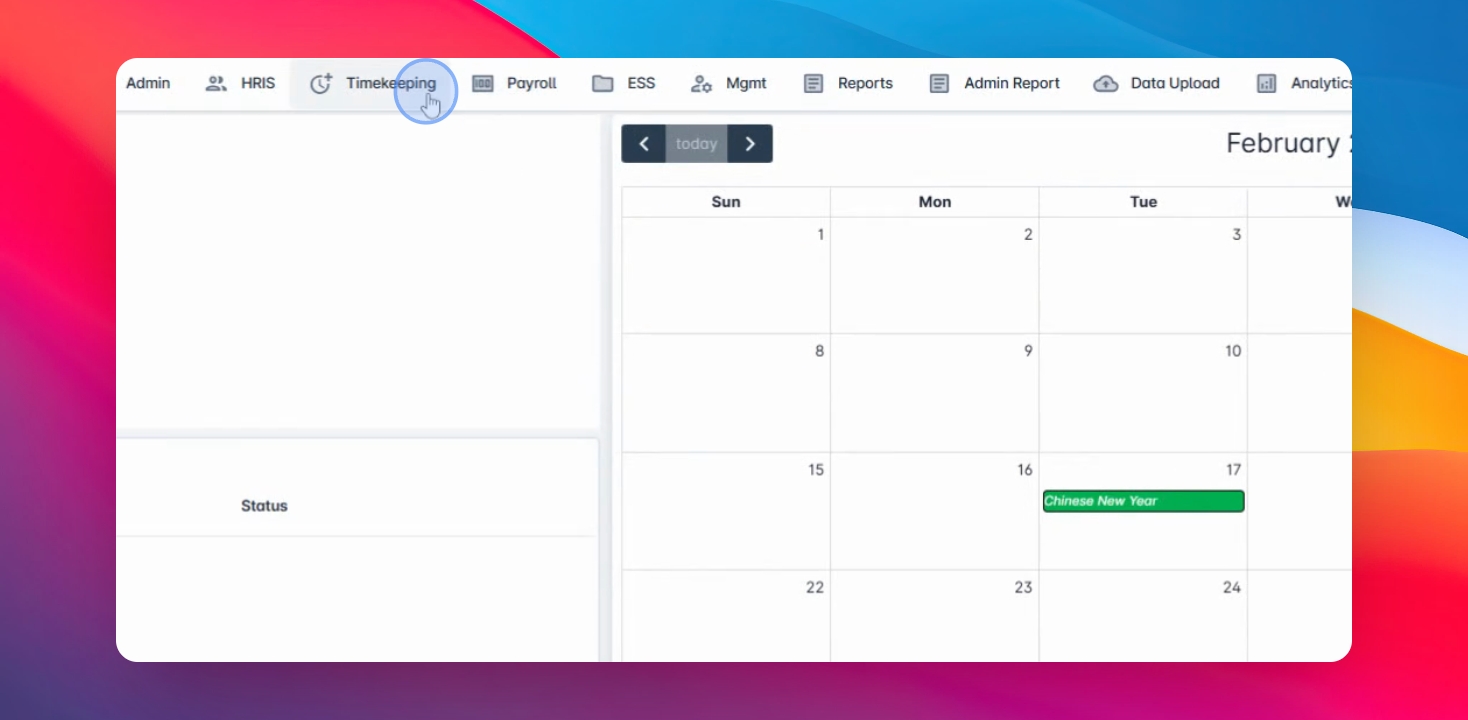
Step 1: Navigate to Timekeeping
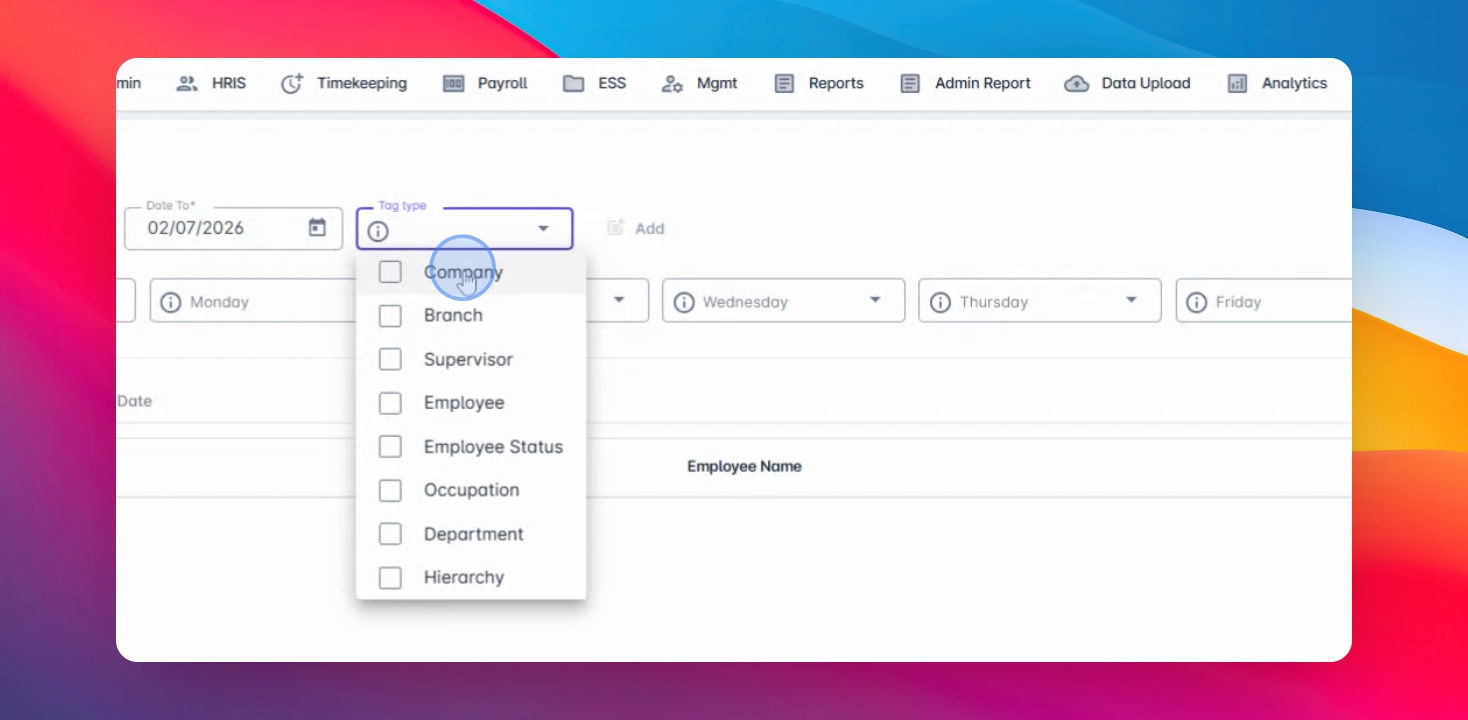
Go to Timekeeping, select Assign Shape or Location, and click on the Create button. Choose the date range you wish to assign and select the tag type to filter employees.
Step 2: Select Company or Branch
If you wish to filter by company, select a Company. If by branch, select a Branch.
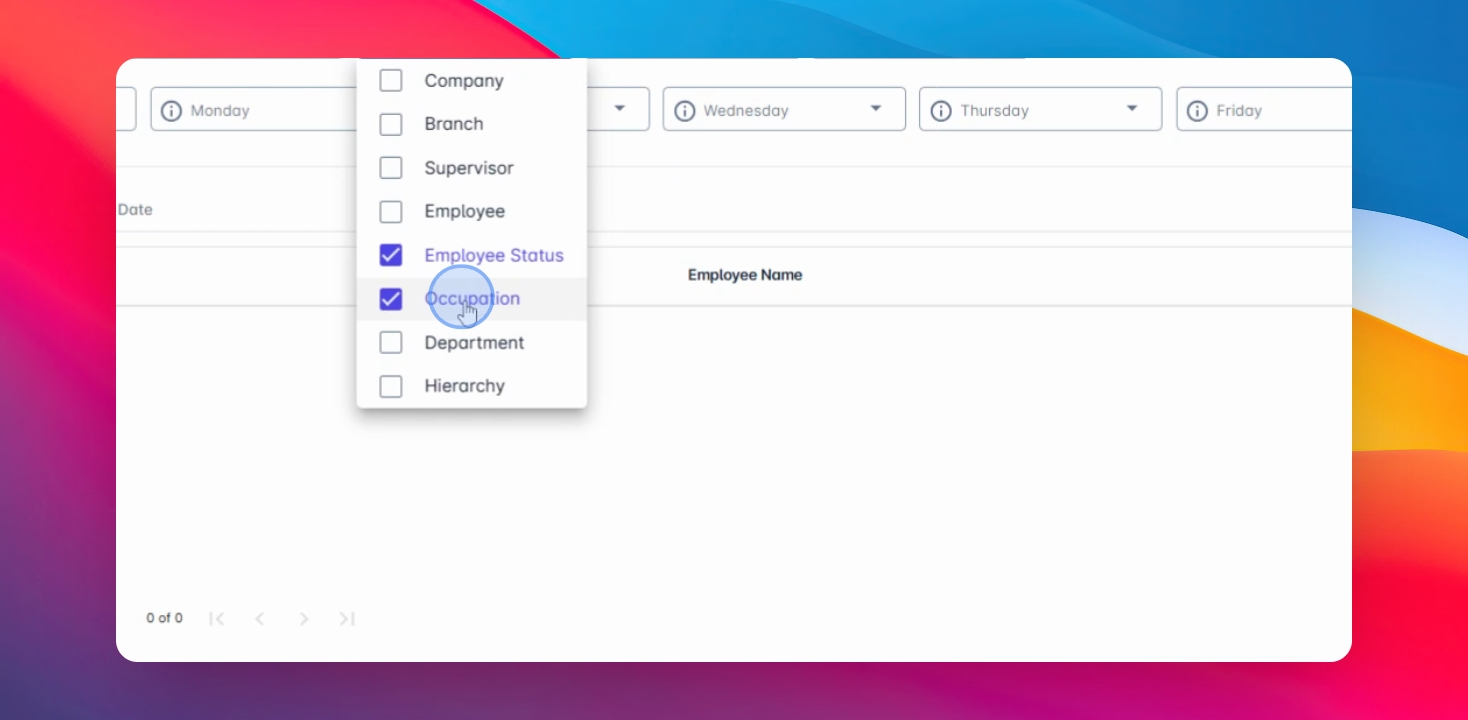
Step 3: Choose Employee
Select the Employee you wish to assign a location. You can tag multiple employees or one at a time.
Step 4: Apply Tag
You can choose to apply the tag to all or specific employees. If you click the option to apply to all, it will automatically apply to all dates from Monday to Sunday.
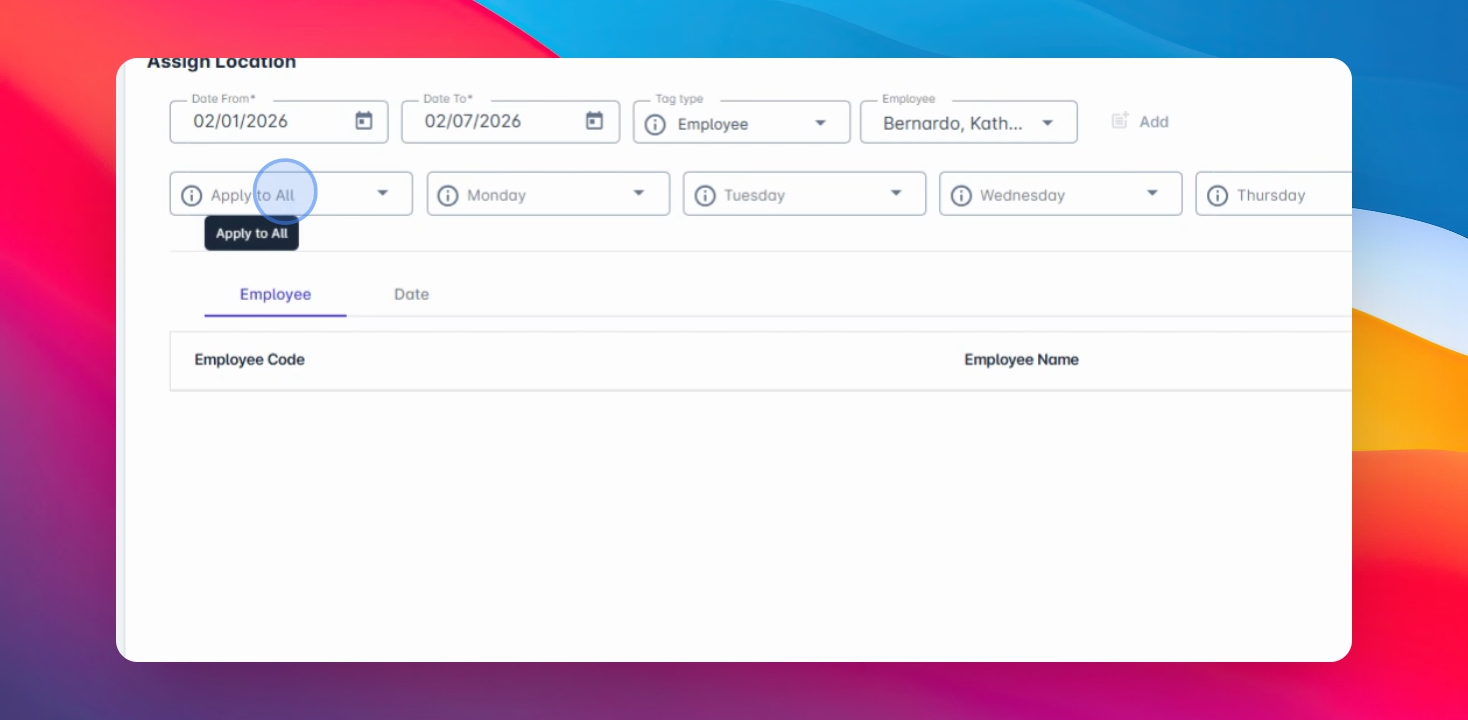
Step 5: Modify Location
You can modify the location per date by clicking on the Add button. You will see all selected employees for this assigned location and specific dates that will be assigned.
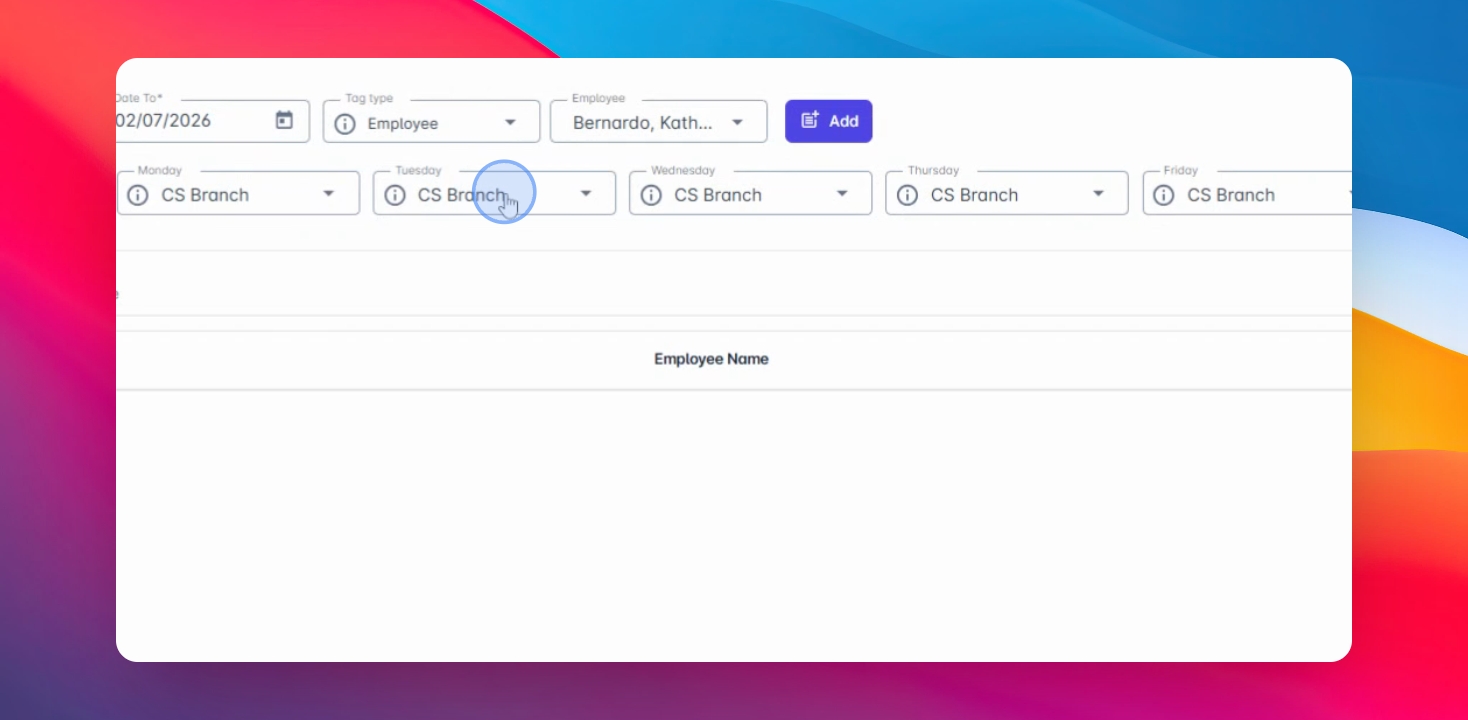
Step 6: Customize Assigned Location
You can customize it per day and delete any selected dates if you wish to remove them. Once done, click Save Changes to proceed.