

Introduction
Welcome to the Ainahr Mobile application tutorial, where we will guide you through the process of filing overtime requests. Whether you need to file for a single day or multiple days, this step-by-step guide will help you understand how to navigate the application, select your desired options, and successfully submit your request for approval.
How to Instructions
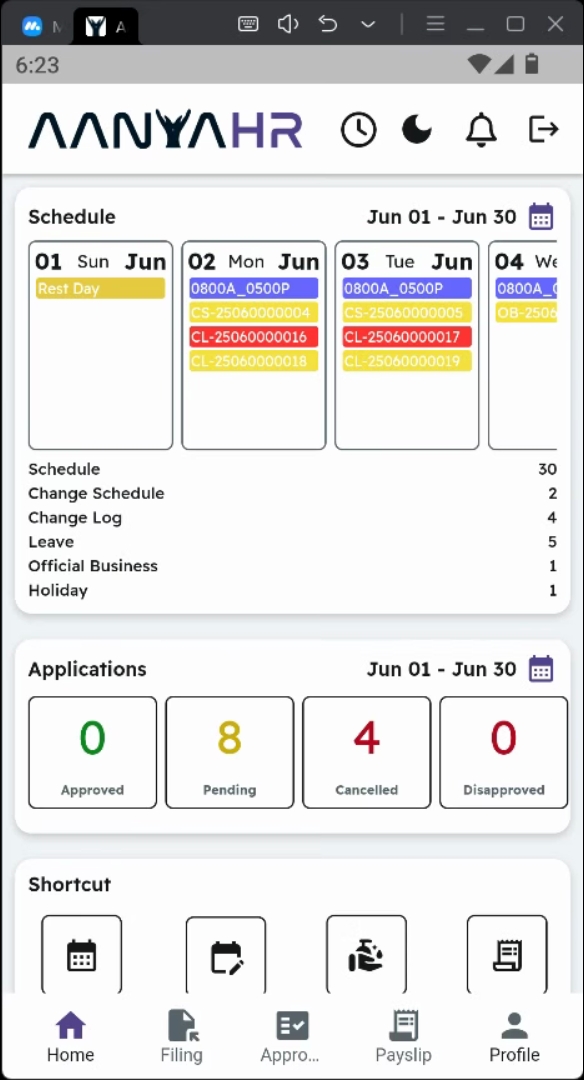
1. Open the Filing Module
First, open the filing module in the Ainahr Mobile application.
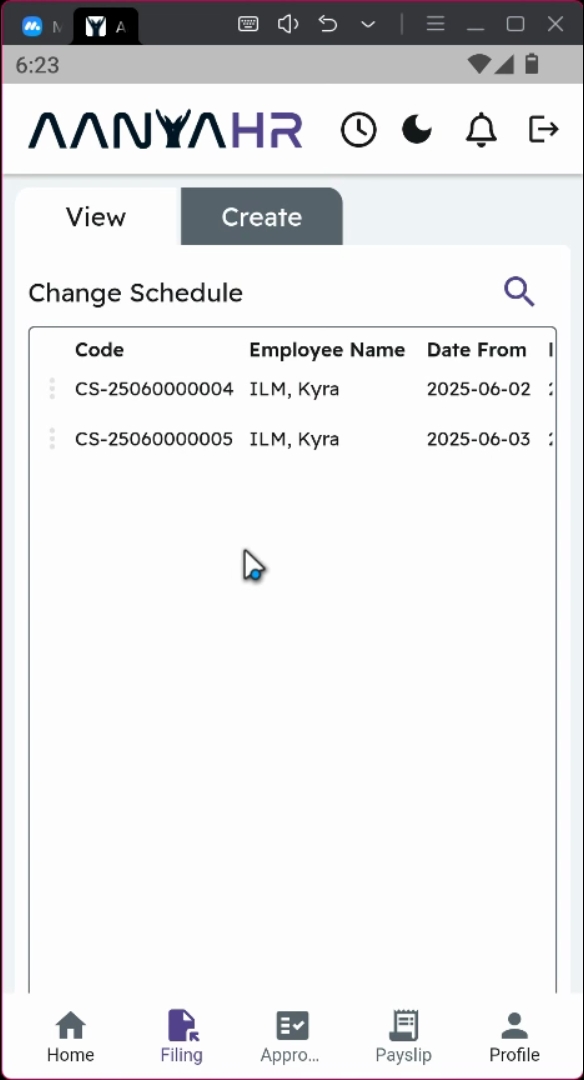
2. Create a New Filing
Then, tap the Create panel to initiate a new filing request.
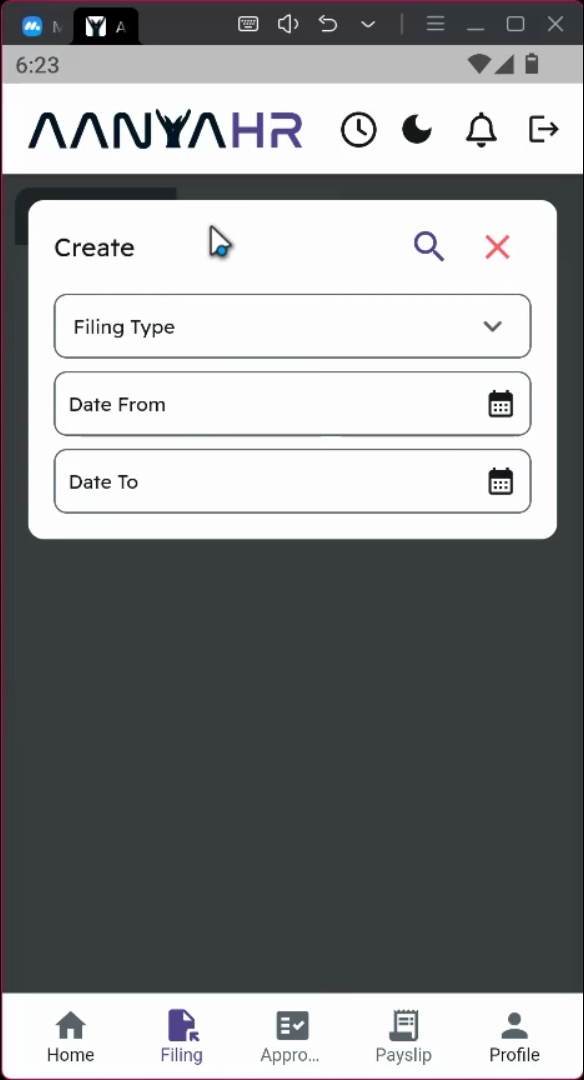
3. Select Filing Type
Ensure that the filing type is set to overtime.
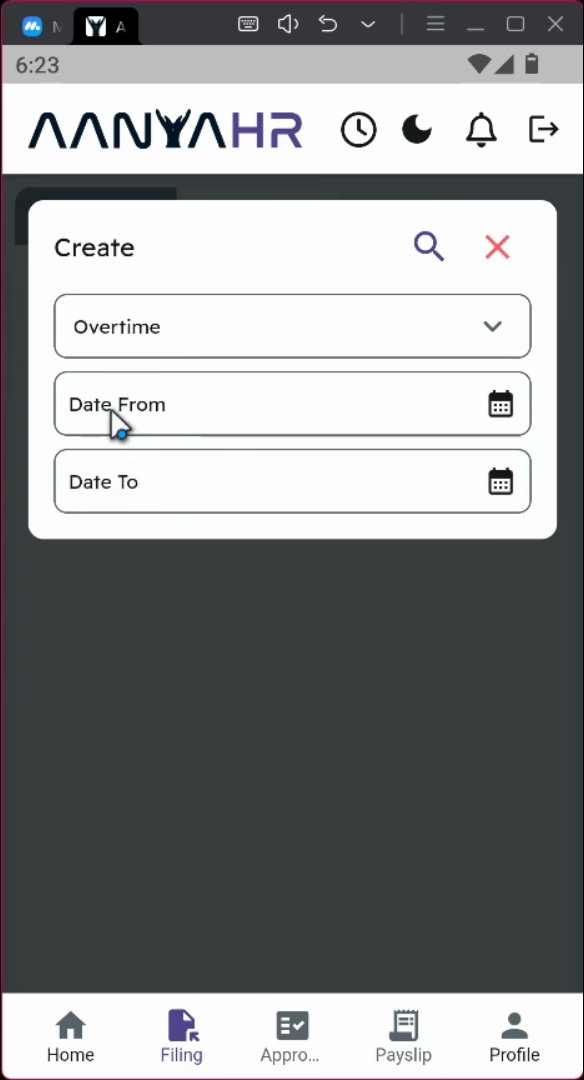
4. Choose Date Range
You can choose your desired date range for the filing. For your request, you may select a single day or multiple days.
5. Adjust Start and End Dates
Adjust the start and end date for your overtime request.
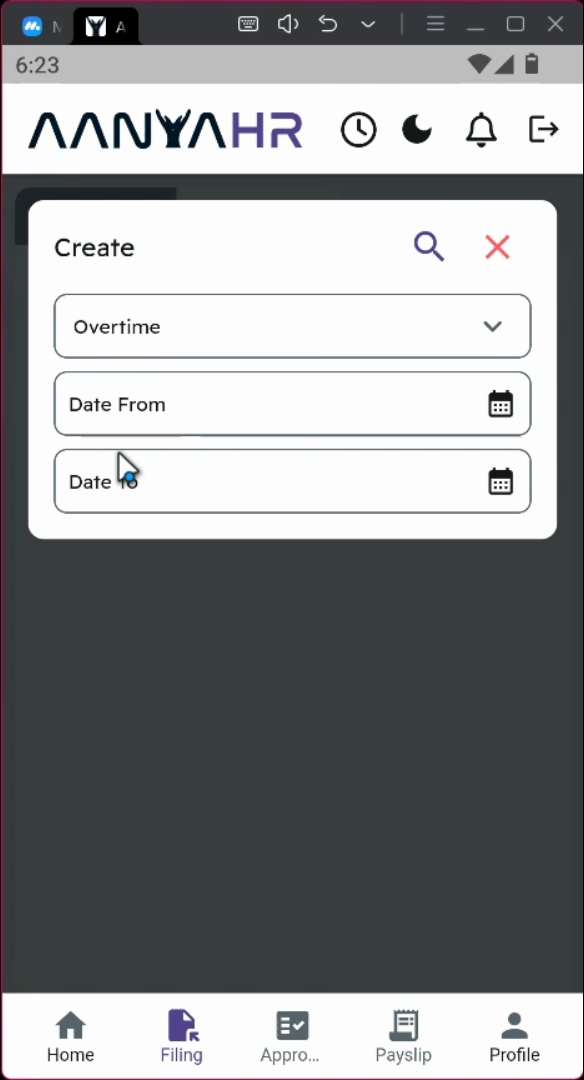
6. Specify Dates
For example, if you want to file for June 5th overtime only, ensure that the date from is set to June 5th and the date to is also June 5th.
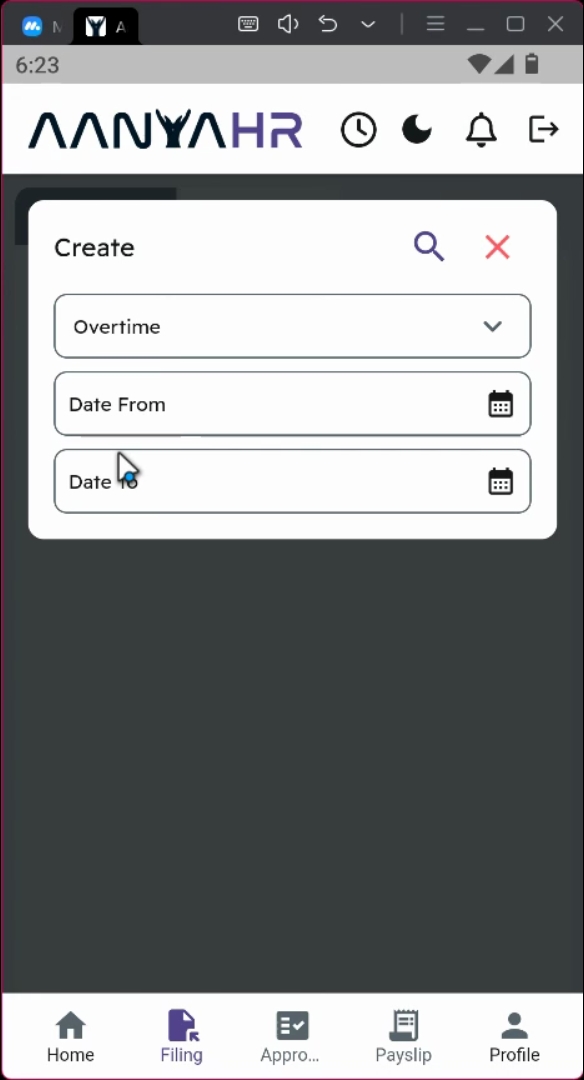
7. Proceed with Filing
Click the search icon to proceed with your filing.
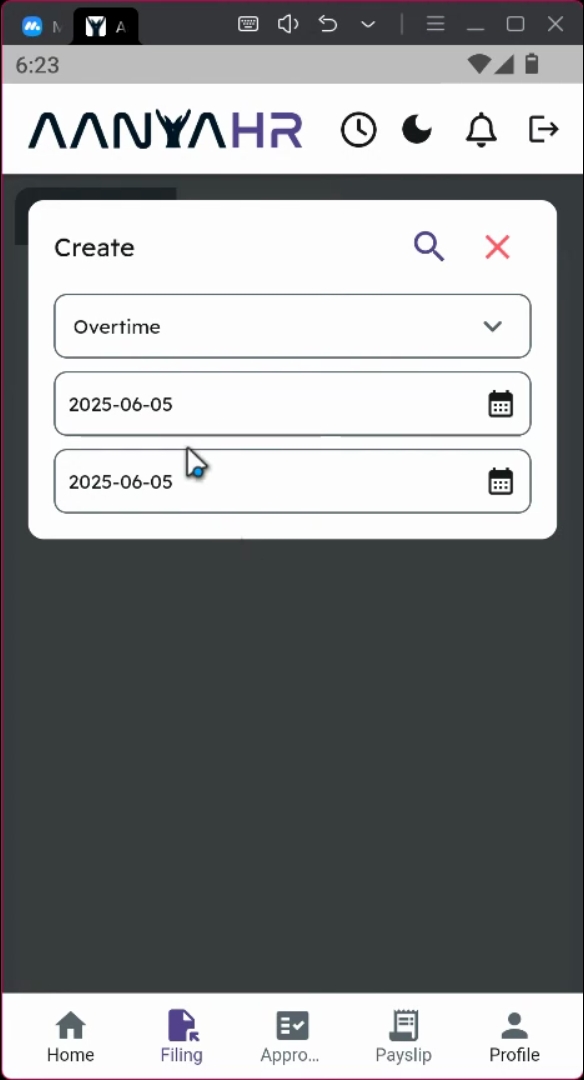
8. Review Your Schedule
On the upper part of the screen, you will be able to see your actual schedule.
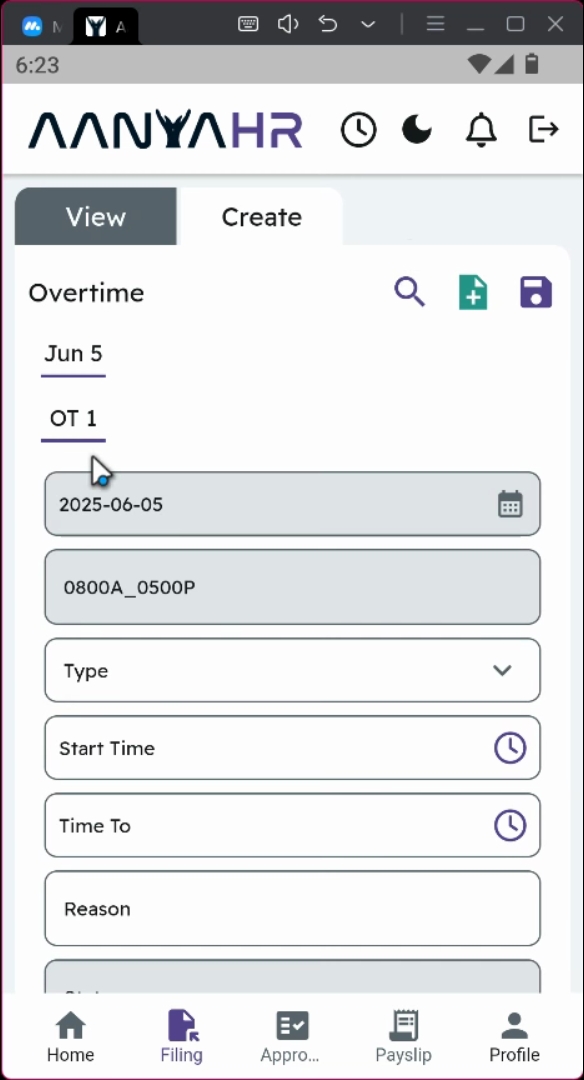
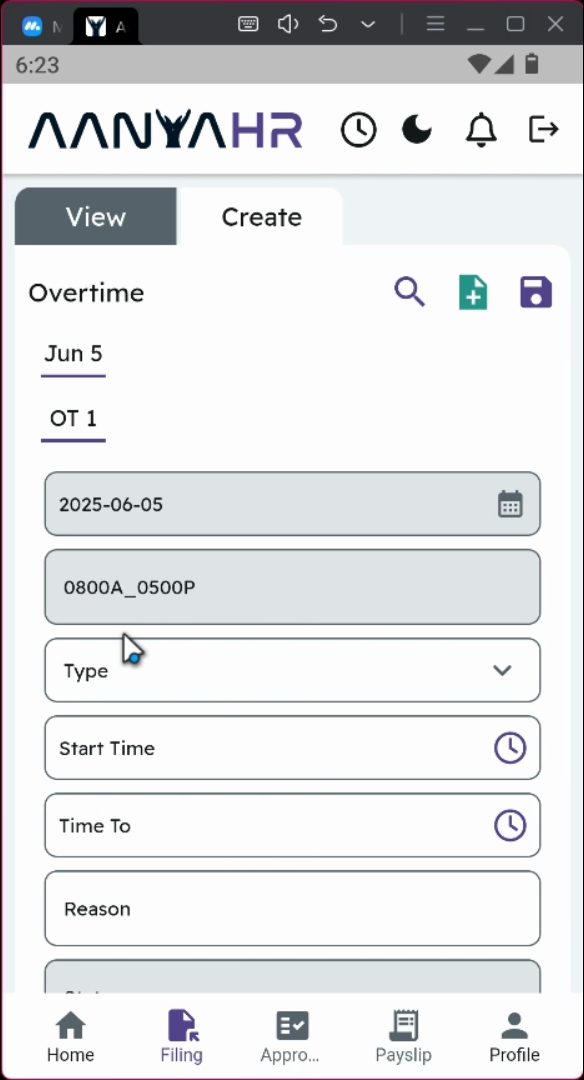
9. Select Overtime Type
On the lower part, you have an option for your overtime type.
10. Choose Between Options
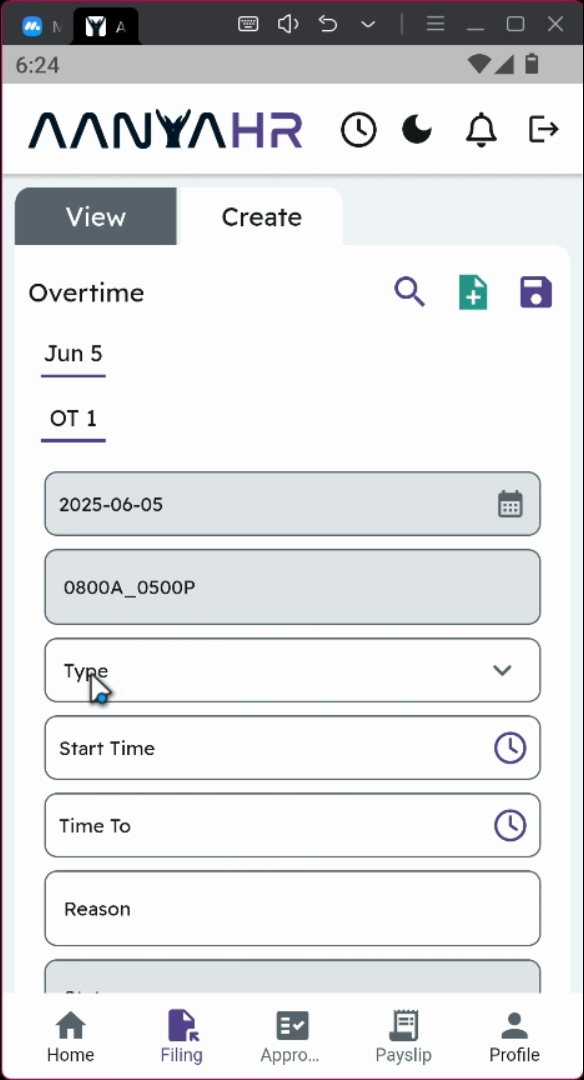
We have two options: paid and upset.
11. Understand the Upset Option
The upset option allows overtime hours to be converted into time off, which can be used as an additional rest day or to offset instances of lateness and undertime.
12. Understand the Paid Option
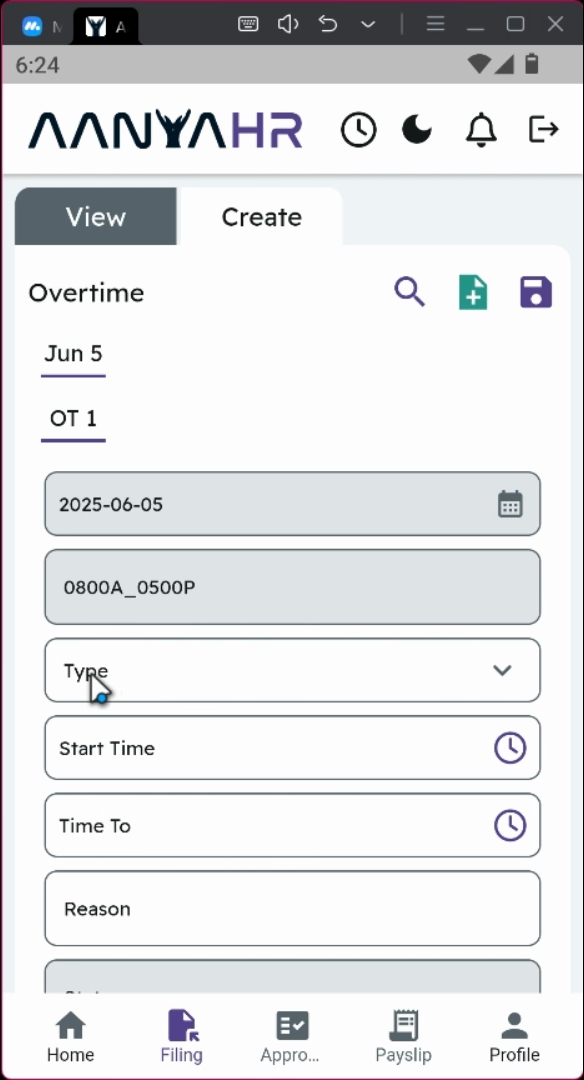
The paid option means that overtime hours will be compensated through additional pay in accordance with the company policies and payroll guidelines.
13. Select Paid Option
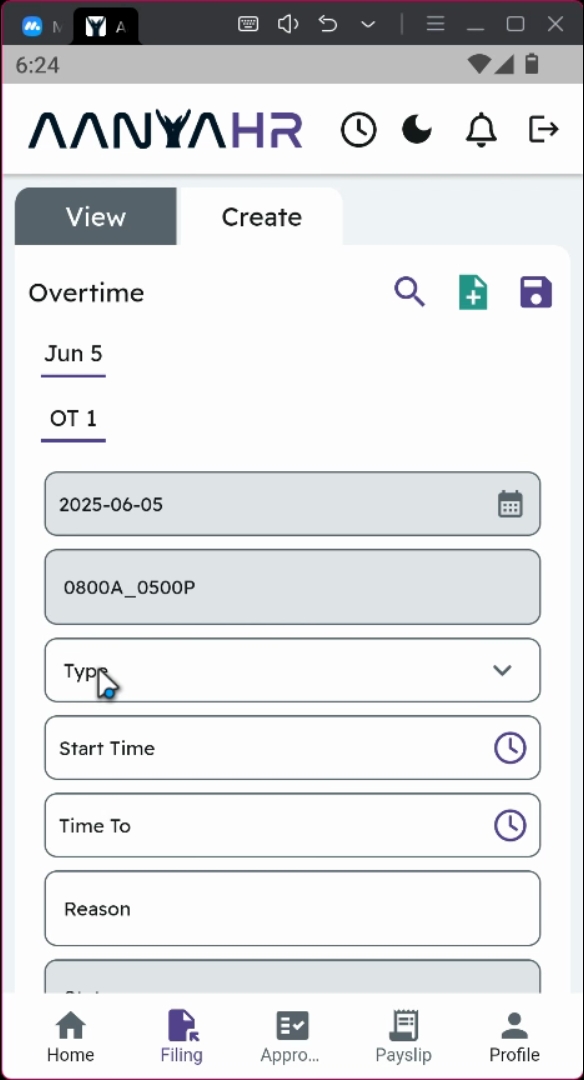
For this filing, you want to file for paid overtime.
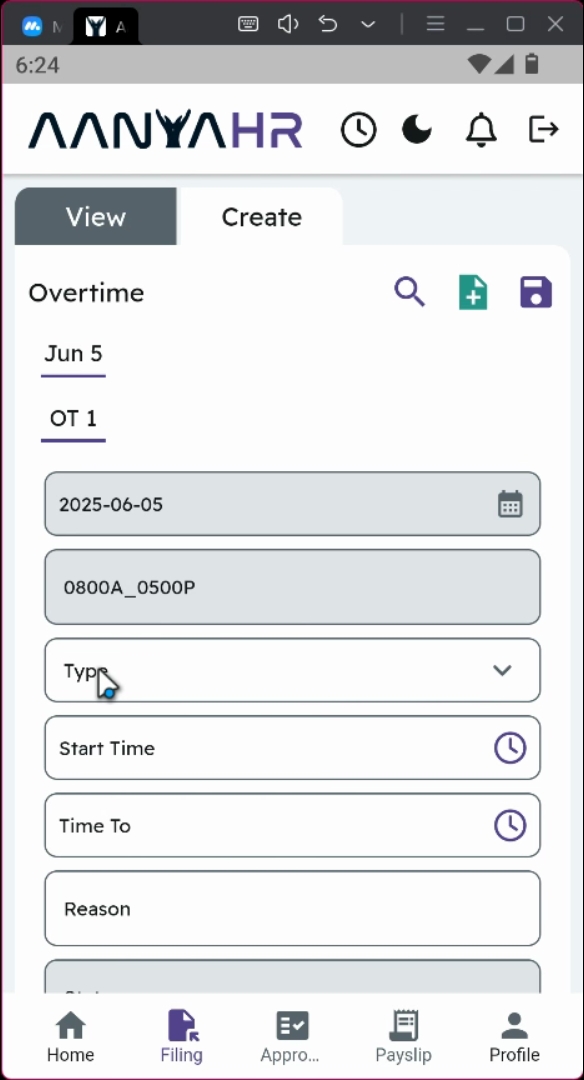
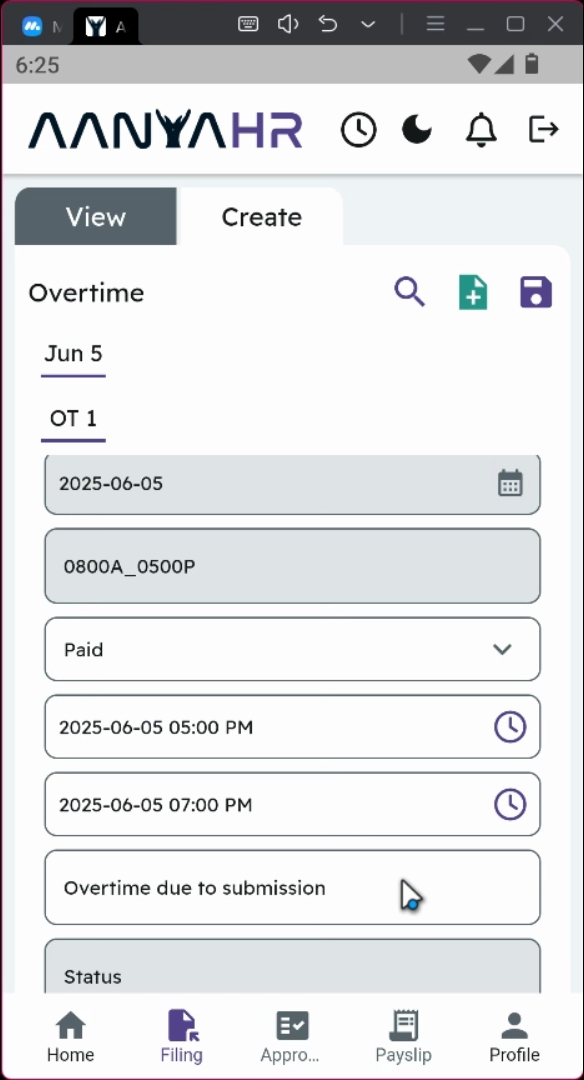
14. Set Start and End Time
On the lower part, you will be able to see the Start Time and Time 2 module.
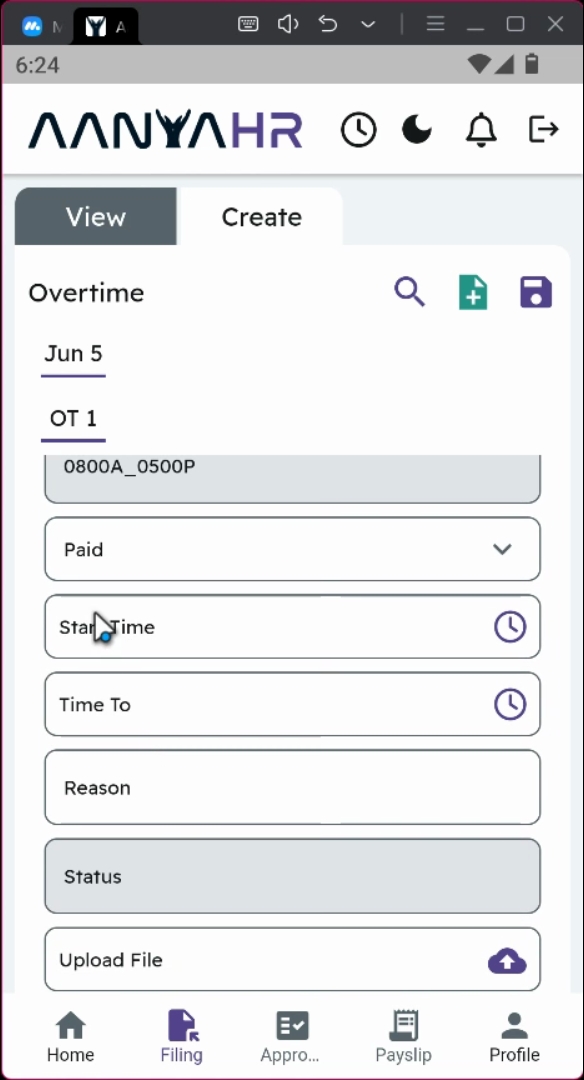
15. Enter Start Time
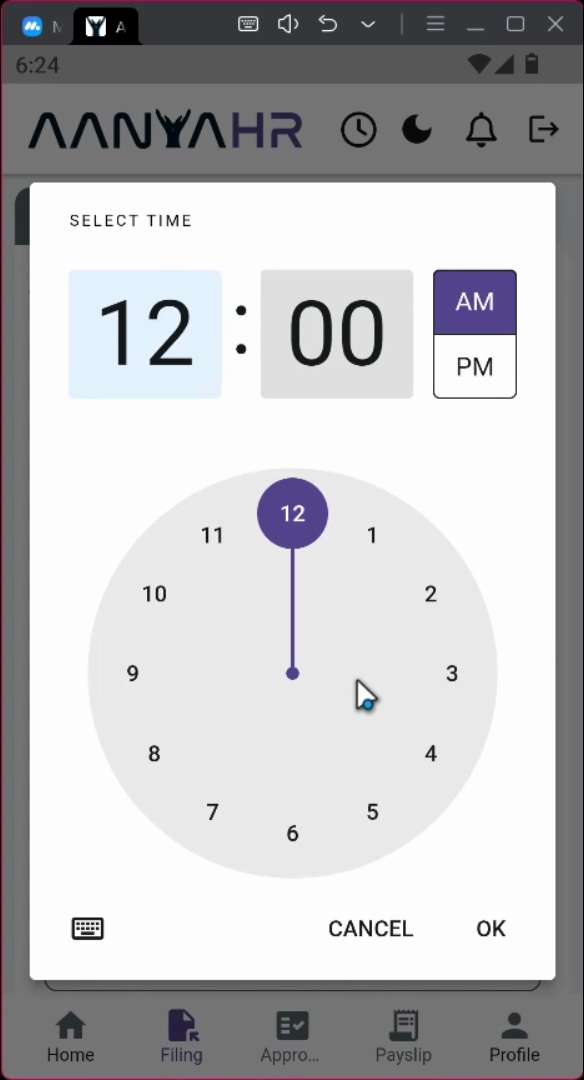
Under the start time, select the date of your filing, which is June 5th, and the start of your overtime hours, which is 5 PM.
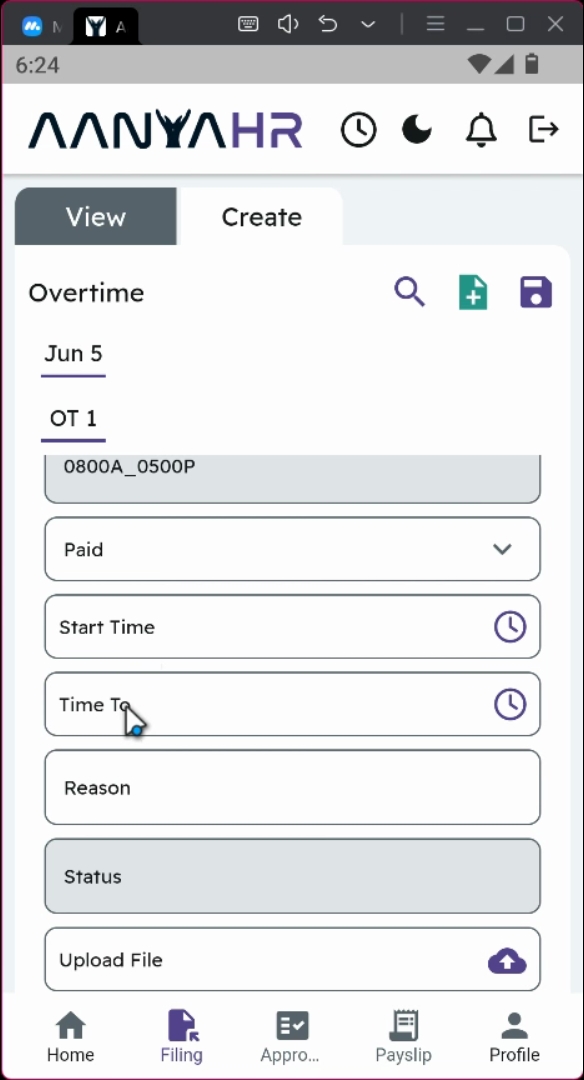
16. Enter End Time
Similarly, for the Time 2 module, set the date to June 5th and the end time to 7 PM.
17. Choose Filing Method
You have the option to select or to file a straight filing including your actual schedule.
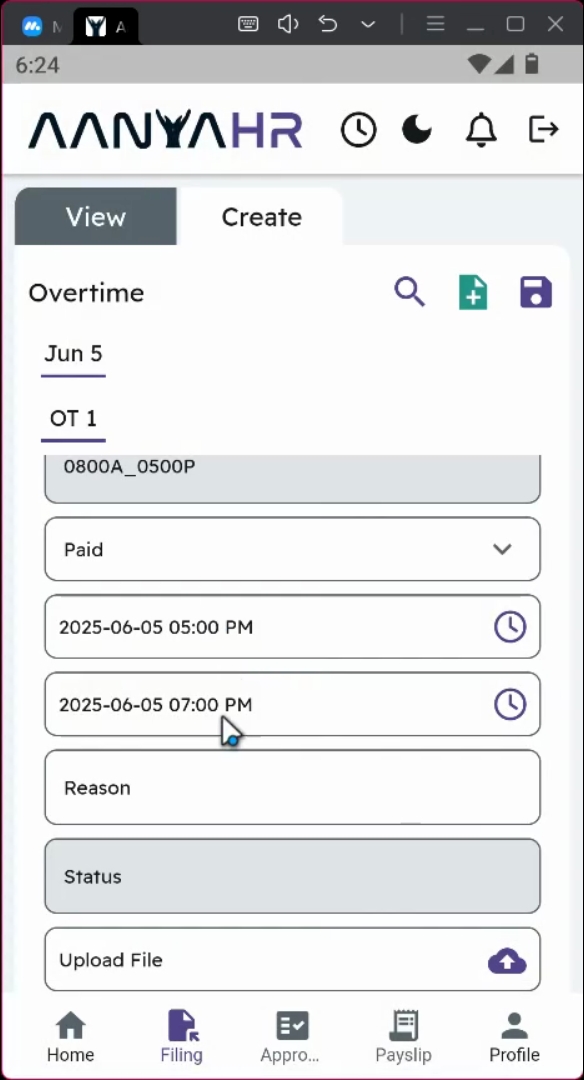
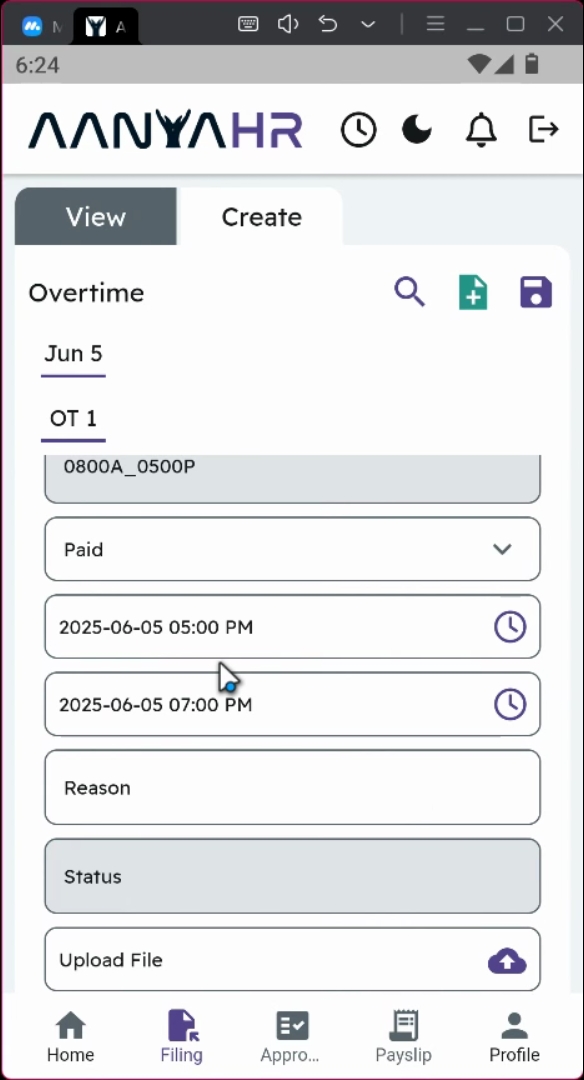
18. System Differentiation
The system will automatically differentiate the filing of your actual schedule and your overtime hours.
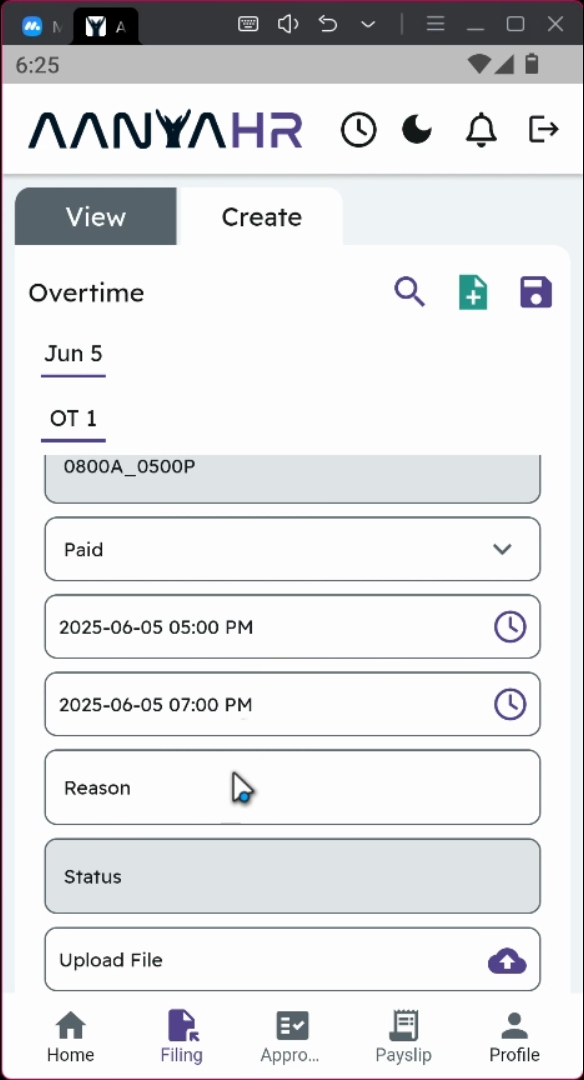
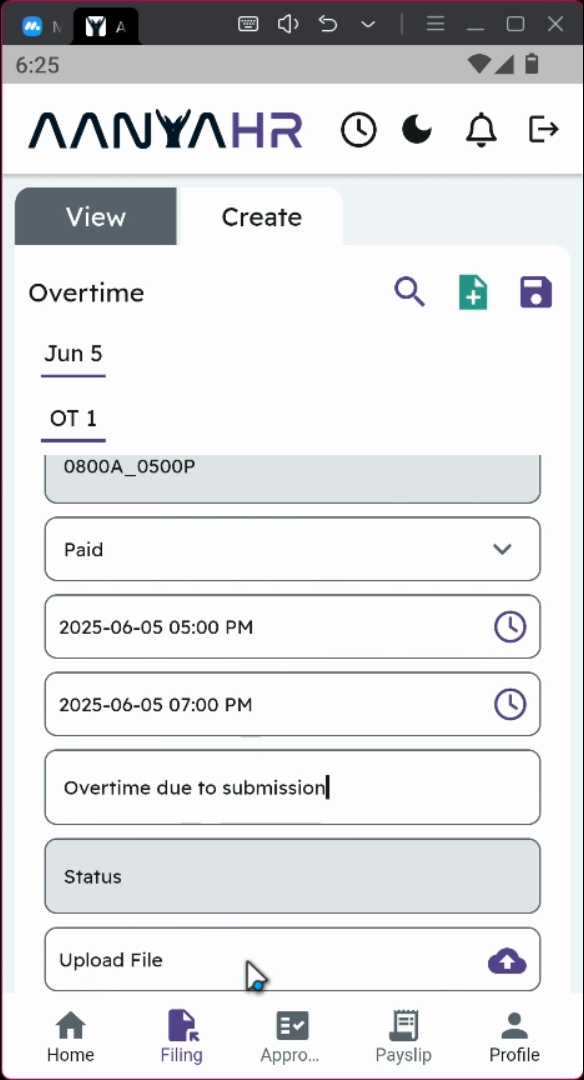
19. Input Reason for Overtime
Input the reason for your overtime; for example, overtime due to submission.
20. Upload Supporting Documents
You have the option to upload supporting documents, such as PDF, Word, or JPEG files.
21. Save Changes
Once everything is finalized, click on save changes.
22. Confirm Submission
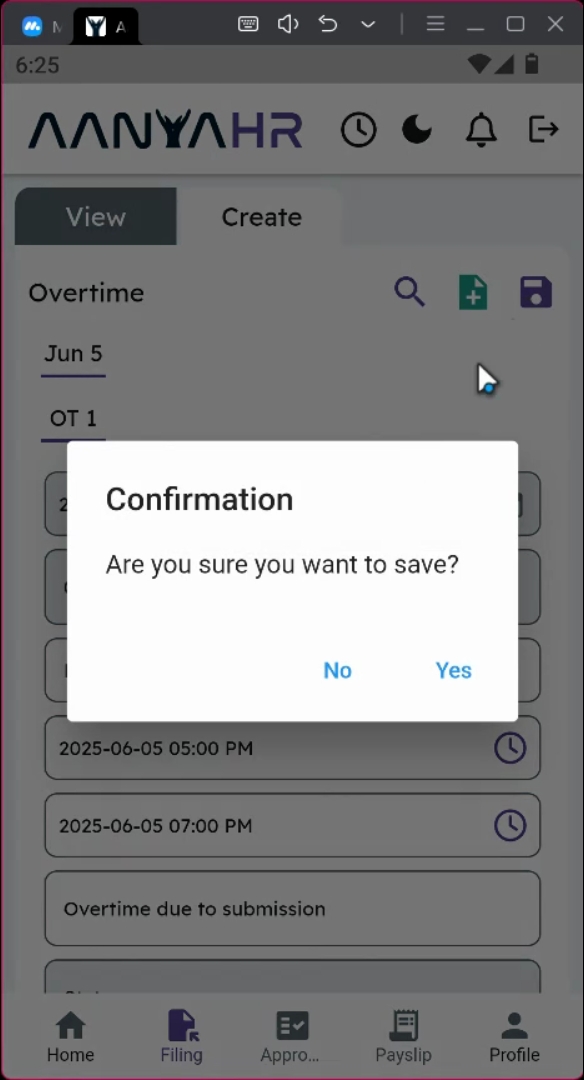
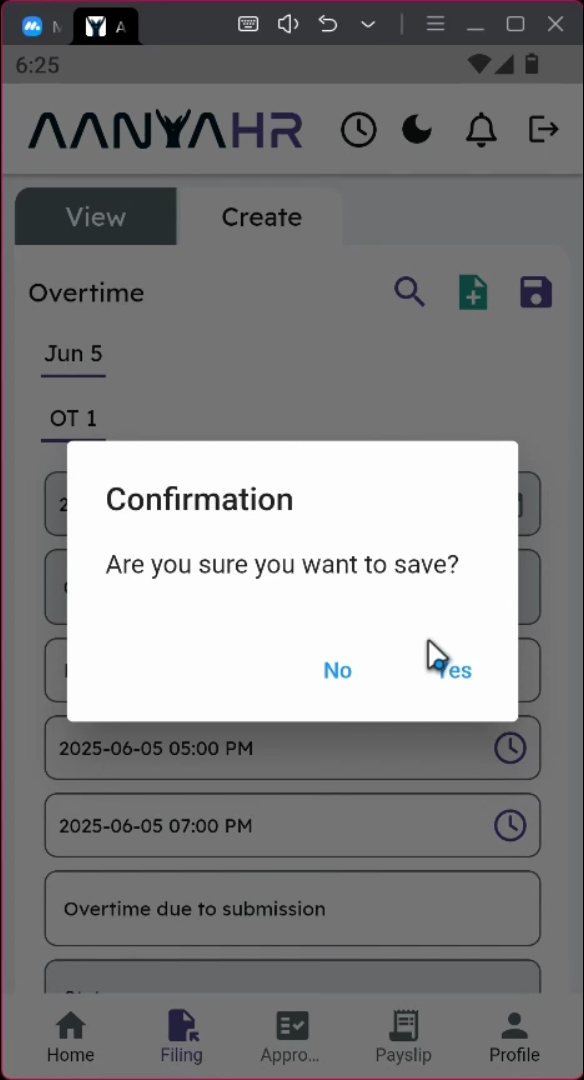
A confirmation prompt will appear. Click yes to proceed with the filing.
23. Await Approval
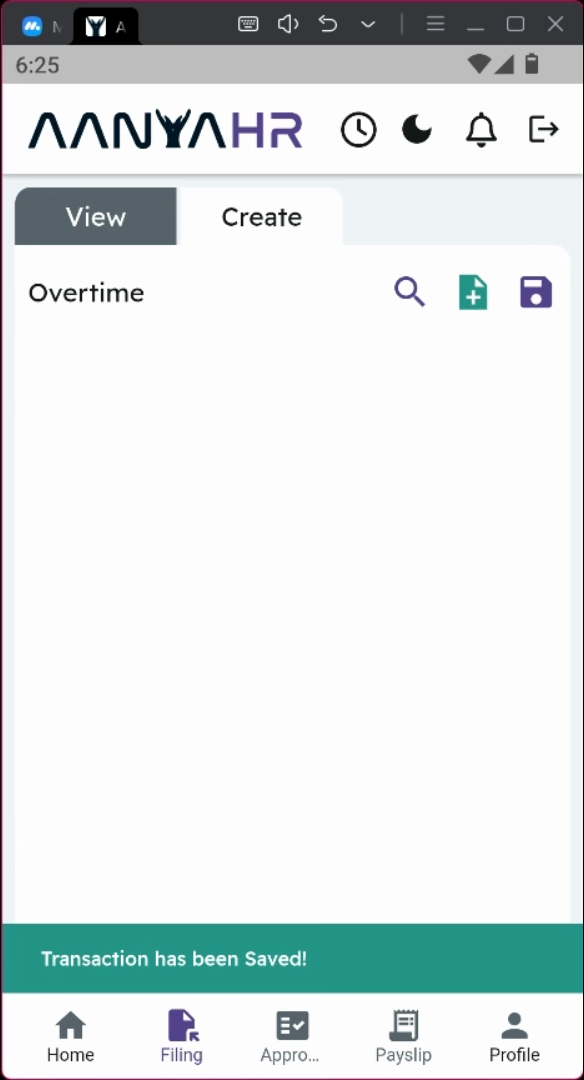
Once the overtime filing is submitted, your request will be rerouted to your supervisor for approval.
24. Track Status
You can track the status of your filing in the application module, where it will be tagged as Pending status.
Conclusion
By following these steps, you will successfully file your overtime request using the Ainahr Mobile application. Make sure to keep track of your status and ensure that all necessary documentation is provided for a smooth approval process.