

Introduction
Welcome to our comprehensive guide on editing your initial file leave within the Aanya HR Mobile application. In this tutorial, we will walk you through each step required to successfully modify your leave entries, ensuring you understand how to navigate the application efficiently. Whether you need to adjust your leave dates or edit details, this step-by-step guide is here to assist you.
How to Instructions
1. Access the Filing Module
First, go to the Filing module.
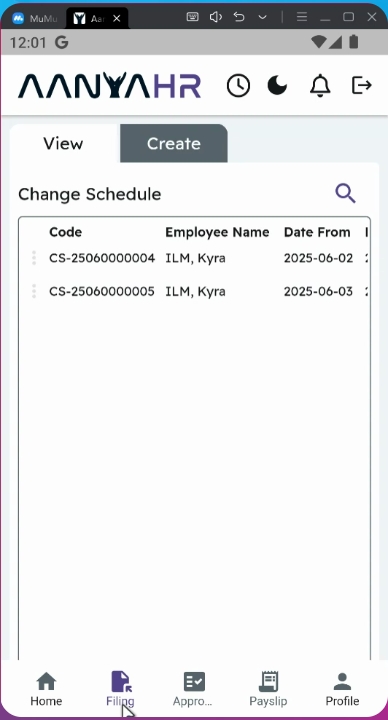
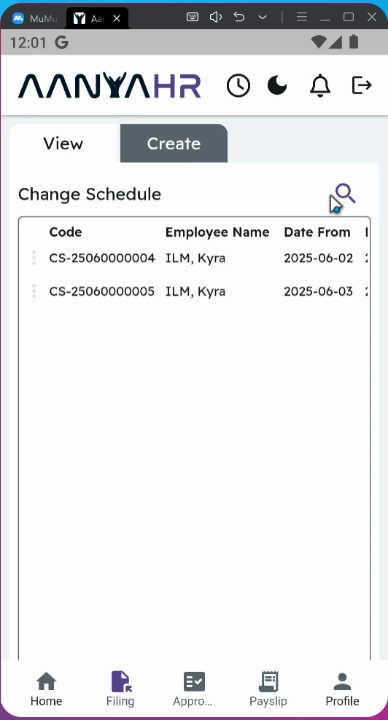
2. Initiate a Search
On the View module, click the Search button.
3. Set Filing Type
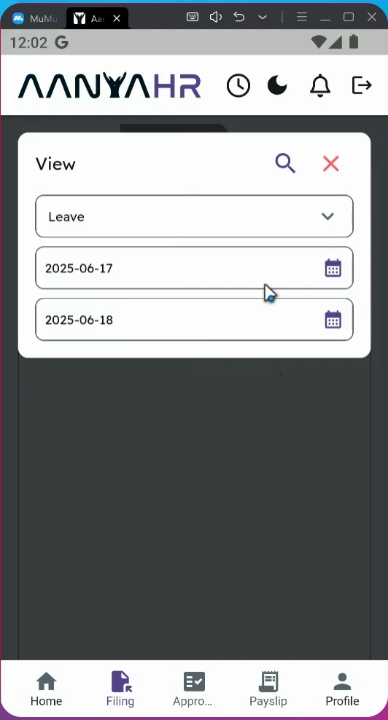
Set the filing type as Leave.
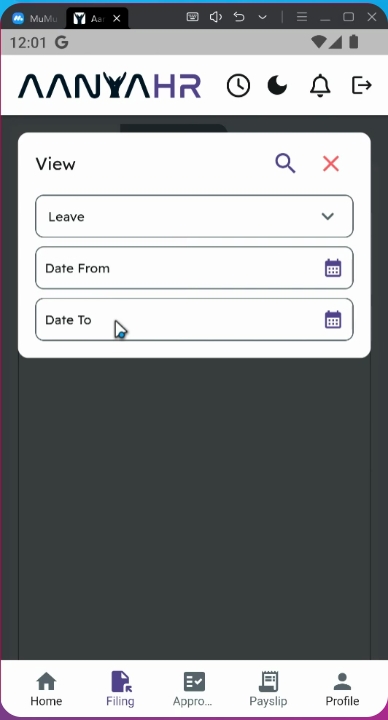
4. Select Date for Editing
Select the date that you want to edit. You may select a single day or multiple days by adjusting the start and end dates.
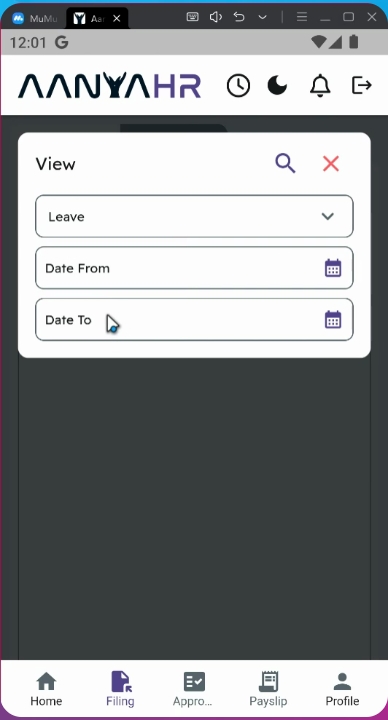
5. Example of Date Selection
For example, if you want to edit your leave file from June 17 to June 18, the date from must be June 17 and the date to must be June 18.
6. Proceed with the Editing
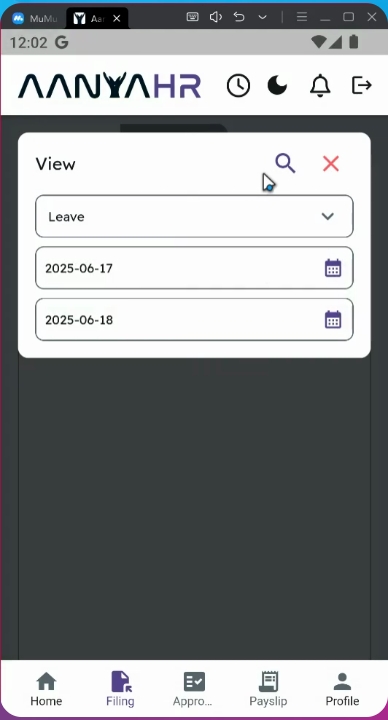
To proceed with the editing, click the search icon.
7. Locate Your Leave Entry
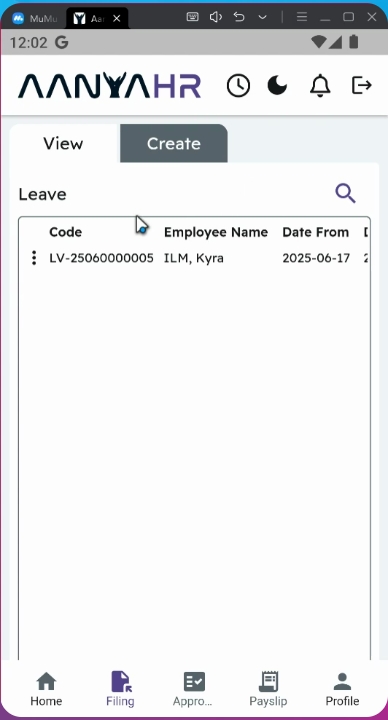
Locate your Leave entry.
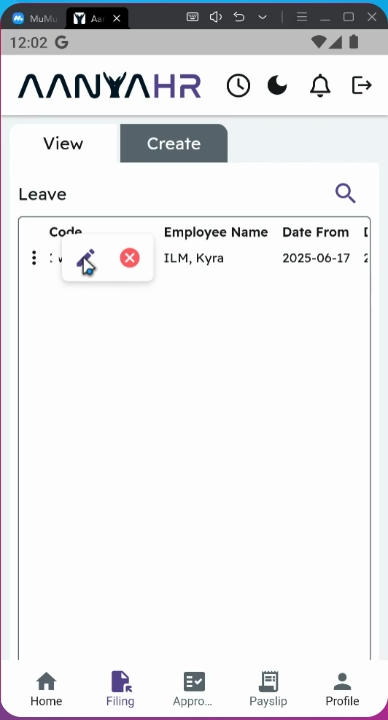
8. Access Edit Options
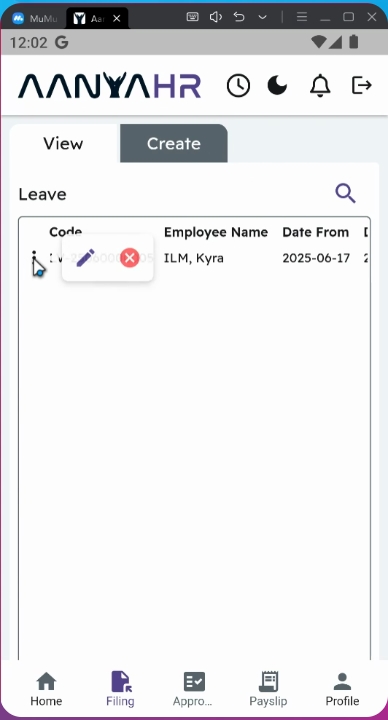
Then tap the three dots beside the Leave code.
9. Select Edit
Select the Edit option.
10. Review Initial Filing Details
On the lower part, you will be able to see your initial filing leave details.
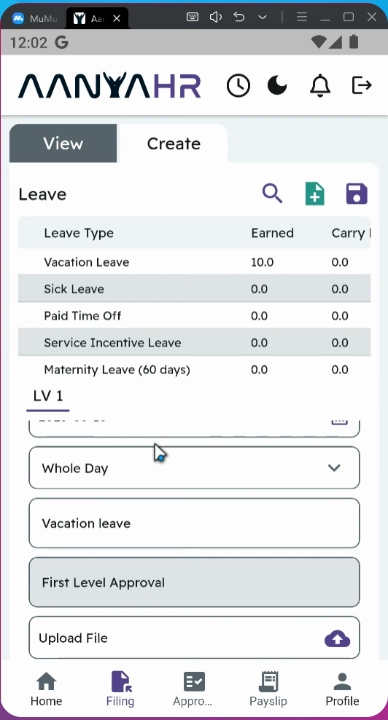
11. Change Date Coverage
If you wish to change the date coverage, tap the calendar icon and change the date. For example, instead of June 17 to June 18, you can change it to June 18 to June 19.
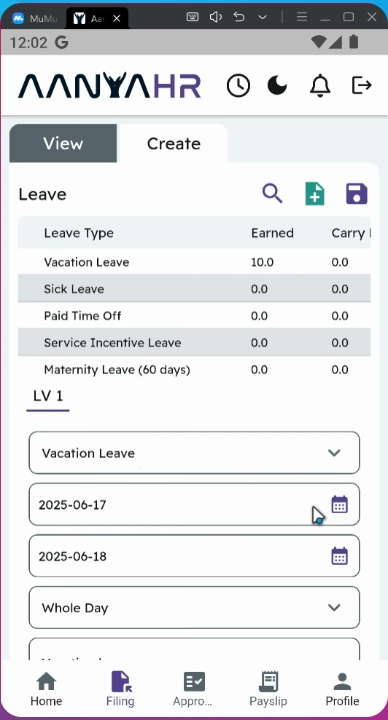
12. Important Notice on Date Changes
Please take note: if you change your initial Leave type, the date from and date to fields will reset, and you will need to reselect the date coverage again.
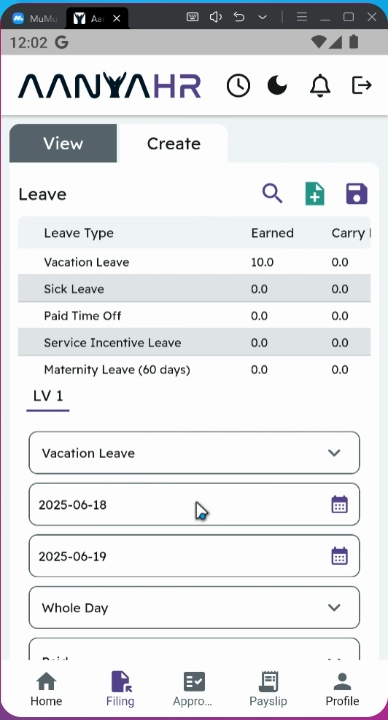
13. Retaining Original Details
You may retain the original details such as Leave filing type, paid option reason, and your uploaded supporting documents.
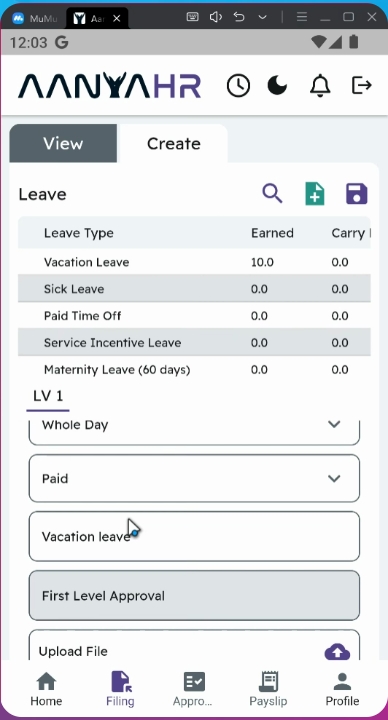
14. Status of Filed Leave
You will notice that the status of your filed leave is tagged as first level of Approval.
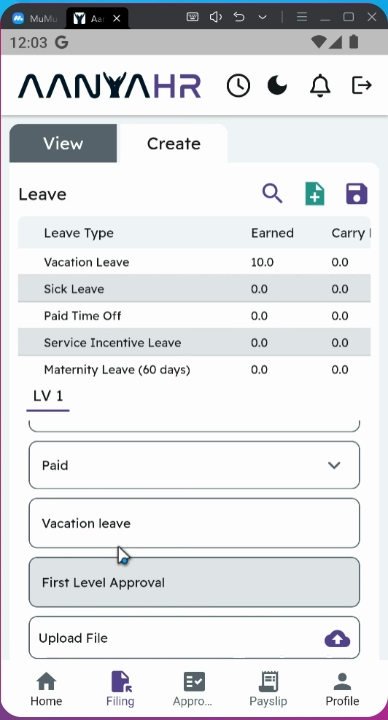
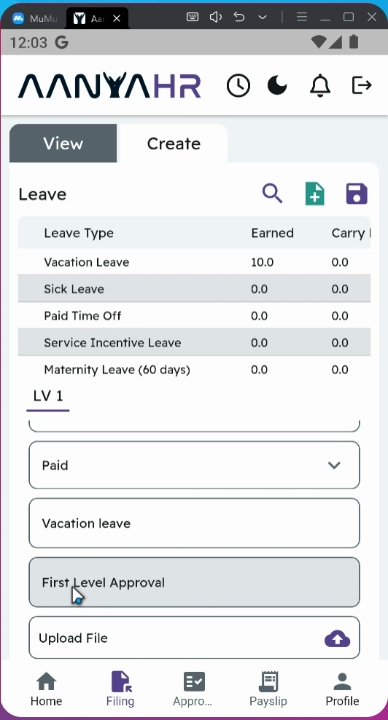
15. Important Notice on Approval Levels
Please take note: all filings that are still on the first level of approval can be edited. However, once the filing has reached the second level and has been approved, editing will no longer be available, and only cancellation will be allowed.
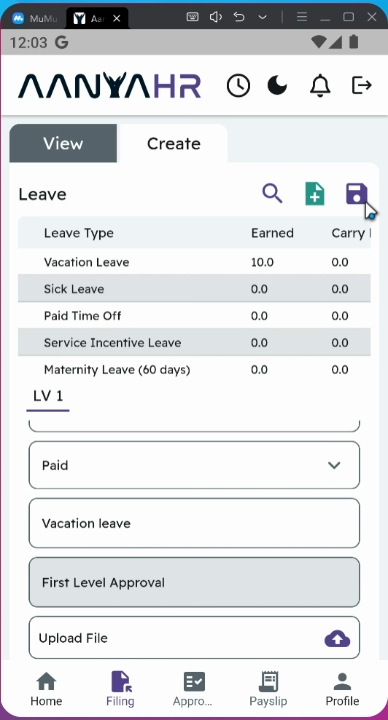
16. Save Your Changes
Once all changes are made, tap the Save button to proceed.
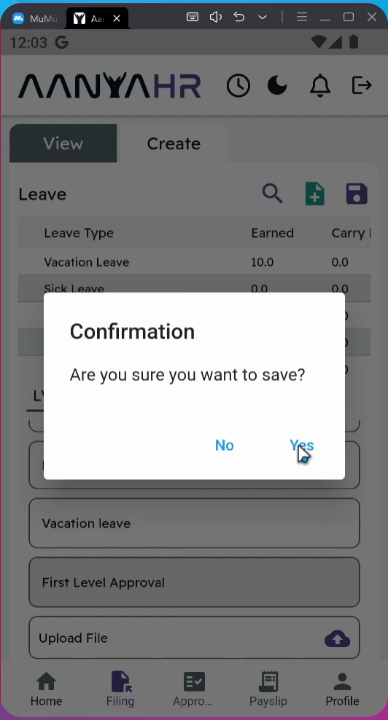
17. Confirm Changes
A confirmation will prompt. Click yes to proceed.
18. Approval Process
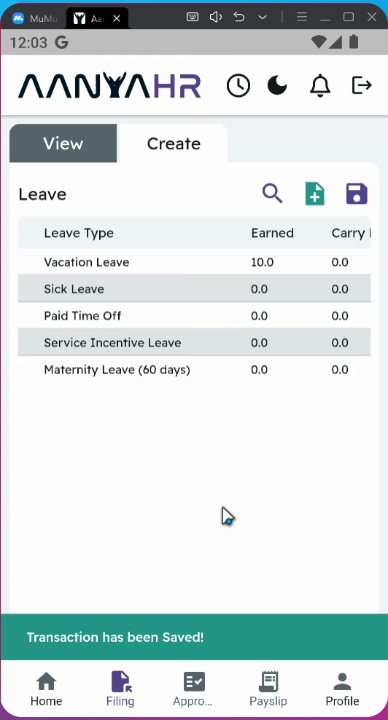
All edited filings will be automatically rerouted to your supervisor for approval.
19. Track Your Filing Status
You can track the status of your filing under Application Status, and it will be marked as Pending.
Conclusion
By following these steps, you will be able to successfully edit your leave filings in the Ahenya HR Mobile application. Ensure to check the approval status after making your changes to stay updated on your application.