

Introduction
Cancelling a filed leave can be a straightforward process if you know where to go in the AanyaHR Mobile Application. In this tutorial, we will guide you through each step required to successfully cancel your leave request, ensuring that you can manage your time off efficiently. Let's dive into the step-by-step instructions that will help you navigate through the application with ease.
How to Instructions
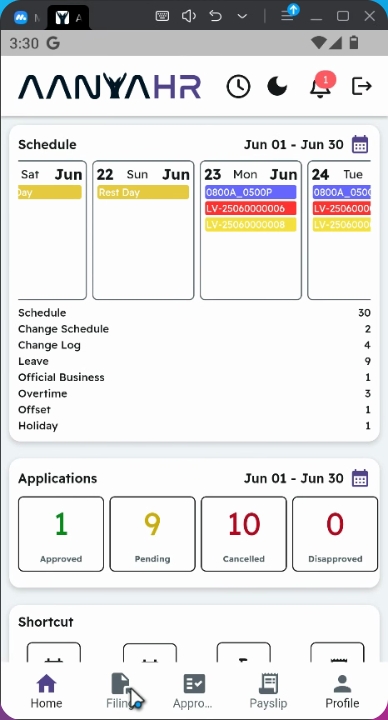
1. Navigate to the Filing Module
First, go to the Filing module.
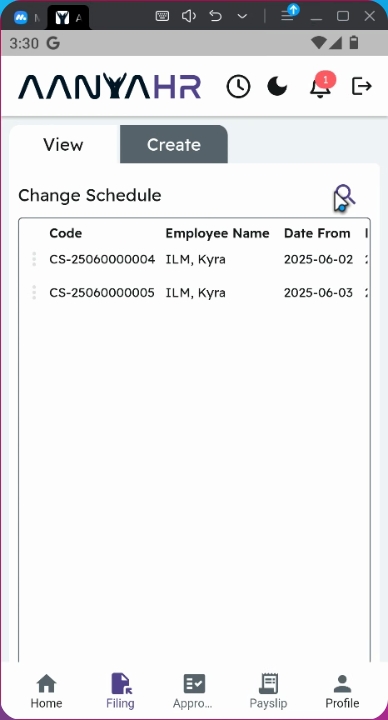
2. Access the Search Function
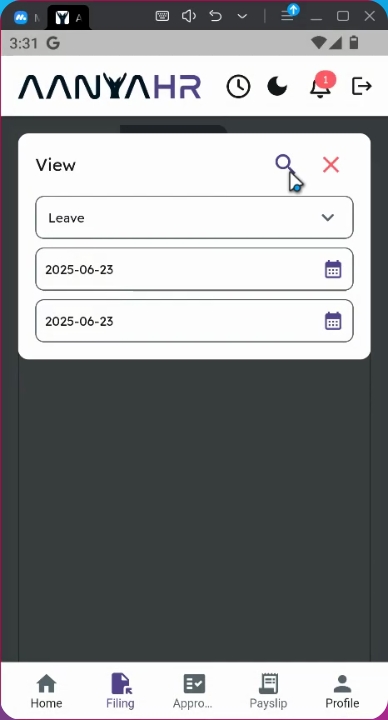
On the View panel, click the Search button.
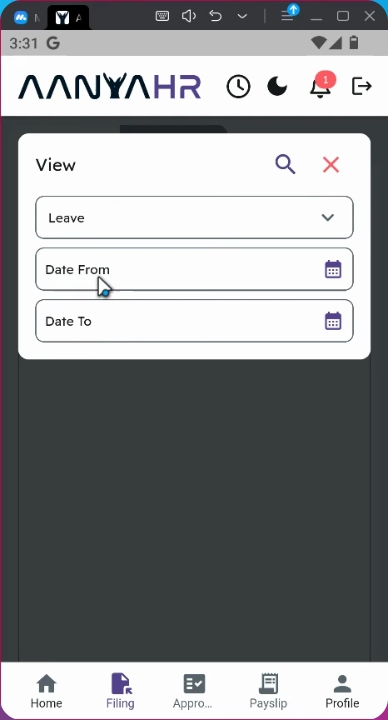
3. Choose Filing Type
Choose Leave as your filing type.
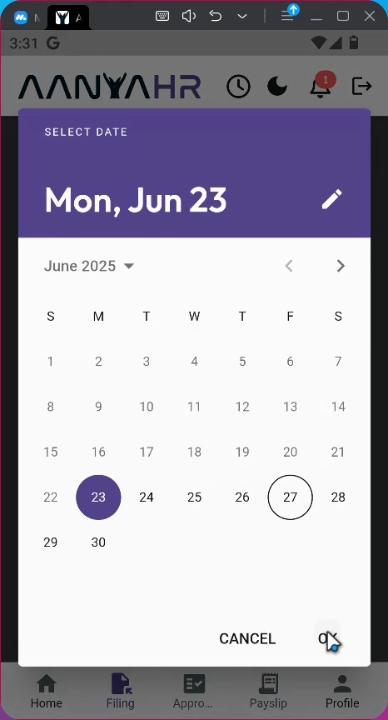
4. Select Date
You may select a date that you want to edit. You can choose either a single day or multiple days by adjusting the start and end dates.
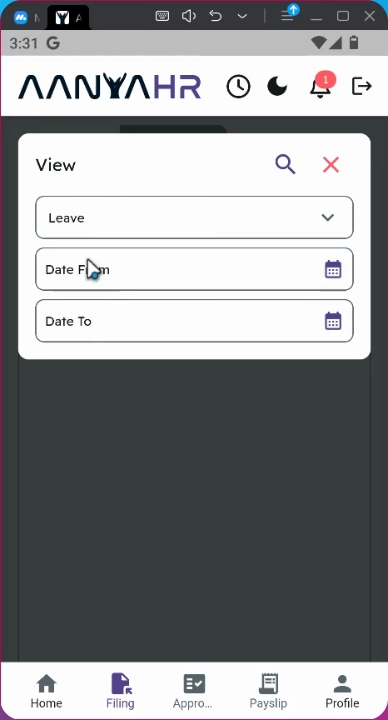
5. Specify the Date for Cancellation
For example, if you want to cancel your filed leave on June 23rd, ensure that the date from end to must be June 23rd.
6. Proceed with the Search
Click the search icon to proceed.
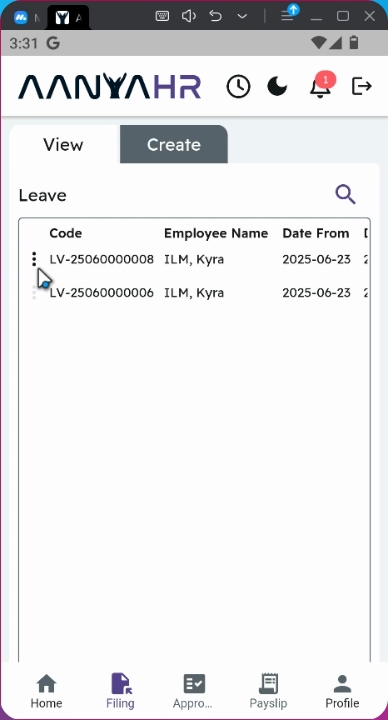
7. Access the Cancellation Options
Beside your leave code, click the three dots.
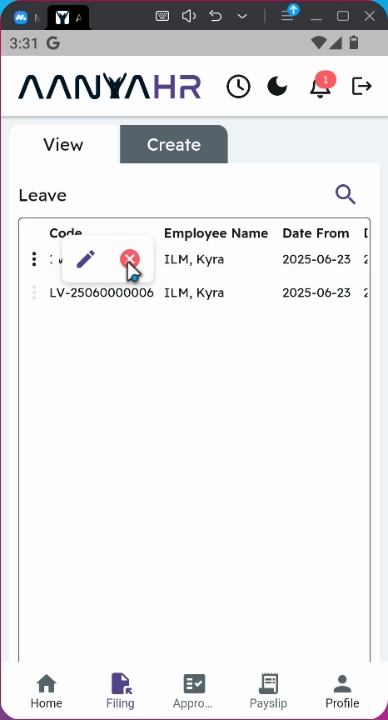
8. Select the Cancellation Icon
Select the cancellation icon.
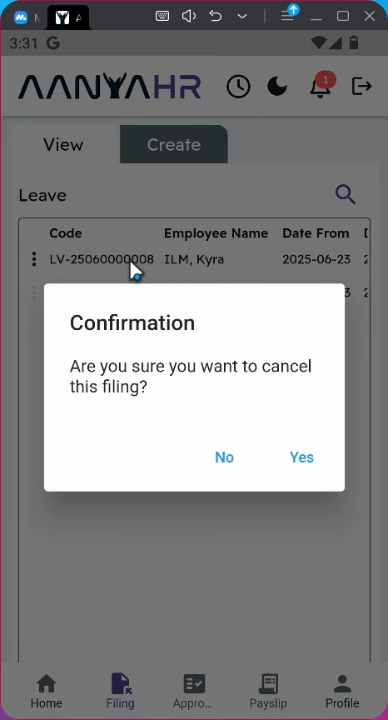
9. Confirm Cancellation
A confirmation prompt will appear.
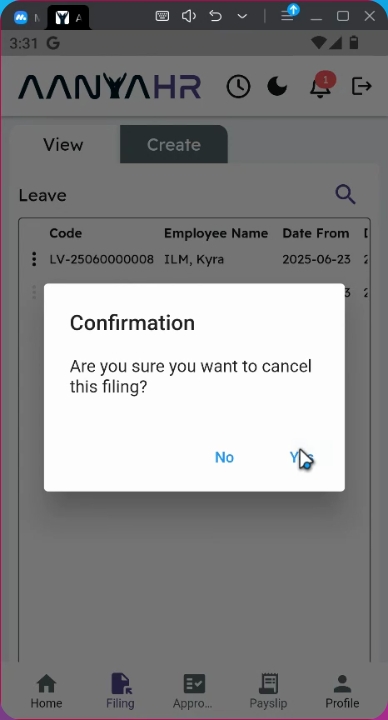
10. Finalize the Cancellation
Click yes to proceed with the cancellation.
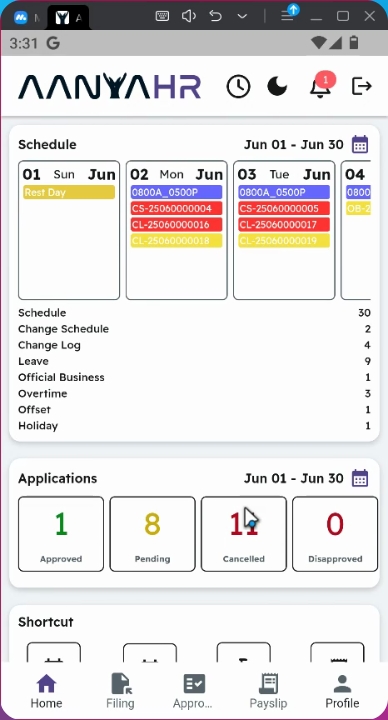
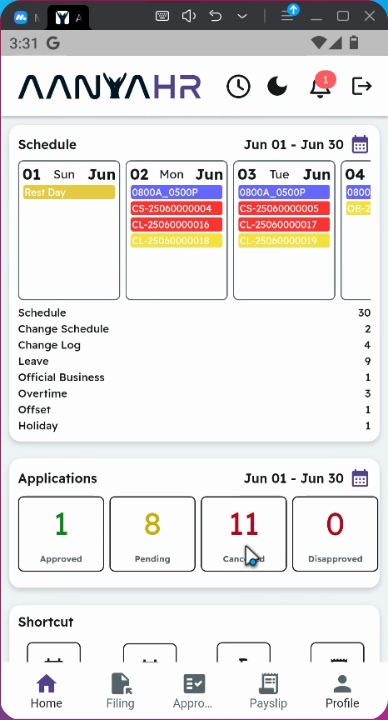
11. Check Application Status
All transactions that were cancelled will be tagged as cancelled on the application status on the homepage.
12. Additional Information
This procedure can also be used to cancel Offset filings. Please select the appropriate filing type and specify the desired date range for cancellation.
Conclusion
By following these steps, you can easily manage your leave and ensure that any changes are reflected in your application. Should you need to cancel any filed leave in the future, remember this straightforward process.