

Introduction
Welcome to our comprehensive tutorial on managing company information through the Company module. In this guide, we will walk you step-by-step through the process of creating a company profile and configuring important details to ensure your organization's data is secure and accessible. Whether you're setting up for the first time or updating existing records, this tutorial will provide the necessary instructions to optimize your company management.
How to Instructions
1. Navigate to the Company Module
Begin by navigating to the Admin section and then select Company.
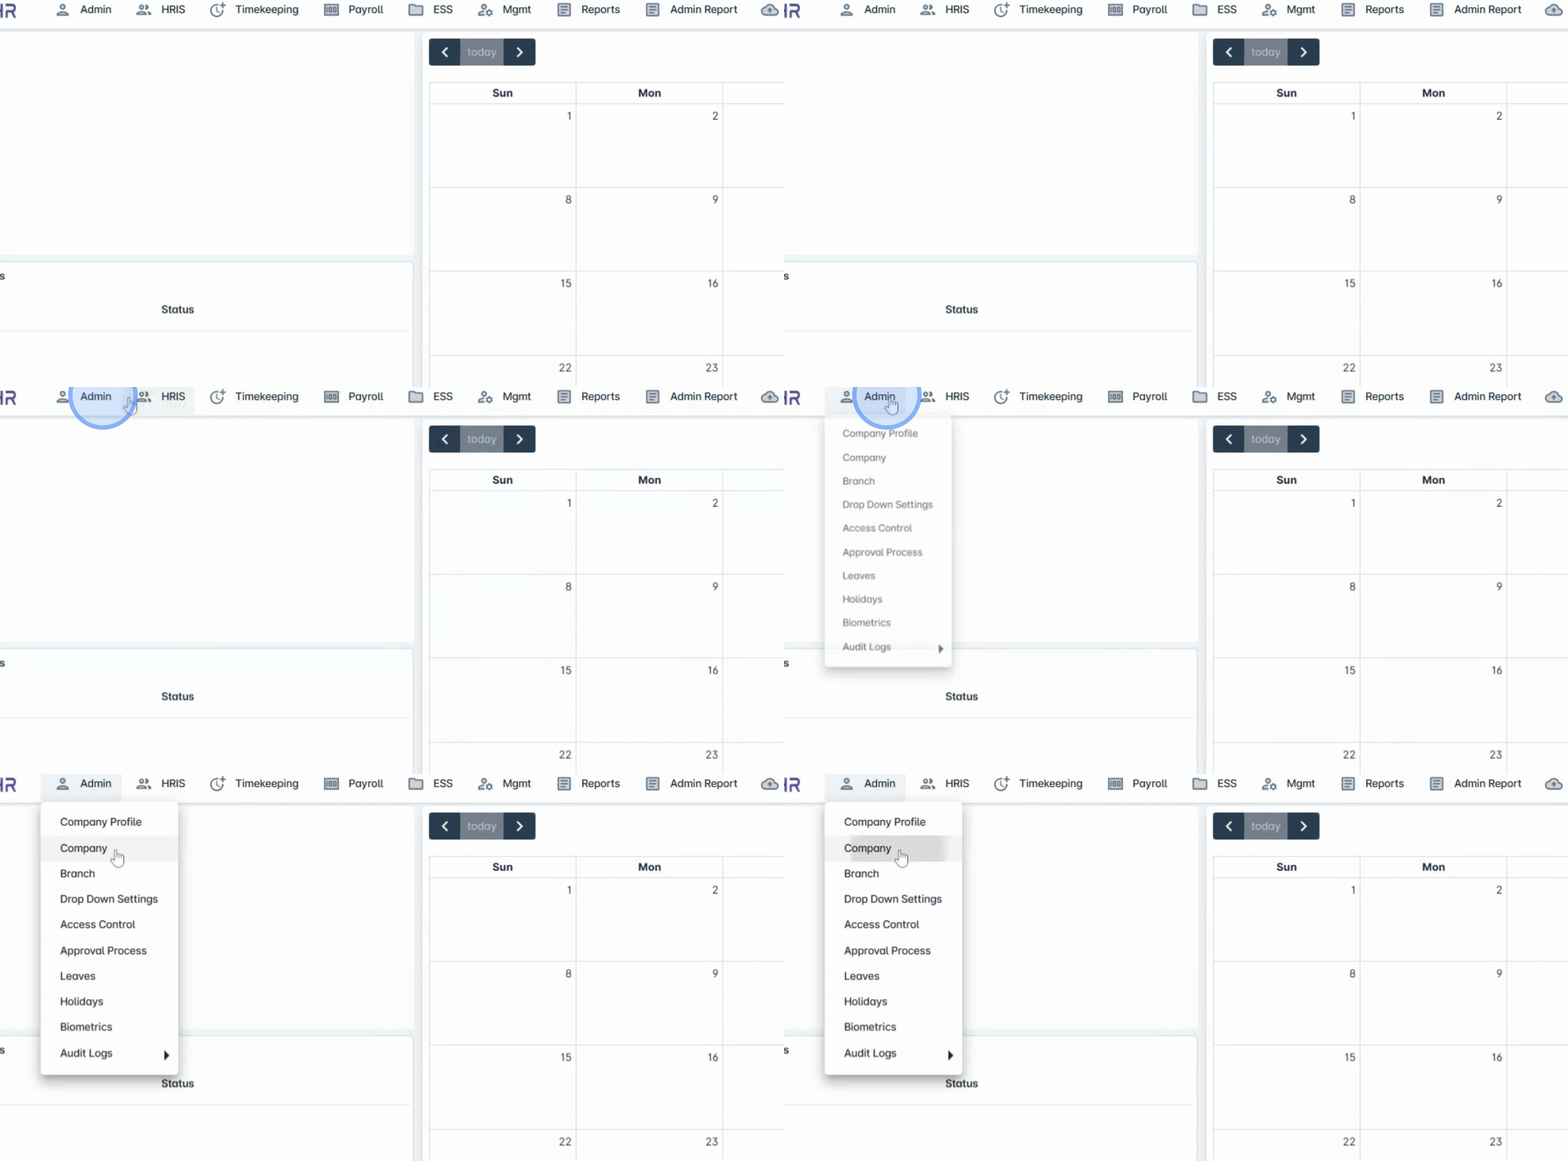
2. Create a New Company
Click the Create button to initiate the company creation process.

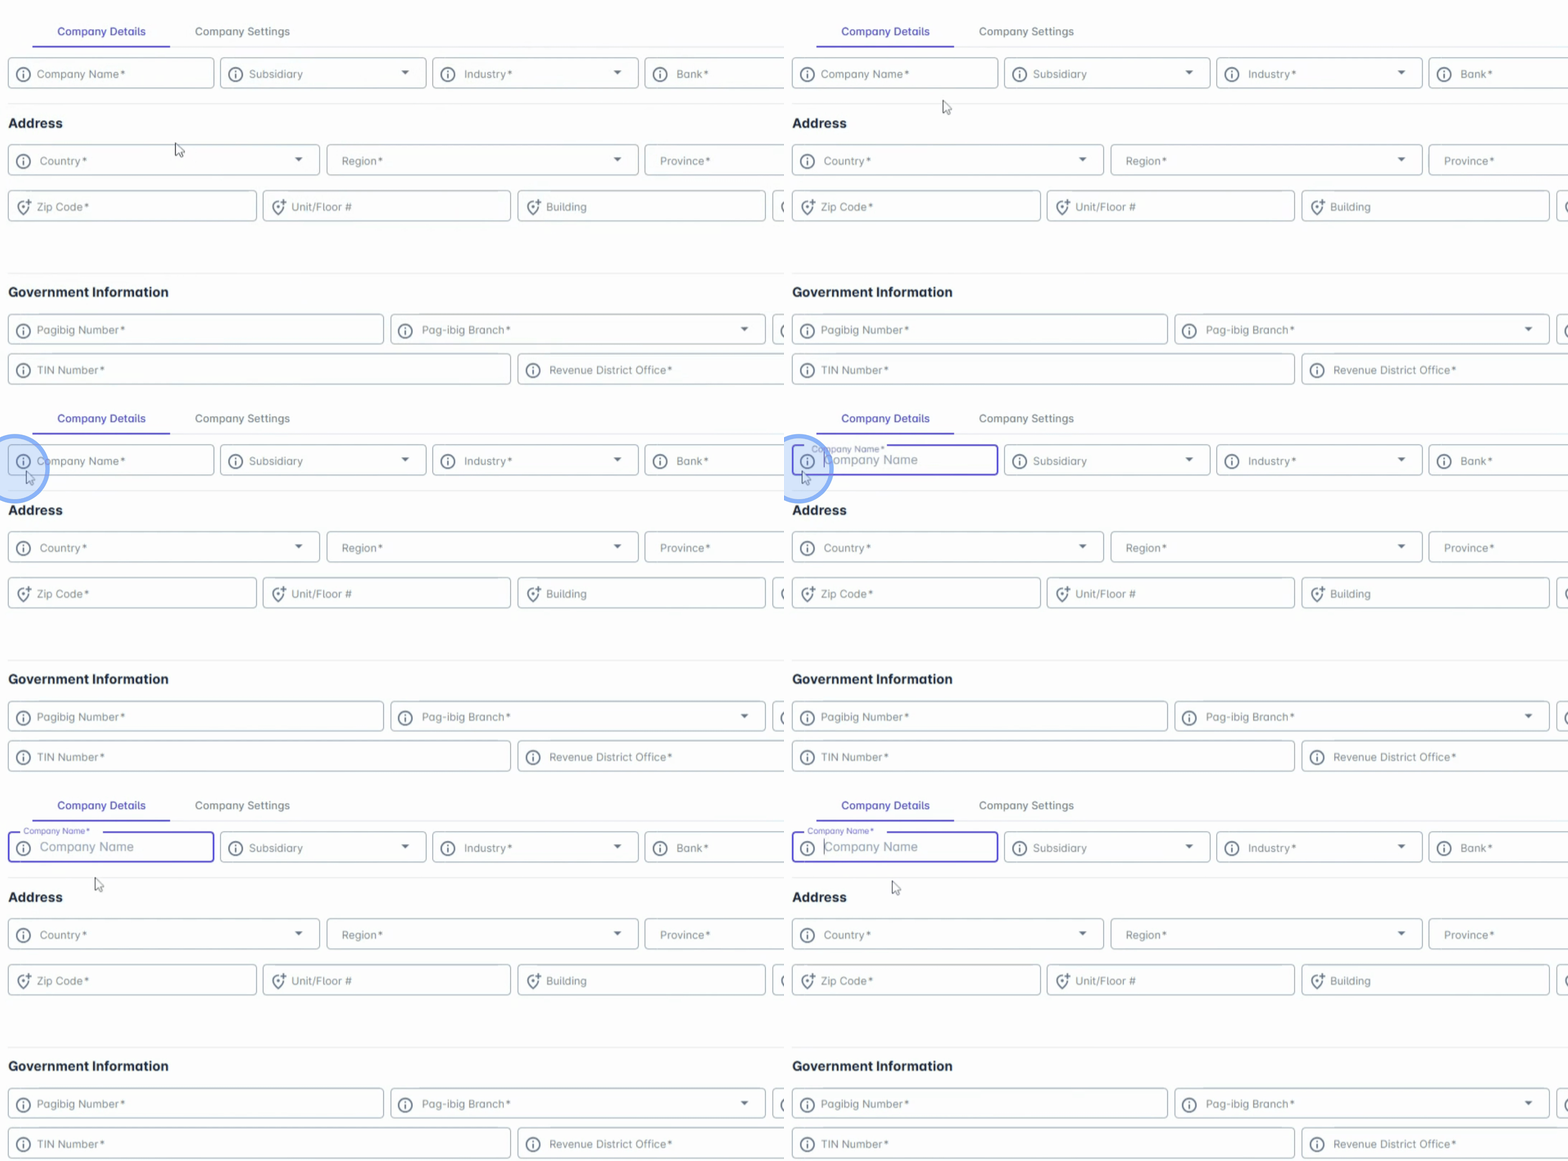
3. Enter Company Name
Start by entering your Company Name.
Once you provide the initial details, we will fill the company name, but it remains fully editable for your convenience.
4. Specify Additional Details
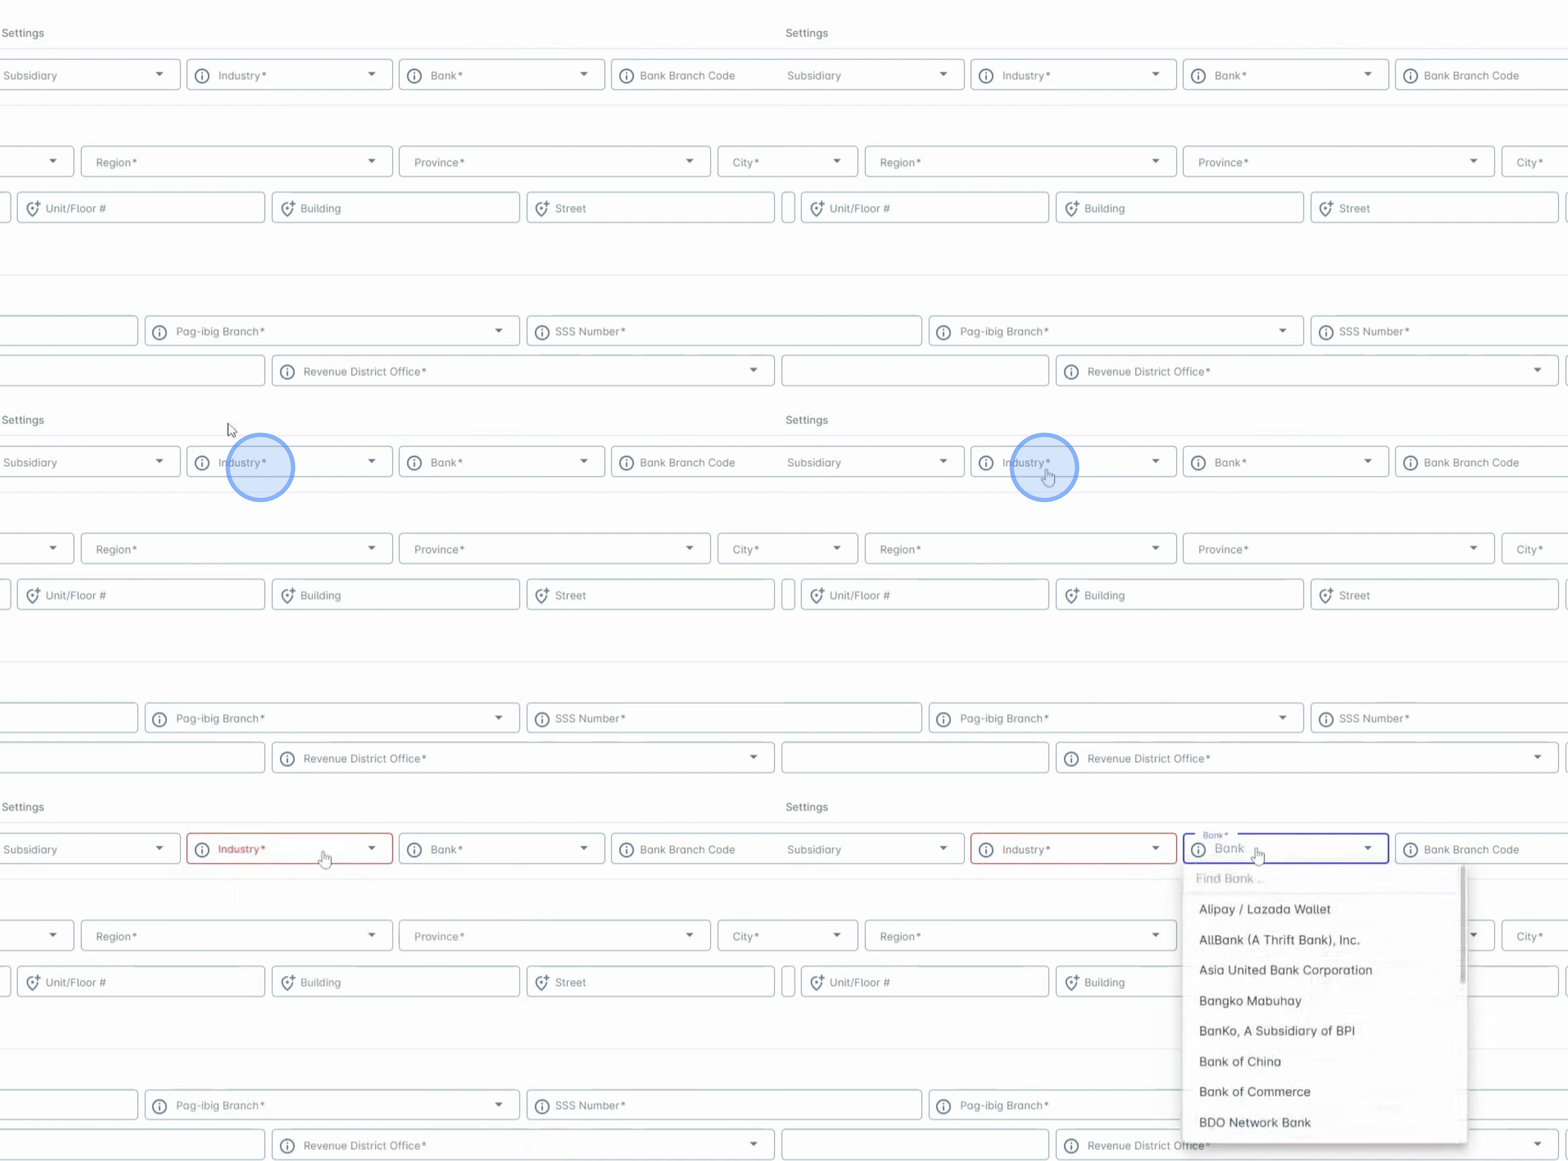
You can also specify other important details such as industry, bank details, address, government information, and company contact information.
5. Assign Signatories
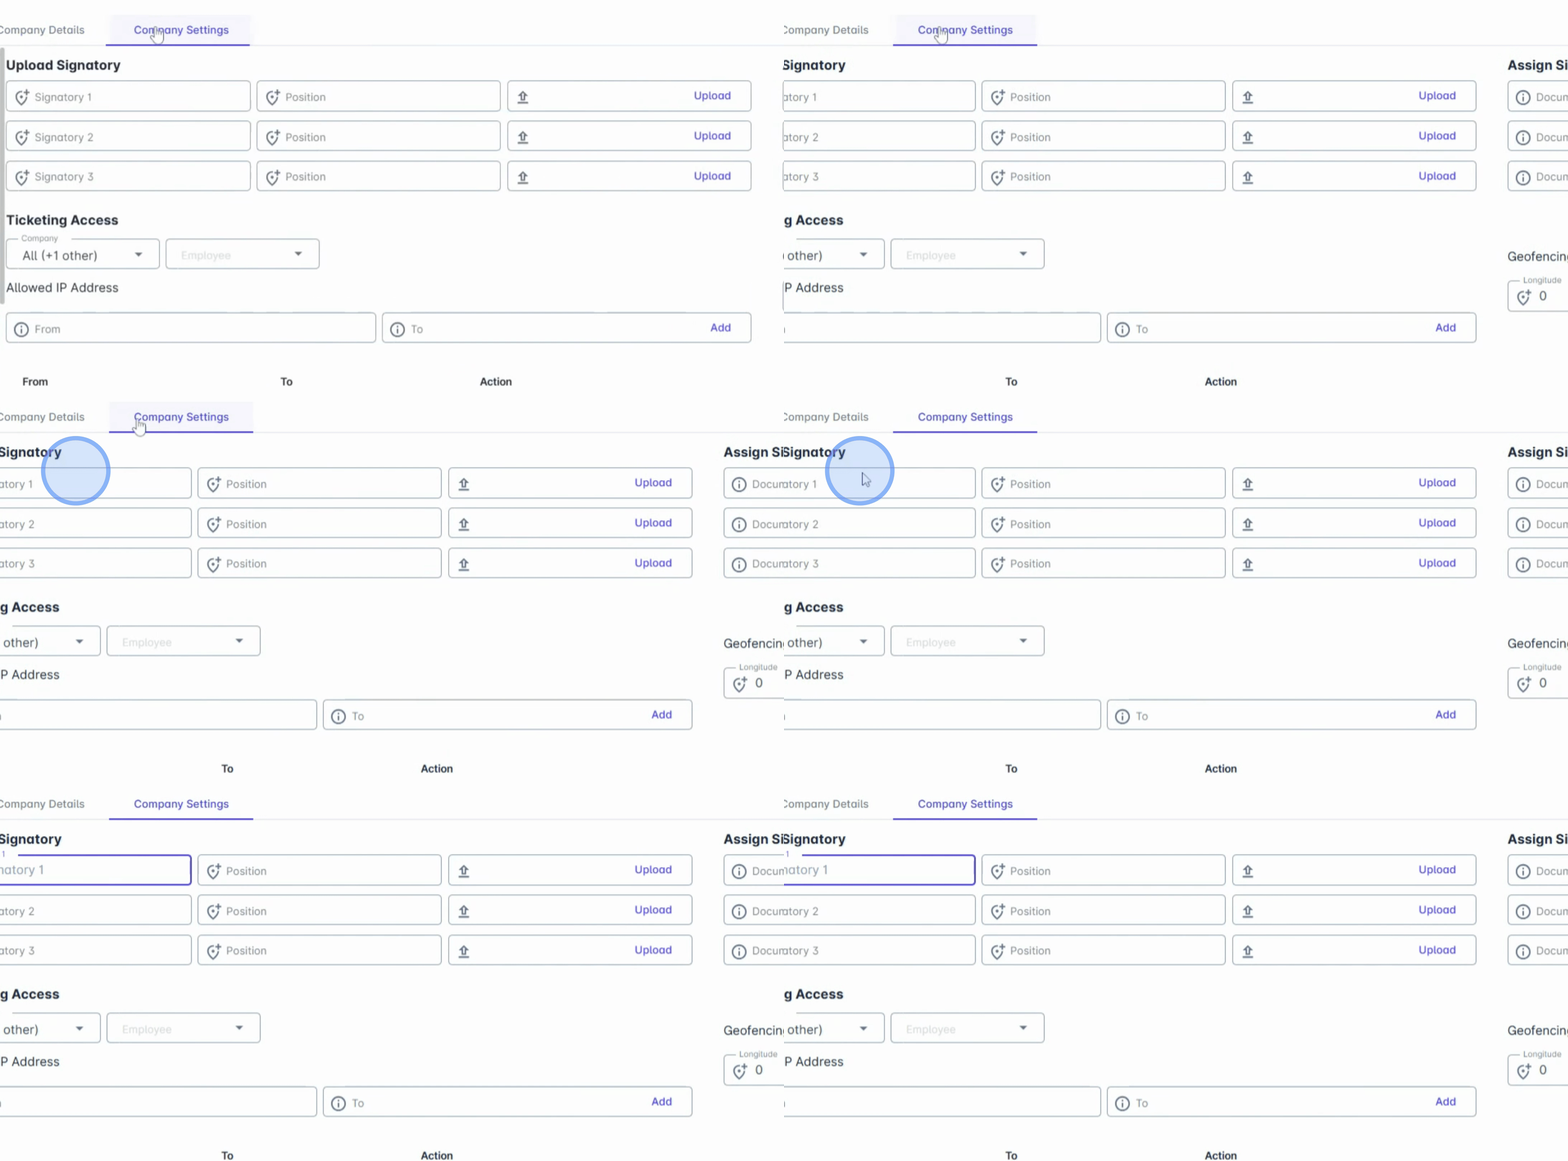
In the Company Settings area, you can assign signatories for official documents such as BIR 2316, pay slips, and certificates of Employment Request.
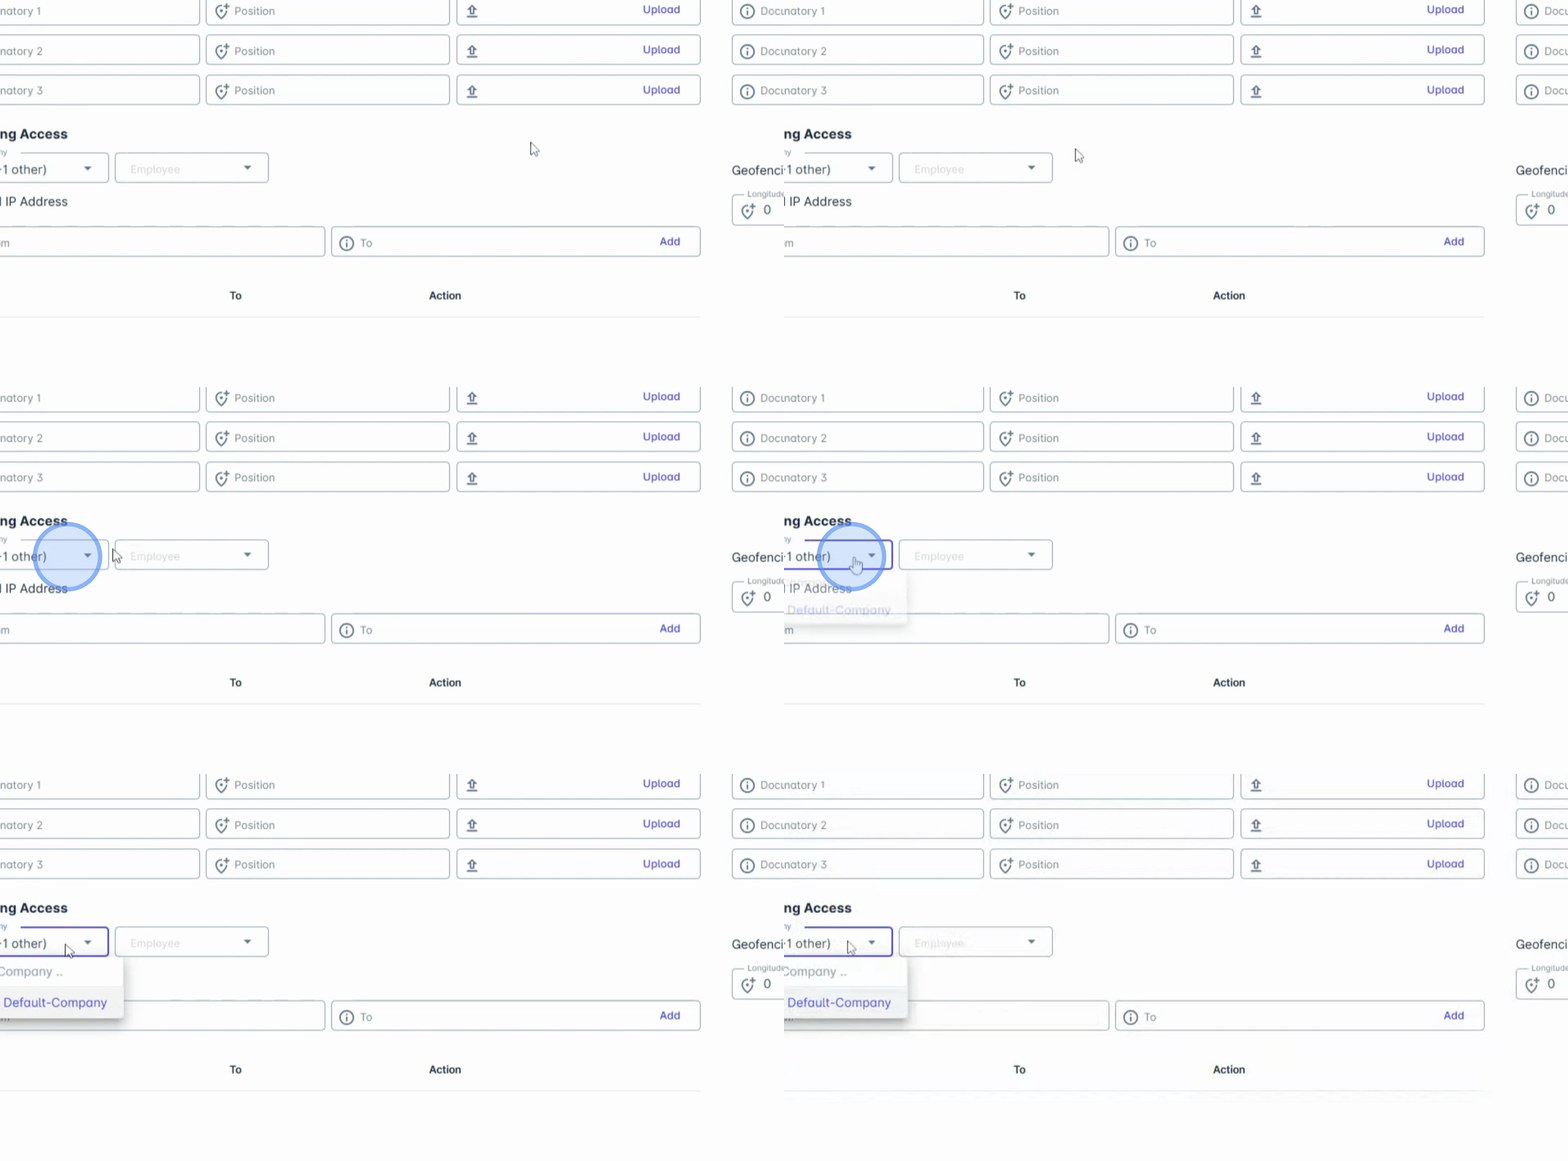
6. Manage Ticketing Access
Next, you will find ticketing access where you can authorize your company's point of contacts to raise concerns or support tickets directly to the AanyaHR portal.
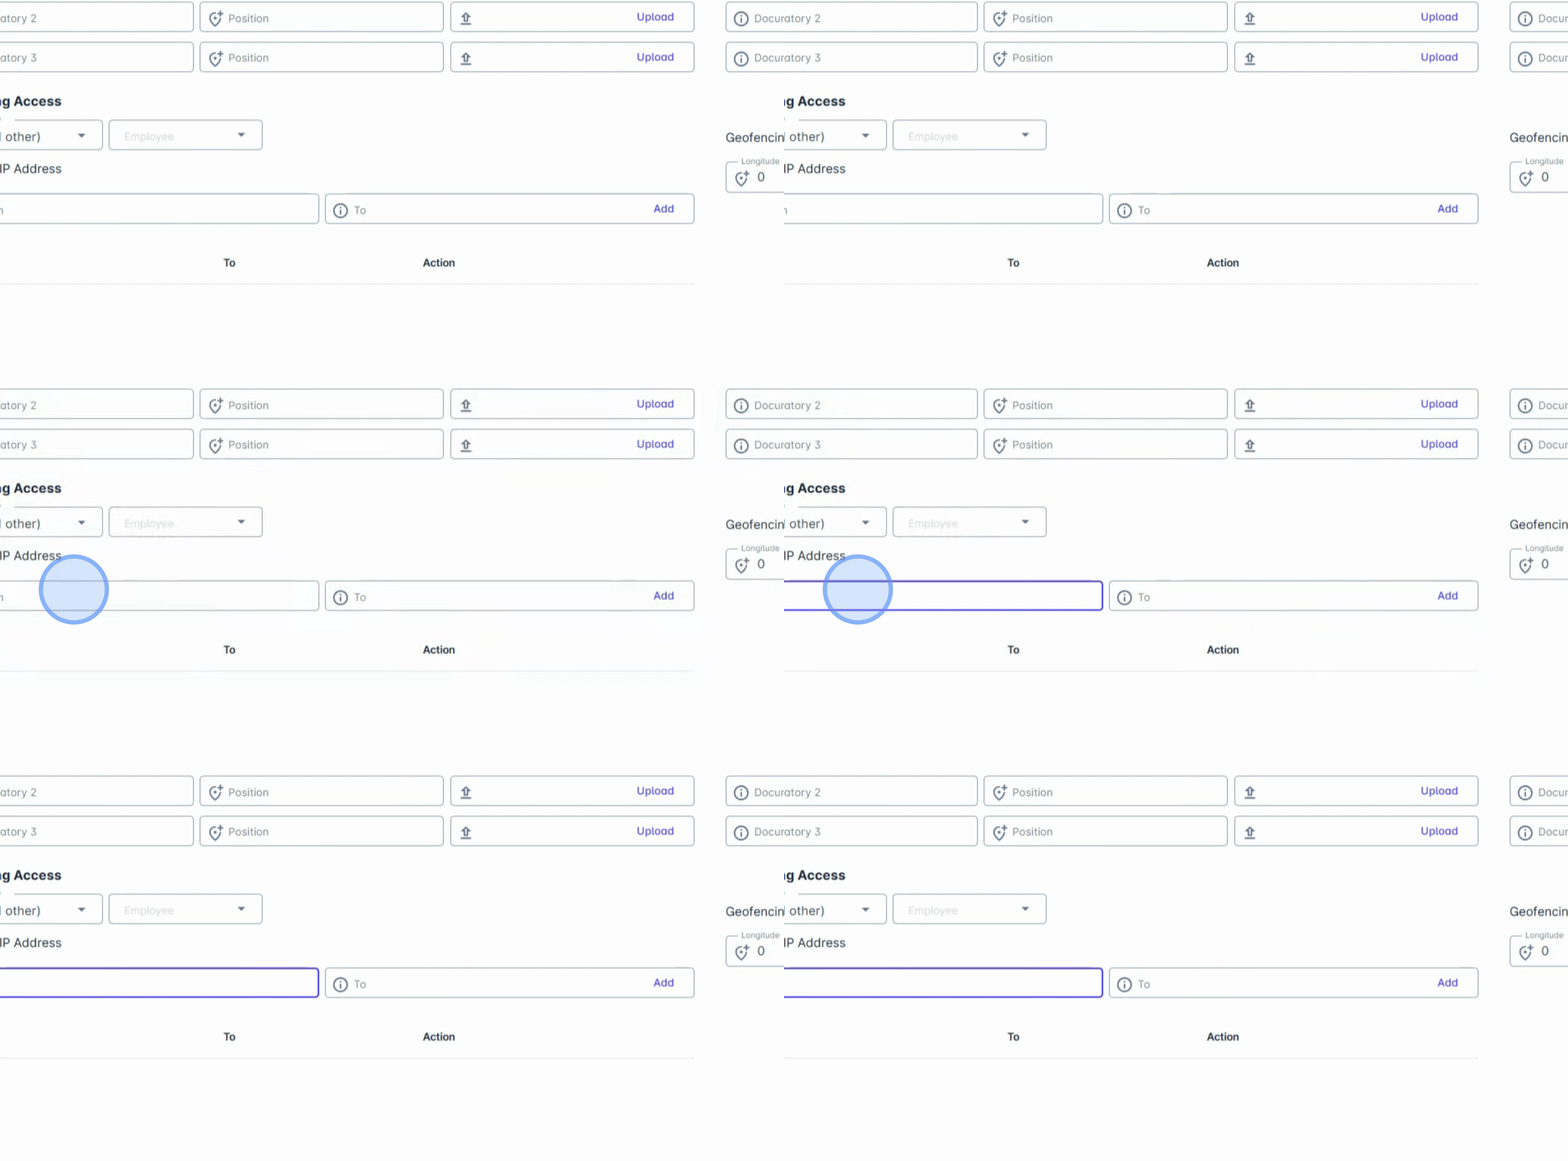
7. Enable IP Whitelisting
We also offer IP whitelisting. This feature allows you to restrict access to AanyaHR so only users connected to your company's approved IP addresses can log in, enhancing security and control.
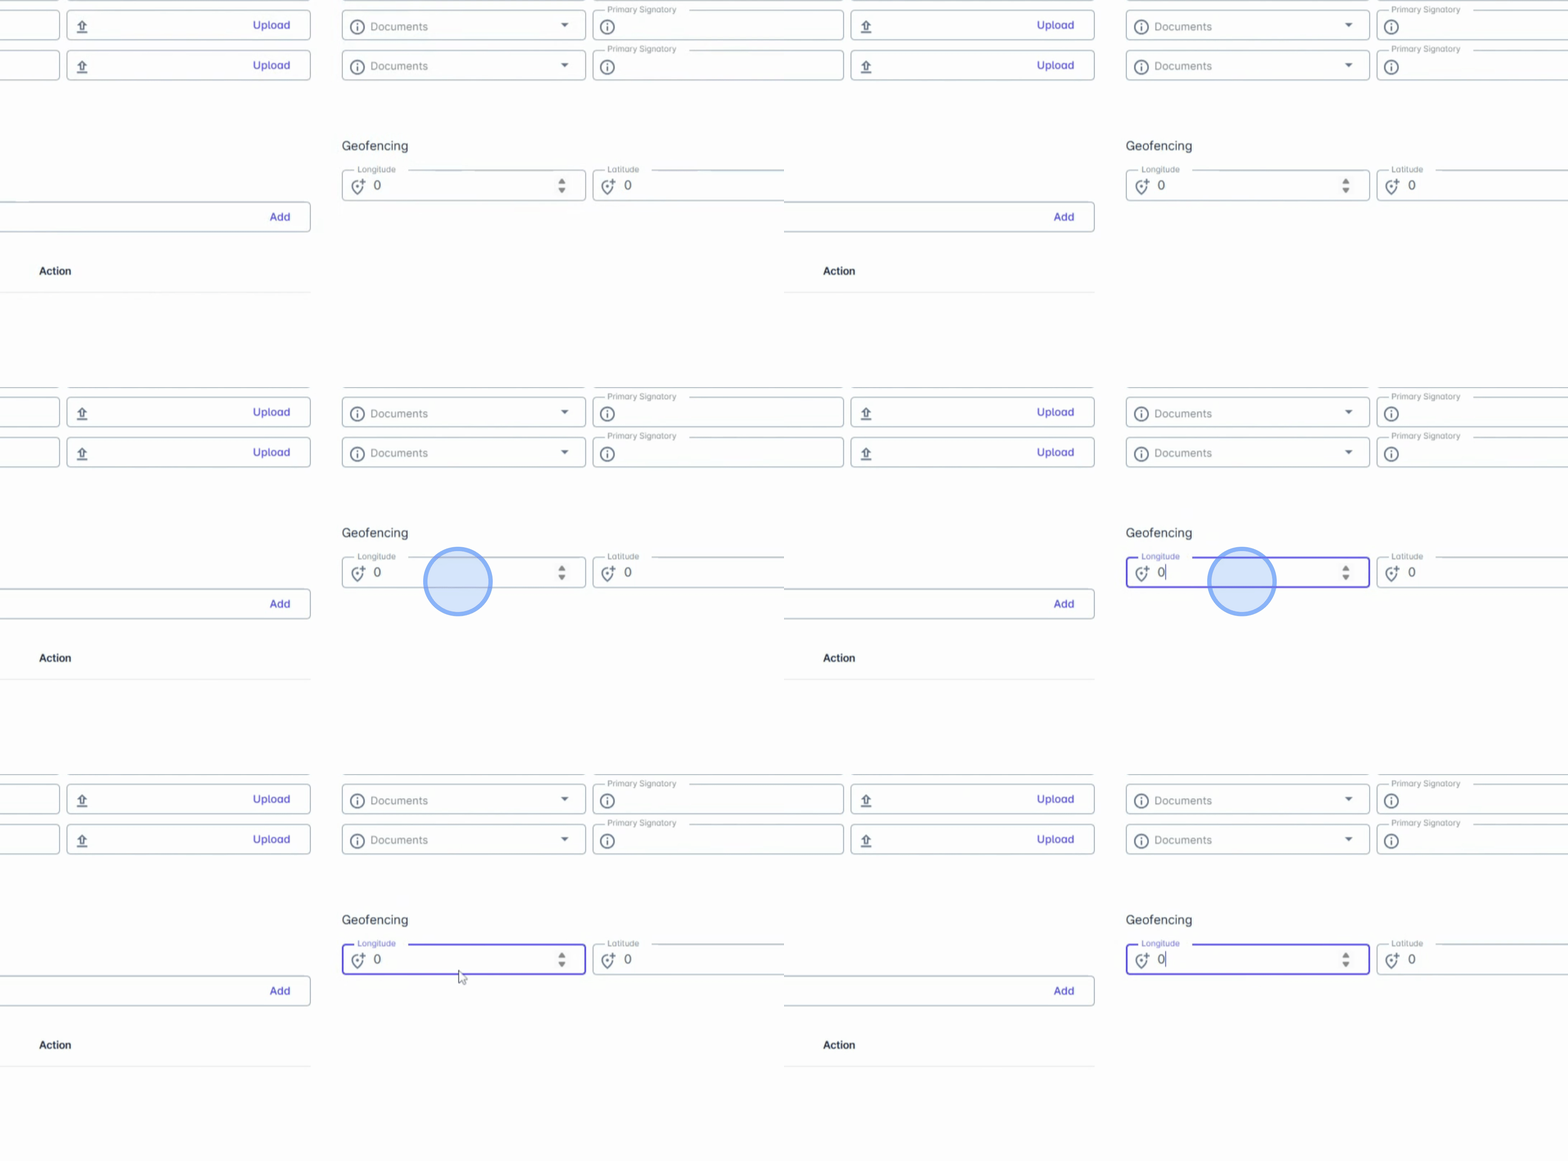
8. Enable Geofencing for Attendance Management
If you are using the AanyaHR mobile app, you can enable Geofencing. This feature lets you define specific location ranges where employees can clock in or out, helping manage attendance more accurately and securely.
With these steps, you can effectively manage your company's information and ensure that your organization's data is secure, flexible, and accessible when needed.