Introduction
In this tutorial, we will guide you through the Drop-Down Settings feature within the HRIS. This tool is essential for managing custom codes and uploadable files related to employee information. By the end of this article, you will be equipped with the knowledge to add, modify, and deactivate drop down entries to align with your company's needs.
How to Create Dropdown Entry
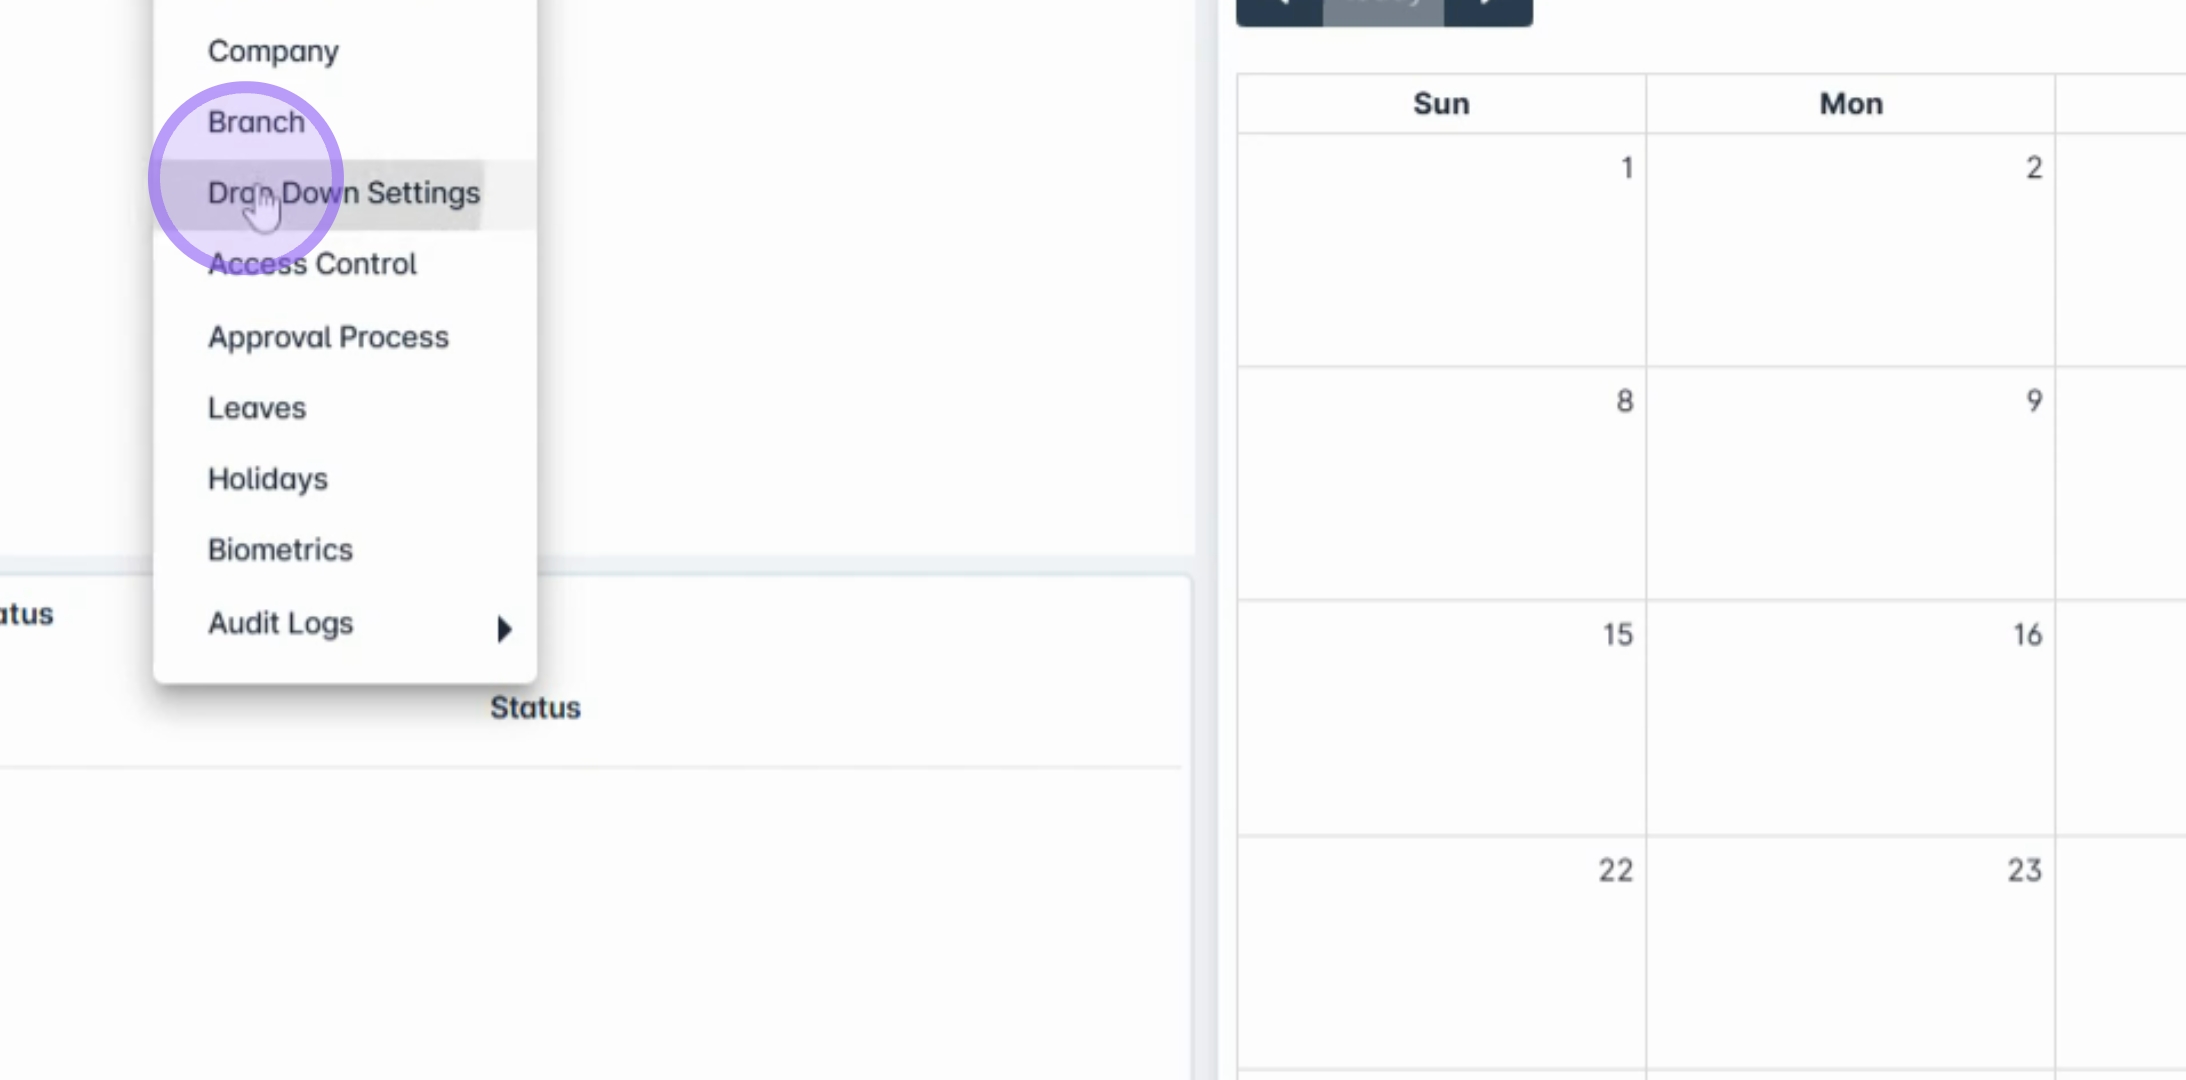
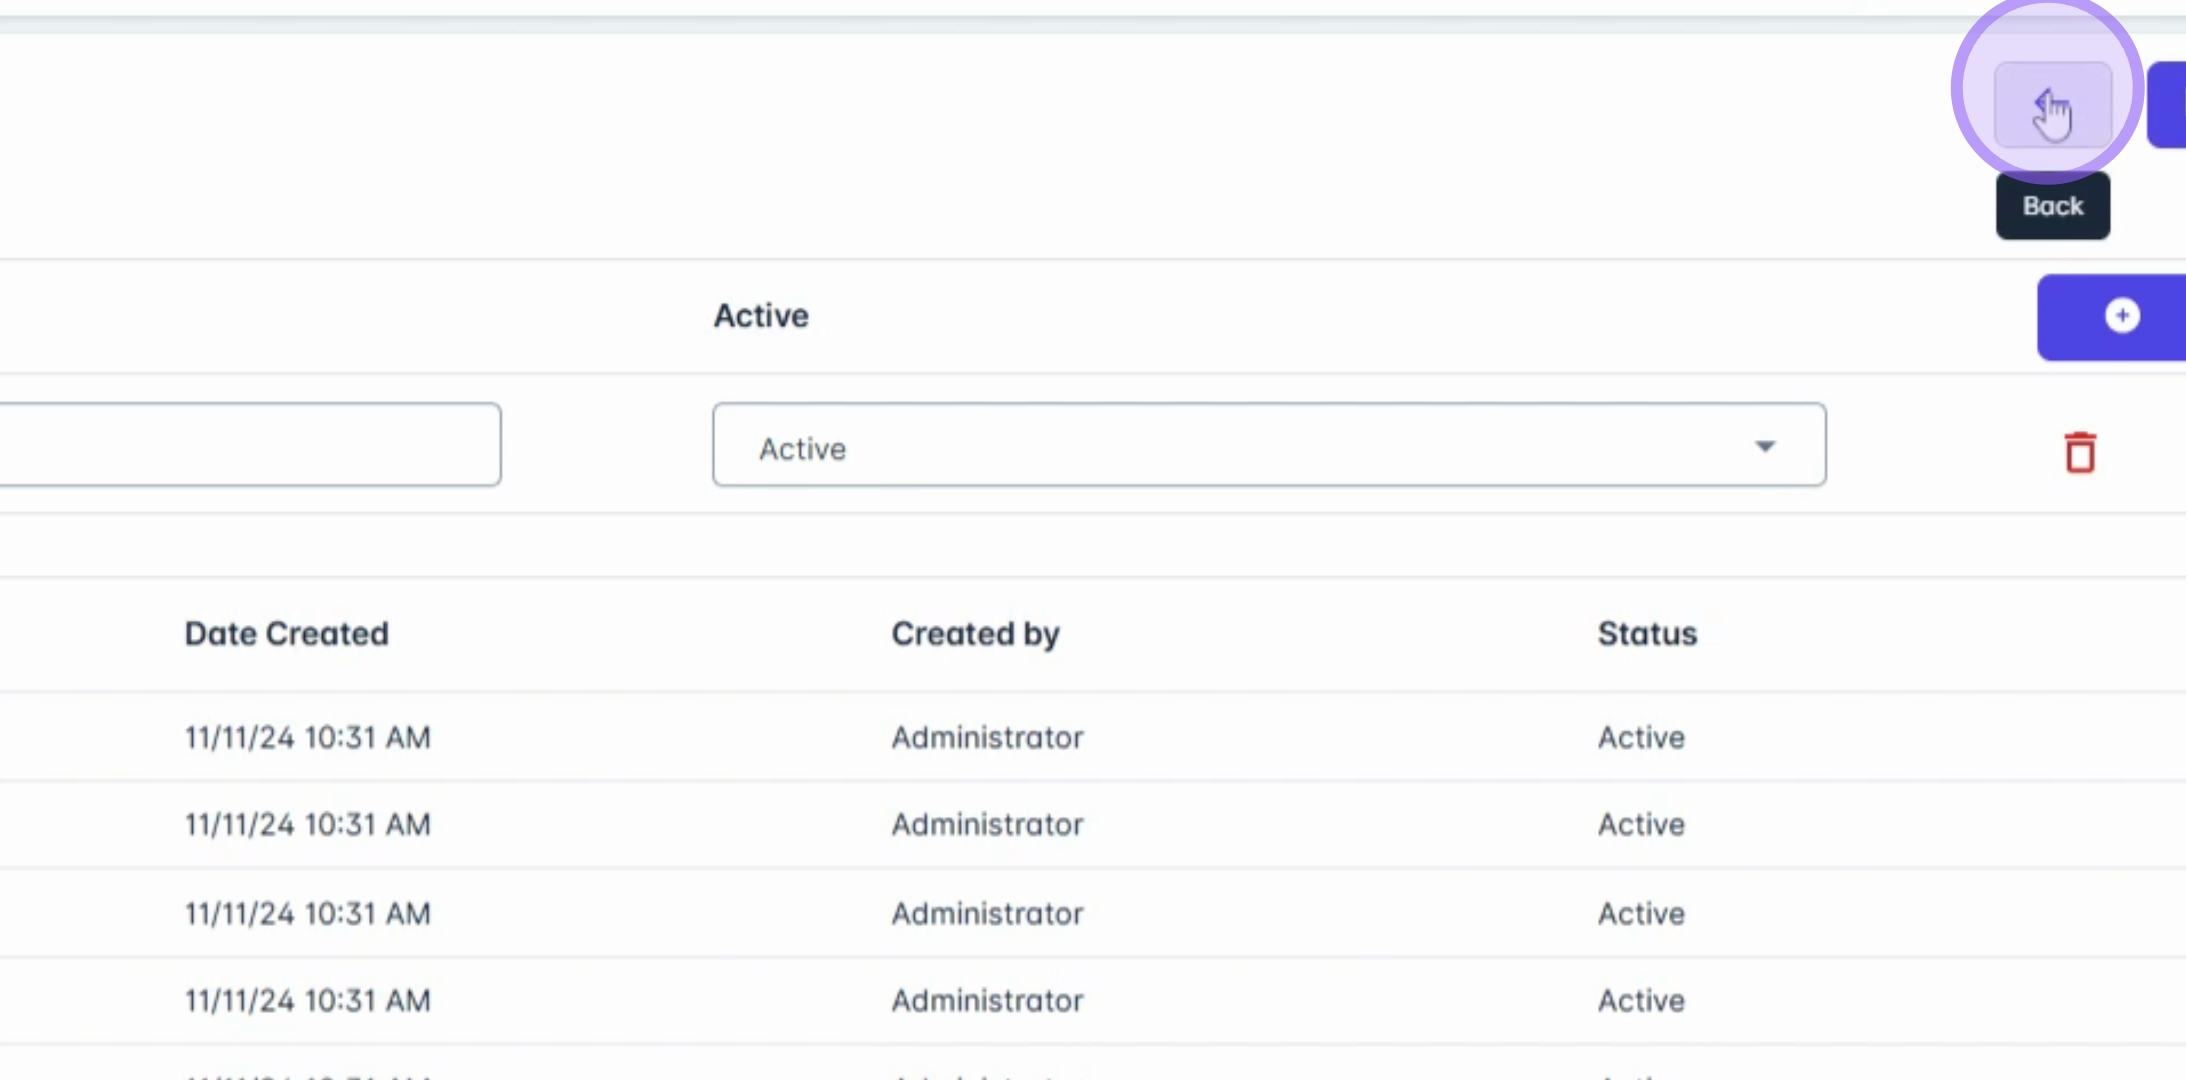
1. Navigate to the Dropdown Settings
To get started, navigate to the Admin menu, select Drop Down Settings from the menu.
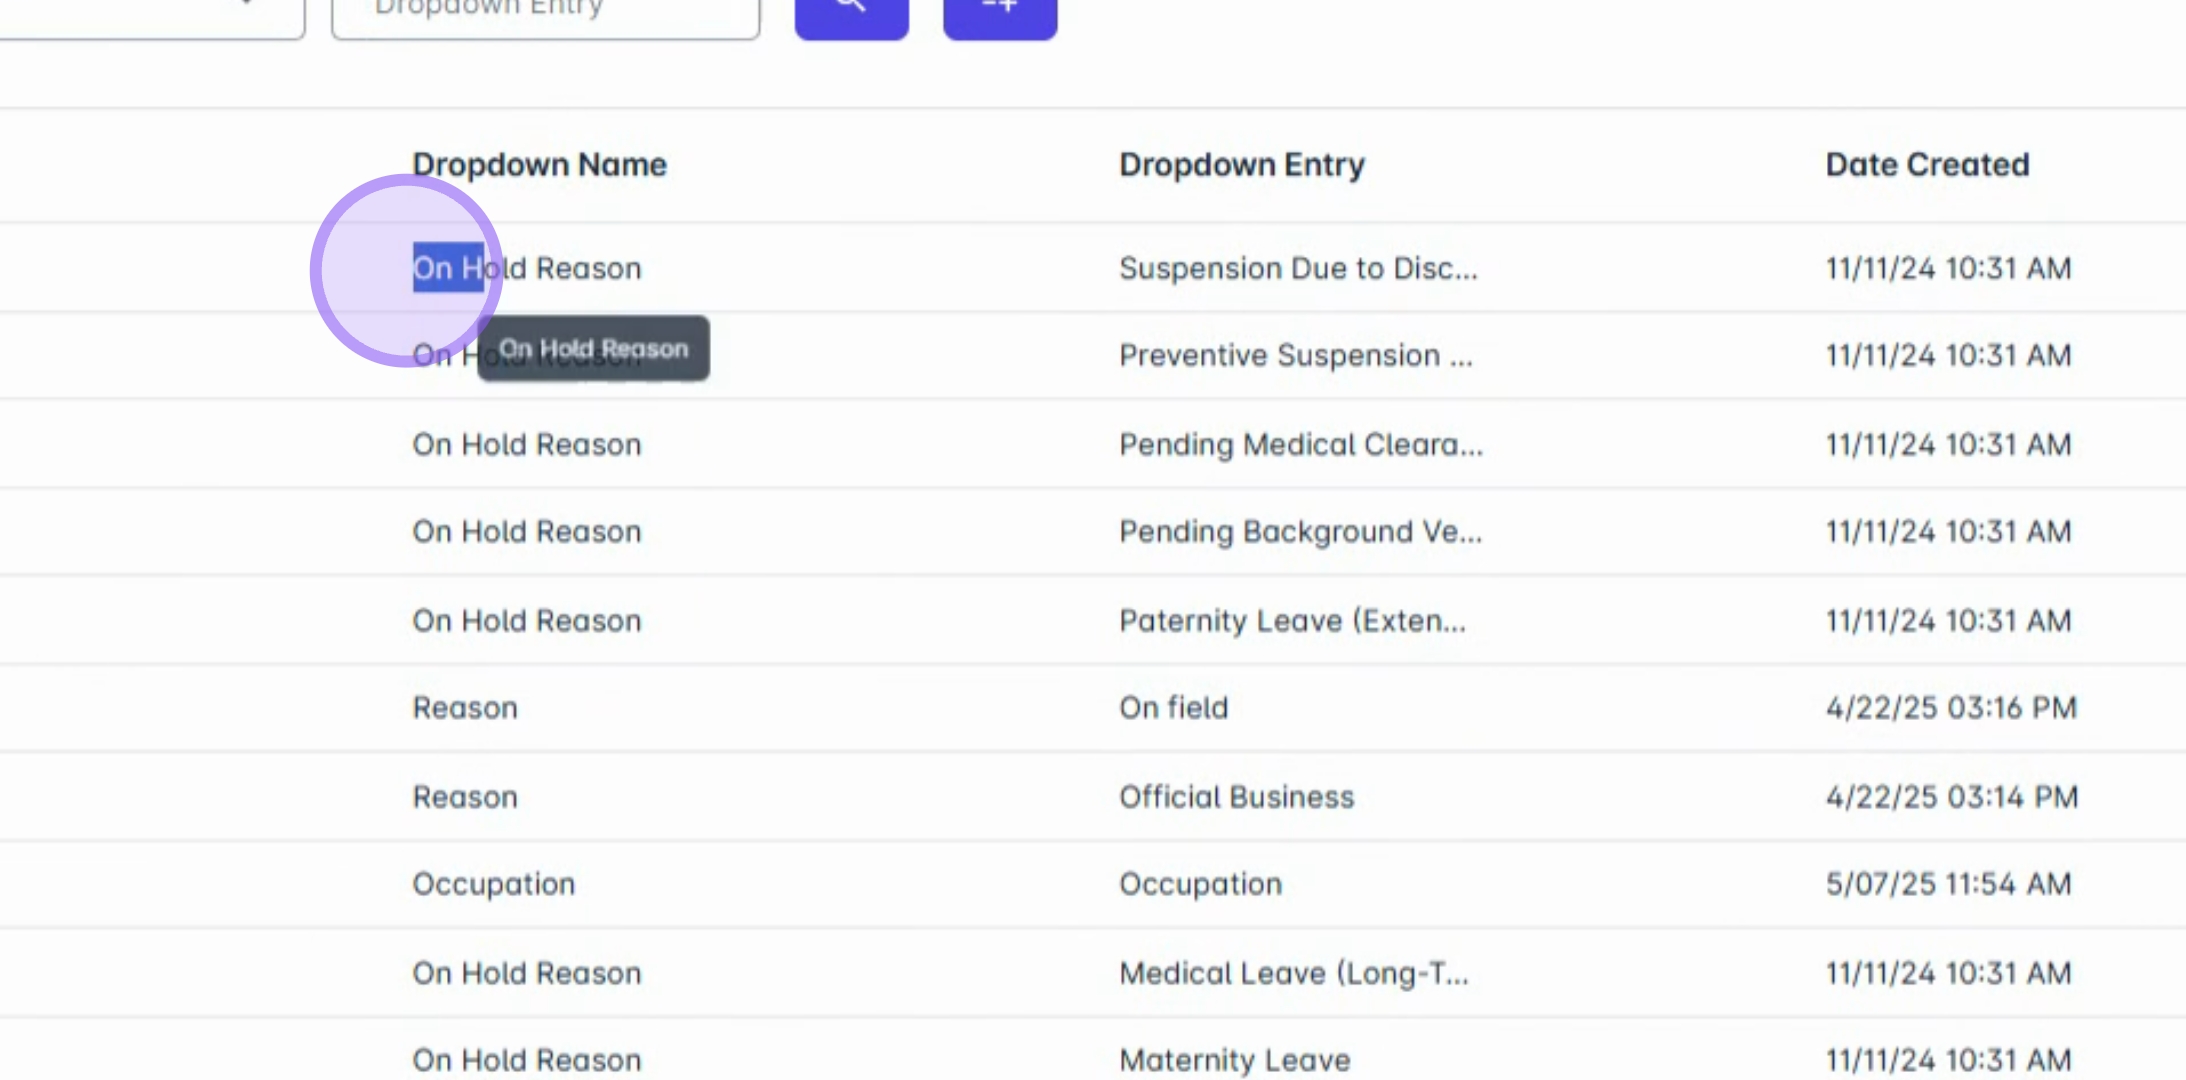
The Dropdown Settings module allows you to add or modify drop down codes that are used in various HRIS forms and data imports.
Default Data
We provide default data to help you get started, but you have the flexibility to update or deactivate them as necessary to meet your organization's requirements.
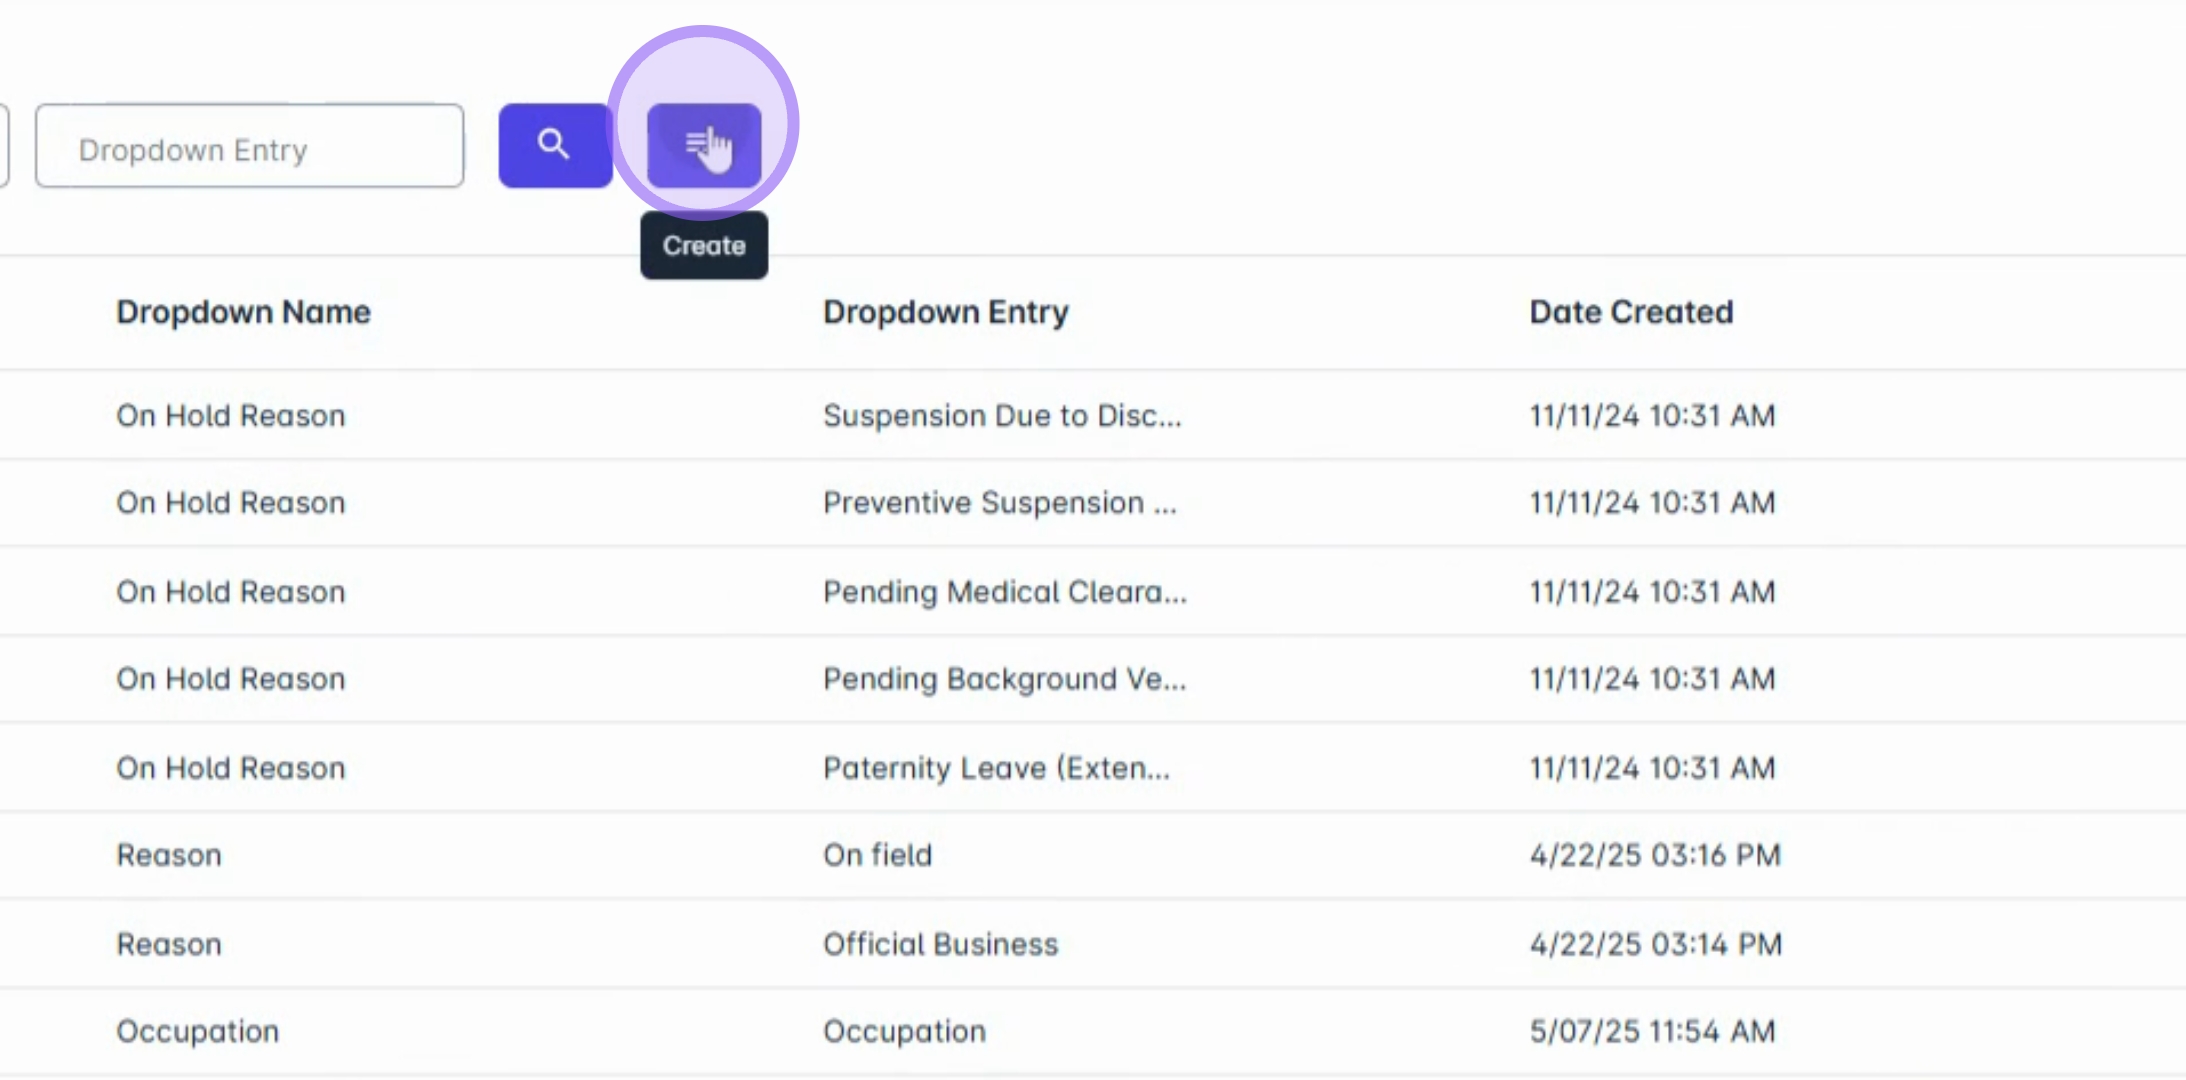
2.Adding a New Dropdown Entry
To add a new dropdown entry, click the Add button.
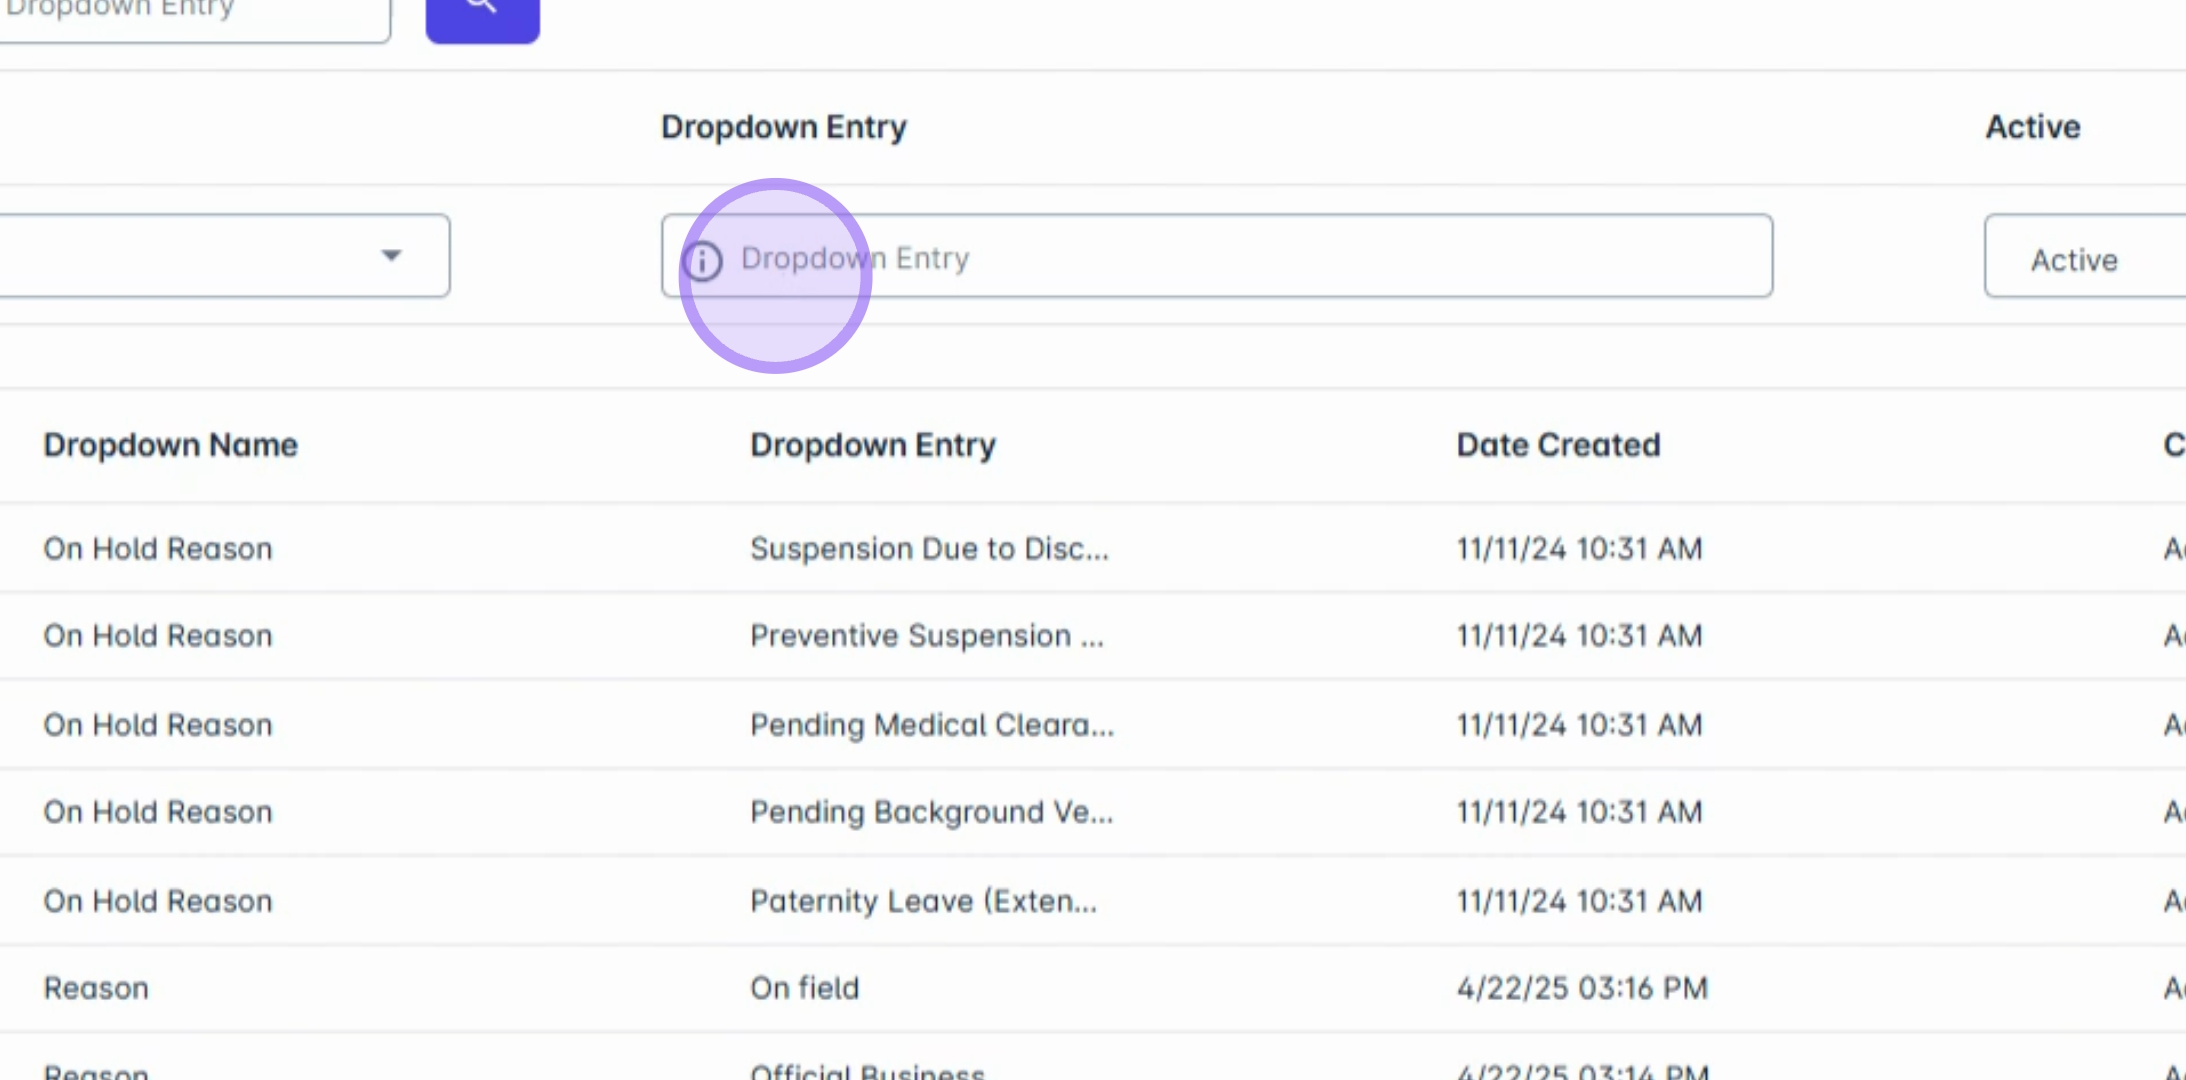
3. Selecting Dropdown Name
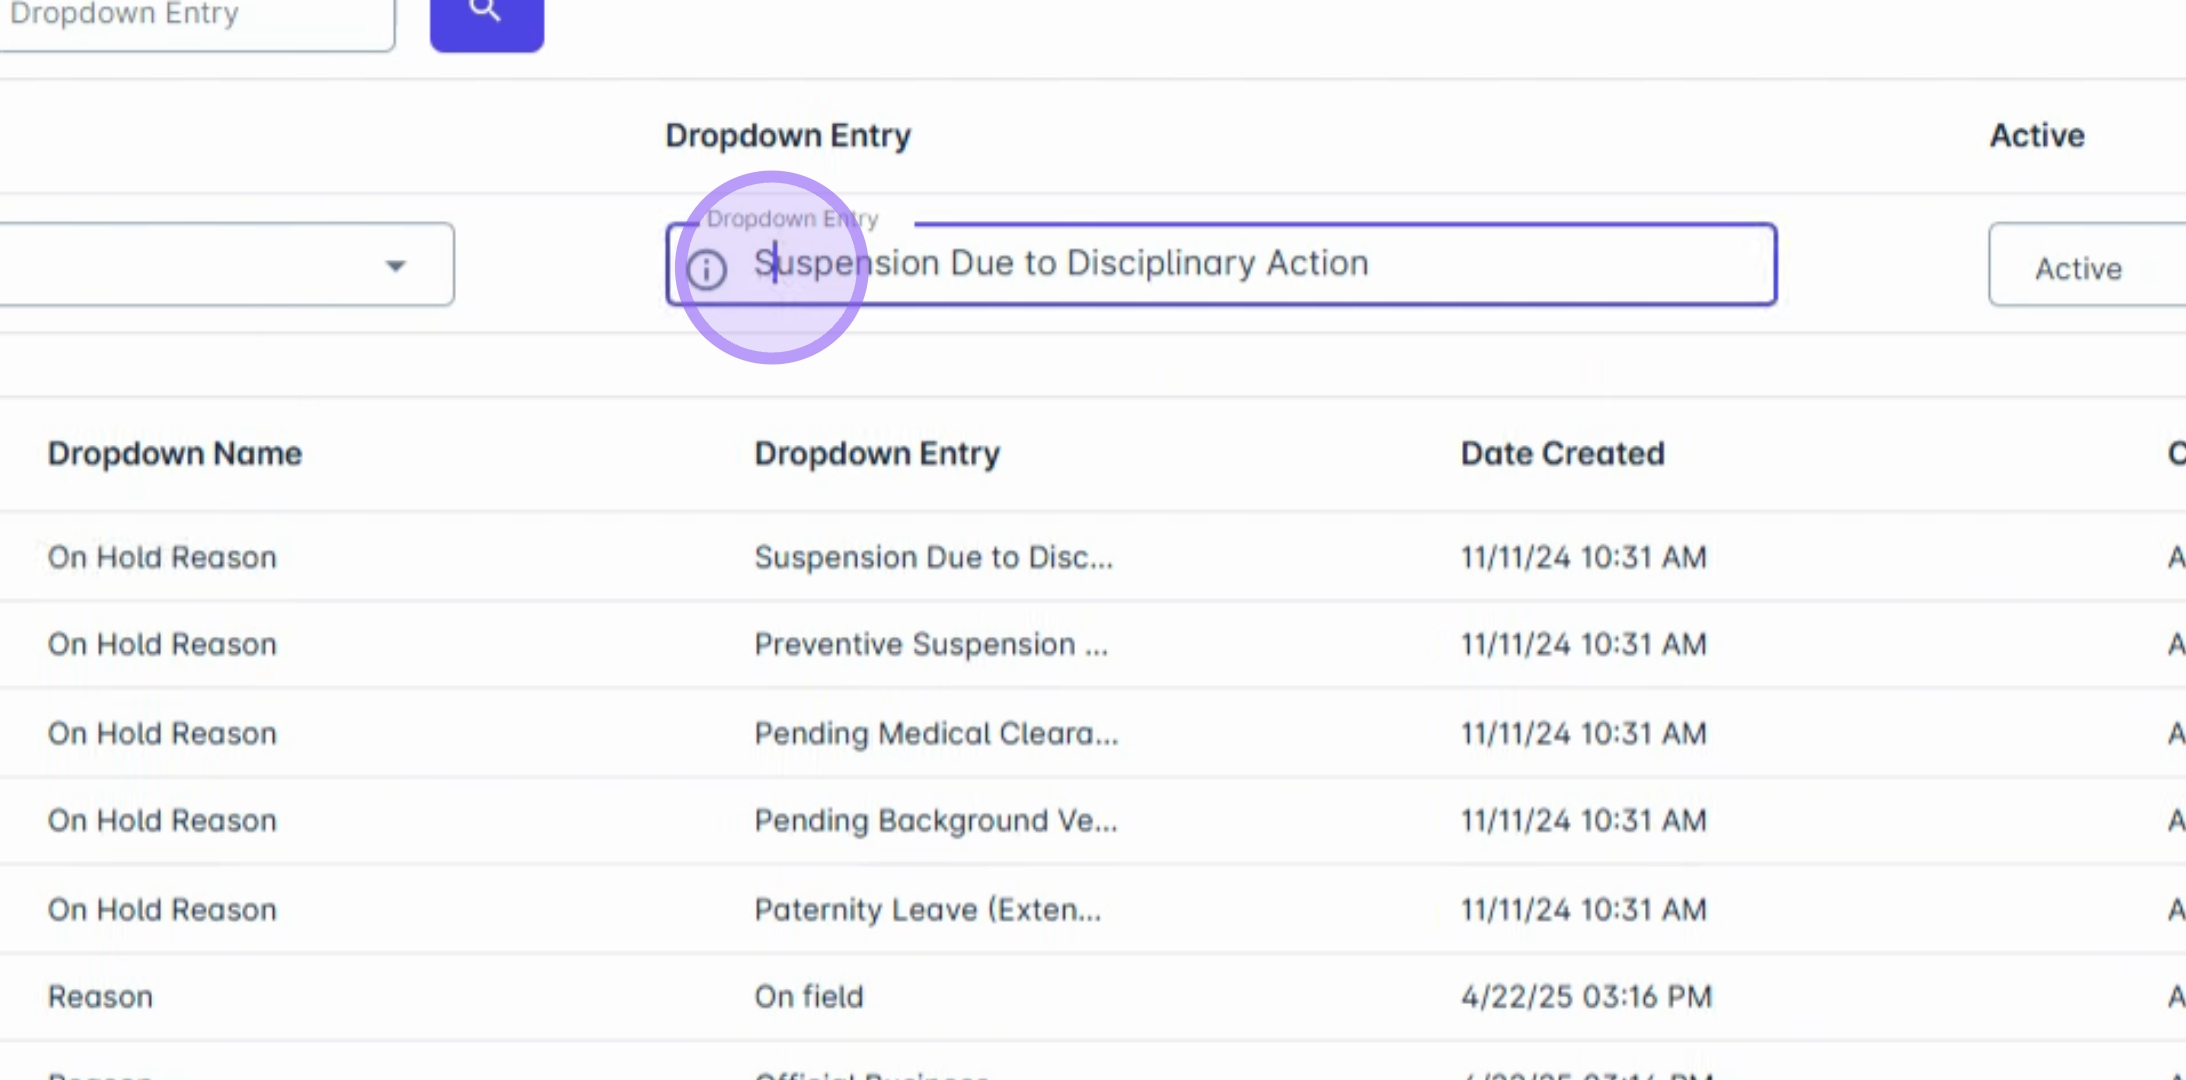
Choose the appropriate dropdown name, such as department, employee, or type.
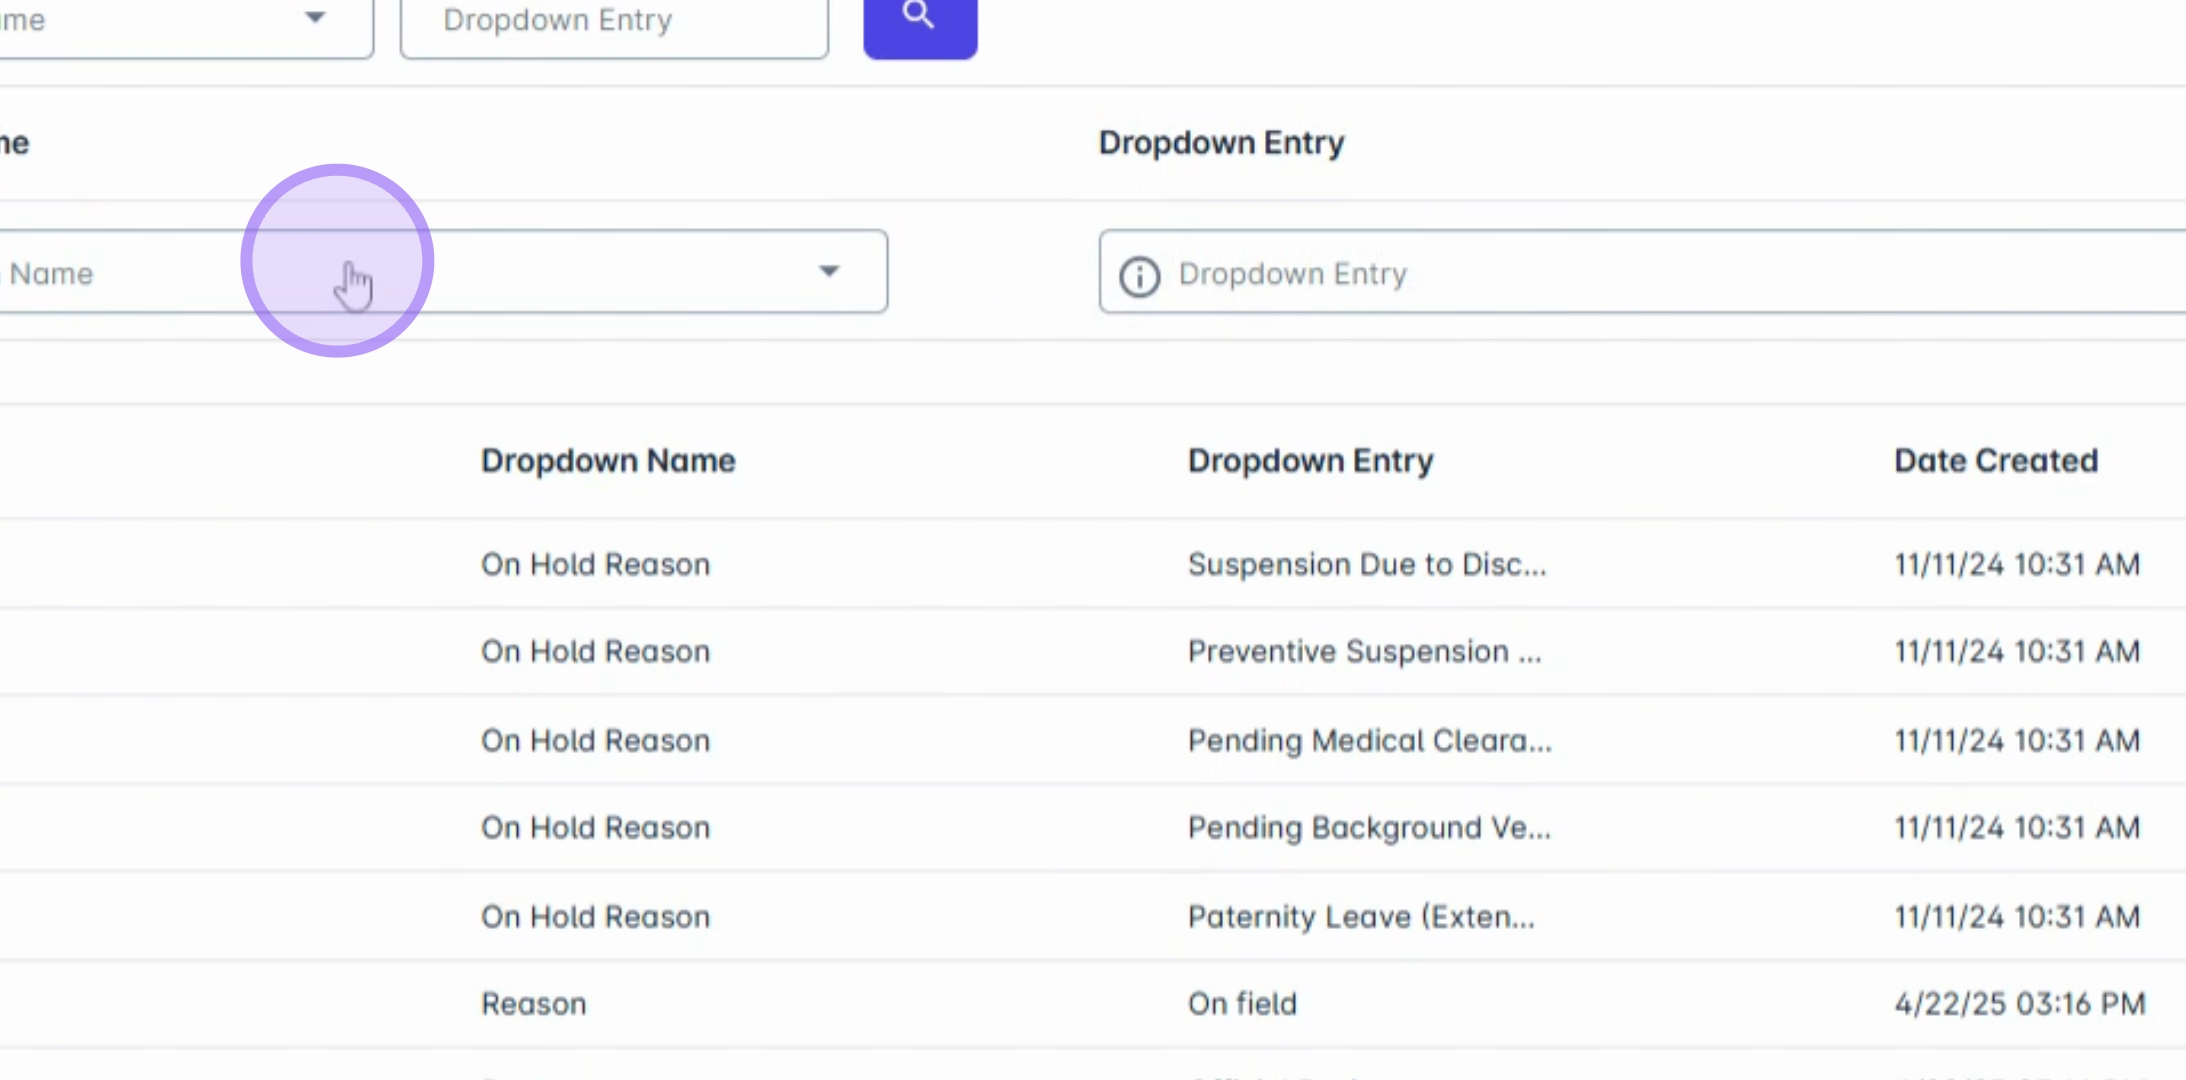
4. Entering Drop Down Code
Input your preferred code in the Dropdown entry
8. Save Changes
Click Save Changes to apply your new entry.
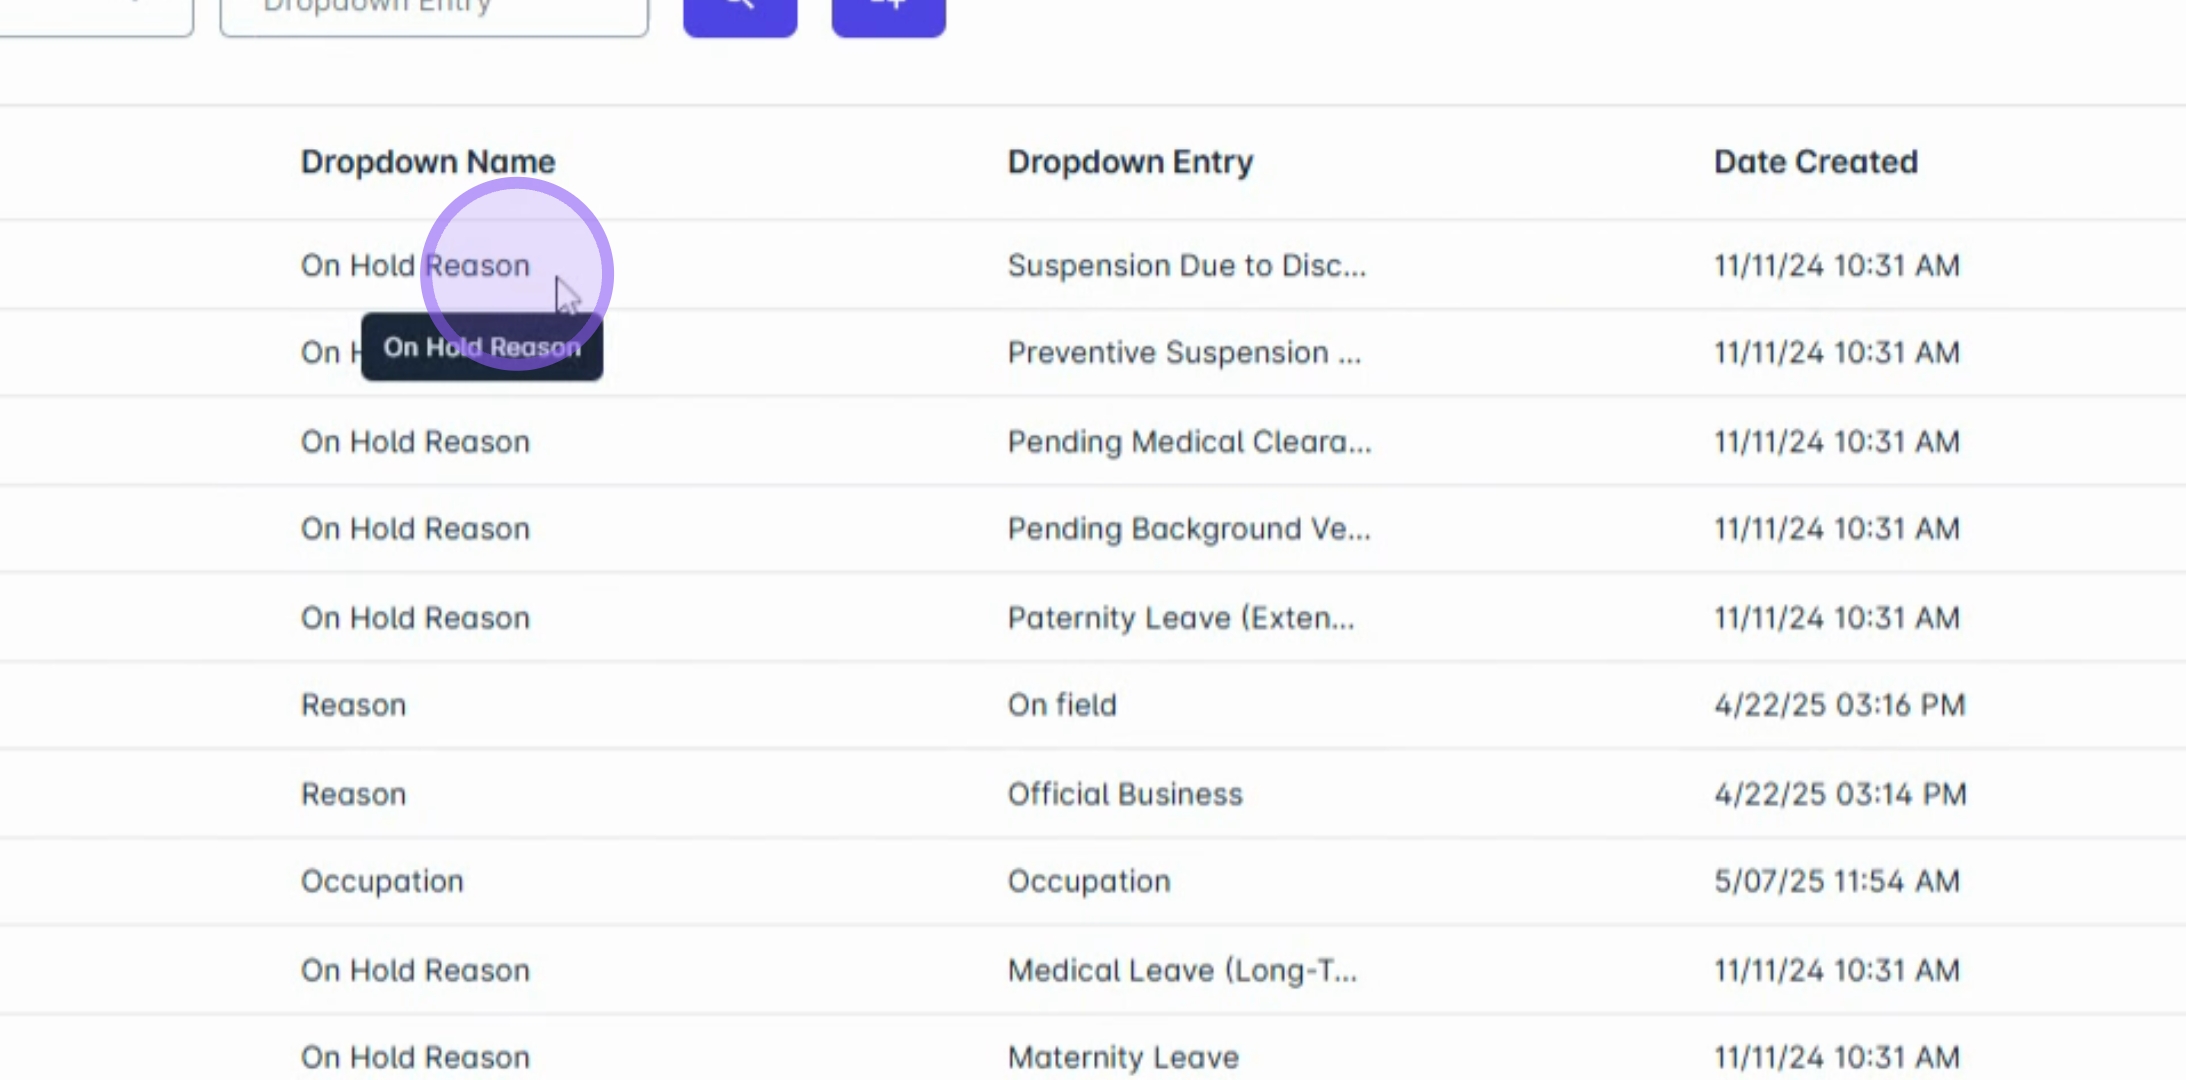
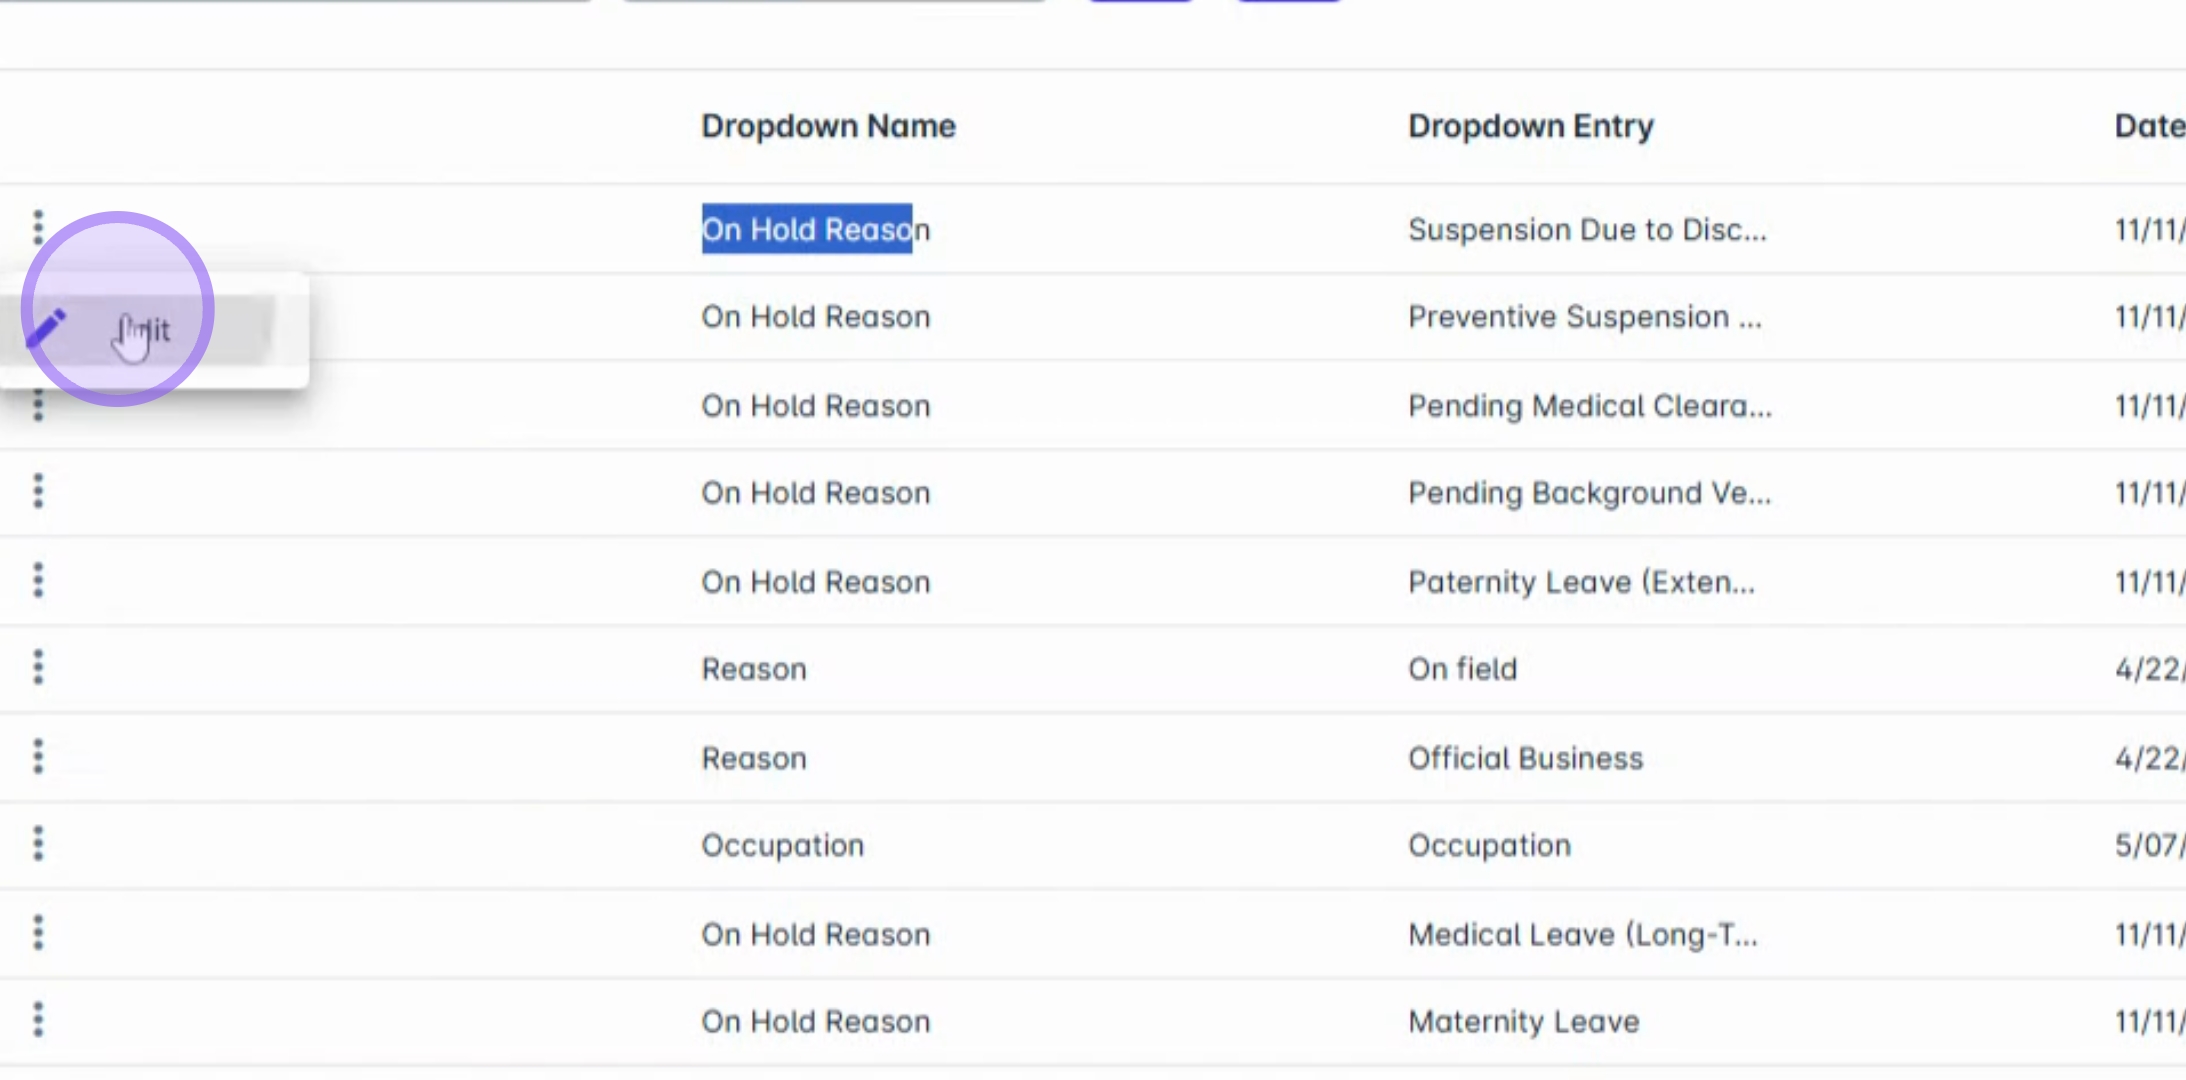
9. Editing or Deactivating a Code
To edit or deactivate an existing code, click the three dots beside the drop own name.
Next, click Edit.
11. Updating Code Information
Update the necessary details as required.
12. Hiding the Code
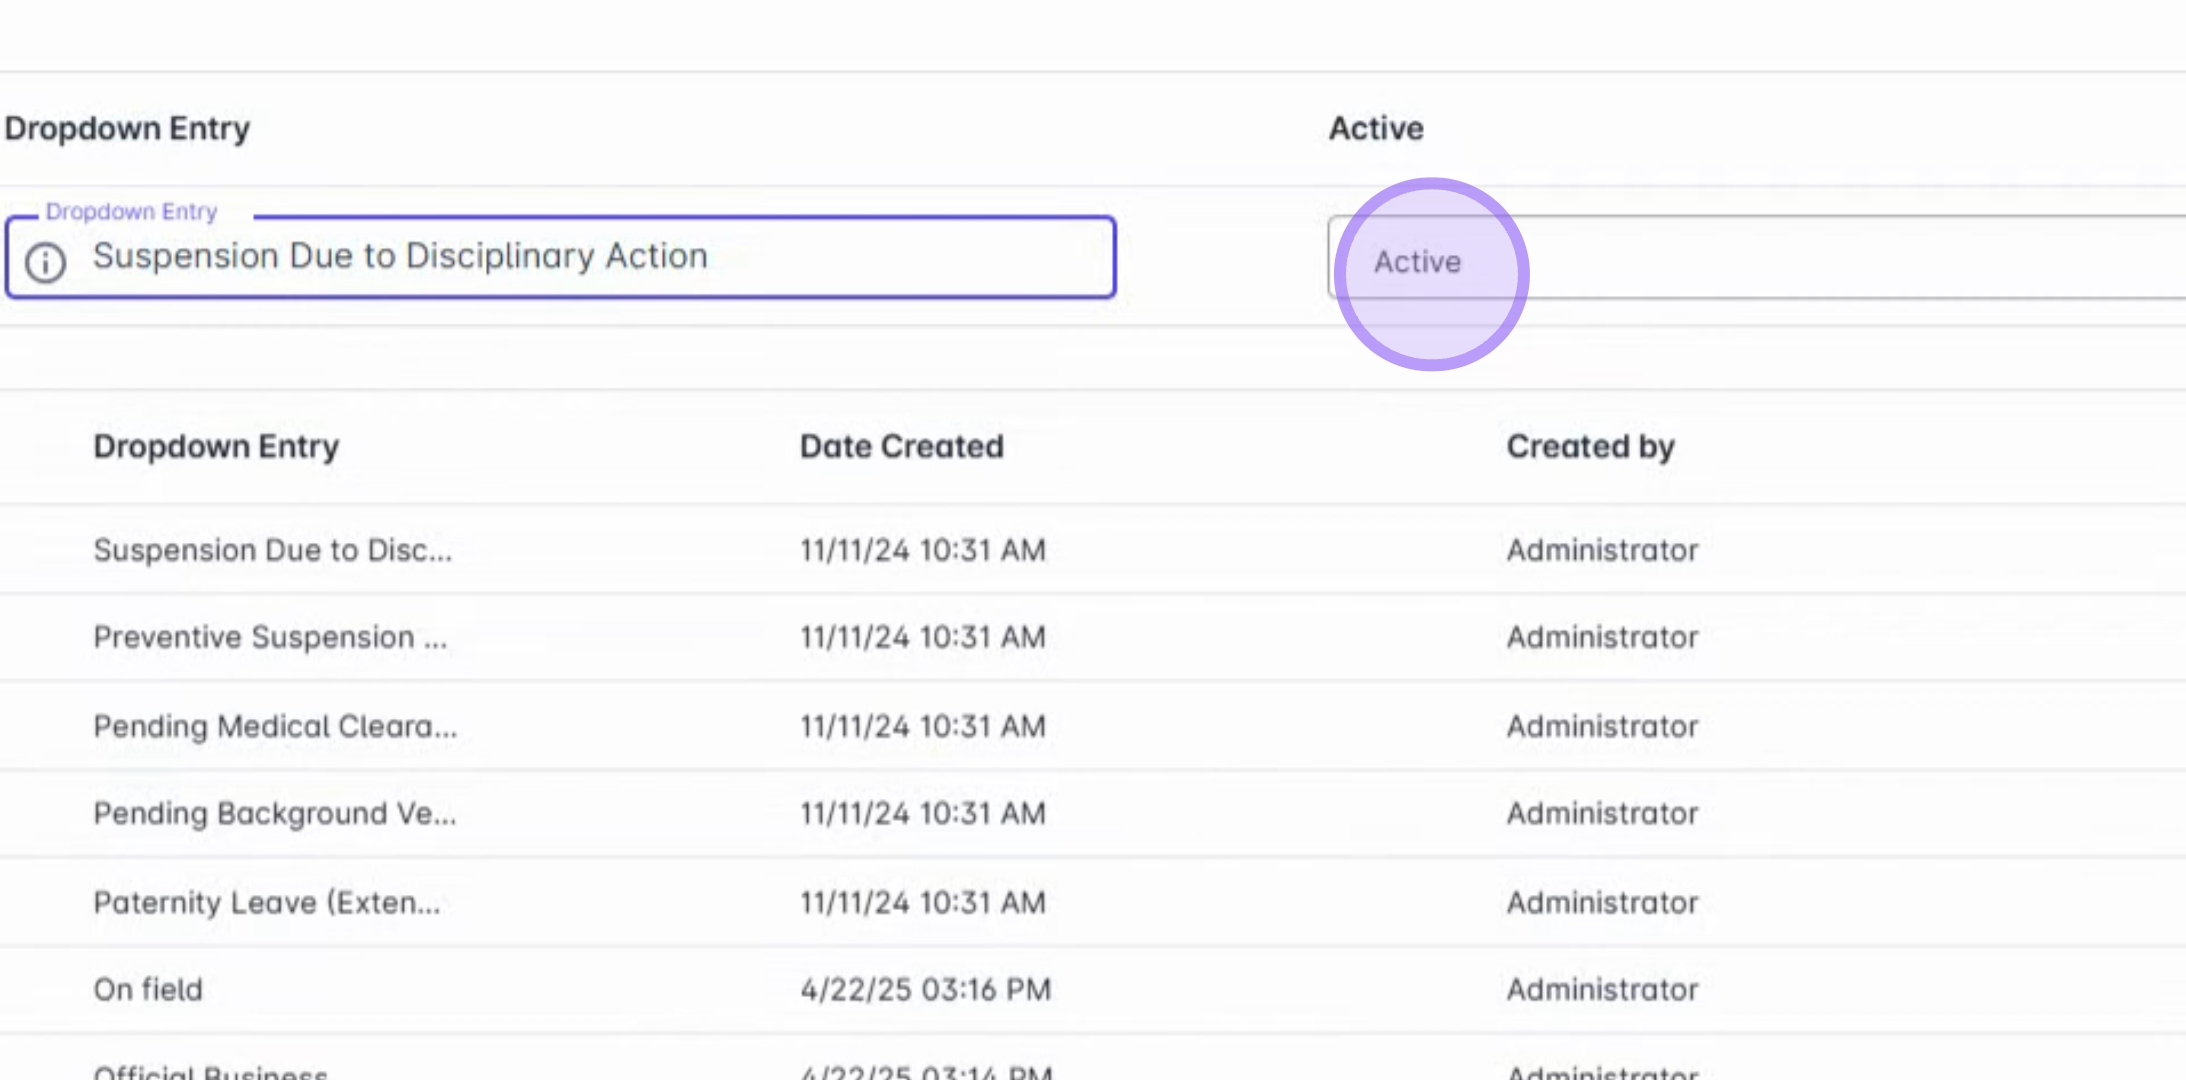
If you wish to hide the code, simply change its status to Inactive.
13. Finalizing Changes
Finally, click Save Changes to confirm your updates.
By following these steps, you will be able to effectively manage your drop-down settings, ensuring that your HR data remains consistent and aligned with your organization's structure.