

Introduction
In this tutorial, we will provide you with a comprehensive guide on how to file a Change Schedule request. Whether you need to adjust your work hours due to an emergency or personal reasons, this step-by-step process will help you navigate the necessary steps effectively. Let's get started on ensuring your schedule reflects your current needs.
How to Instructions
1. Access the ESS Module
Begin by navigating to the ESS module.
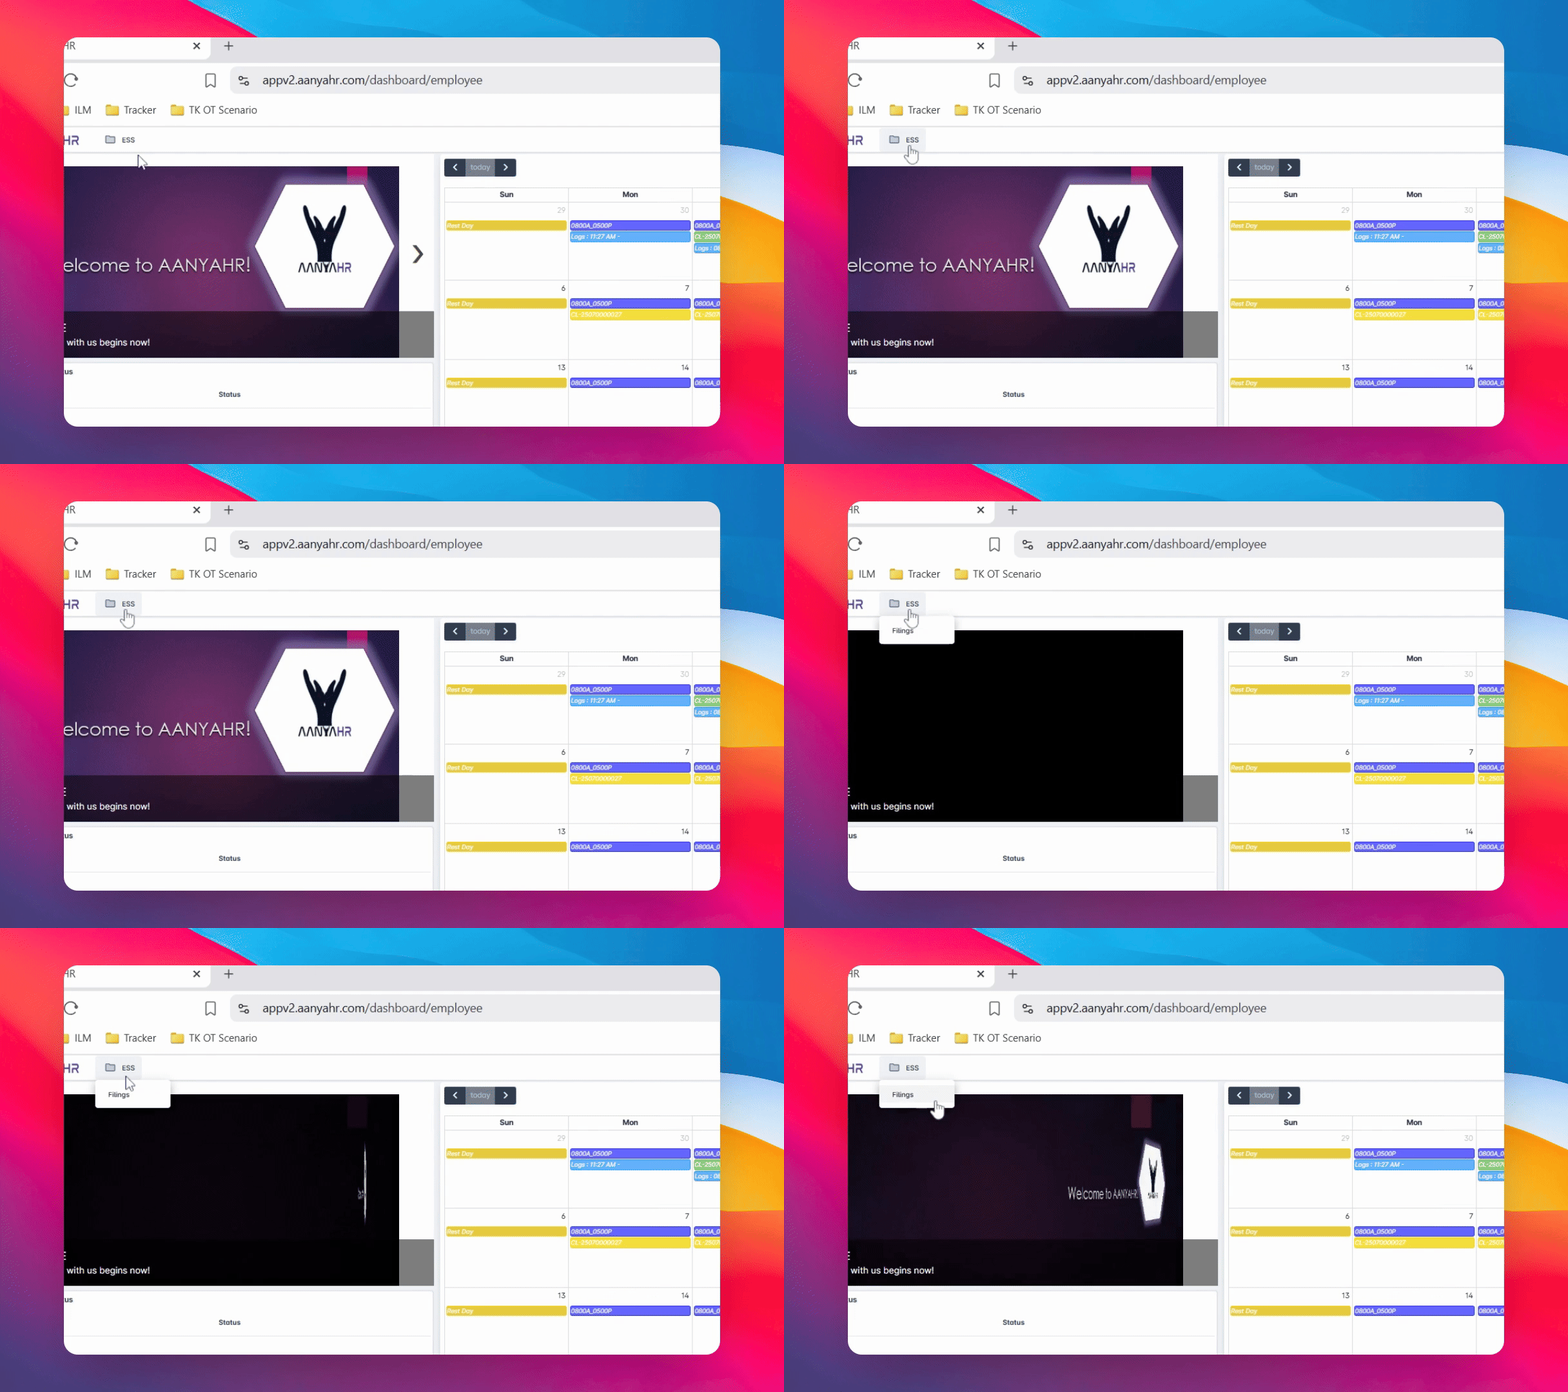
2. Select Filings
Click on Filings.
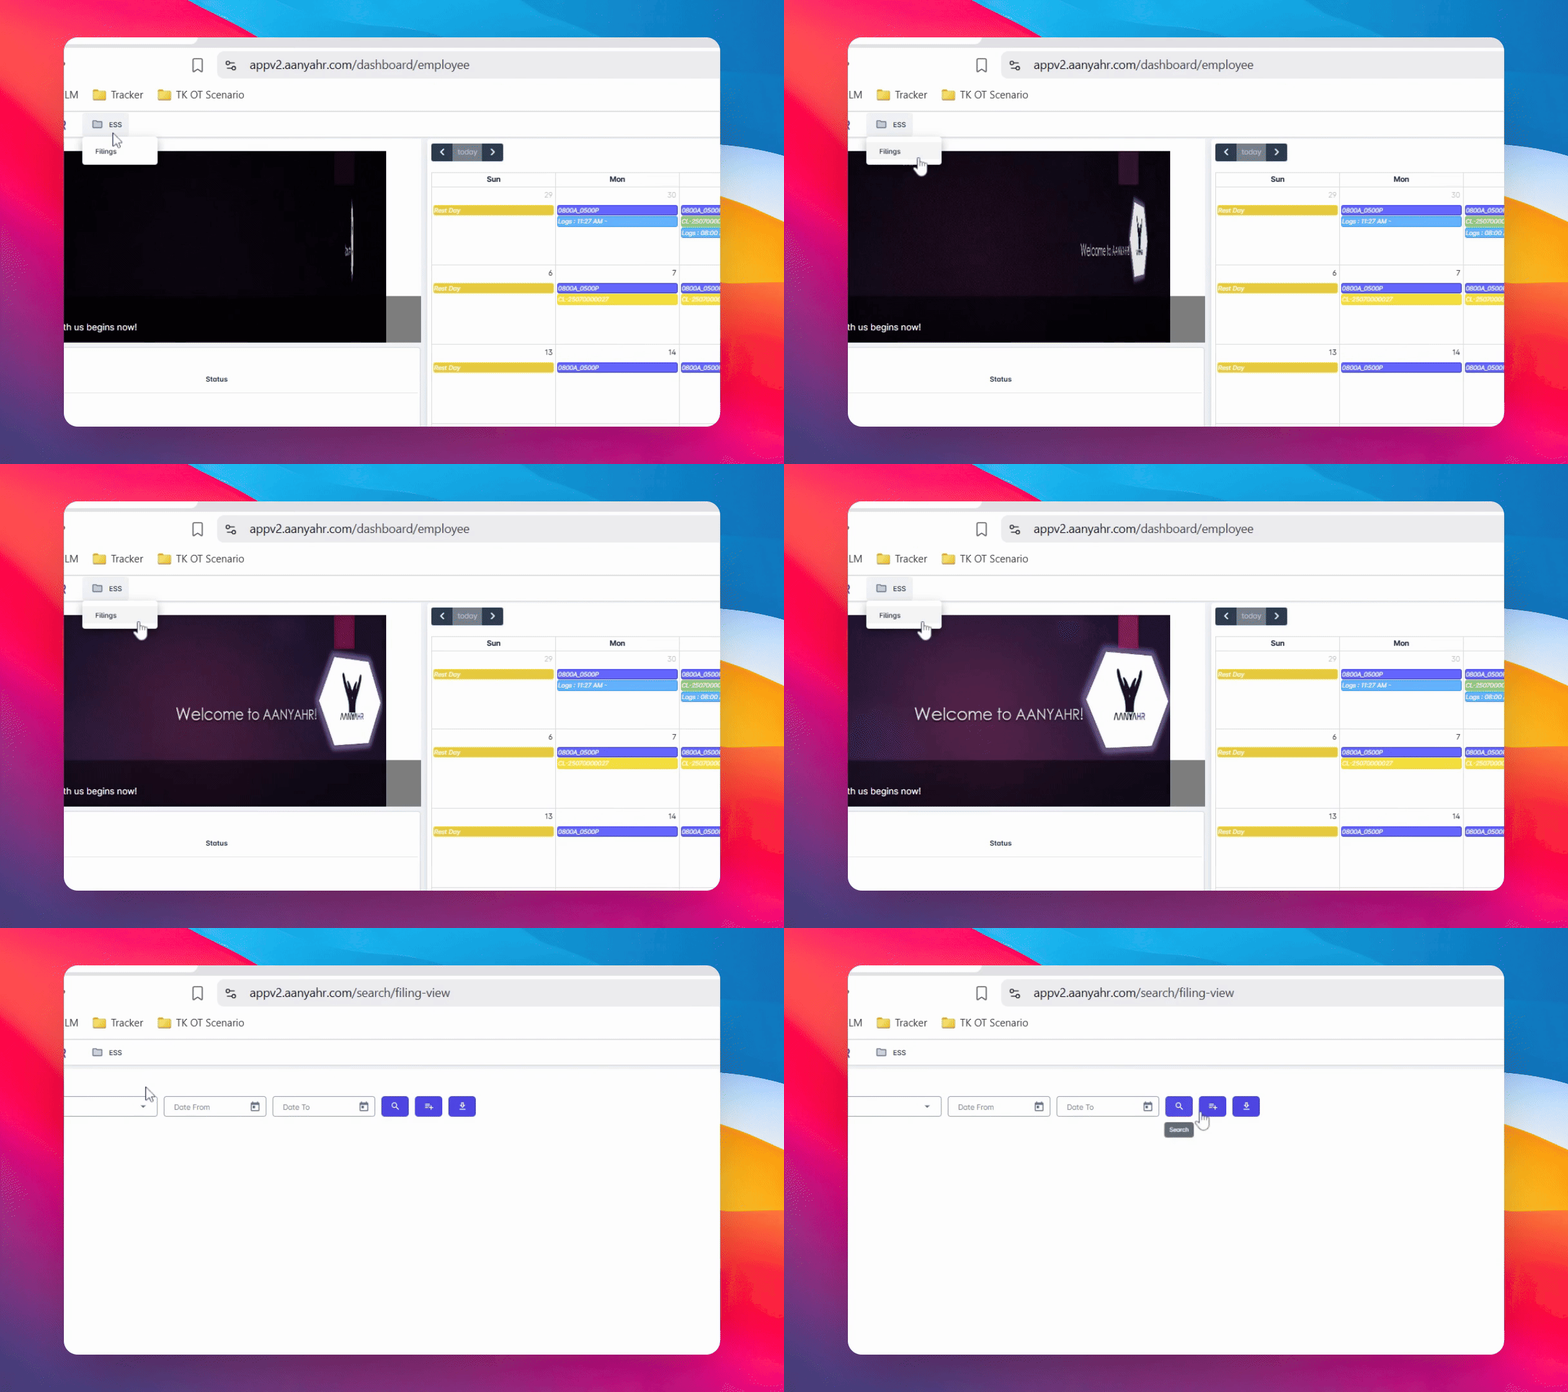
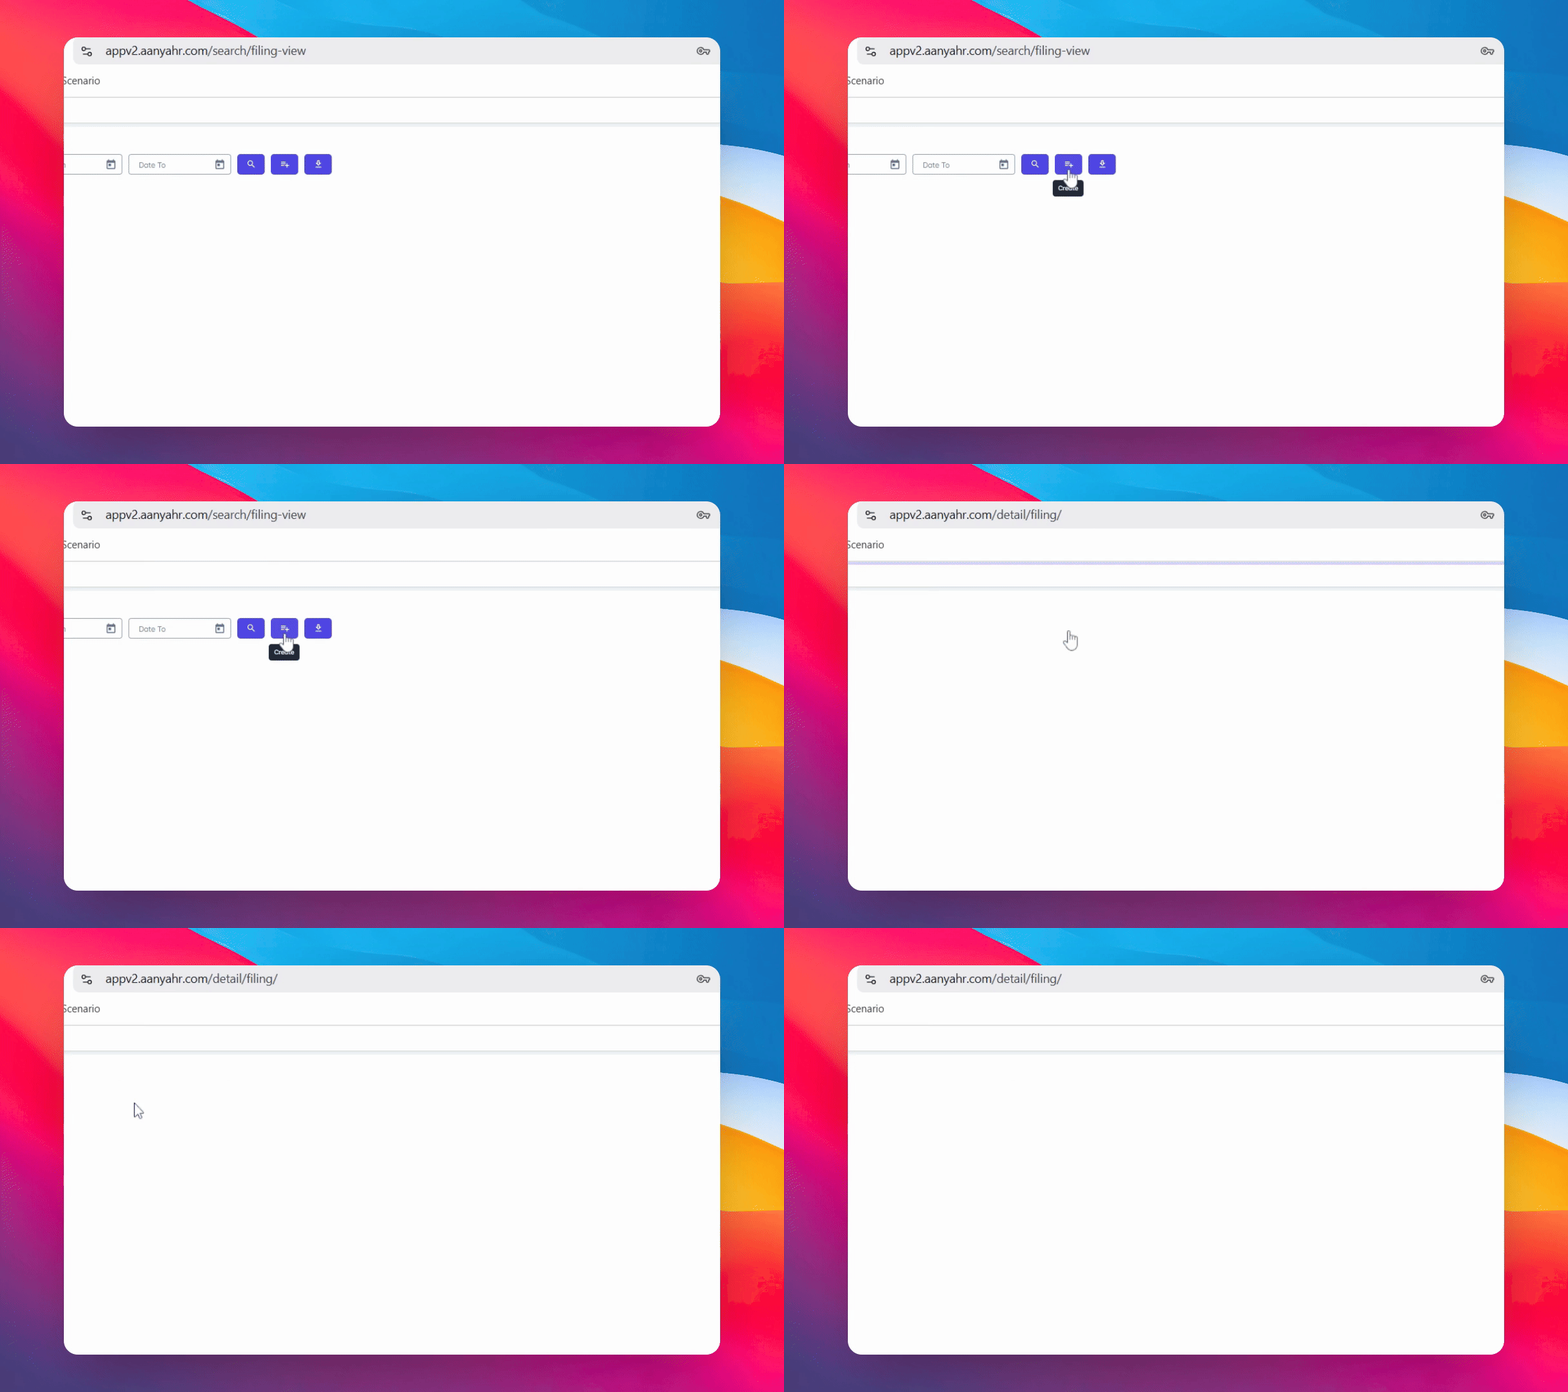
3. Create a New Filing
Next, click the Create button.
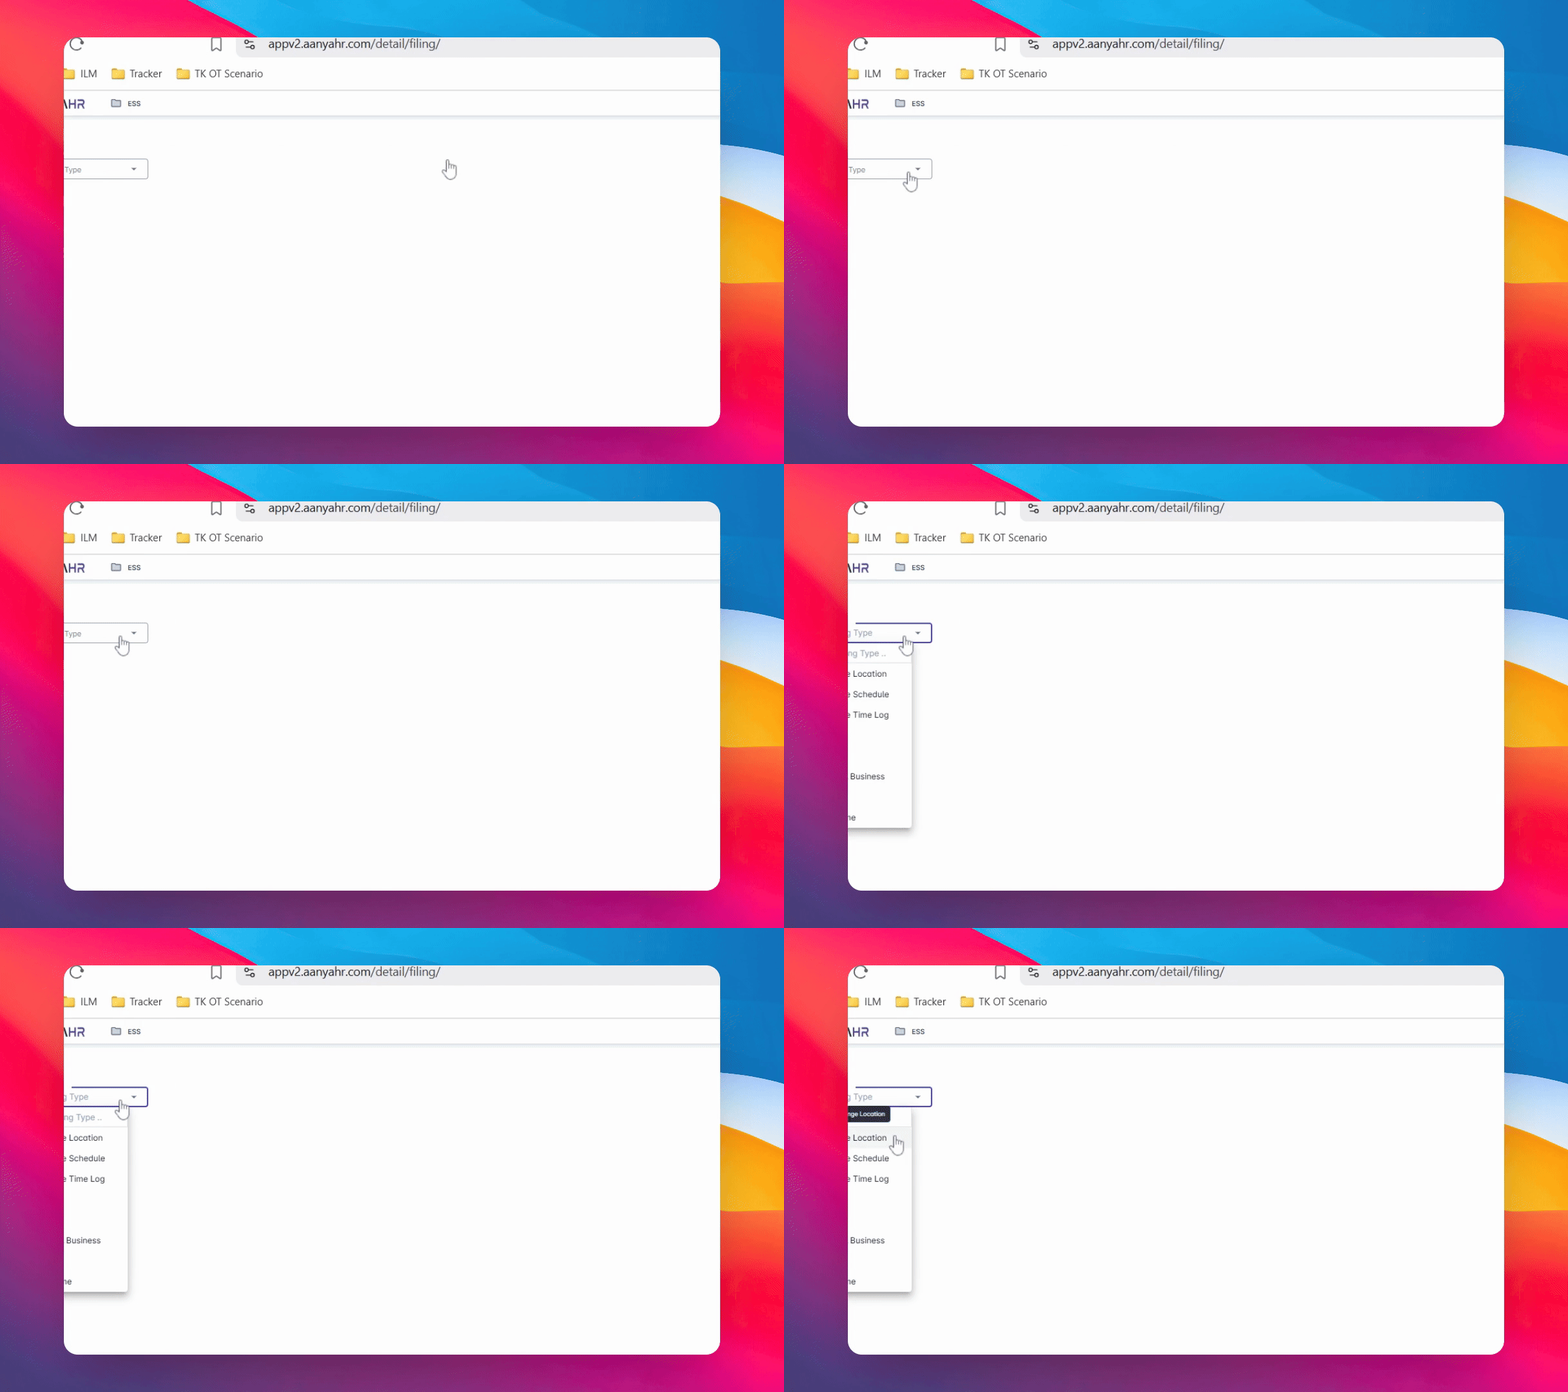
4. Choose Filing Type
From the Filing type drop-down menu, choose Change Schedule.
5. Select Dates
Select the dates for which you want to file the request.
6. Specify Date Range
You can choose a date range if the days are consecutive. If filing for just one day, select the same date for both Date from and Date to.
7. Click Search
After choosing the dates, click the Search button.
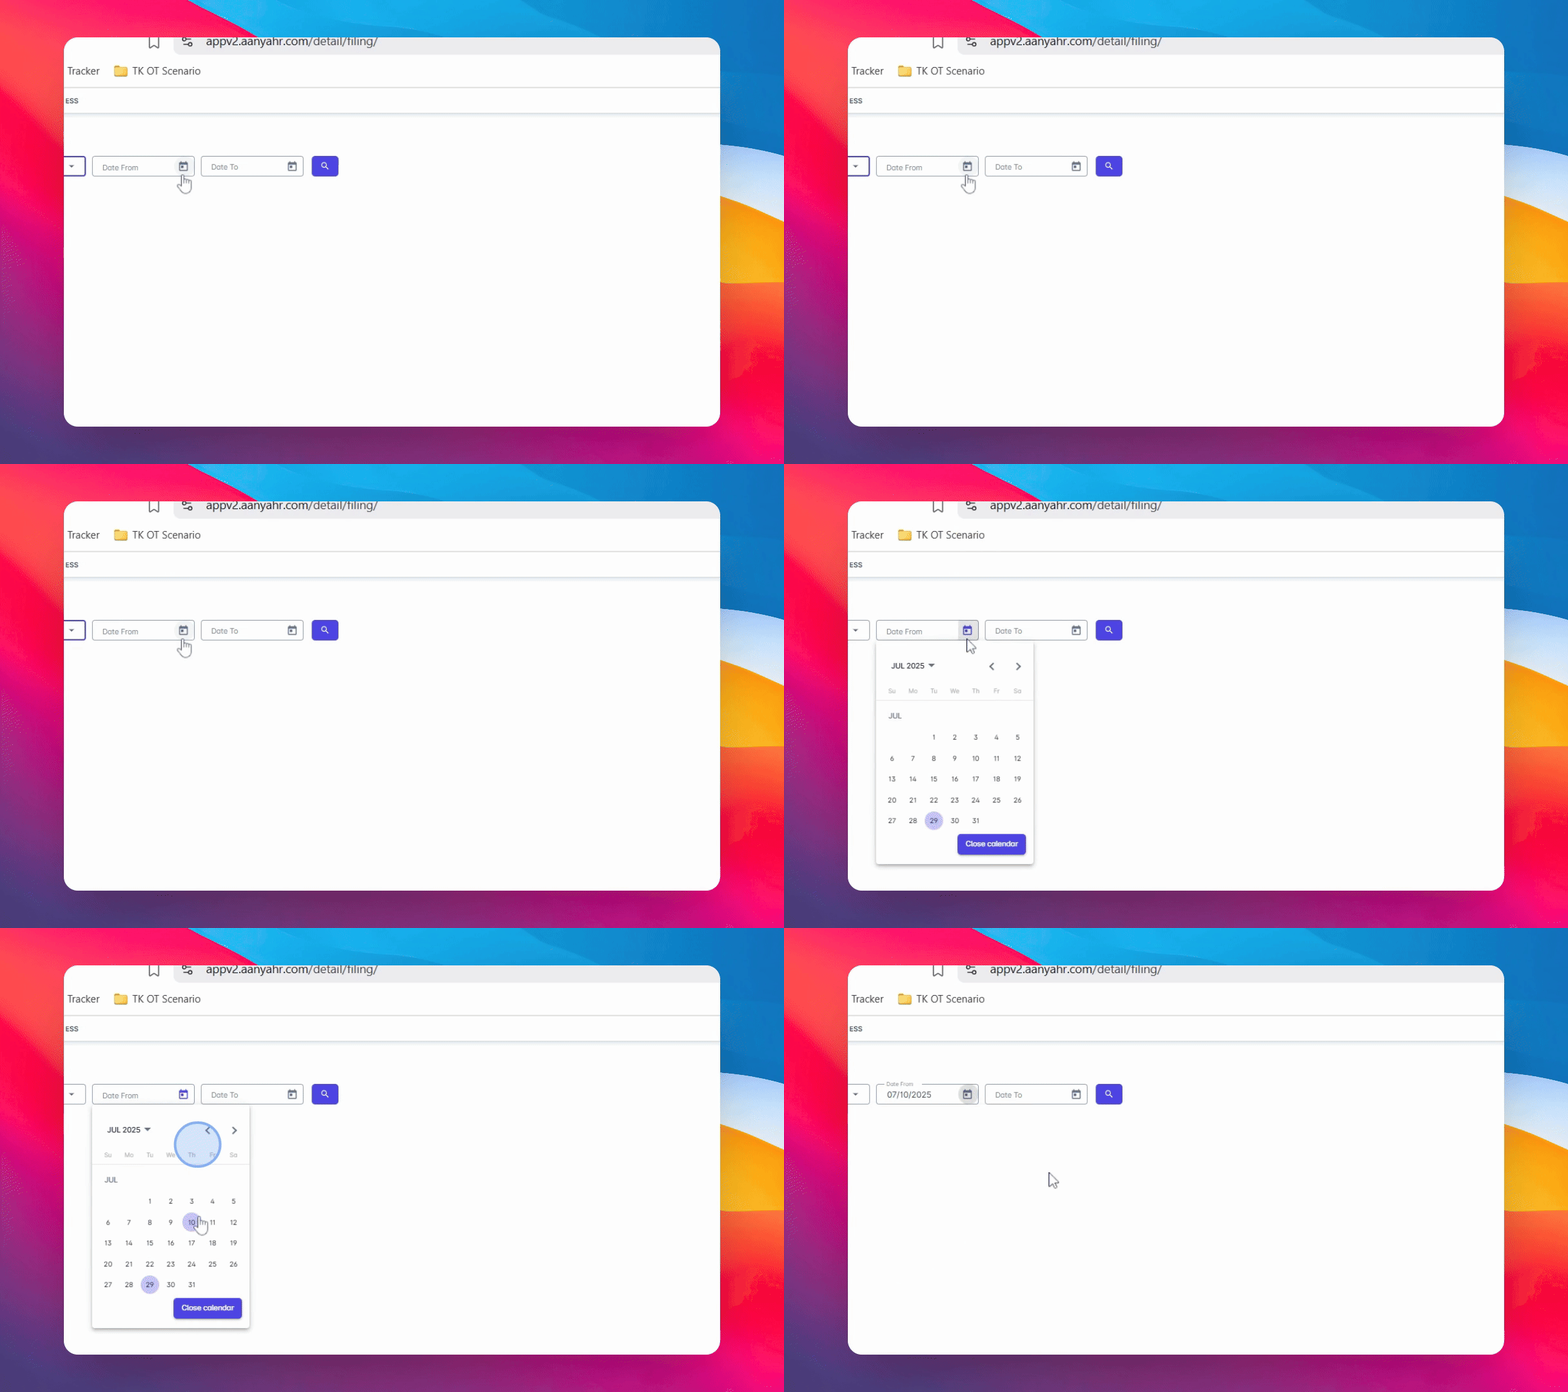
8. Review Schedule Details
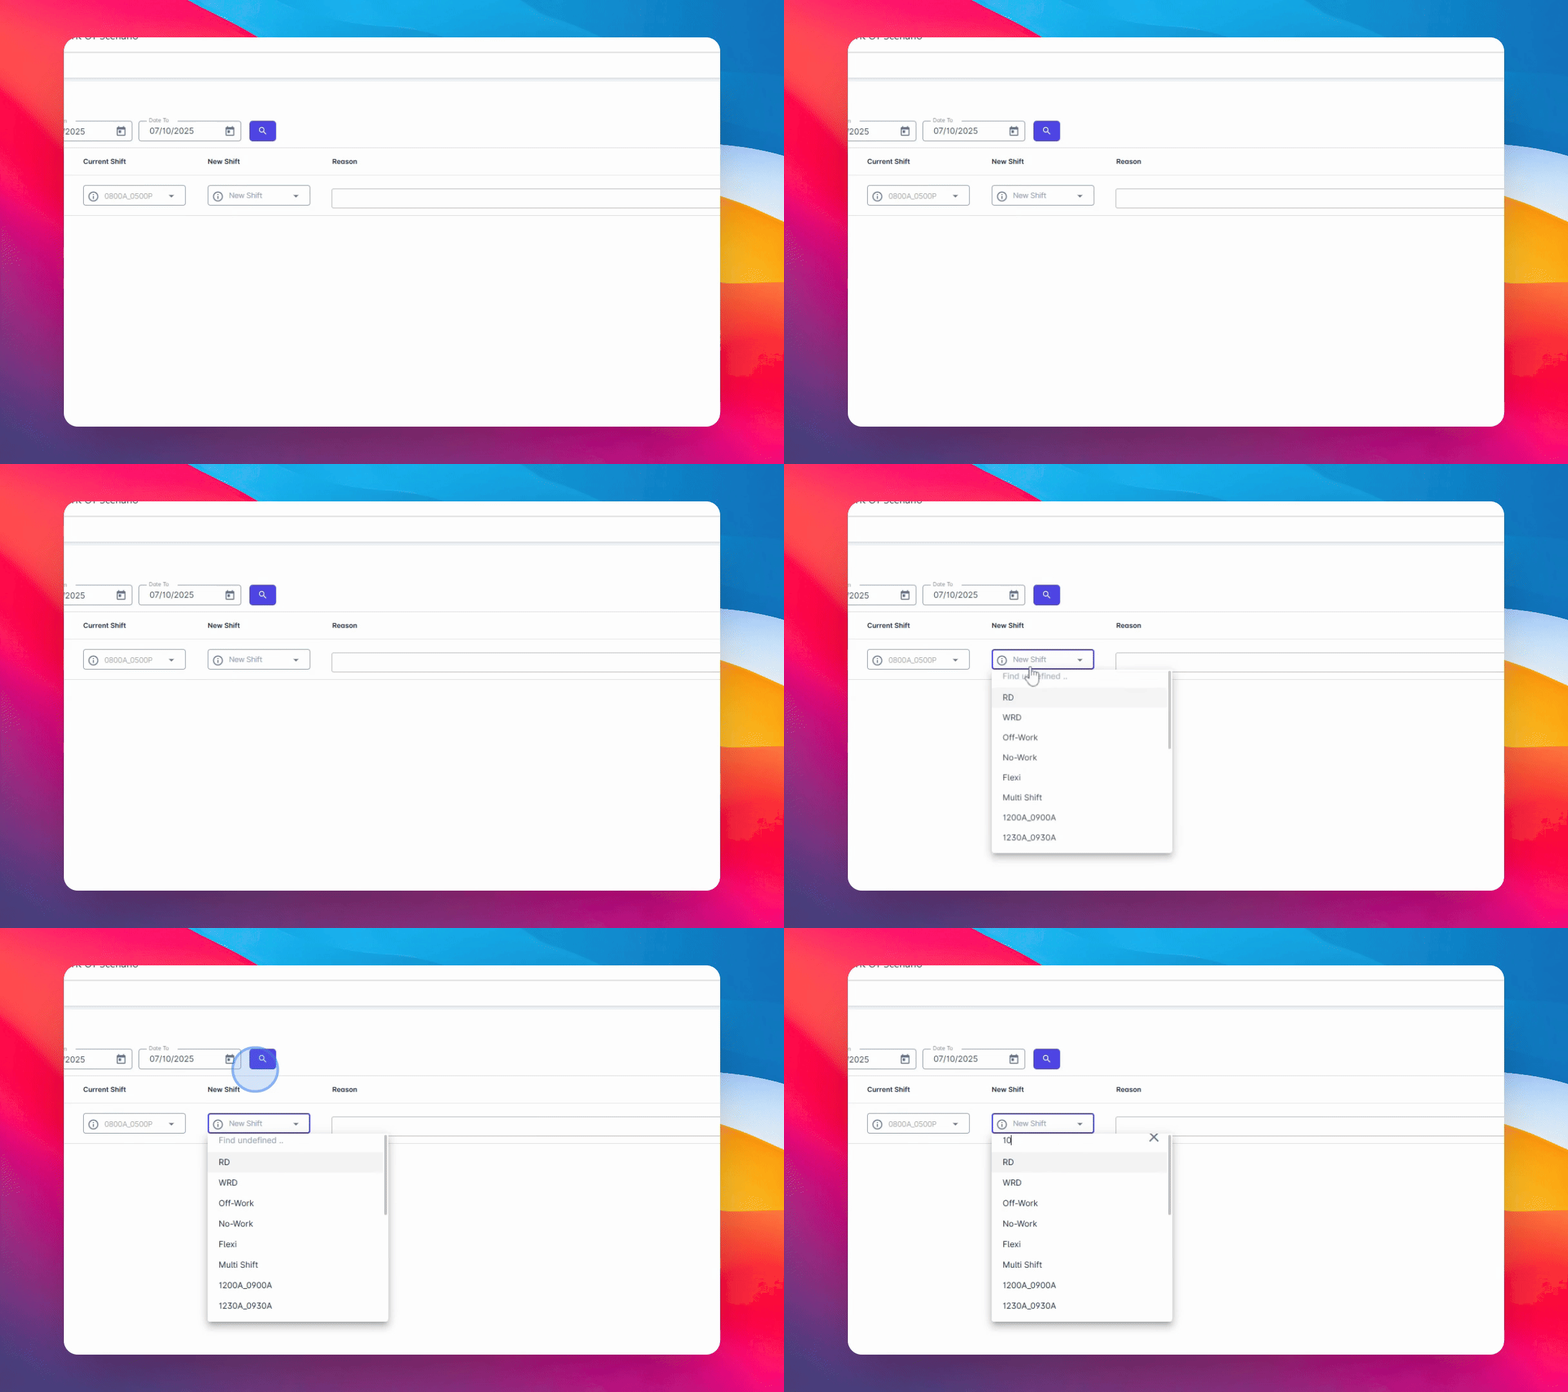
Your schedule details will appear below. The current schedule shows your assigned hours, while New Shift is the new schedule you are requesting.
9. Choose New Shift
In the New Shift drop-down menu, select the shift code for the schedule you wish to request.
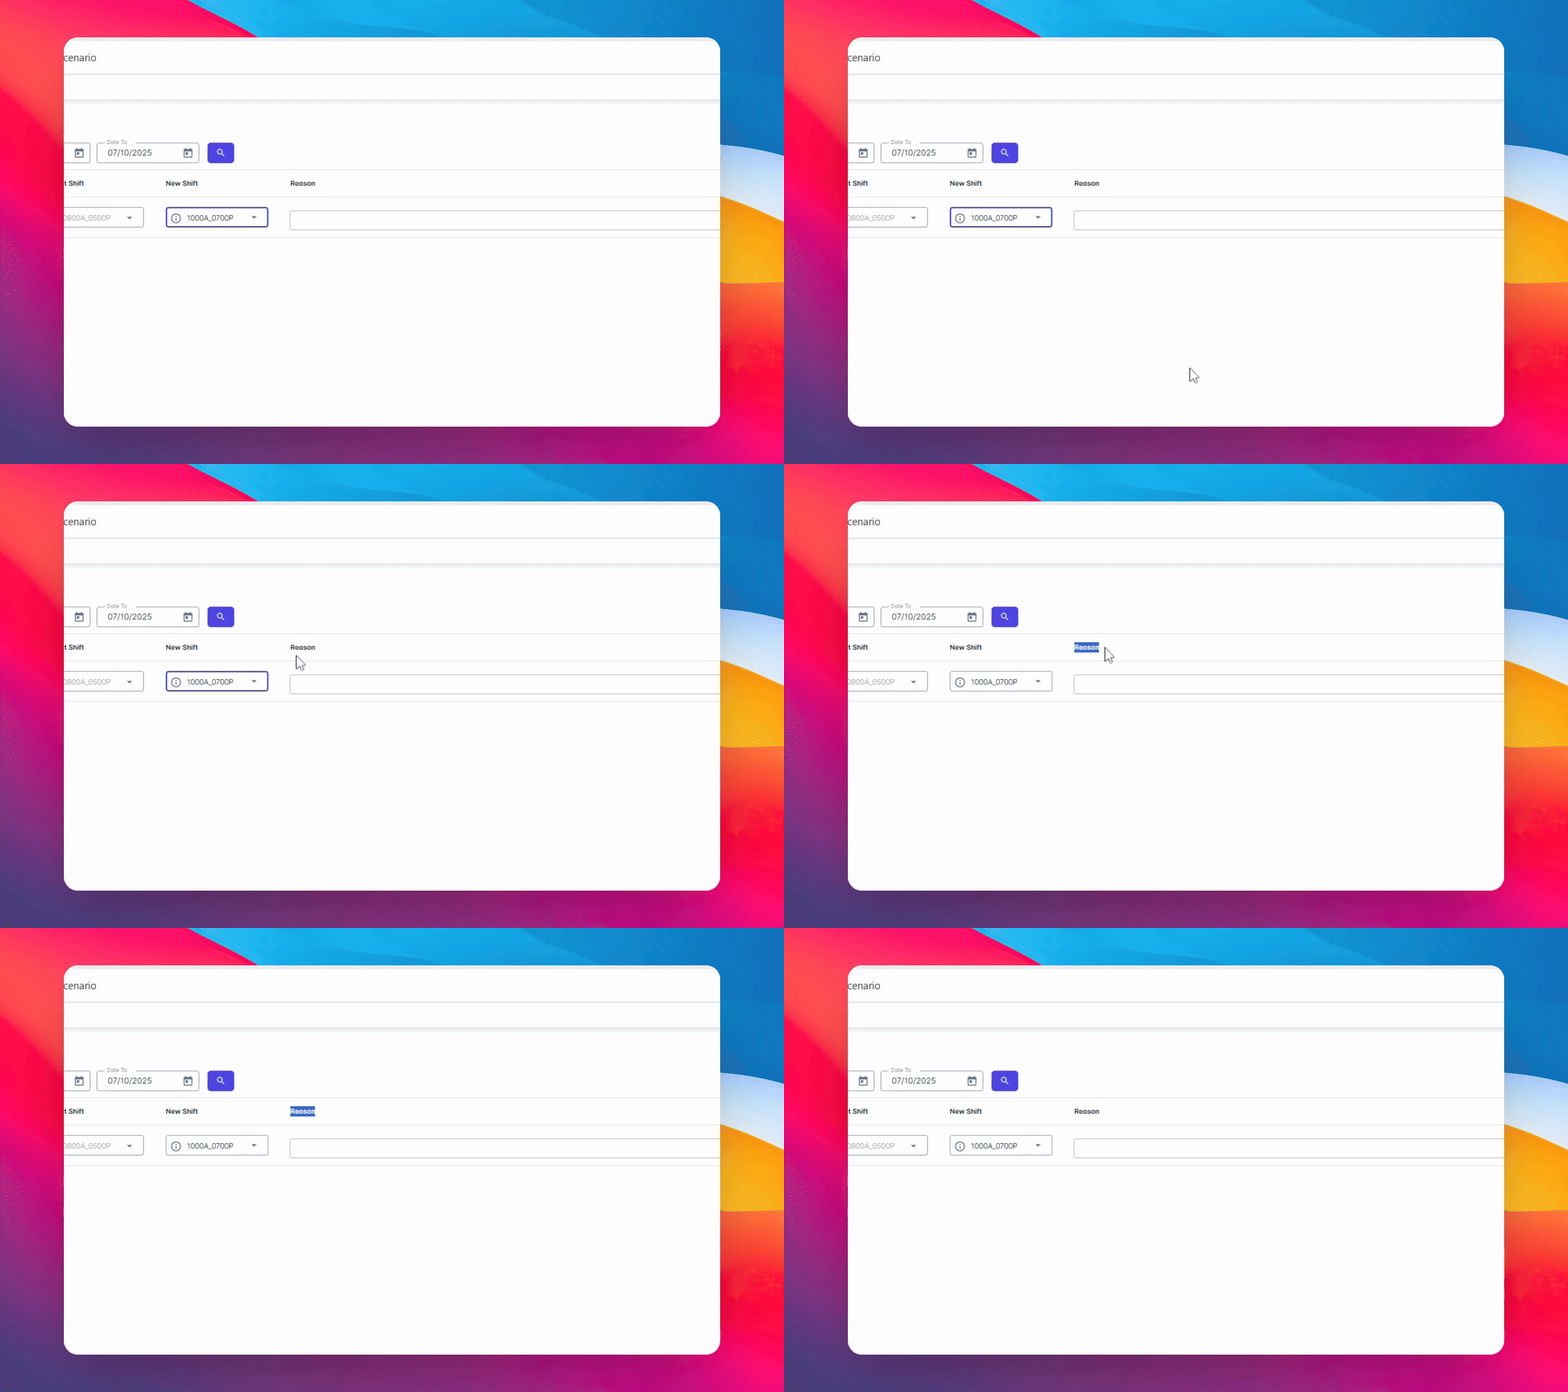
10. Add Reason and Supporting Documents
Add a reason for your request and upload any supporting documents if required. If not needed, you may leave this section blank.
11. Save Your Request
Click on Save.
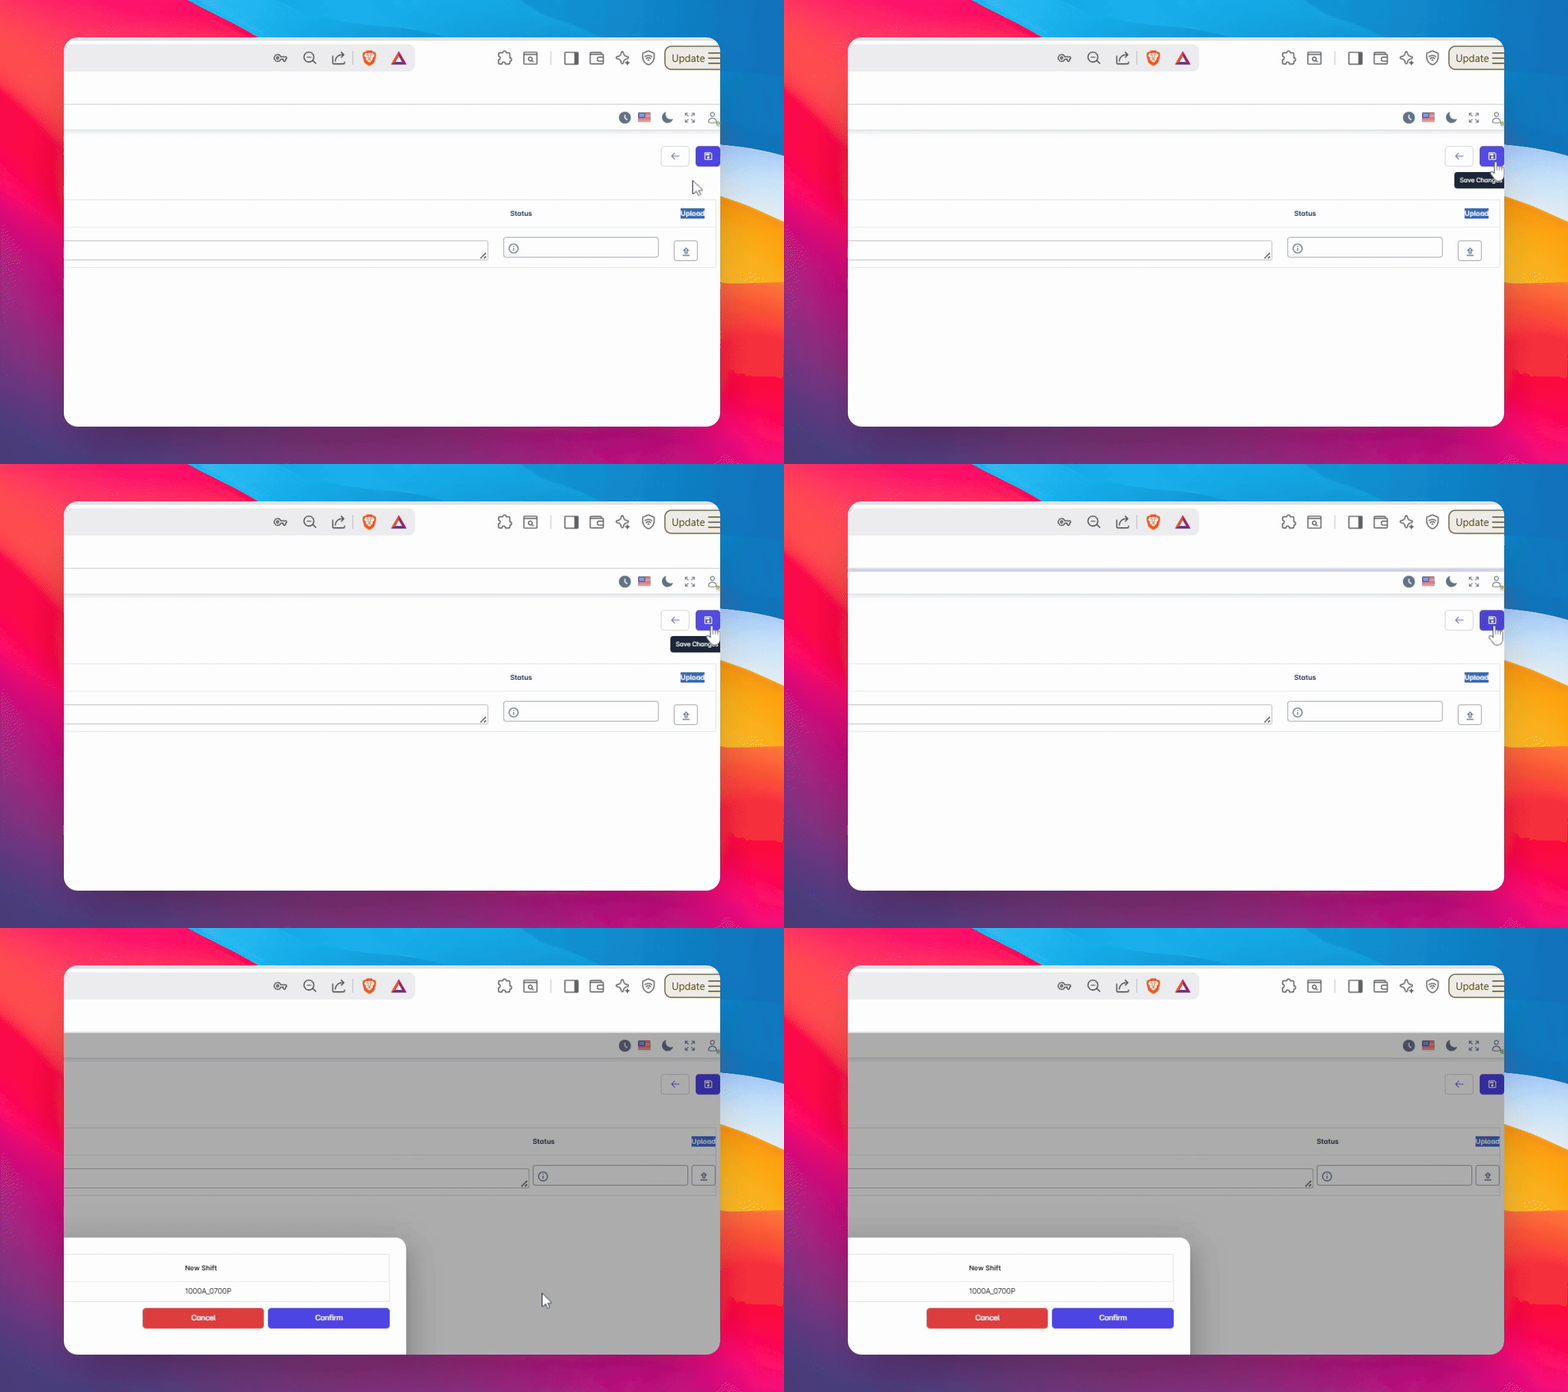
12. Confirm Submission
Once done, a confirmation message will pop up. Click Confirm.
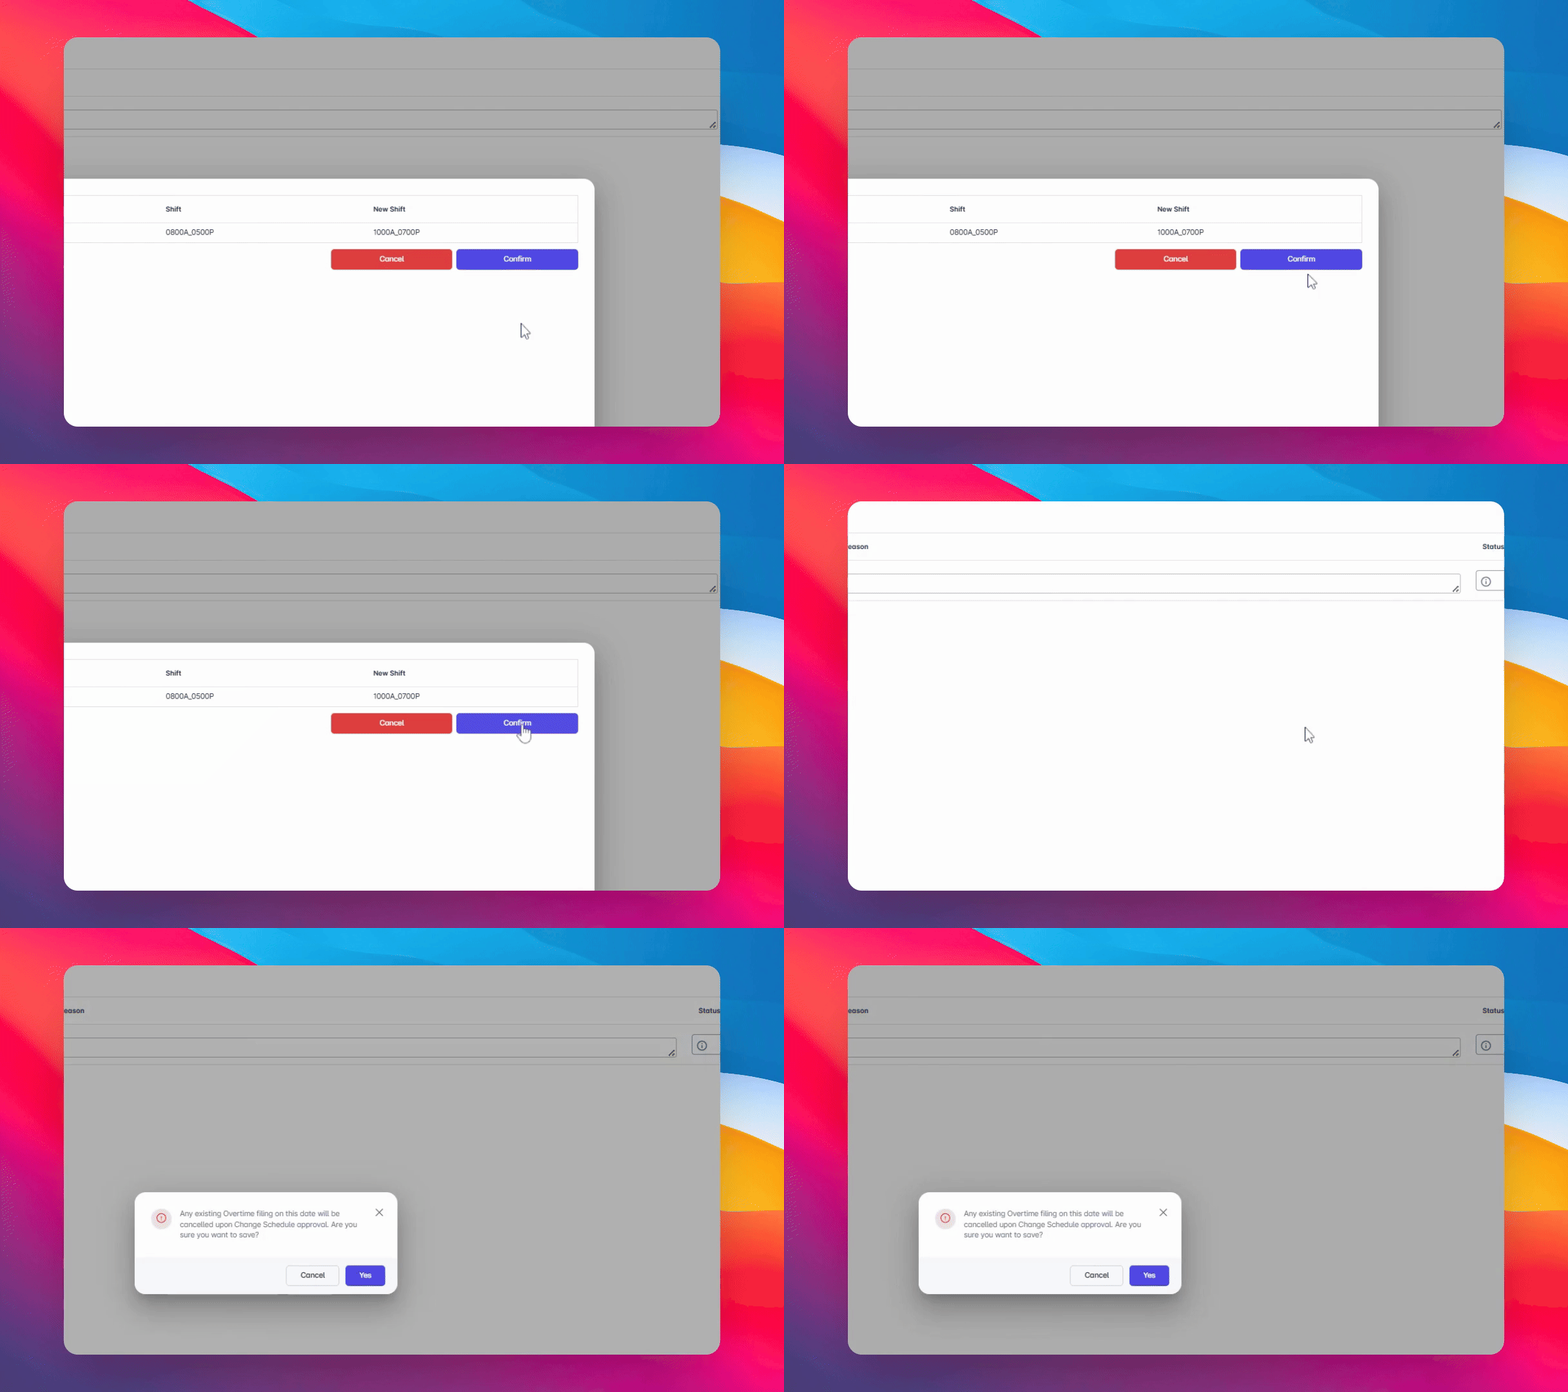
13. Acknowledge Validation Message
A validation message will indicate that any existing overtime filing on this date will be cancelled. If you wish to proceed with the filing of Change Schedule, click yes to continue.
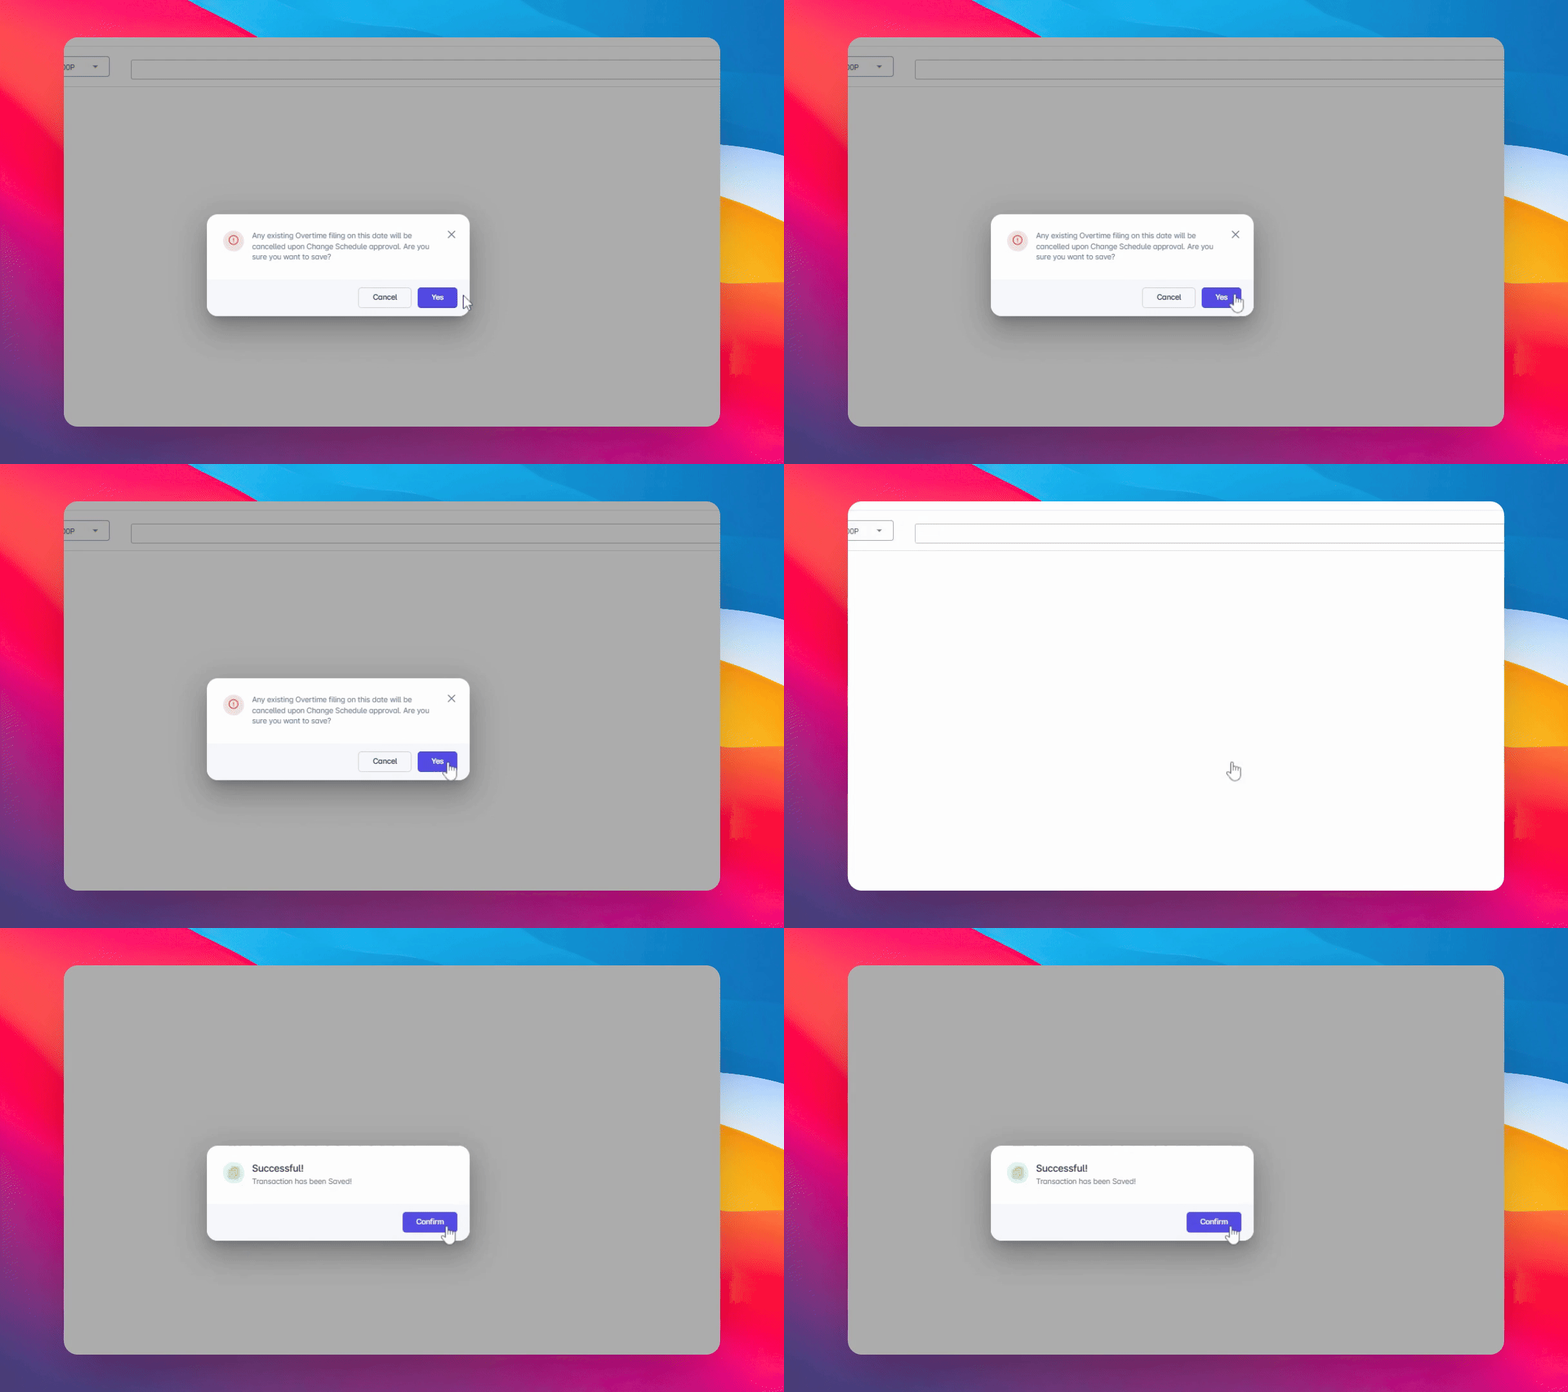
14. Final Confirmation
After successful submission, click Confirm again, and that's it!

15. Submission Complete
Your Change Schedule request has now been submitted and is awaiting approval, depending on the established approval process.
Conclusion
By following these steps, you can efficiently file a Change Schedule request. Ensure that all details are correctly filled out to facilitate a smooth approval process.