

Introduction
In this tutorial, we will guide you through the comprehensive process of reporting an issue using our Ticketing System. This tool is designed to help you manage and track your inquiries or problems efficiently. By following these steps, you will ensure that your concerns are documented and addressed promptly by the support team.
How to Instructions
1. Accessing the Reporting Feature
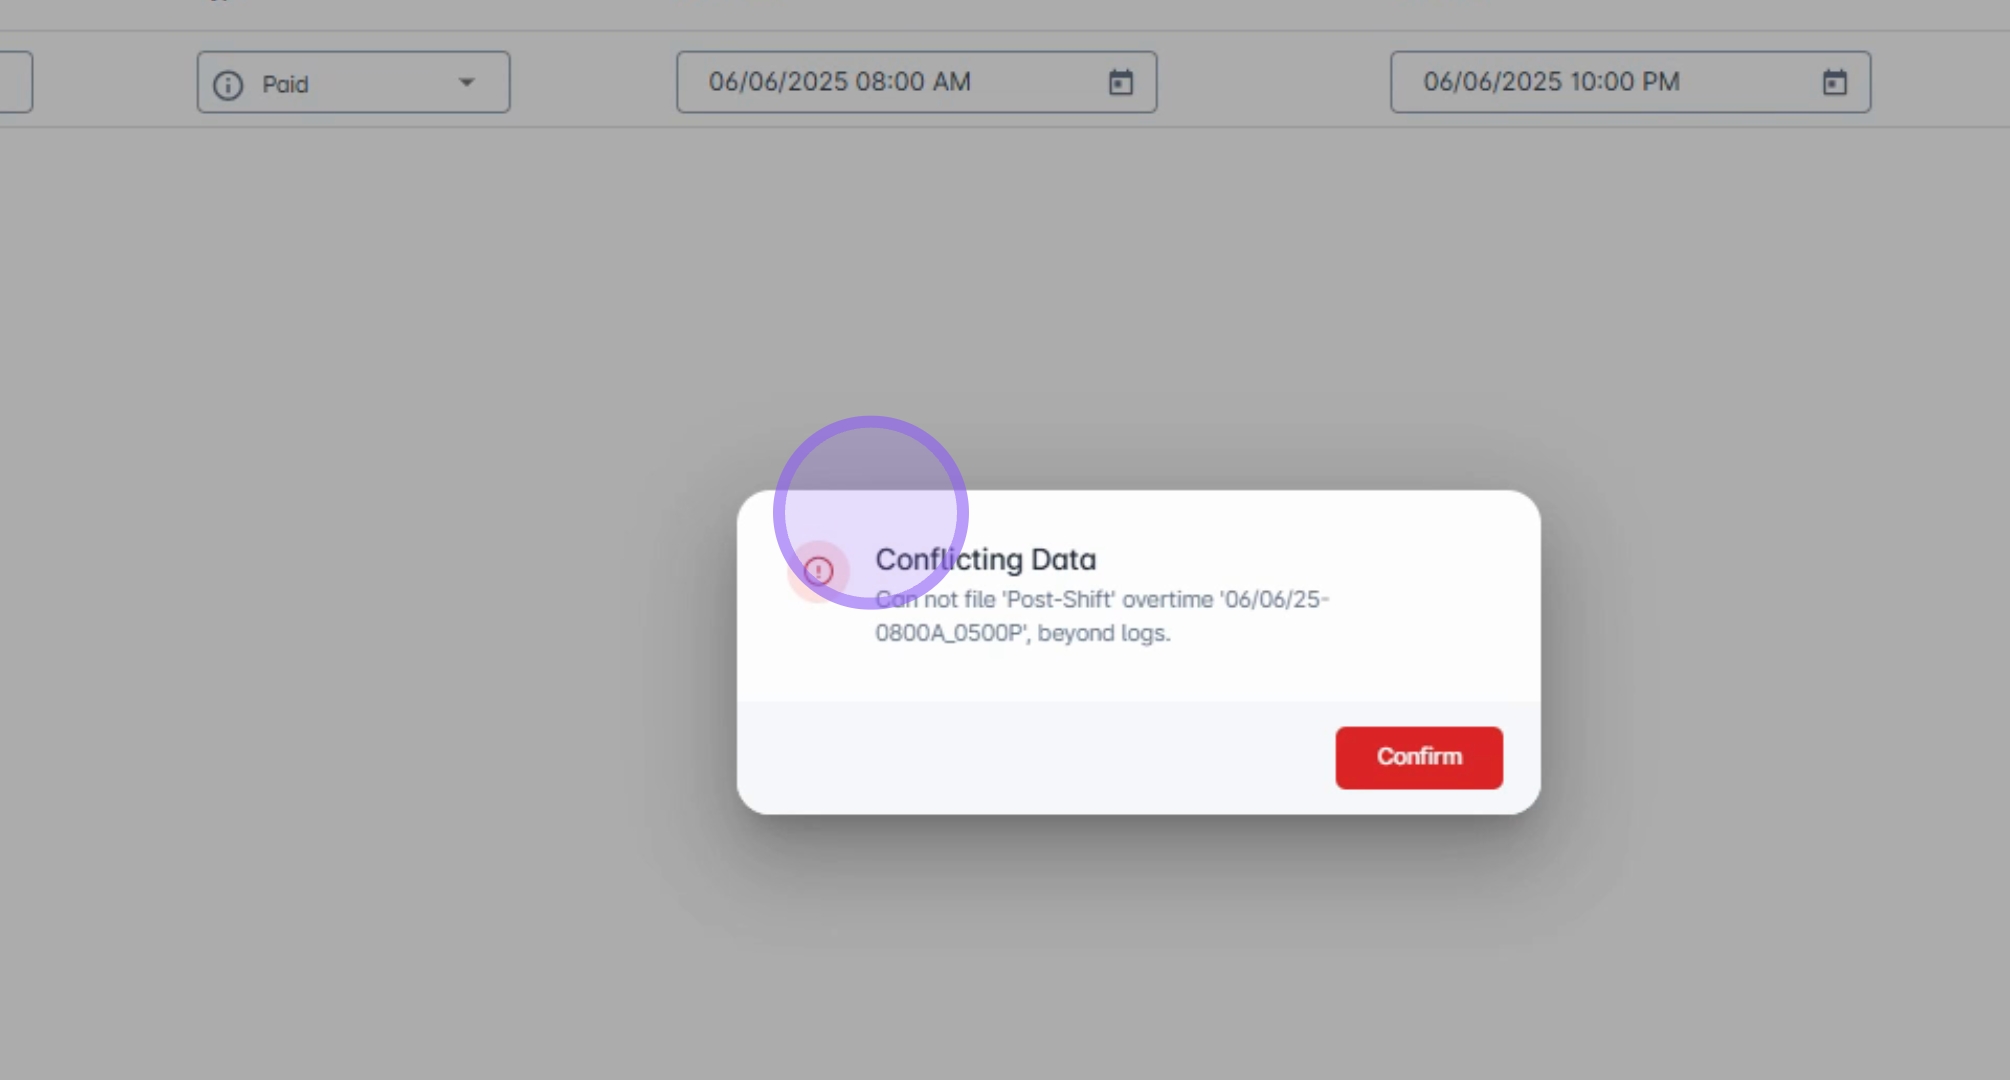
To report an issue, start by clicking the chat icon located in the lower part of the interface.
2. Navigating to Report an Issue
On the home page, click on Report an Issue.
3. Describing Your Issue
Describe the type of your issue, for example, filings, and then input the title of your issue.
4. Providing Additional Details
You can input additional information in the title field.
5. Proceeding with the Report
After entering the details, click the Proceeding icon.
6. Adding More Information
Describe more details about the issue by inputting your employee ID, employee name, and the date of filing into the text box provided.
7. Adding Screenshots or Recordings
You have the option to include a screenshot or record a screen for better context.
8. Taking a Screenshot
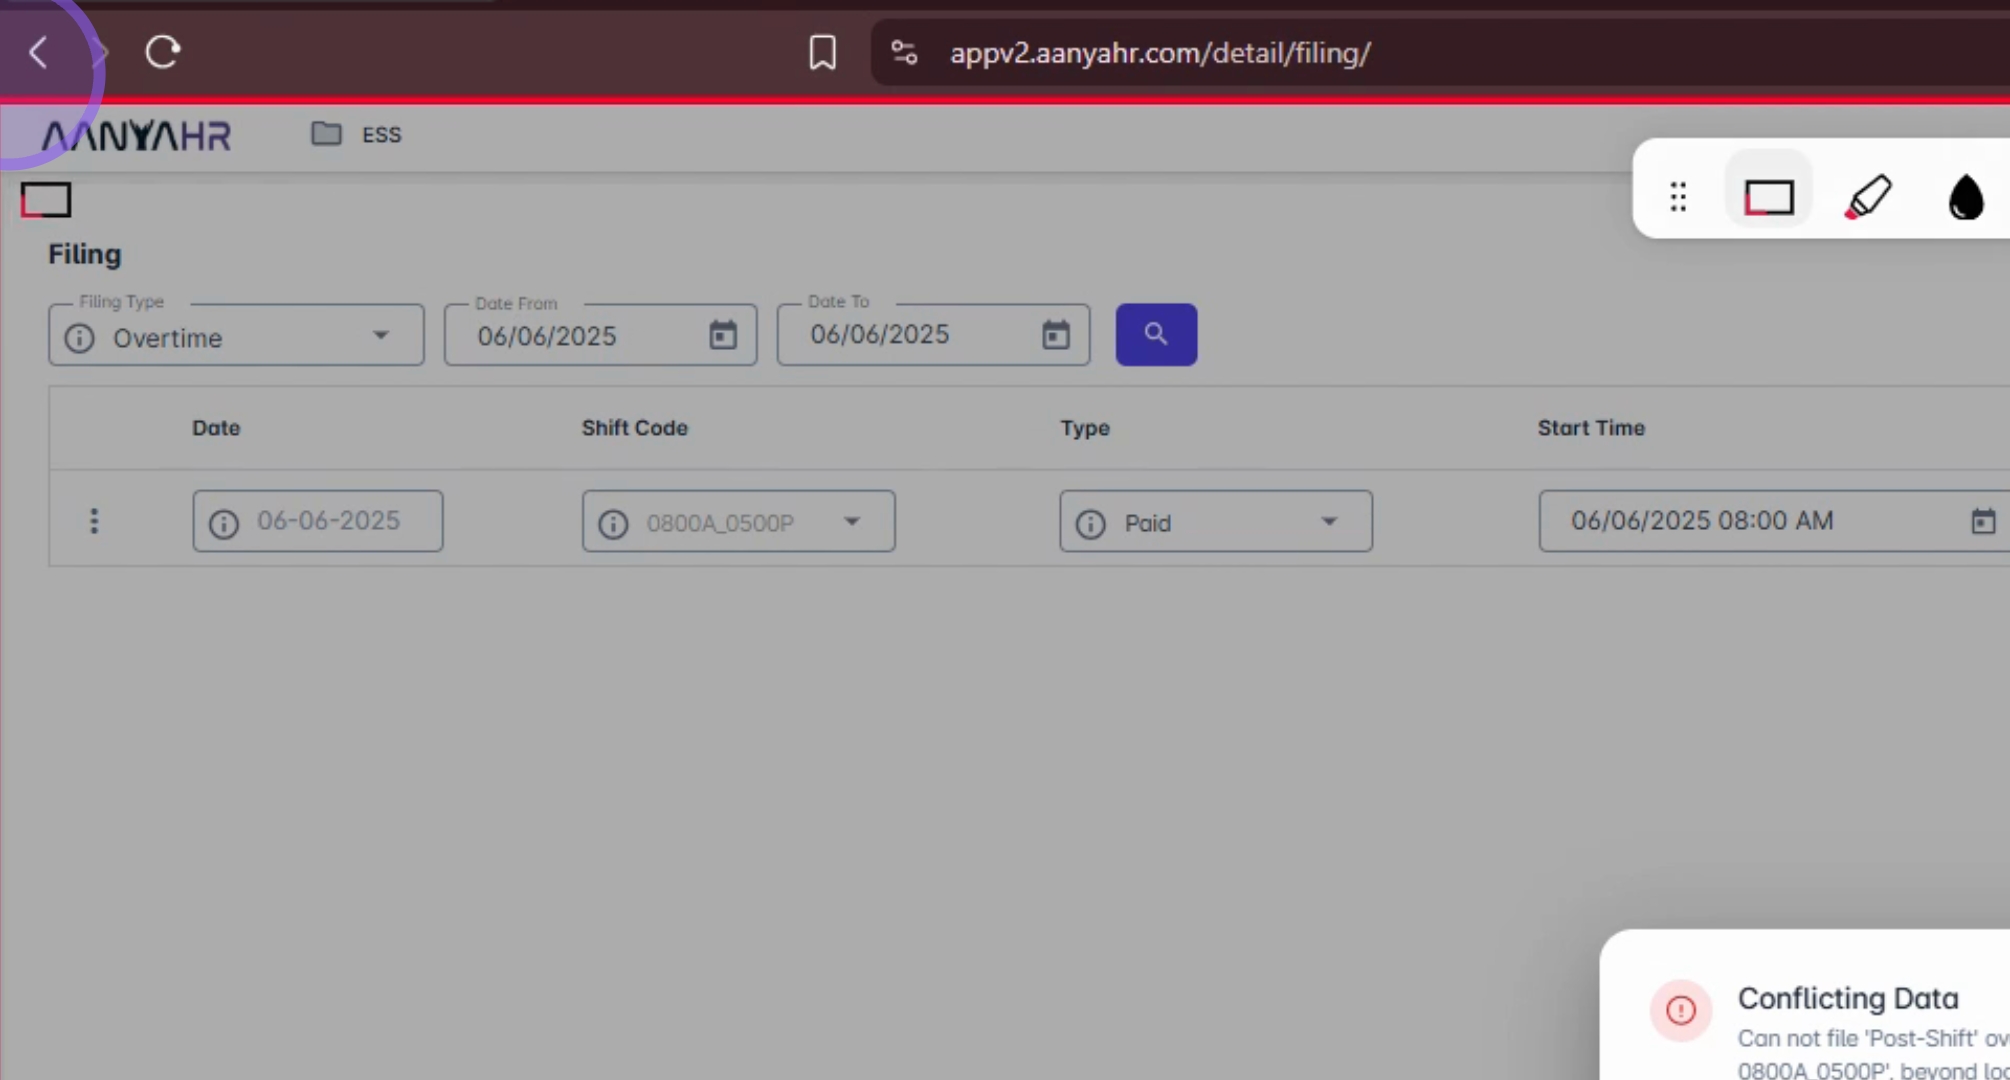
When providing a screenshot, click the designated button and ensure that the captured image clearly shows the actual issue on your screen. Note that the screenshot option allows only one capture.
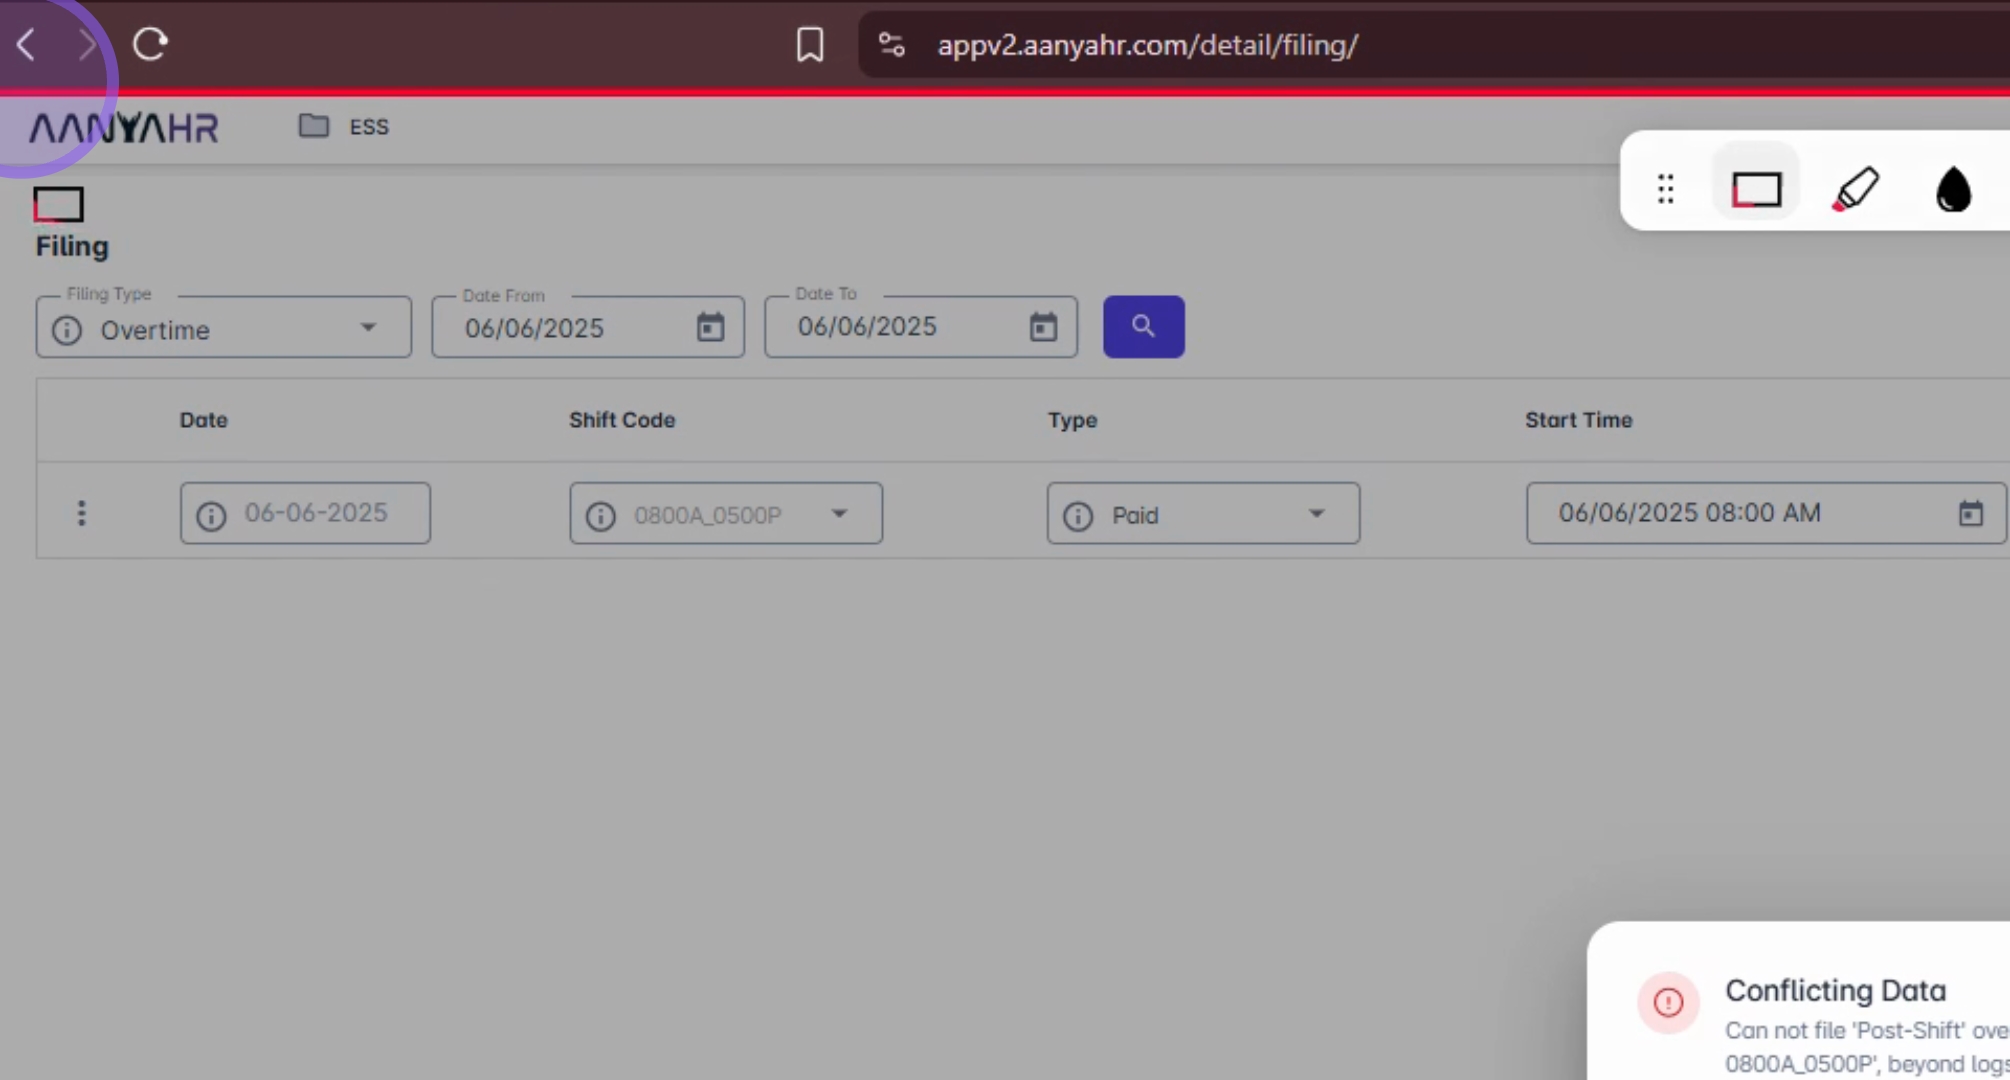
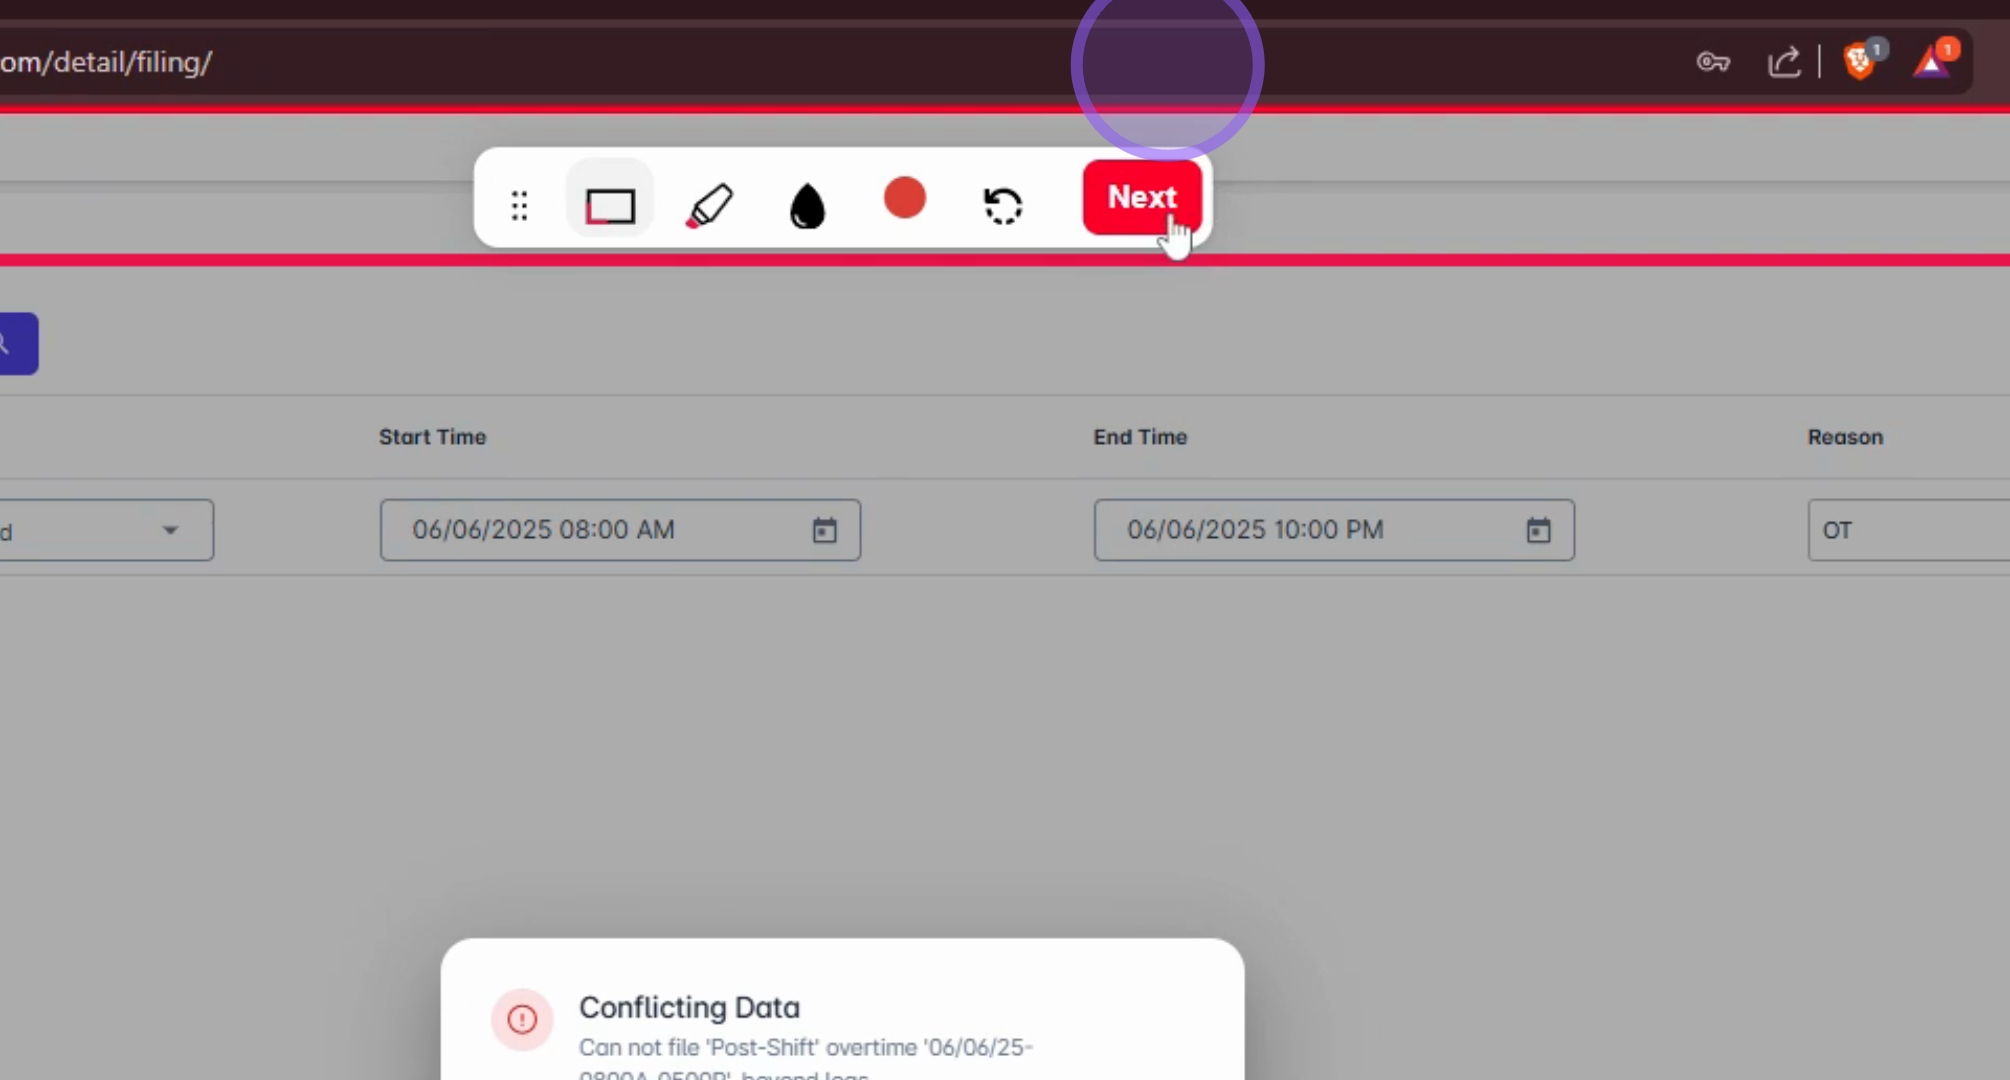
9. Finalizing the Screenshot
Once you have taken the screenshot, click the Next button to proceed.
10. Recording Your Screen
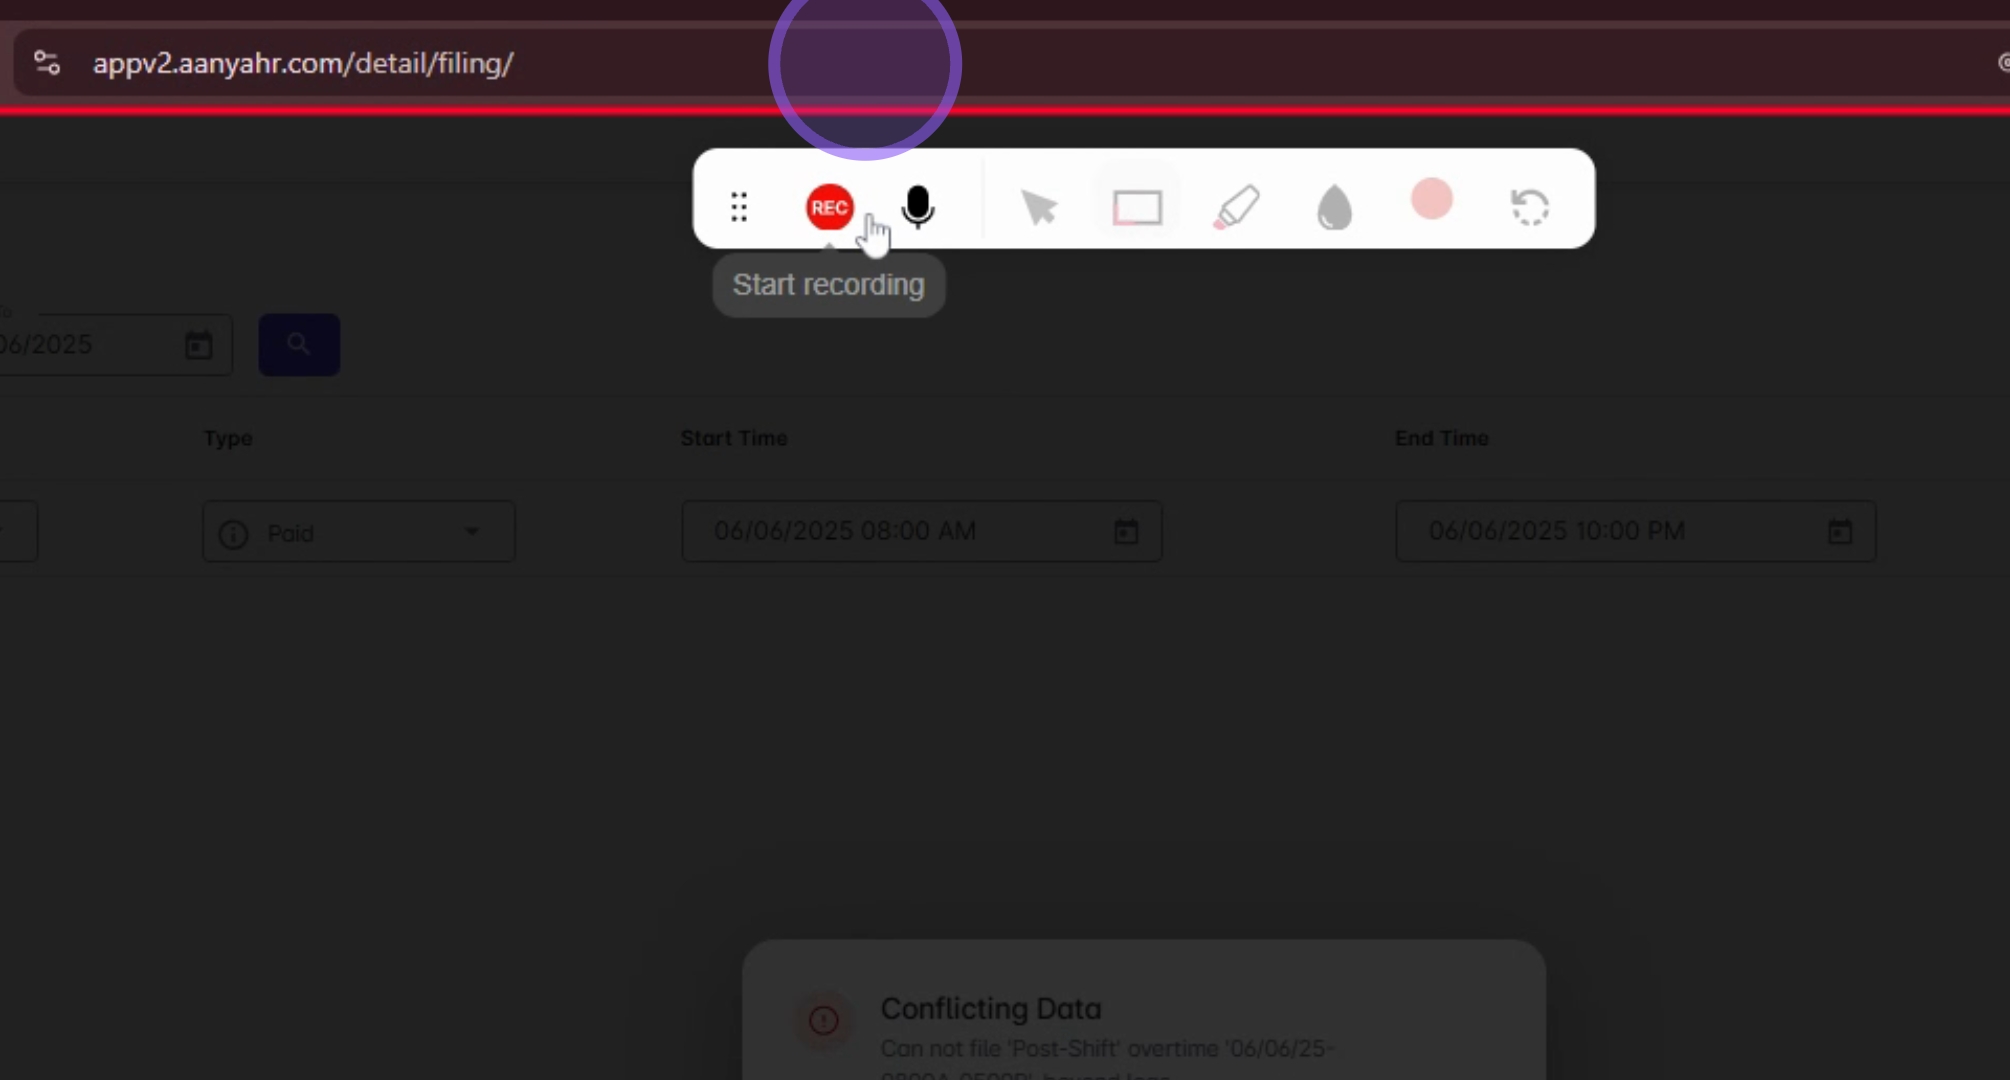
You also have the option to record your screen.
11. Starting the Recording
To begin recording, click the rec button.
12. Adjusting Audio Settings
During the recording, you can choose to mute or unmute your microphone.
13. Completing the Recording
Once the recording is finished, you can either retry if necessary or click Next to proceed with the reporting.
14. Submitting Your Ticket
Once the screenshot or recording is finalized, click the Submit button to send your ticket.
15. Monitoring Support Response
Your ticket will be received by the support team. You can monitor their response by clicking the message icon and selecting your most recent issues.
Conclusion
By following these steps, you can efficiently report issues through the Ticketing System and ensure that your concerns are addressed in a timely manner by our support team.