In this tutorial, you will learn how to generate a scheduled report on the HR or admin side. Let's look at the steps:
Step 1: Navigate to Admin Report
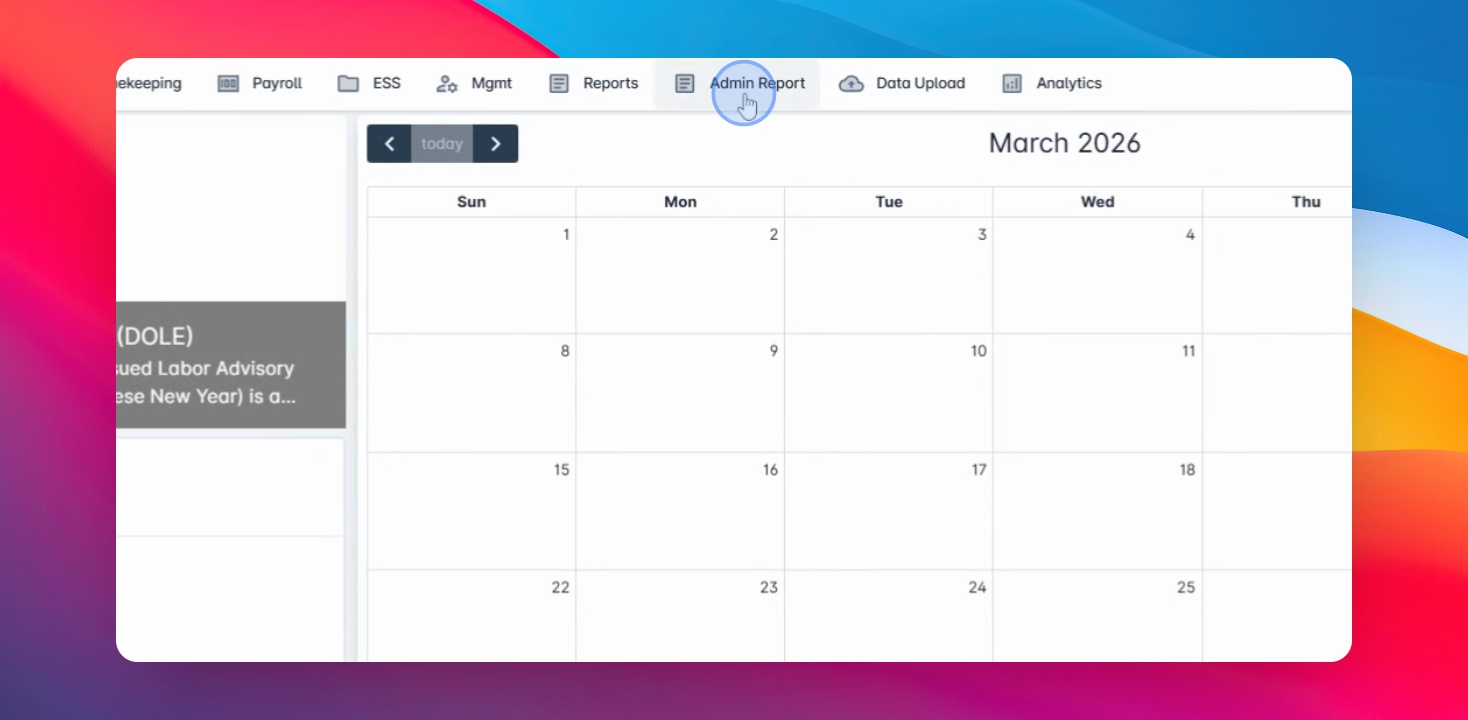
First, navigate to Admin Report, select Attendance, and proceed to Schedule.
Step 2: Select Filters
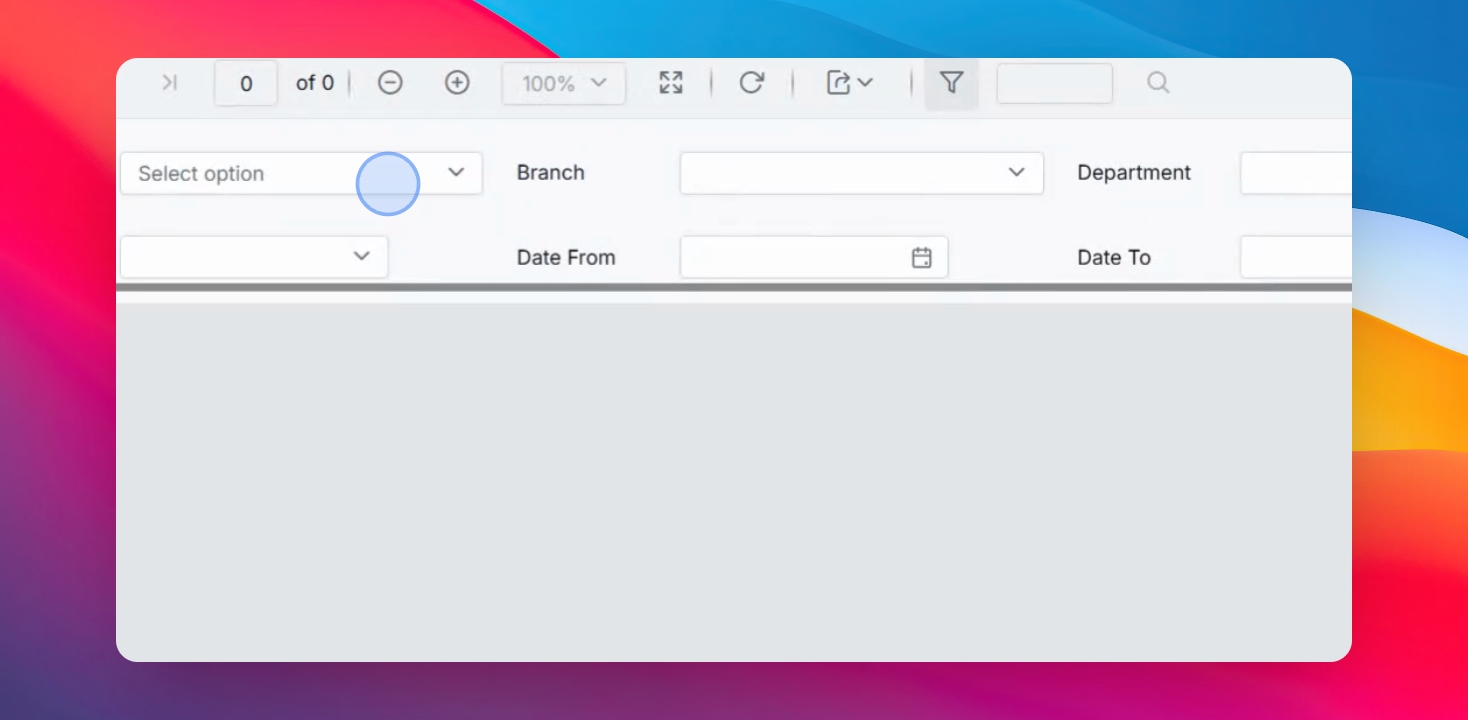
You can select your filter here for Company Branch and Department.
Step 3: Sort and Filter Options
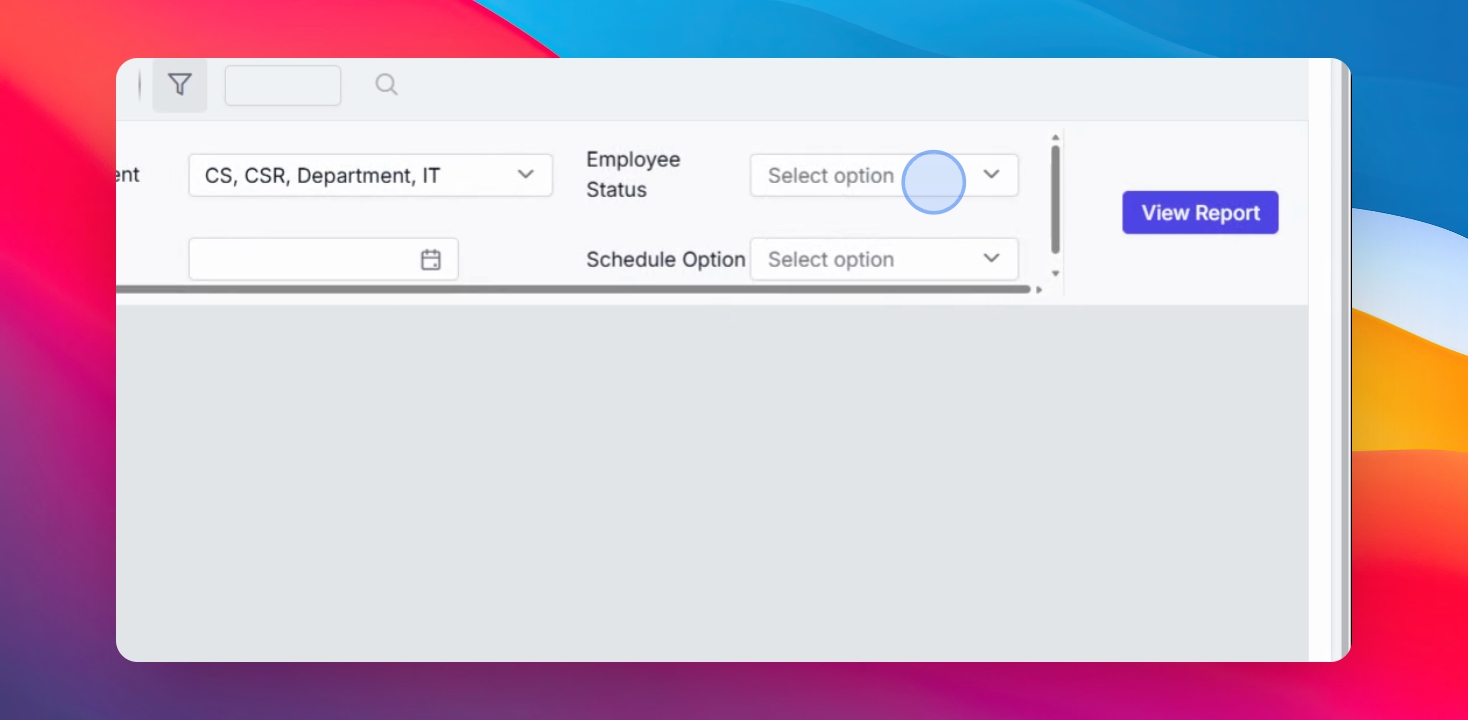
You can also sort via Employee Status and filter it per Admin or Employee, or select it for all employees.
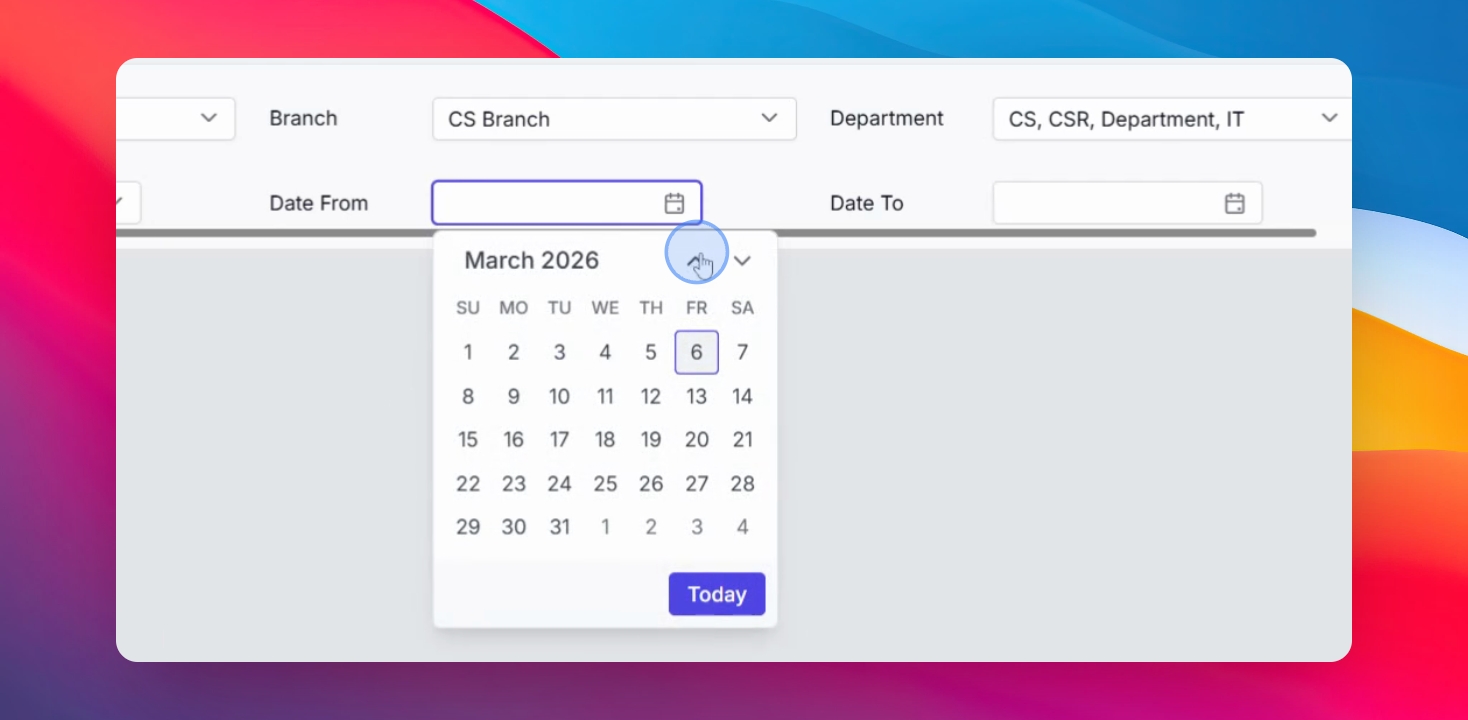
Step 4: Set Date and Schedule Options
Search for Date From and Date To, and set a Schedule Offset if you wish to generate schedules only or without schedules. For now, I will be using Web Schedule and click View Report.
Step 5: View Report Details
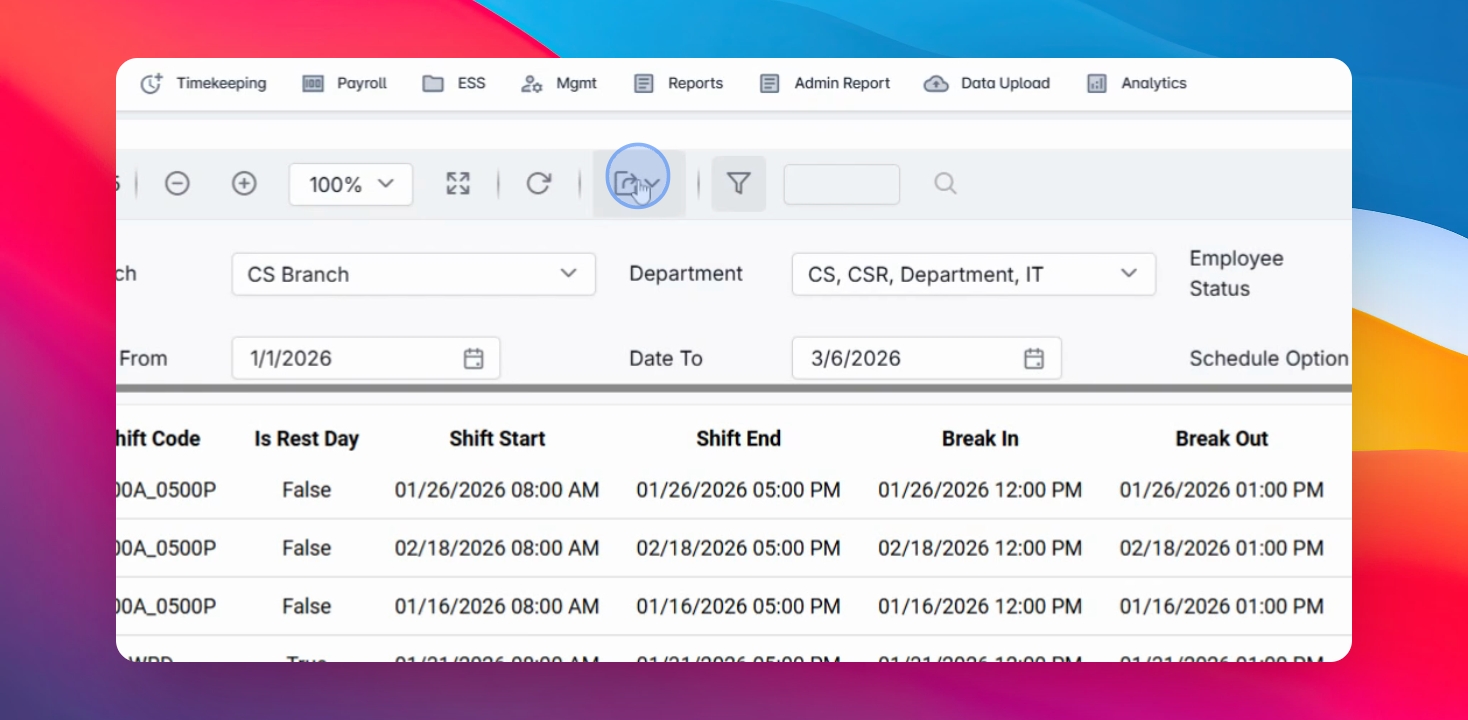
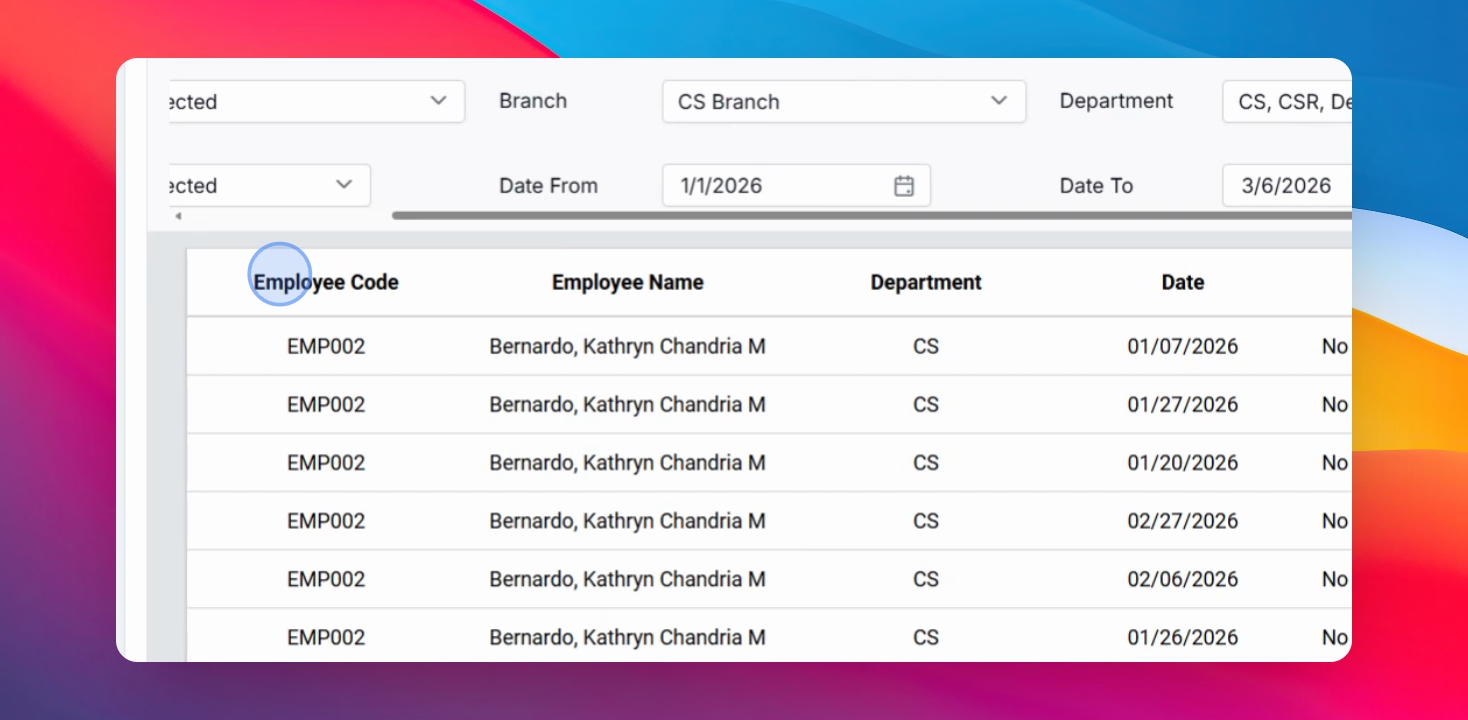
You will see details such as Employee Code, Name, Department, Date, Shift Code, Schedule Start and End, Break In and Out, source information, and supporting source code.
Step 6: Export Report
You can also export this report as an Excel file by clicking the button and selecting Excel.